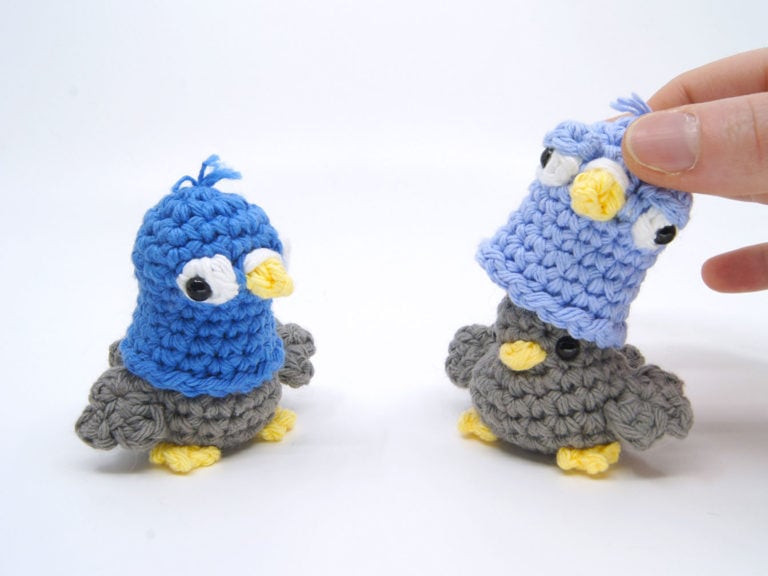
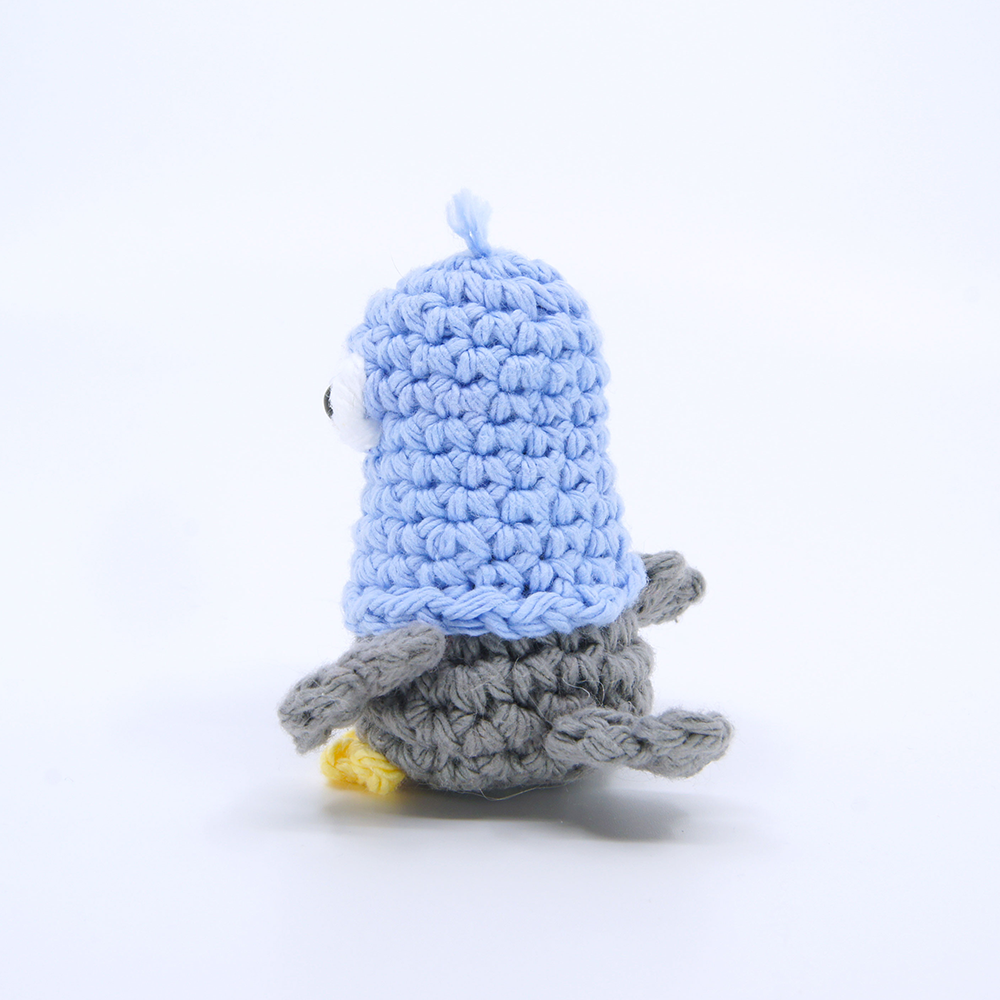
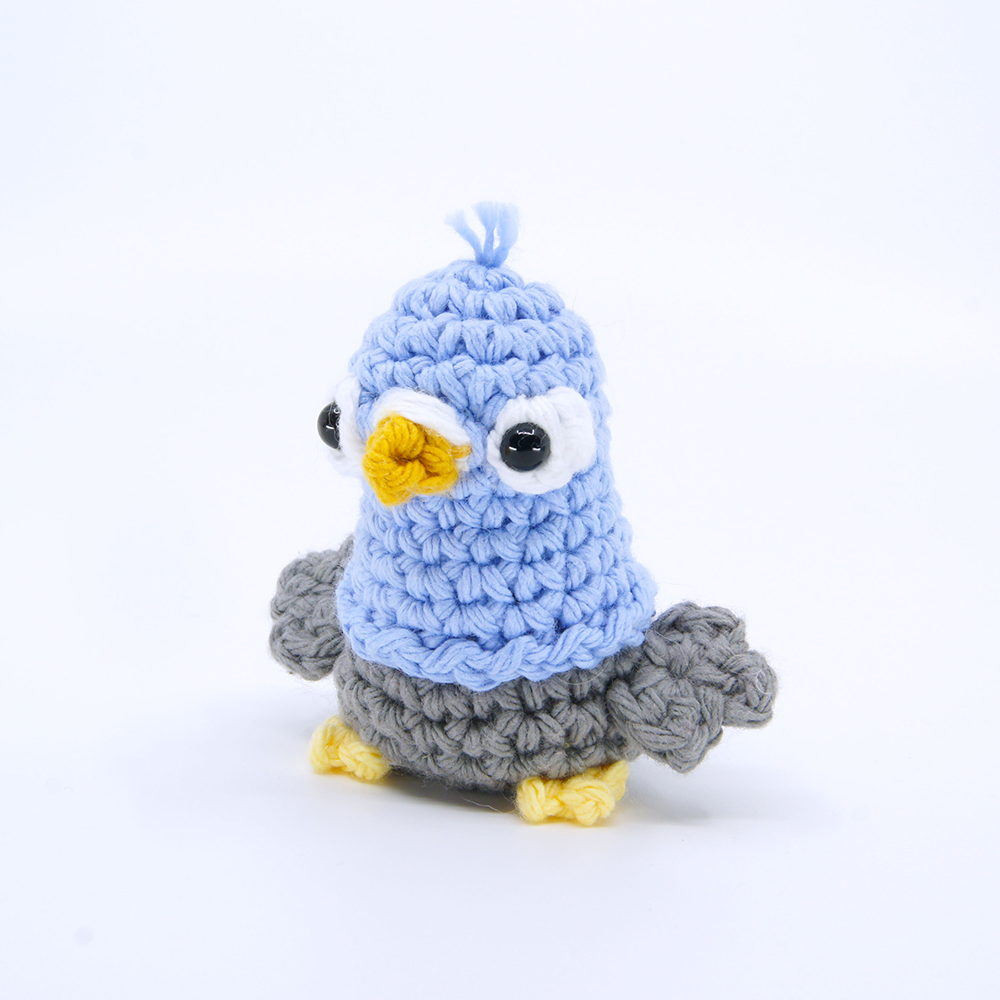
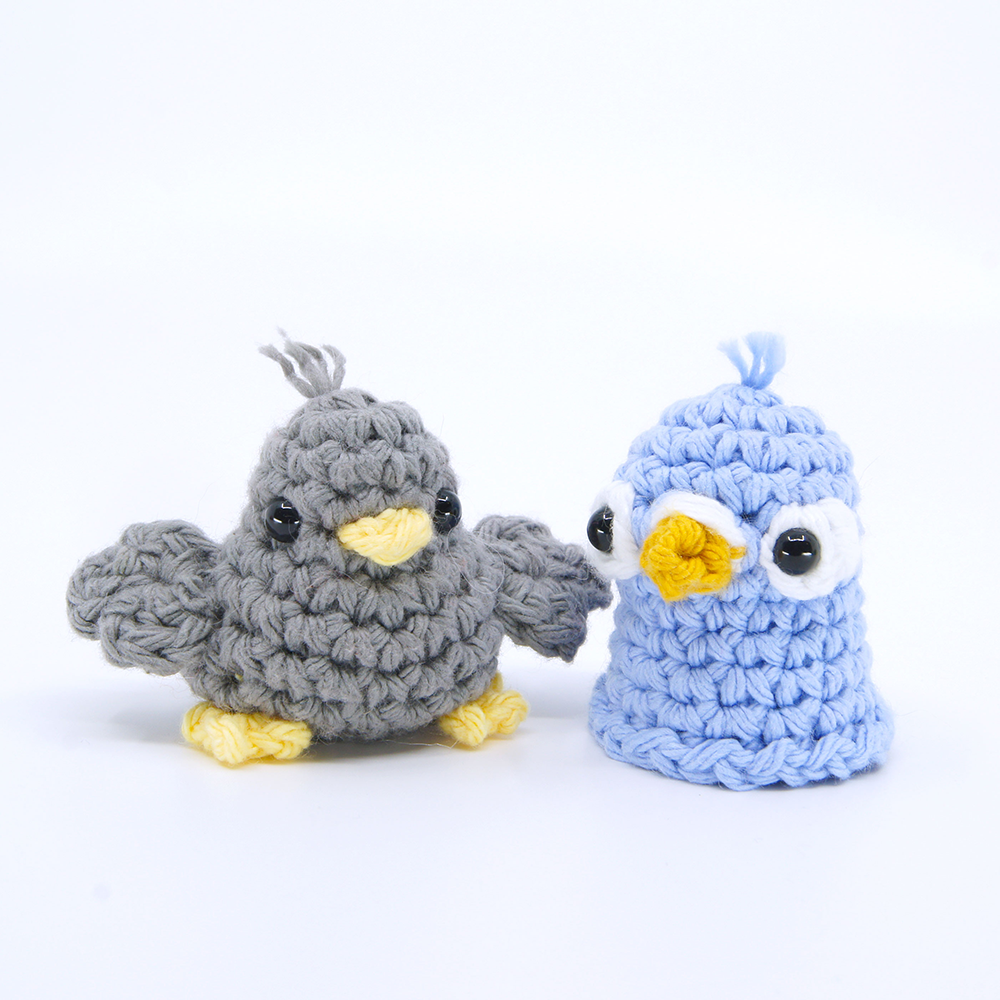
Pigeon Birb Amigurumi

Medium

Louie's Loops
Designed by

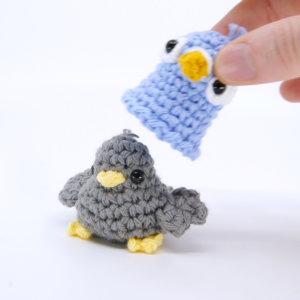
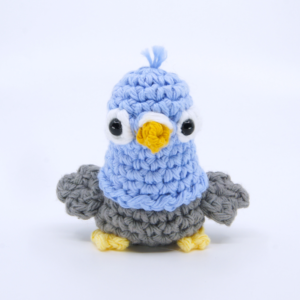
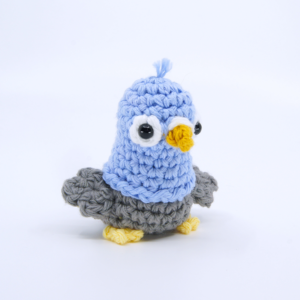
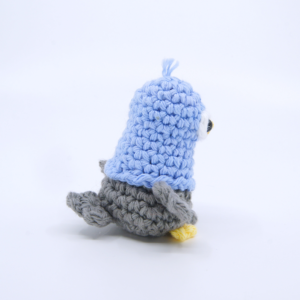

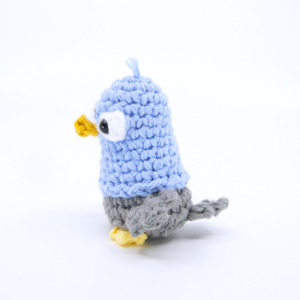


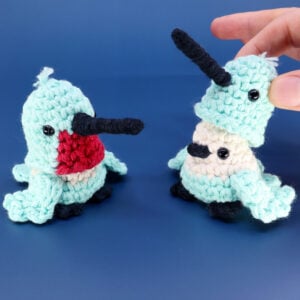
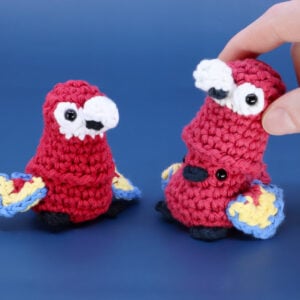
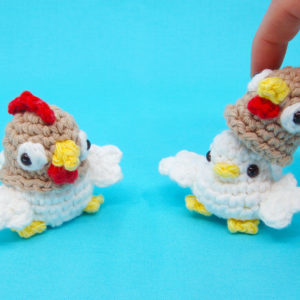
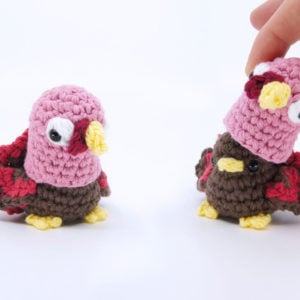
What you'll create


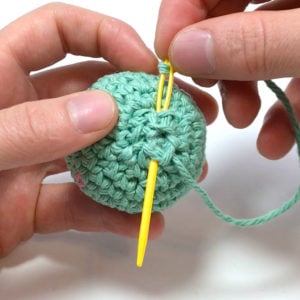
What you'll learn
What you'll need
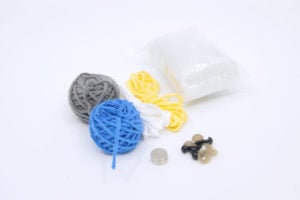
Cotton Yarn
Weight

Colors

Crochet Hook
G6 / 4.00 mm

Safety Bead (x4)
6 mm

Stuffing

Darning Needle

Small Magnet
Abbreviations used
ch
Chain Stitch
st
Stitch
slst
Slip Stitch
sc
Single Crochet
inc
Increase
dec
Decrease (Sharp)
invdec
Invisible Decrease
FLO/BLO
Front / Back Loops Only
dc
Double Crochet
hdc
Half-Double Crochet
mbo
Mini Bobble Stitch
sbo
Spiky Bobble Stitch
Useful information
Gauge
5 Rnds and 4 sts per 1”
Finished piece is about 3” tall
Worked
In the Round (Body, Head)
Flat (Wings, Tail, Feet)
Useful Tutorials

Pattern steps
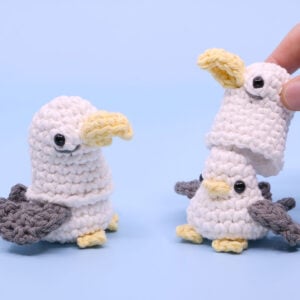
01 Wings/Tail
[All in Grey]
Magic loop (leaving a long end)
Row 1: Working into the magic loop, sc 1, hdc1, dc 1, ch 1, slst 1, ch 2, dc 1, ch 1, slst 1, ch 2, dc 1, hdc 1, sc 1 (7 not including chs and slsts)
Other patterns to try

Community posts
Community Showcase
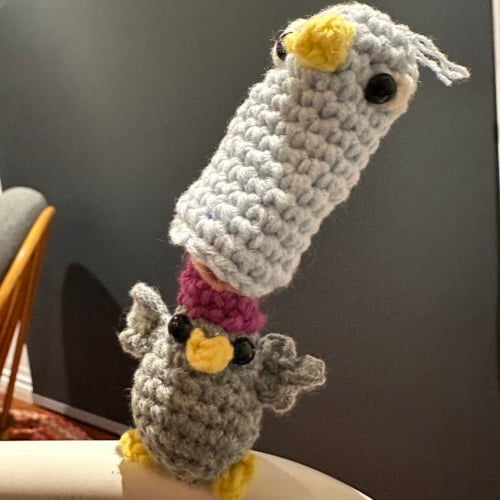
Pigeon Birb
Submitted by kirsty_holcombe
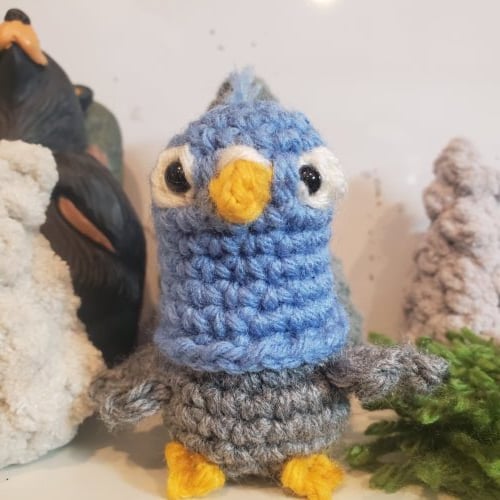
Lil petey
Submitted by rita-medvedskiy
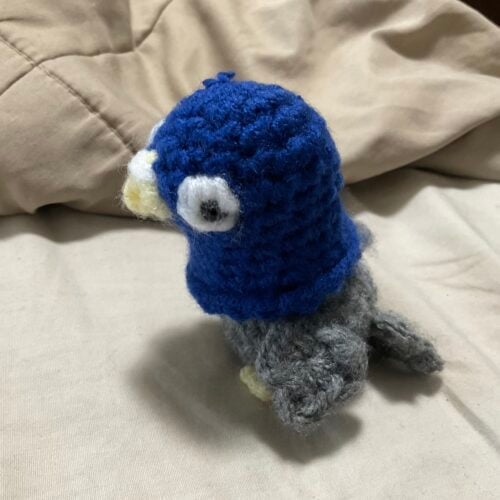
Pigeon Birb
Submitted by Nicole Maxwell
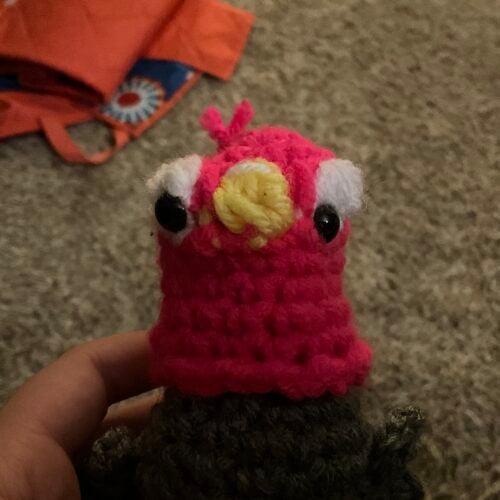
Pomegranate the pigeon birb
Submitted by ranyah_wittstruck
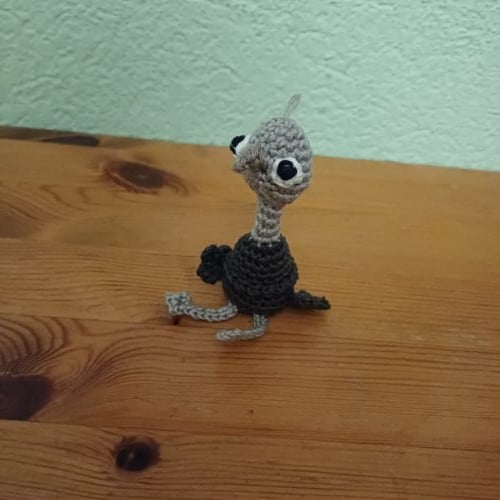
Ostrich
Submitted by lotta_daniel
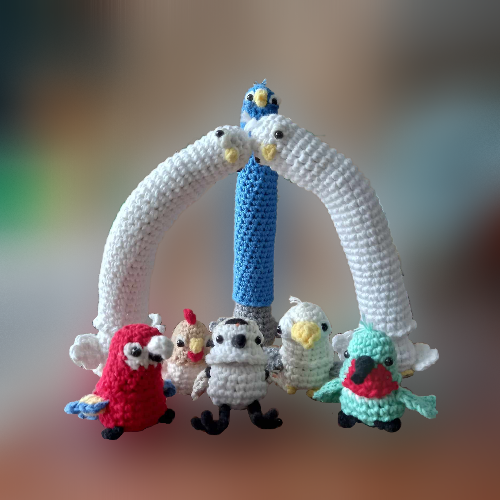
Birb Fam
Submitted by alden_go


I have wanted to make this ever since I first learned to crochet! Pomegranate is my pride and joy!
Can I use 8ply instead of 10