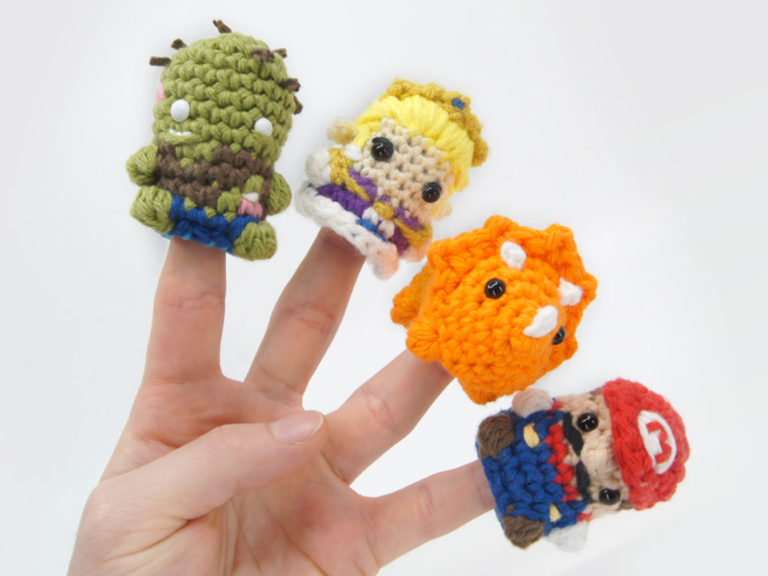
How to Crochet Finger Puppets

Easy

Louie's Loops
Designed by
Video tutorials
Main Video
What you'll learn
What you'll need

Cotton Yarn
Weight

Colors

Crochet Hook
G6 / 4.00 mm

Stuffing

Darning Needle
Abbreviations used
ch
Chain Stitch
st
Stitch
slst
Slip Stitch
sc
Single Crochet
inc
Increase
Pattern steps

01
Leaving a Hole
1:50
Step 1 is pretty easy, you just need to leave a hole in your amigurumi before would have sewn it closed. This is easier to do with amigurumi where you crochet from the top to the bottom, since you can just stop before the last round.
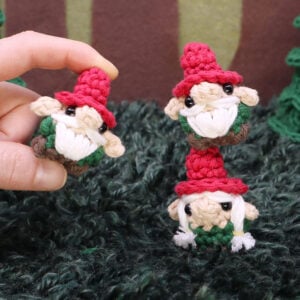
For example, with my Pod People patterns, you would just need to skip the final round where you would normally decrease down to 6 sts around.
For other patterns like my crocheted Triceratops, that might be a bit trickier. You want to make sure that the hole is at the bottom of your piece, but for the Triceratops pattern, the bottom of the piece is actually the middle of the pattern. In that case, the best thing to do is replace some single crochet stitches in the round where you would be making the bottom of your piece with ch stitches.
So for the Triceratops pattern, for example, Rnd 10 is where you would be making the stitches of the belly, or the bottom of your piece. Here is Rnd 10 normally:
Rnd 10: sc in each st (18)
We want to replace a few of those stitches with chs to create a hole, so I would change the round to…
Rnd 10: sc 2, ch 3, skip 3 sts, sc in the remaining 13 sts (18)
This will leave a hole in the middle of the Rnd. Now in the next Rnd I would simply single crochet into those chs as if they were regular stitches.
Make sure to leave your hole with any where between 9 to 12 stitches to work with. You’ll need these stitches to sew on the Finger Puppet addition.
02
Crocheting the Finger Puppet Addition
4:47
Step 2 is crocheting the finger puppet addition that you’ll be sewing into the hole that you left.
Magic loop
Rnd 1: Work 6 sc in a magic loop (6)
Rnd 2: [sc 1, inc] 3 times (9)
Rnds 3-5: sc in each st (9 x 3)
Rnd 6: inc up evenly to whatever your stitch count is for the hole that you left.
For 12 sts: [sc 2, inc] 3 times (12)
For 9 sts: sc in each st (9)
Slst 1, cut the yarn and pull through, leaving enough to sew together with.
03
Sewing Together
11:39
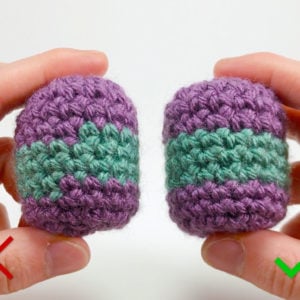
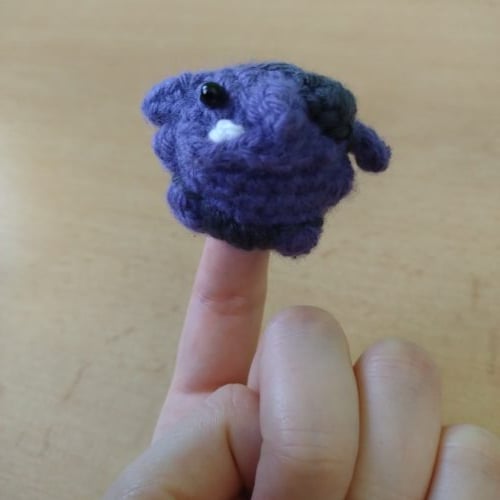
The last step is just to sew together the Finger Puppet addition into your piece. Your finger puppet addition should have as many stitches in the final round as your hole does. Sew each stitch together, but don’t forget to stuff your piece before you finish sewing it together!
Finally exit your piece with the end and tie a knot.
Other patterns to try


Community posts
Community Showcase
Wicked
Submitted by rezi


Thank you for the videos, they are fun to watch. You are a good teacher. Your explanations of each stitch is great. I noticed you only have one cat pattern. Can you make others that are standing on all four legs? That would be really cute. Thanks again!
I like this finger insert. It makes the amigurumi I make for my grandchildren more of a play thing than the regular finish!
Thank you!! Really enjoy & learn from your tutorials/videos. A different twist on the finger puppets making them more lifelike & durable. Definitely going to try this out!!