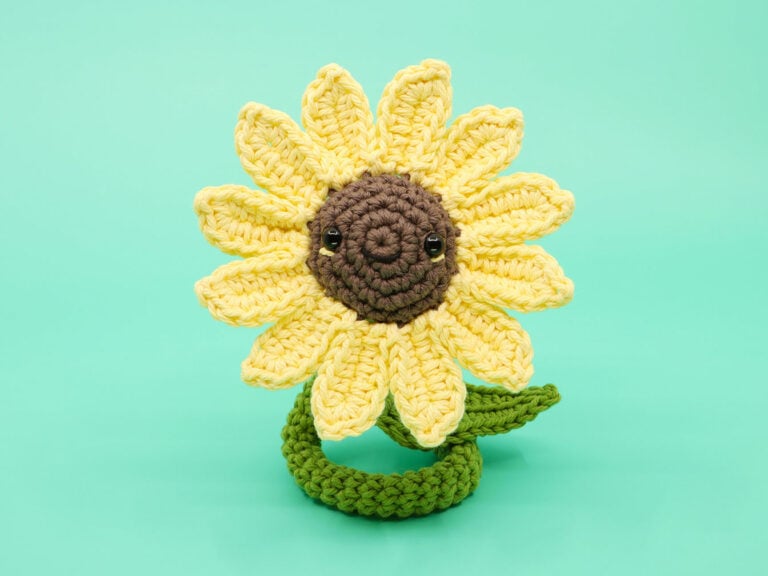
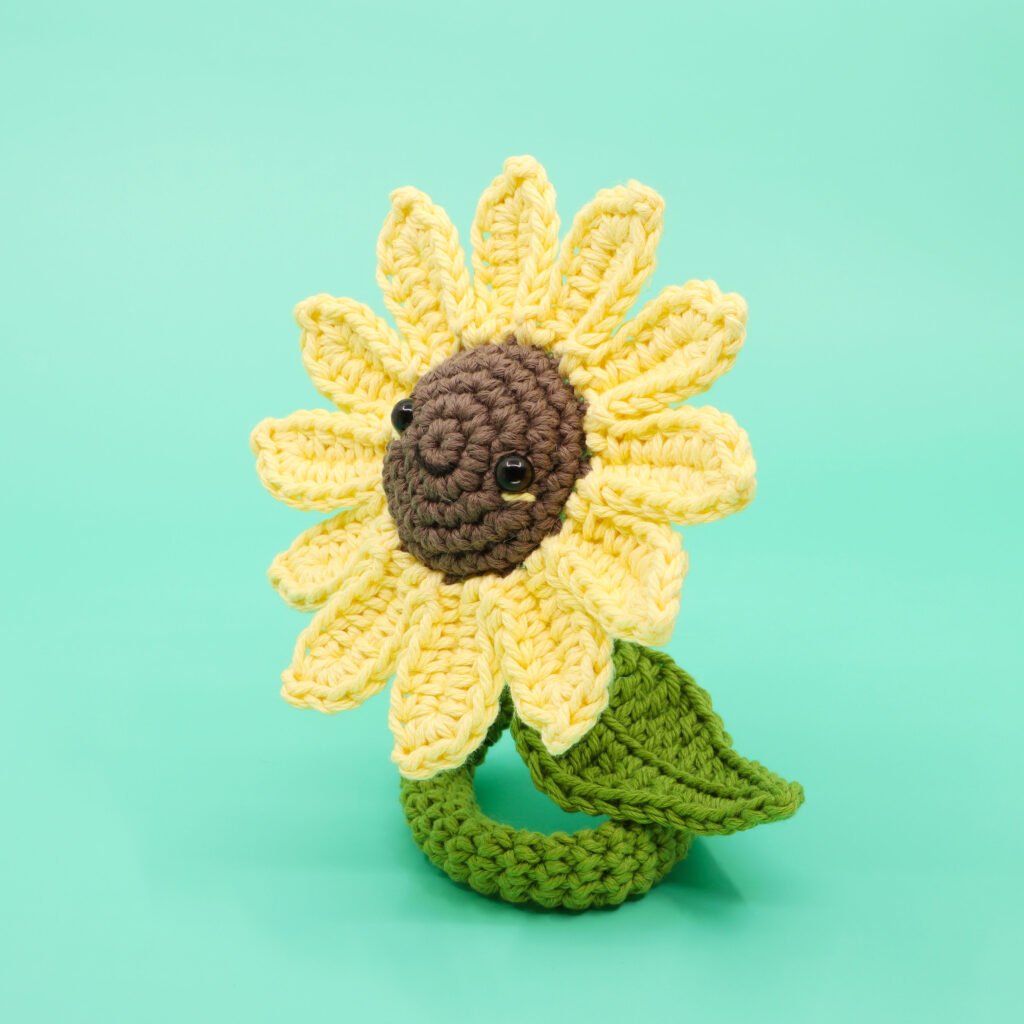
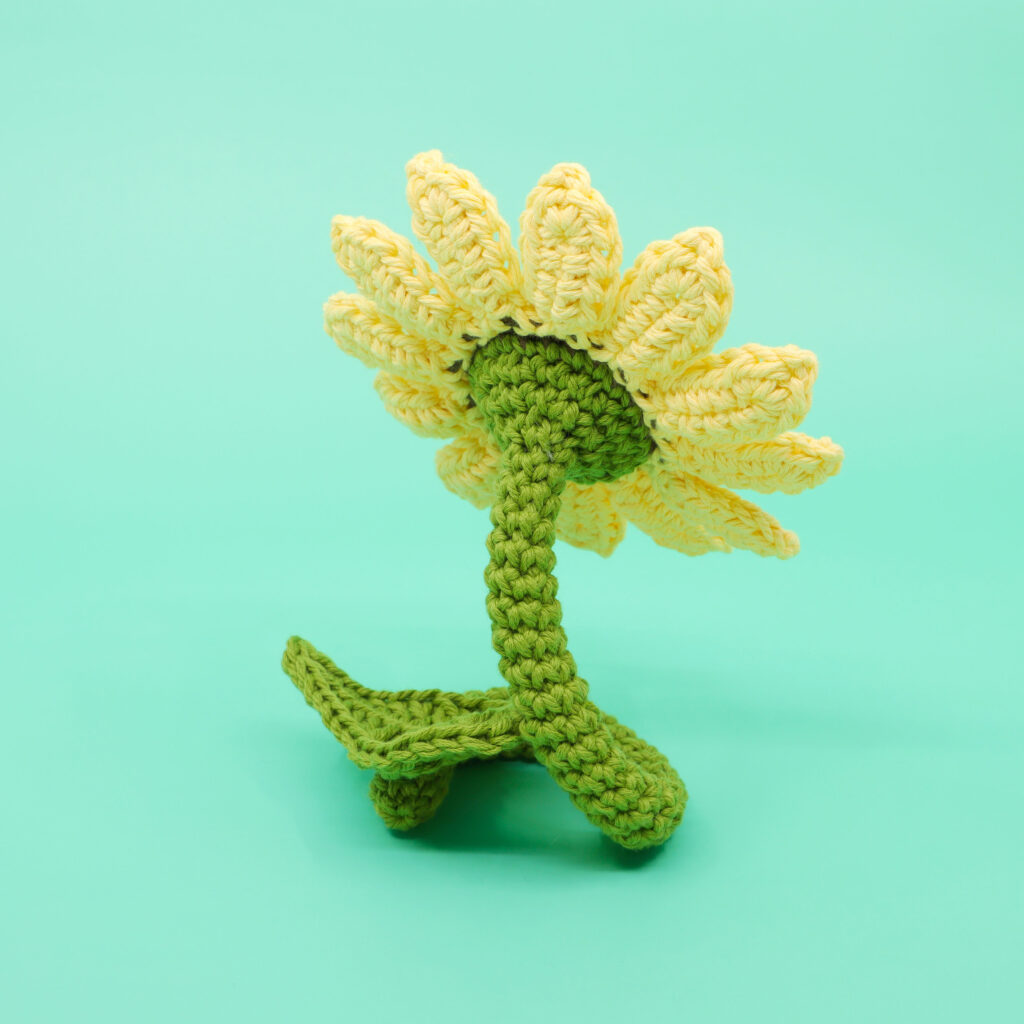
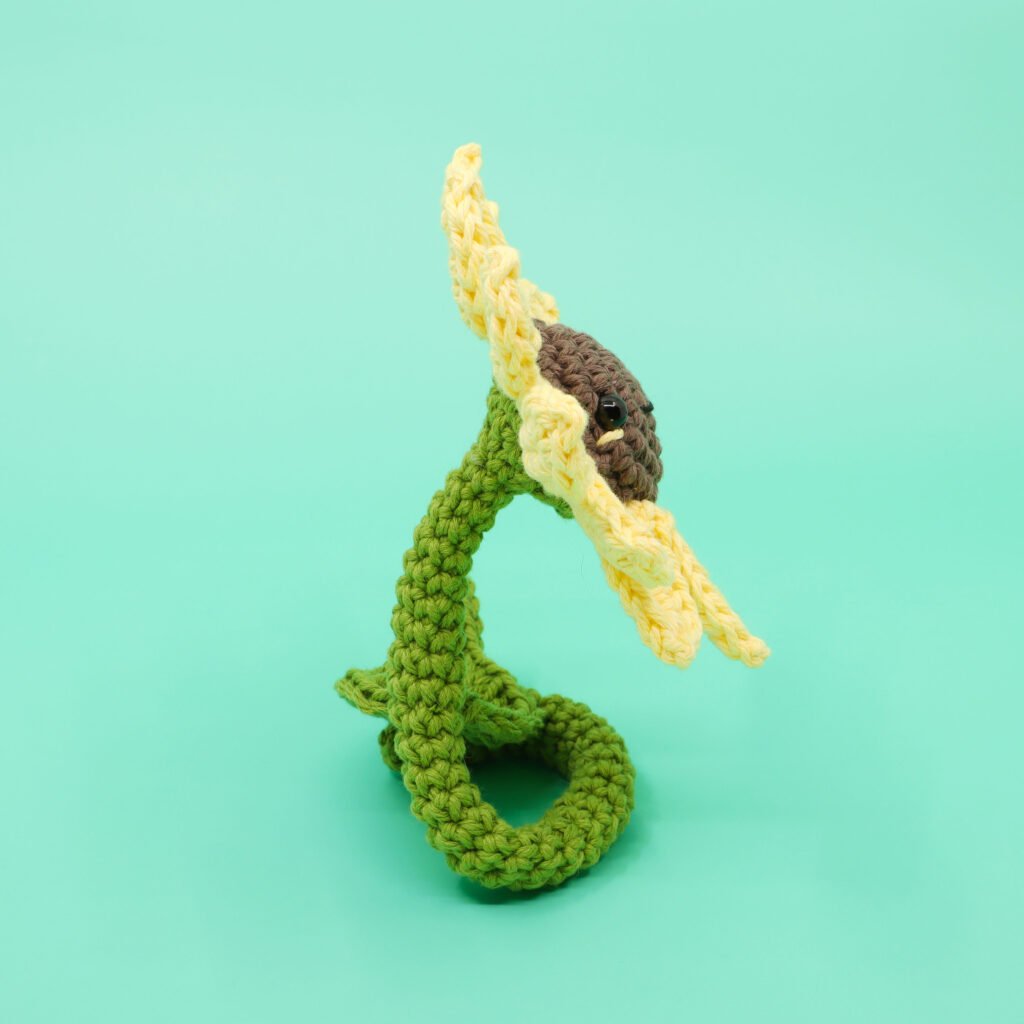
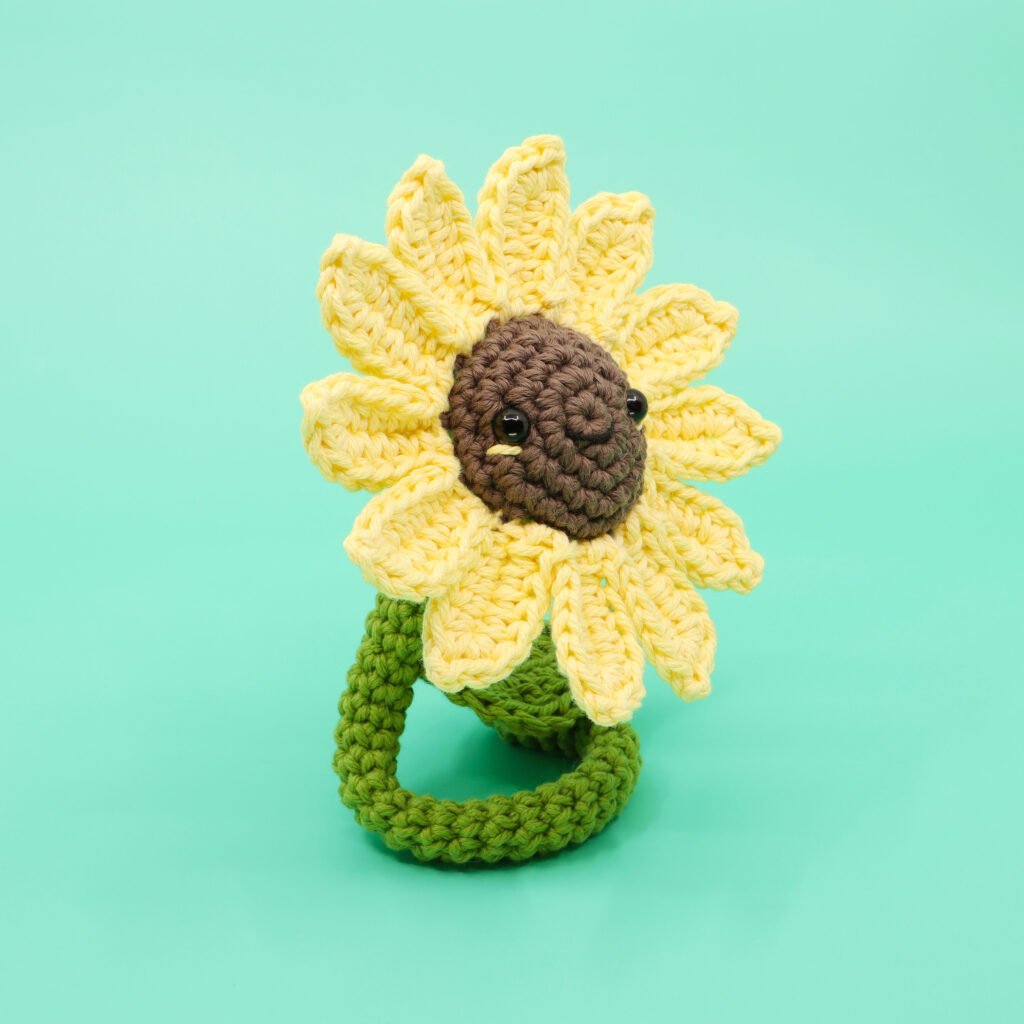
Sunflower Stand Amigurumi

Easy
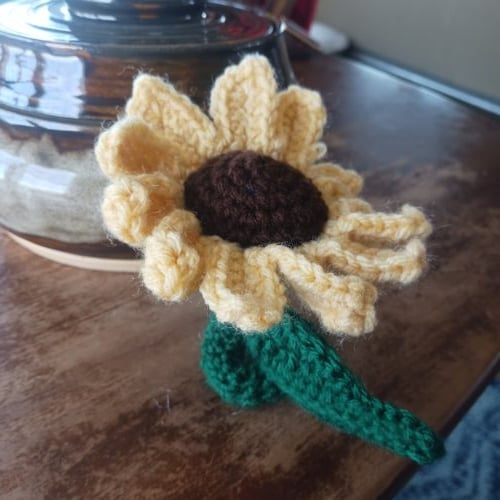
In this crochet pattern we’ll be crocheting an amigurumi sunflower stand! This pattern is requires nearly no sewing at all and is shockingly quick to create, and using a wire in the body to make it posable, able to wrap around surfaces, or stand on it’s own!

Louie's Loops
Designed by
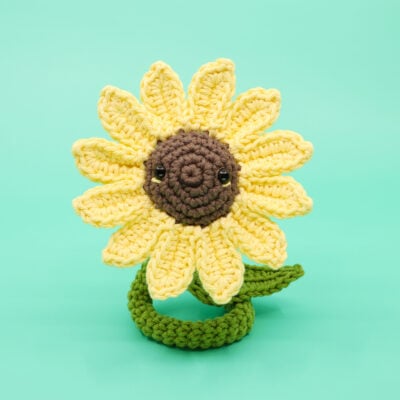


What you'll create


What you'll learn
What you'll need

Cotton Yarn
Weight

Colors
Yellow
Brown
Green

Crochet Hook
G6 / 4.00 mm

Strong Wire
9"

Safety Bead (x2)
8mm
Black Thread

Stuffing

Darning Needle
Abbreviations used
ch
Chain Stitch
st
Stitch
slst
Slip Stitch
sc
Single Crochet
inc
Increase
invdec
Invisible Decrease
FLO/BLO
Front / Back Loops Only
dc
Double Crochet
hdc
Half-Double Crochet
tr
Tripple (Trebble) Crochet
mp
Mini Picot
dtr
Double Triple (Treble) Crochet
Useful information
Gauge
5 Rnds and 4 sts per 1”
Size
Finished piece is about 12” long
Worked
In the Round (unless otherwise stated)

Pattern steps
01 Flower Center
[Starting in Brown]
Magic loop
Rnd 1: sc 6 in the magic loop (6)
Other patterns to try


Community posts
Community Showcase
Sunny
Submitted by Brody
You need an account to submit your photo.


I absolutely loved making this pattern, I’ve made about 20 different patterns from your website so far and this is by far my favorite! The wire I had on hand was a bit too thin to support the weight but I just braided it together and it works perfectly. Thank you Louie!
Hi Louie. I don’t know if it is just me but this pattern is kind of confusing. Not trying to add on to your to do list but do you think you could re write it in more detail or change the video from the live stream to a tutorial? Thank you!!
Hey AJ! I’ve updated the pattern with a new video tutorial. Let me know what you think!