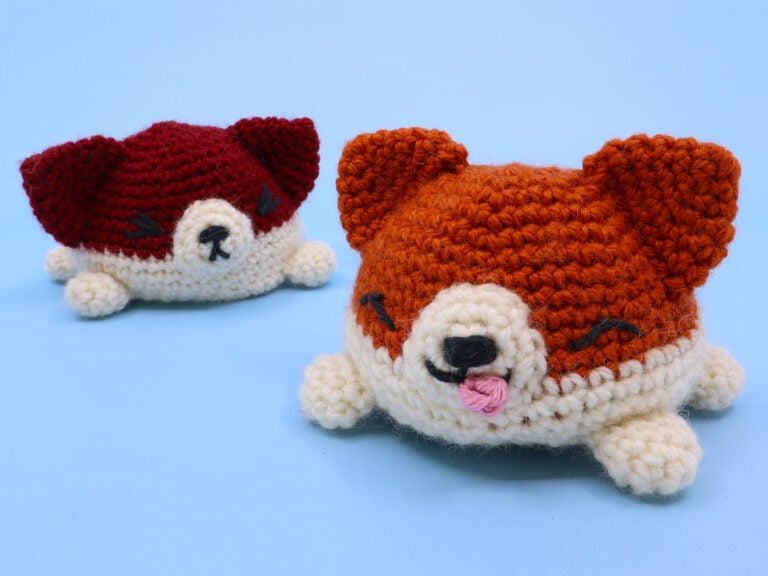
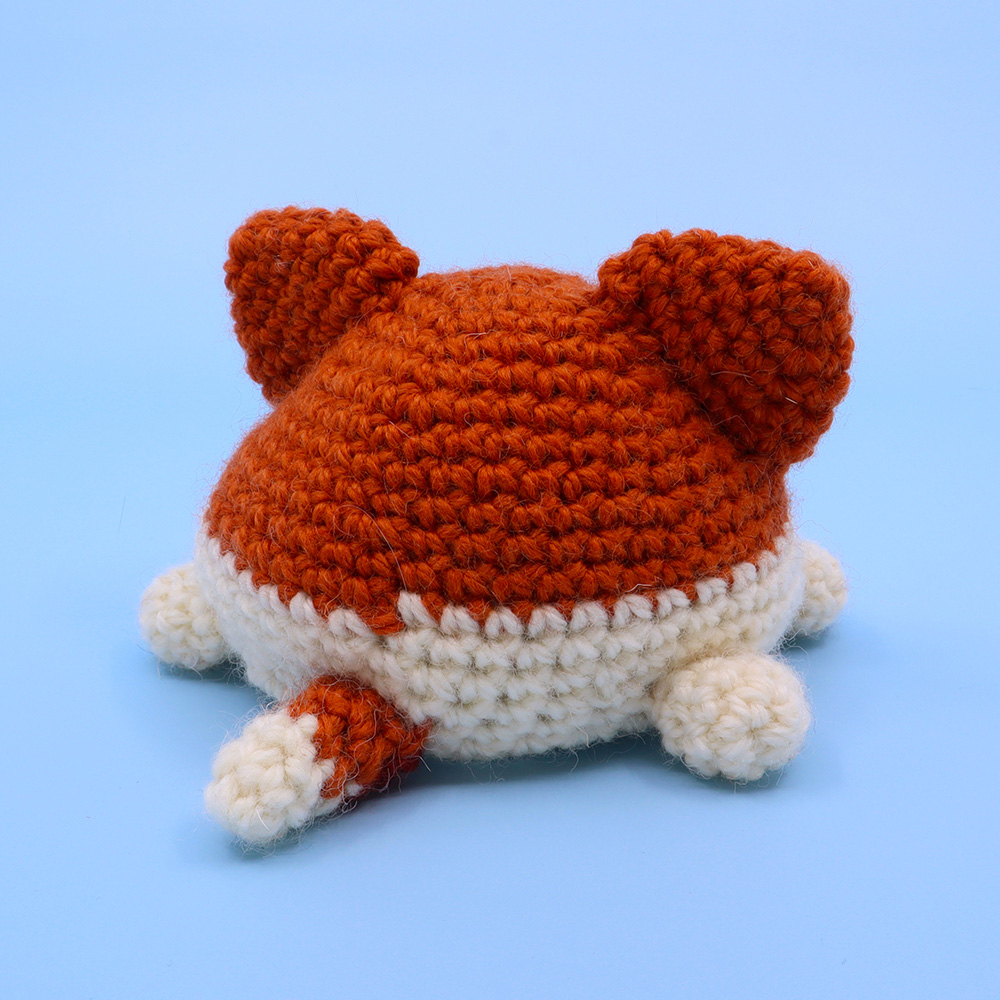
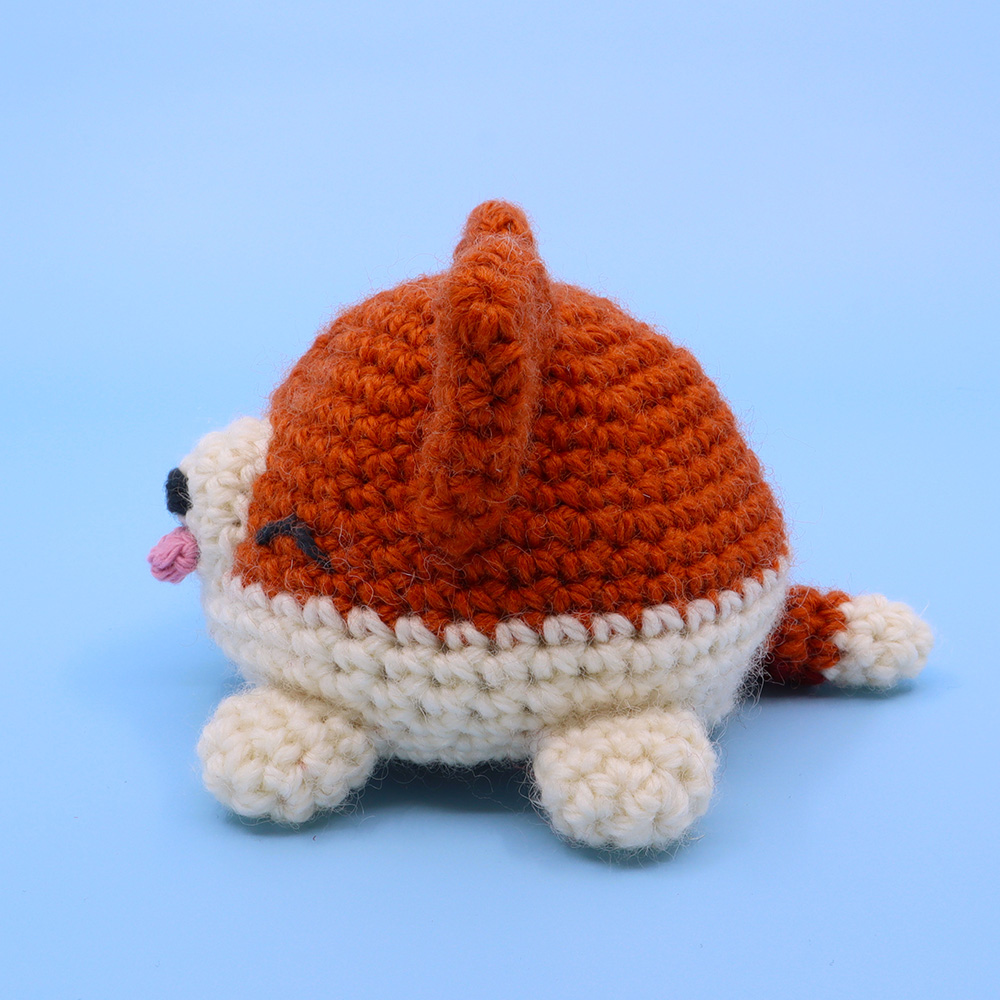
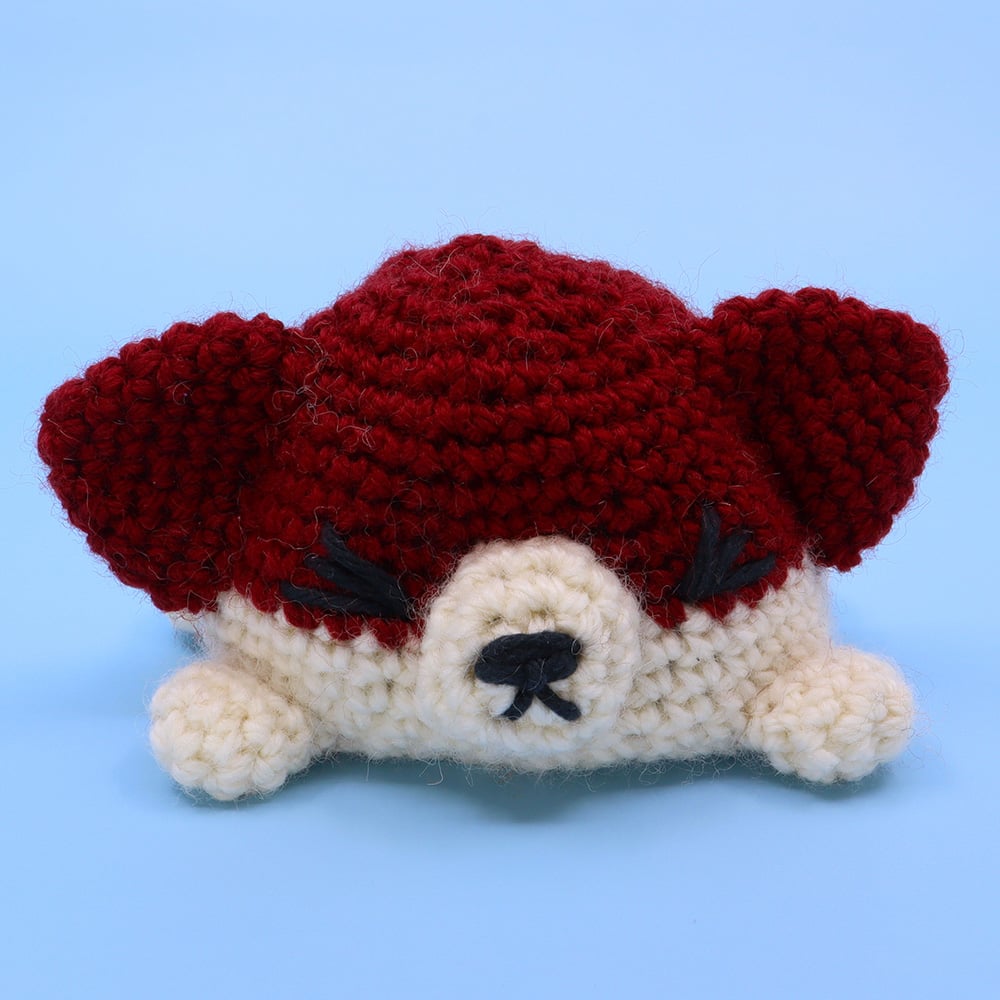
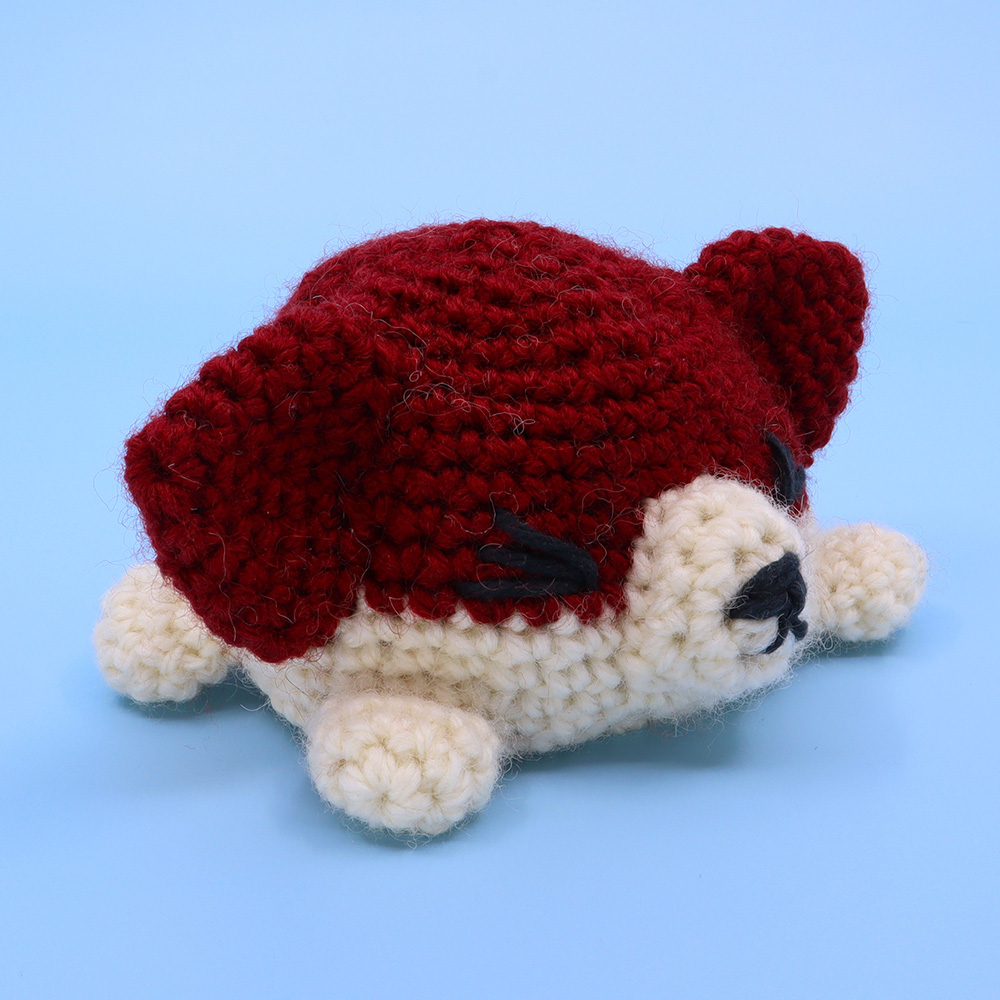
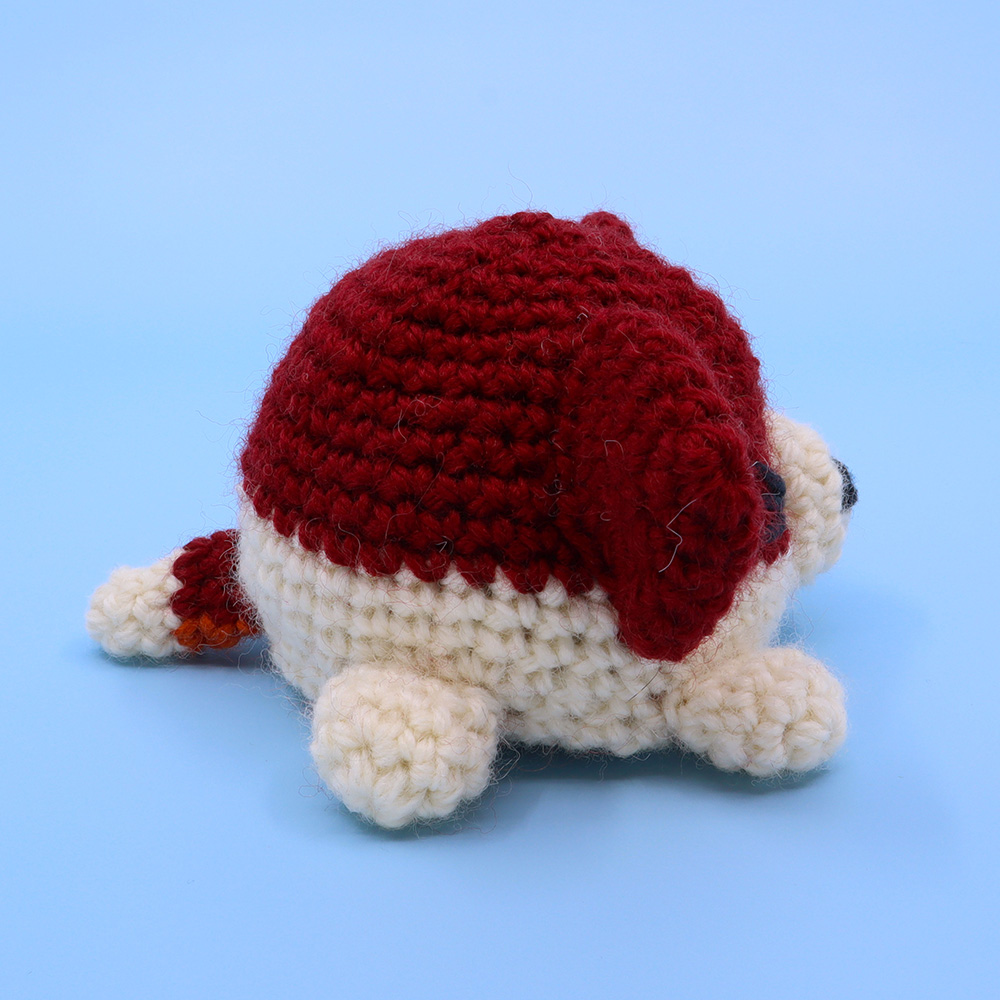
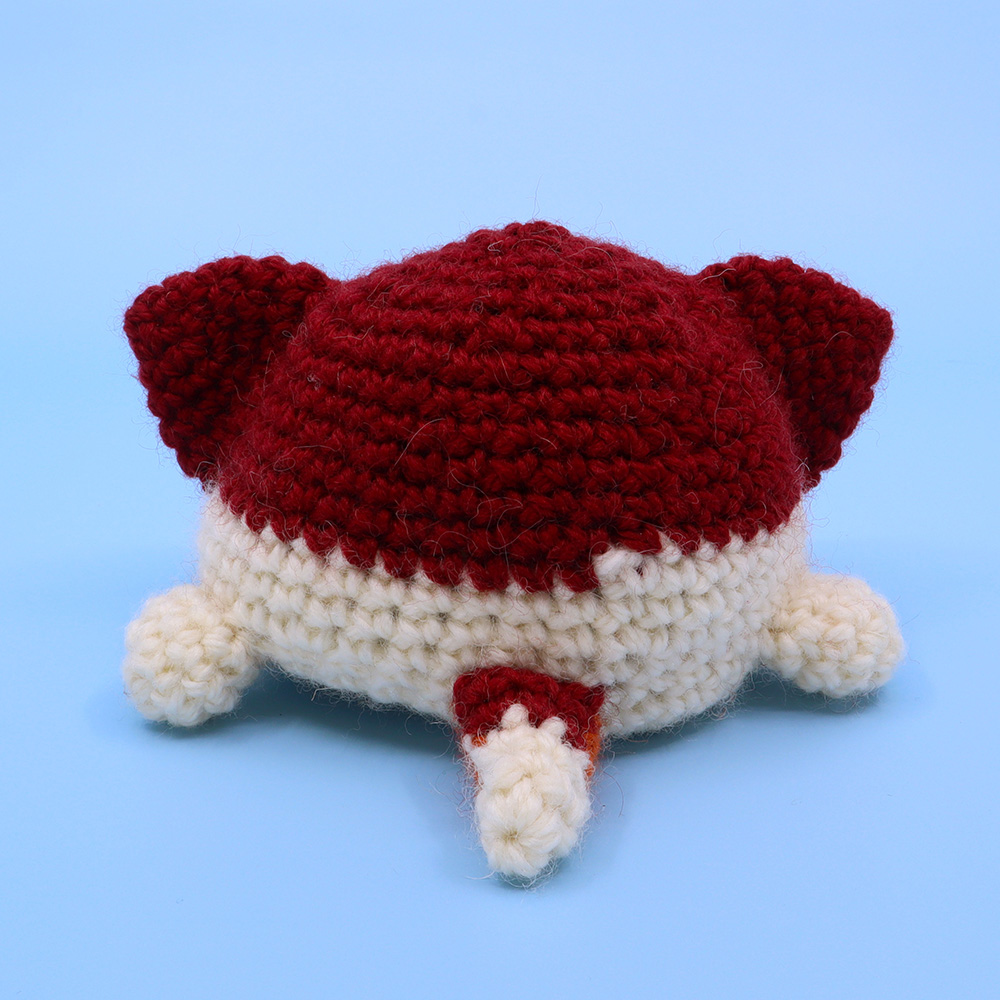
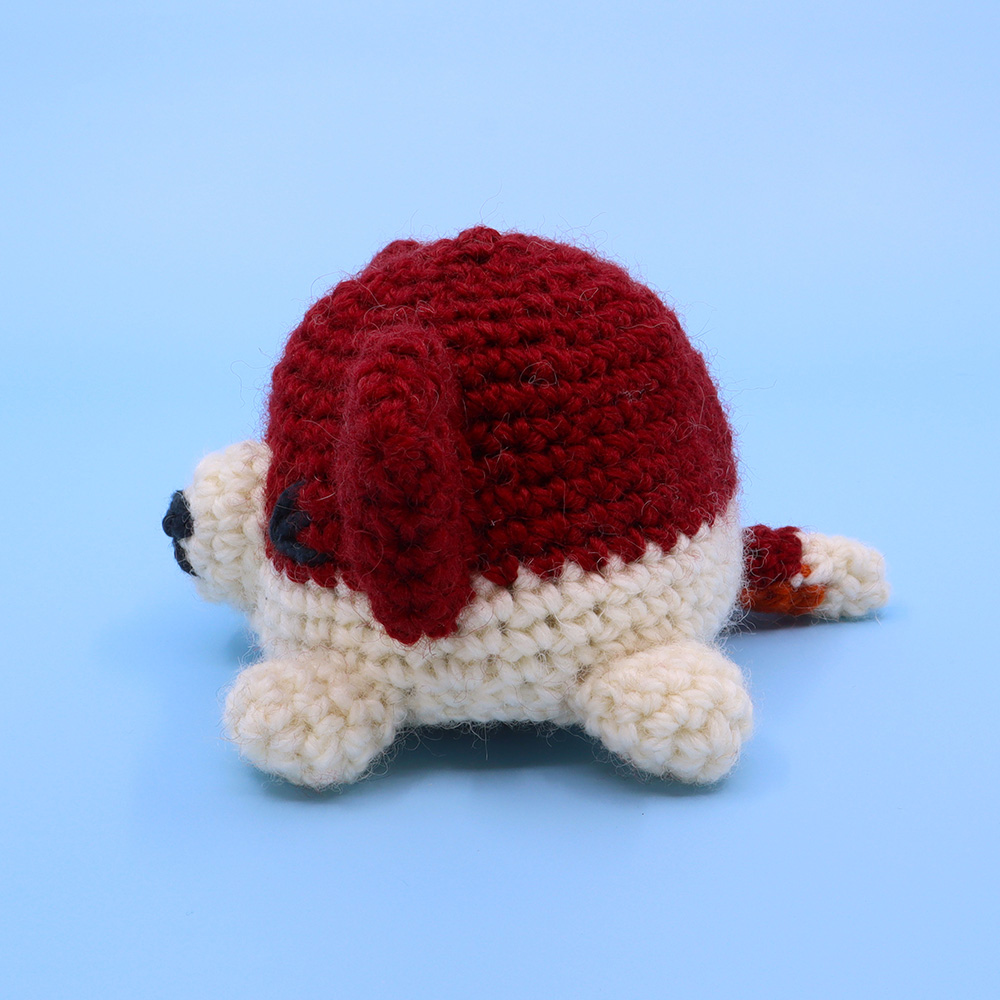
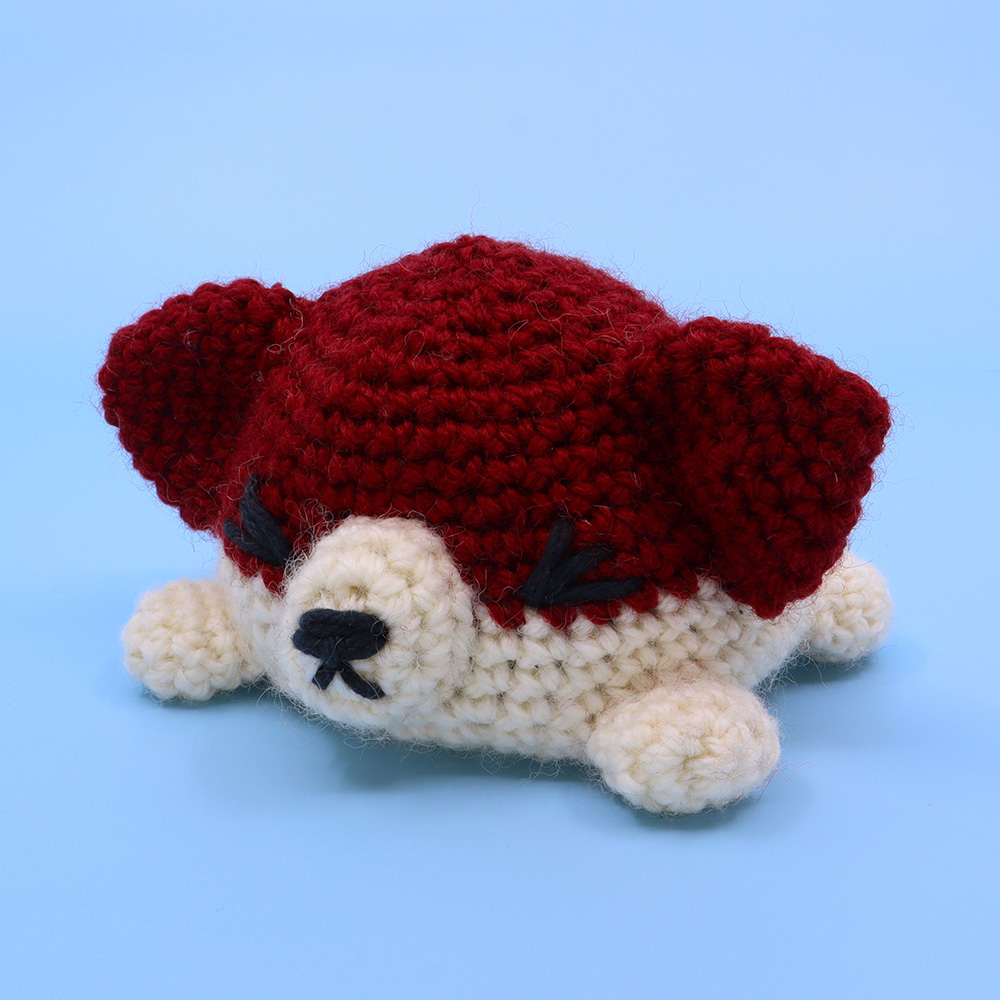
Reversible Corgi Dog Amigurumi

Medium
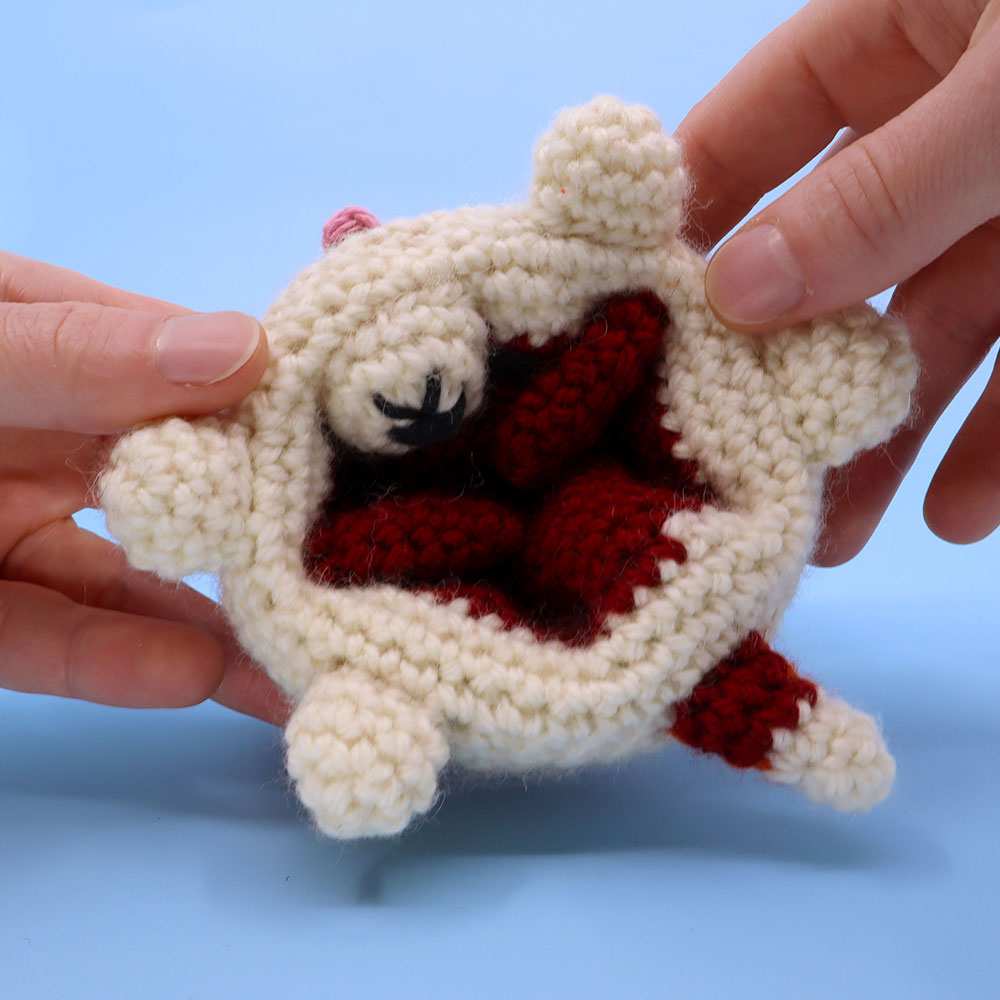
In this lesson we’ll be crocheting a reversible corgi! This crochet reversible plushy is great for beginners and any occasion, whether that’s happy or grumpy! Learn color changes, and practice your sewing together with this unique amigurumi crochet pattern by Sir Purl Grey!


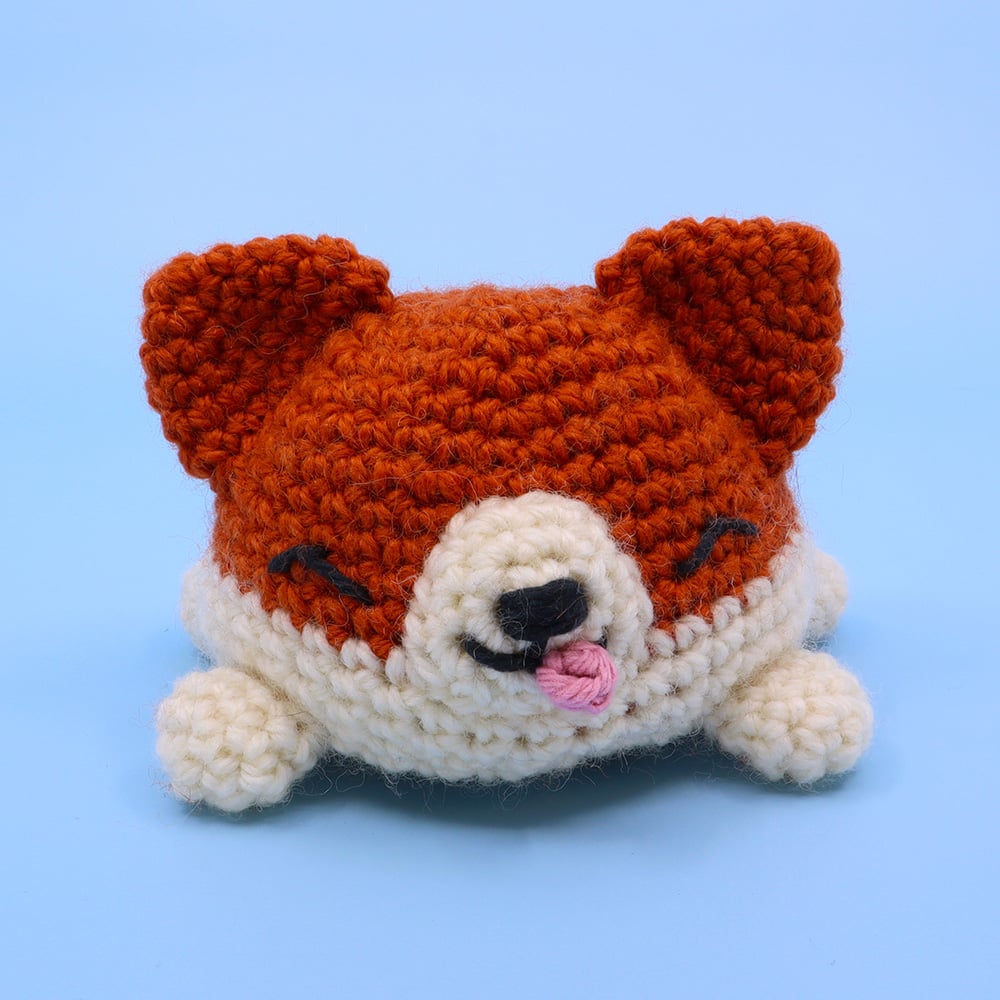
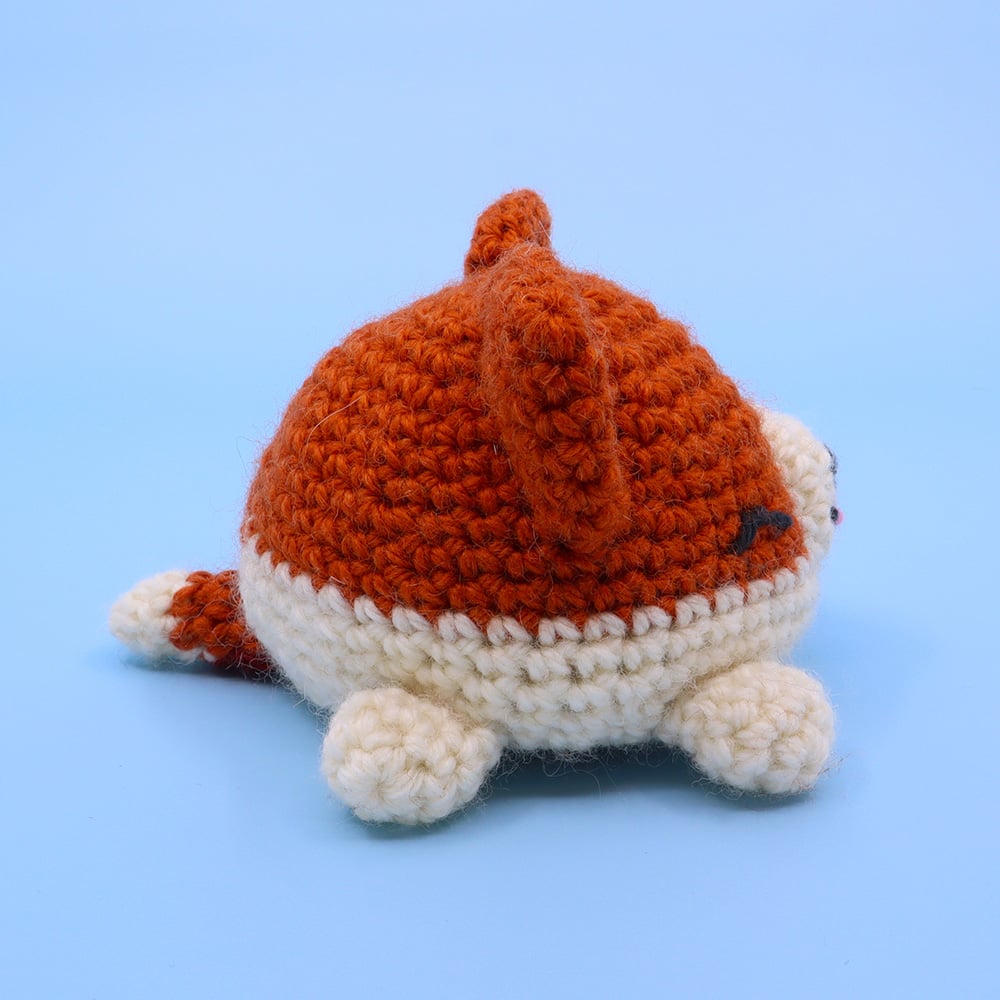
What you'll create


What you'll learn
01 Mouth Muzzle
02 Pointed Ears
03 Feet
04 Tail
05 Tongue
06 Body
07 Sewing Together
08 Felt Eyes (optional)
What you'll need

Cotton Yarn
Weight

Colors
Color A
Color B (*optional)
White
Black
Pink

Crochet Hook
G6 / 4.00 mm

Felt (optional)

Stuffing

Darning Needle
Abbreviations used
ch
Chain Stitch
st
Stitch
slst
Slip Stitch
sc
Single Crochet
inc
Increase
invdec
Invisible Decrease
FLO/BLO
Front / Back Loops Only
hdc
Half-Double Crochet
Useful information
Gauge
5 Rnds and 4 sts per 1”
Size
Finished piece is about 3” tall
Worked
In the Round (unless otherwise stated)
Useful Tutorials
Pattern steps
01 Mouth Muzzle
[All in White]
Magic loop
Rnd 1: sc 6 in the magic loop (6)
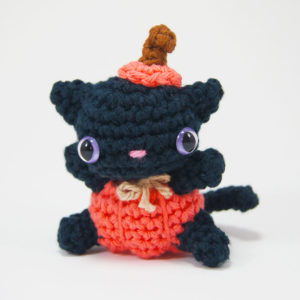
Other patterns to try


Community posts
Community Showcase
Crocheted this pattern? Be the first to show off your project by submitting a photo!
You need an account to submit your photo.


wahtr
Pineapple
i love ths so much! only started crocheting about a month ago and im still learning but i was able to finish this pattern with no major problems and it turned out so cuuute, it’ll be my present for my nephew’s bday 🙂
pineapple
You can make it like a birb?
giraffe?
Pineapple
You’re the best