

Pumpkin Cat Amigurumi

Medium


What you'll create


Video tutorials
Main Video
What you'll learn
What you'll need
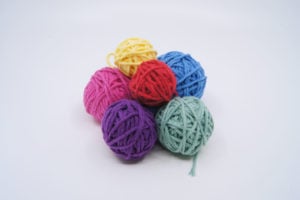
Cotton Yarn
Weight

Colors
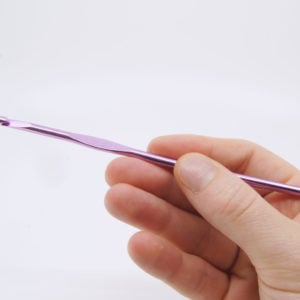
Crochet Hook
G6 / 4.00 mm
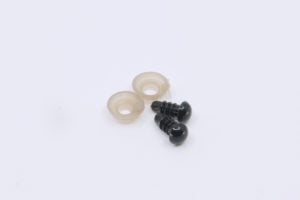
Safety Bead (x2)
6 mm
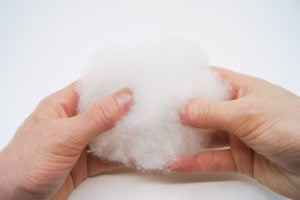
Stuffing
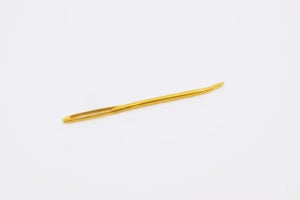
Darning Needle
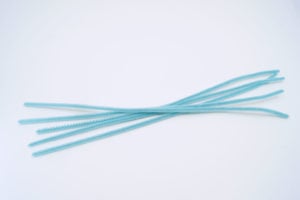
Pipe Cleaners
Abbreviations used
ch
Chain Stitch
st
Stitch
slst
Slip Stitch
sc
Single Crochet
inc
Increase
dec
Decrease (Sharp)
invdec
Invisible Decrease
FLO/BLO
Front / Back Loops Only
Useful information
Gauge
5 Rnds and 4 sts per 1”
Finished piece is about 2” tall
Worked
In the Round unless otherwise stated

Pattern steps
01
Ears
2:00
Qty 2
[All in Black]
Ch 2 or use magic loop method
Rnd 1: Work 3 sc in 2nd ch from hook or into magic loop (3)
Rnd 2: inc in each st around (6)
Rnd 3: [sc 2, inc] repeat 2 times (8)
Sl.st, cut the yarn and pull through leaving a long end to sew onto the head
02
Arms
5:15
Qty 2
[All in Black]
Ch 2 or use magic loop method
Rnd 1: Work 5 sc in 2nd ch from hook or into magic loop (5)
Rnds 2-4: sc in each st around (5 x 3)
Sl.st, cut the yarn and pull through leaving a long end to sew onto the pumpkin body.
03
Legs
8:37
Qty 2
[All in Black]
Ch 2 or use magic loop method
Rnd 1: Work 6 sc in 2nd ch from hook or into magic loop (6)
Rnds 2-3: sc in each st around (6 x 2)
Rnd 4: inc in next 3 sts stopping early (9)
Sl.st, cut the yarn and pull through leaving a long end to sew onto the pumpkin body.
04
Tail
12:00
[All in Black]
Ch 2 or use magic loop method
Rnd 1: Work 4 sc in 2nd ch from hook or into magic loop (4)
Rnds 2-11: sc in each st around (6 x 10)
Sl.st, cut the yarn and pull through leaving a long end to sew onto the pumpkin body.
05
Pumpkin Stem
16:18
[All in Brown]
Ch 2 or use magic loop method
Rnd 1: Work 3 sc in 2nd ch from hook or into magic loop (3)
Rnd 2: sc in each st around (3)
Rnd 3: inc, sc 2 (4)
Sl.st, cut the yarn and pull through. Sew this onto the Pumpkin Cap.
06
Pumpkin Cap
18:57
[All in Orange]
Ch 2 or use magic loop method
Rnd 1: Work 5 sc in 2nd ch from hook or into magic loop (5)
Rnd 2: inc in each st around (10)
Sl.st, cut the yarn and pull through.
Hide the end and sew on the stem. Sew onto the head
07
Head
23:05
[Starting in Black]
Ch 2 or use magic loop method
Rnd 1: Work 6 sc in 2nd ch from hook or into magic loop (6)
Rnd 2: inc in each st around (12)
Rnd 3: [sc 1, inc] repeat 6 times (18)
Rnds 4-5: sc in each st around (18 x 2)
Rnd 6: [sc 2, inc] repeat 6 times (24)
Rnd 7: sc in each st around (24)
Rnd 8: [sc 2, invdec] repeat 6 times (18)
Rnd 9: [sc 1, invdec] repeat 6 times (12)
Add the safety bead eyes in Rnd 6 (approx 6 sts apart)
Embroider a pink nose between the eyes.
Sew the ears on top of the head.
Rnd 10: invdec in each st around (6)
Stuff the head fully.
08
Body (Cont'd from Head)
42:00
[Change to Orange]
Rnd 11: inc in each st around (12)
Rnd 12: [sc 1, inc] repeat 6 times (18)
Rnds 13-17: sc in each st around (18 x 5)
Rnd 18: [sc 1, invdec] repeat 6 times (12)
Stuff slightly.
Sew on the arms, legs and tail. Add twisted pipe cleaners on the inside for posable limbs.
Rnd 19: invdec in each st around (6)
Cut the yarn and pull through. Stuff and sew together.
Using a new strand of Orange yarn create lines going from the the base of the pumpkin to the top. There should be 6 lines total. Pull the yarn tight and knot together at the base. Cut the yarn and stuff it back into the piece.
Sew on the Pumpkin Cap or place it on the head.
Happy Halloween!
Other patterns to try

Community posts
Community Showcase

KitKat Pie
Submitted by juniminx

I like how the course is about a joke, haha.
Such a cute little guy, should make the perfect halloween gift for my friend ^__^
Just wanted to let you know a mistake in the pattern;
“Tail:
Rnd 1: Work 4 sc in 2nd ch from hook or into magic loop (4)
Rnd 2 – 11: sc in each st around (6 x 10)”
should be (4×10) not (6×10) 🙂
Mine looks a bit derpy but I love it!!! The pattern is simple to follow and very fun to do.