
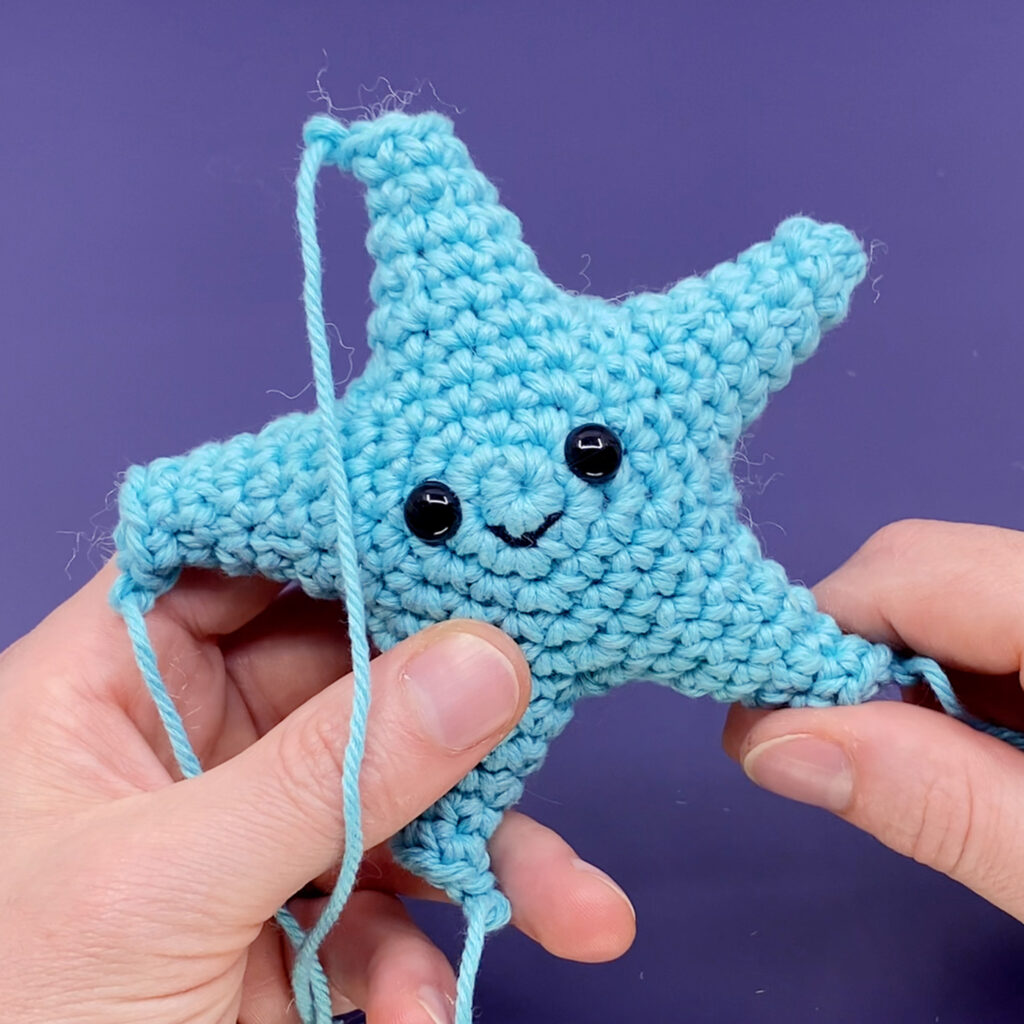
Sally the Starfish (aka Sea-Star) Amigurumi

Easy
In this amigurumi crochet pattern we’ll be learning how to crochet a starfish aka sea star! This amigurumi starfish pattern is designed with no sewing and some clever construction techniques! This tutorial is designed for crocheters with little experience and only requires the single crochet and invisible decrease to complete, and includes a full length video tutorial so you never miss a stitch!


What you'll create


What you'll learn
What you'll need

Cotton Yarn
Weight

Colors
Cyan (Main color)
Teal (Secondary Color)

Crochet Hook
G6 / 4.00 mm

Safety Bead (x2)
8mm

Black Thread / Yarn (Smile)

Stuffing

Darning Needle
Abbreviations used
ch
Chain Stitch
st
Stitch
slst
Slip Stitch
sc
Single Crochet
inc
Increase
invdec
Invisible Decrease
Useful information
Gauge
5 Rnds and 4 sts per 1”
Size
Finished piece is about 4 inches wide
Worked
In the Round (unless otherwise stated)


Pattern steps
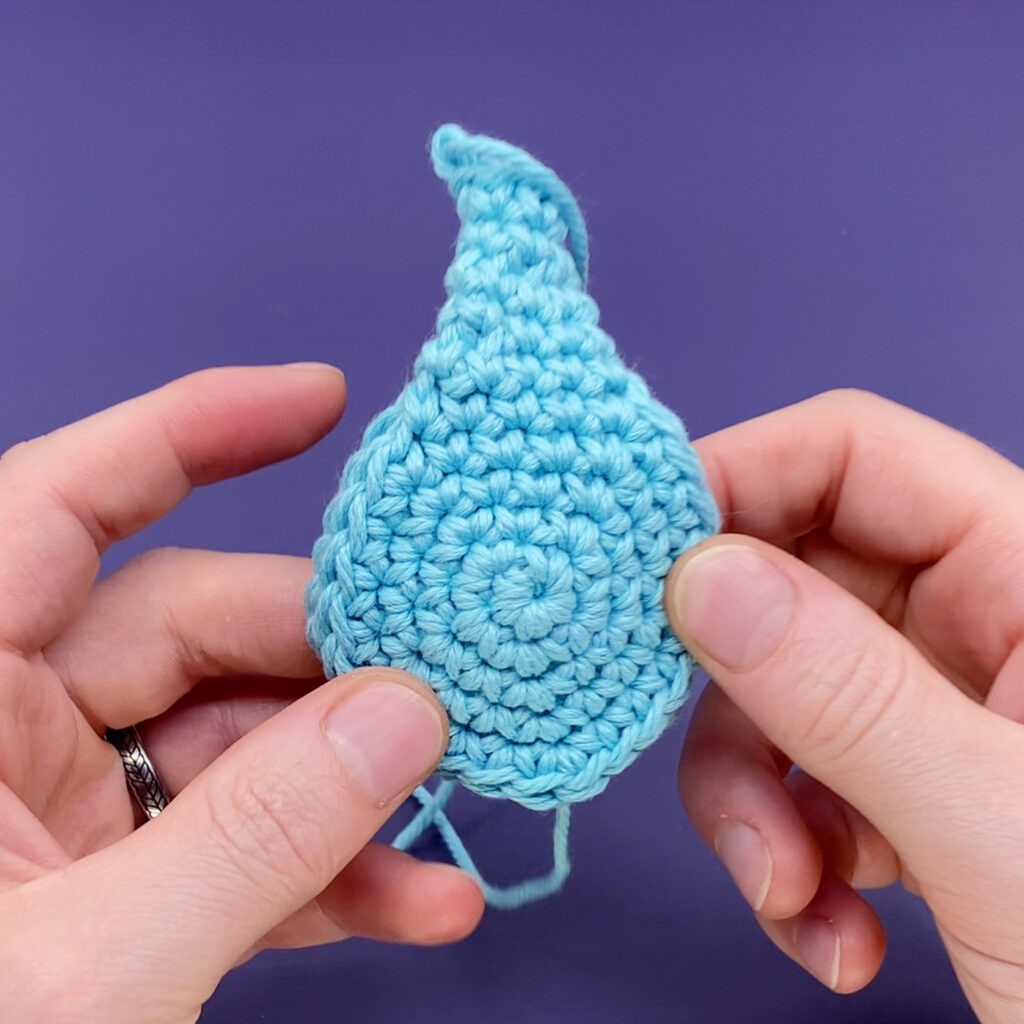
01 Pentagon A
This pattern is made by crocheting 2 separate pentagons and then crocheting 5 arms in continuous rounds, connecting the pentagons together.

Other patterns to try


Community posts
Community Showcase
Crocheted this pattern? Be the first to show off your project by submitting a photo!
You need an account to submit your photo.


I loved making this! And the technic for the arms was really smart <3
Sorry for posting twice
In round 4 of the arms it says “in each stitch around”, but it doesn’t say what in each stitch around
In round 4 of the armsit says “in each stitch around”, but it doesn’t say what in each stitch around