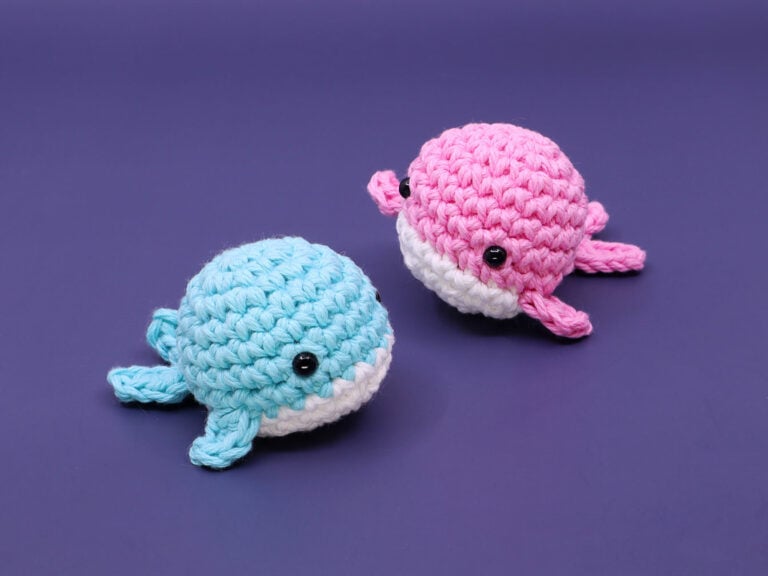
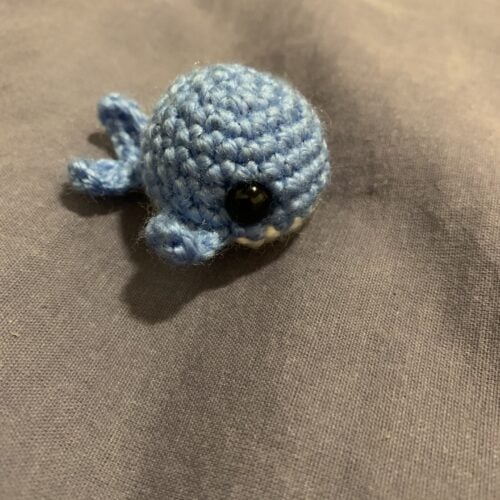
Beginner Blue Whale

Beginner

Louie's Loops
Designed by


What you'll create


Video tutorials
Main Video
Lefty
What you'll learn
What you'll need

Cotton Yarn
Weight

Colors

Crochet Hook
G6 / 4.00 mm

Safety Bead (x2)
6 mm

Stuffing

Darning Needle
Abbreviations used
ch
Chain Stitch
st
Stitch
slst
Slip Stitch
sc
Single Crochet
inc
Increase
invdec
Invisible Decrease
dc
Double Crochet
hdc
Half-Double Crochet
Useful information
Gauge
5 Rnds and 4 sts per 1”
Size
about 5 inches long
Worked
In the Round (without turning)
Useful Tutorials


Pattern steps

01
Fins
7:51
Qty 2
[All in Main Color]
Ch 4
Row 1: Skip the first ch, sc 1, hdc 1, dc 1 (3)
Ch 1, cut the yarn leaving enough tail end to sew onto the body
and pull through.


Pro Tip:
In the above section (Fins) you can either work your stitches into a chains back loops or top loops. Top loops is easier, but each provide slightly different looks.

Chains Back Loops

Chains Top Loops

Chains Back Loops (on left), Chains Top Loops (on right)

Chains Back Loops (on left), Chains Top Loops (on right)
02
Tail
24:18
[All in Main Color]
Ch 6
Row 1: Skip the first ch, sc 1, hdc 1, dc 1, hdc 1, slst 1 (5)
Row 2: Ch 5, skip the first ch, sc 1, hdc 1, dc 1, hdc 1, slst into same st as Row 1 (5)
Ch 1, cut the yarn leaving enough tail end to sew onto the body and pull through.


03
Body
32:19
[Starting in Main Color]
Magic loop
Rnd 1: sc 6 into the magic loop (6)
Rnd 2: inc in each (12)
Rnd 3: [sc 1, inc 1] 6 times (18)
Rnd 4: [sc 5, inc 1] 3 times (21)
Rnd 5: sc in each st (21)
Rnd 6: sc 2, inc 1, sc 18 (22)
Rnd 7: sc 2, inc 1, sc 1, inc 1, sc 17 (24)
[Change to White] (See video at 1:06:12 for detailed instructions)
Rnd 8: sc 2, invdec 1, sc 1, invdec 1, sc 17 (22)
Rnd 9: [sc 2, invdec 1] 2 times, [sc 5, invdec 1] 2 times (18)
(1:20:00) Attach Fins and Tail (see next section for details)
(1:30:10) Add eyes into Rnd 6, sts 12 and 17. The eyes should be 5 sts apart.
Rnd 10: [sc 1, invdec 1] 6 times (12)
Stuff mostly.
Rnd 11: invdec in each st (6)
Stuff fully. Cut the yarn, pull through, and sew closed.
To make your porpoise with a cleaner transition and more distinct line, try the Perfect Stripe Method to create half color changes in Rnd 7.
Use this tutorial for detailed instructions.
04
Attaching Fins and Tail
1:20:00
I like sewing on the fins first because they’re slightly easier to know where they’re sewn on.
See video tutorial at (1:20:00) for detailed instructions for this section.
For the left fin, attach just after before the color change in Rnd 7. One tail end attached to the back of the fin should go into st 24 (the last st) and the other 2 sts away in st 22. Double knot together on the inside and cut close.


For the right fin, the back tail end should go into st 10, and the front 2 sts away in st 12. Double knot together on the inside and cut close.


For the tail, insert one tail end just next to the pm (place marker) in Rnd 7, specifically st 3.
Insert the other tail end on the opposite side of the pm (specifically st 5), and exit from where the pm is (st 4). Go around the center of the tail and insert back into the same st (st 4). Double knot both tail ends together, pull tightly, and cut close.


Other patterns to try


Community posts
Community Showcase

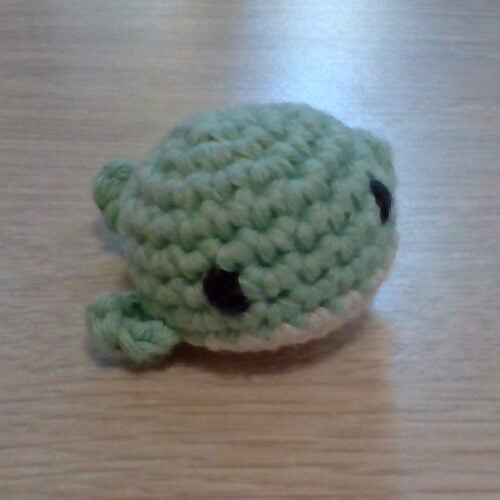
Beginner Blue Whale
Submitted by n3xo
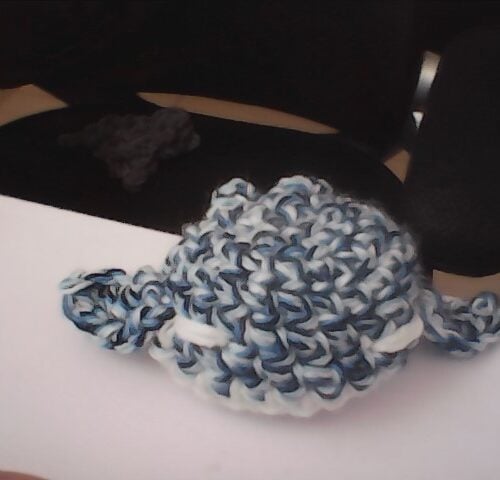
Birthday Gift for my Brother
Submitted by Bunny_125
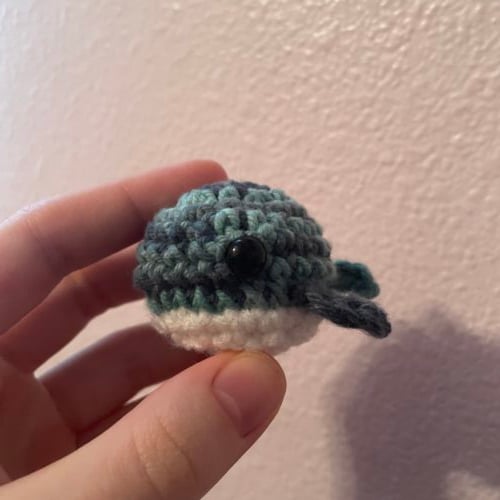
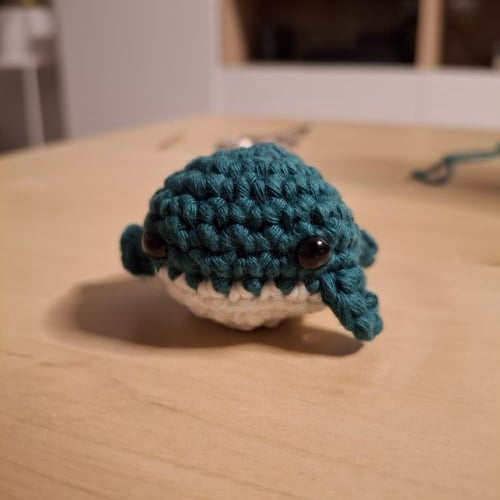
Casper
Submitted by coreyv
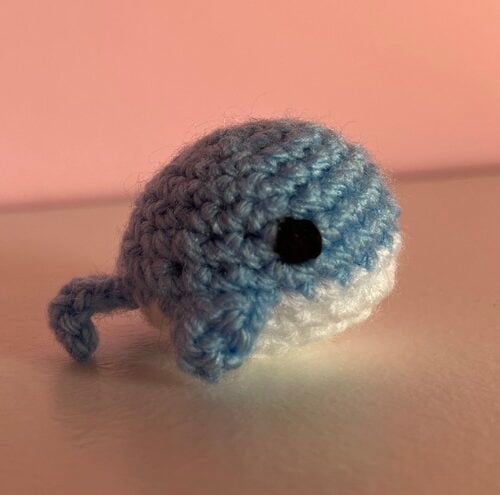
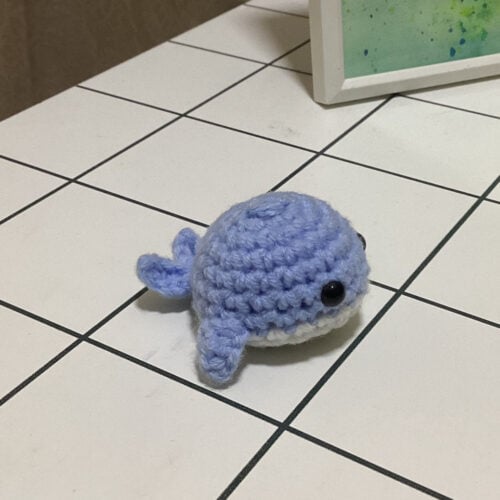
Tiny whale
Submitted by cinnamonbunny
blue whale
Submitted by luckyhook11
Mini Blue Whale
Submitted by quillie-may
Whale
Submitted by Soha


This is the perfect project for a beginner. The instruction is paced beautifully and every stitch is explained step by step.
The little whale is absolutely adorable. Louie is a great teacher!
Cute Pattern! Loved making it!
This is a very beginner friendly pattern
I love it
its so cute i used the perfect stripe method and it worked so well for the whale
Link for perfect stripe method for the whale is broken.
it worked and i have a book of instructions so i don’t have to wait for my la top to work i love it so much
Love it worked perfectly! It worked up so quick!
Adorable!