
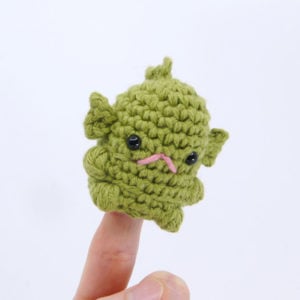
Witch Amigurumi Pod Person

Medium
In this tutorial, we’ll be crocheting a Witch amigurumi pod puppet. This pattern is made all in one piece using color changes, but you will have to sew on the hat and cape. To make this a bit easier, I’m also including this new amigurumi color chart that I created to help better understand and explain color changes for your amigurumi!

Louie's Loops
Designed by


What you'll create


What you'll learn
What you'll need

Cotton Yarn
Weight

Colors
Green (Skin color)
Black (Clothes/Hair)
Purple (Accent Color)
Brown (Broom)
Yellow (Hat Buckle)

Crochet Hook
G6 / 4.00 mm

Safety Bead (x2)
6 mm
Small Stick (Broom)

Stuffing

Darning Needle
Abbreviations used
ch
Chain Stitch
st
Stitch
slst
Slip Stitch
sc
Single Crochet
inc
Increase
dec
Decrease (Sharp)
invdec
Invisible Decrease
FLO/BLO
Front / Back Loops Only
bo
Bobble Stitch (4-dc bobble)
sbo
Spiky Bobble Stitch
yo
Yarn Over
Useful information
Gauge
5 Rnds and 4 sts per 1”
Size
Finished piece is about 2.5” tall
Worked
In the Round (unless otherwise stated)
Useful Tutorials
Pattern steps
01 Color Chart Key
Border = Stitch Type
Look at the border of the square to signify the stitch used

sc = Single Crochet

dec = Decrease
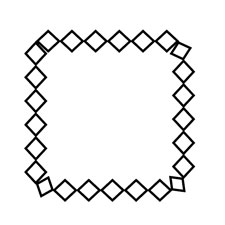
sbo = Spiked Bobble Stitch

bo = Bobble Stitch
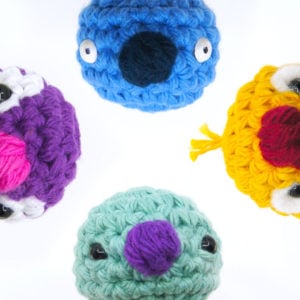
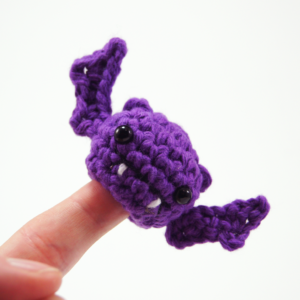
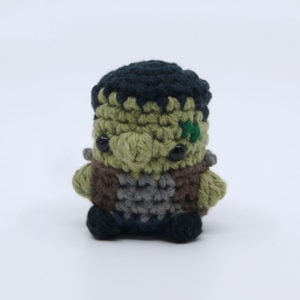
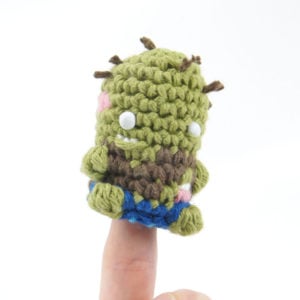
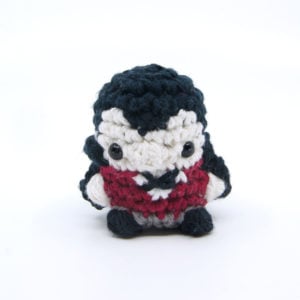
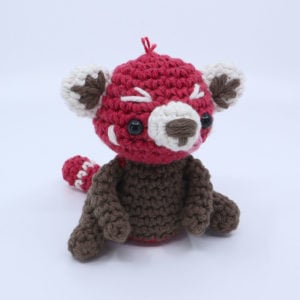
Other patterns to try

Community posts
Community Showcase
Crocheted this pattern? Be the first to show off your project by submitting a photo!
You need an account to submit your photo.


super cute, was confusing at first to me (i just struggled to read the chart), but the video cleared things up and i have an adorable witch now. didnt have any skewers so i used a toothpick and i think it worked out great!
super cute!