
How to Use Safety Eyes

Easy

Louie's Loops
Designed by


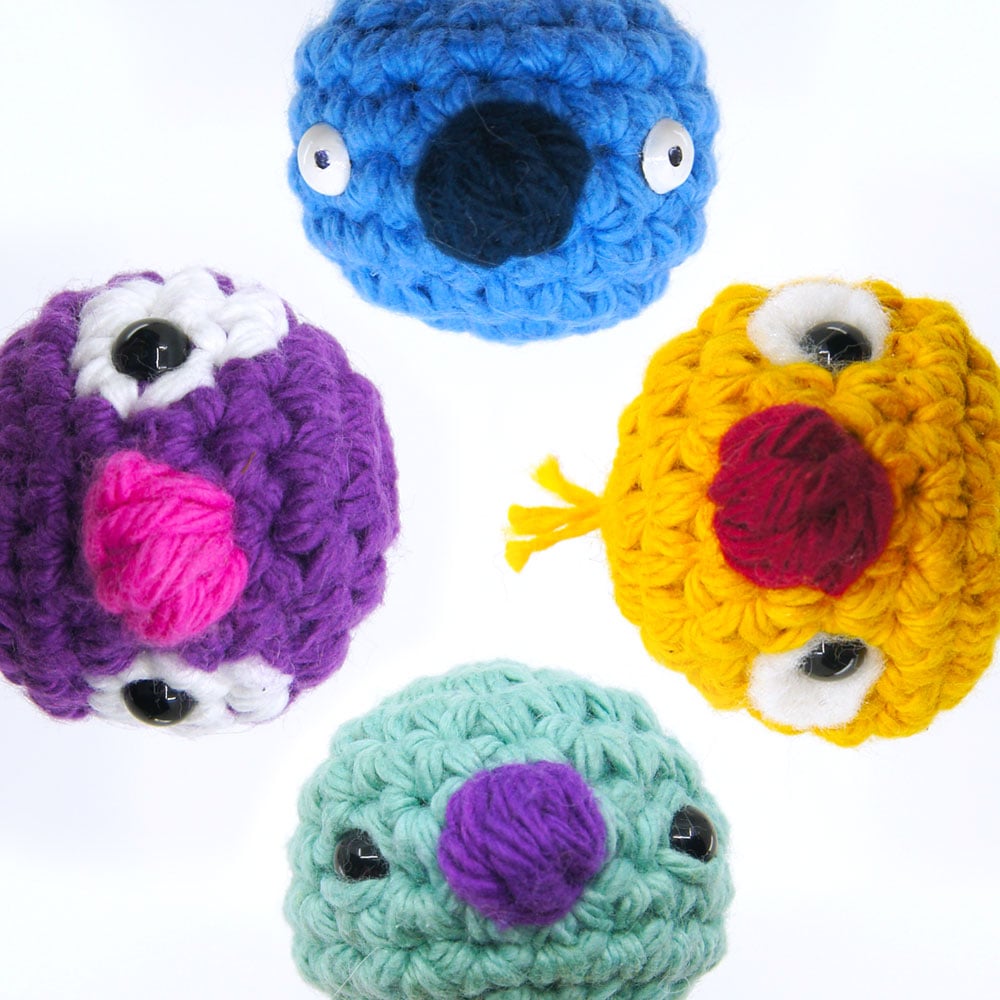
What you'll create
Video tutorials
Main Video
What you'll learn
What you'll need

Cotton Yarn
Weight

Colors

Safety Bead
6 mm

Darning Needle
Nail Polish
Abbreviations used
Pattern steps

01
Introduction to Safety Eyes
0:16
Safety Eyes are plastic attachable eyes that snap together to connect to any surface with a small hole or that you can poke through, obviously making them perfect for amigurumi. They come in all shapes and sizes, you can get round ones, oval ones, felt ones, some that look like cat eyes, some that look like a little noses, some that look like koala noses. There are an insane combination of types.
They are composed of two parts, a front and back. The front is the main part that comes in the variety of types and sizes, and the backs come in basically two different types, hard or soft plastic.
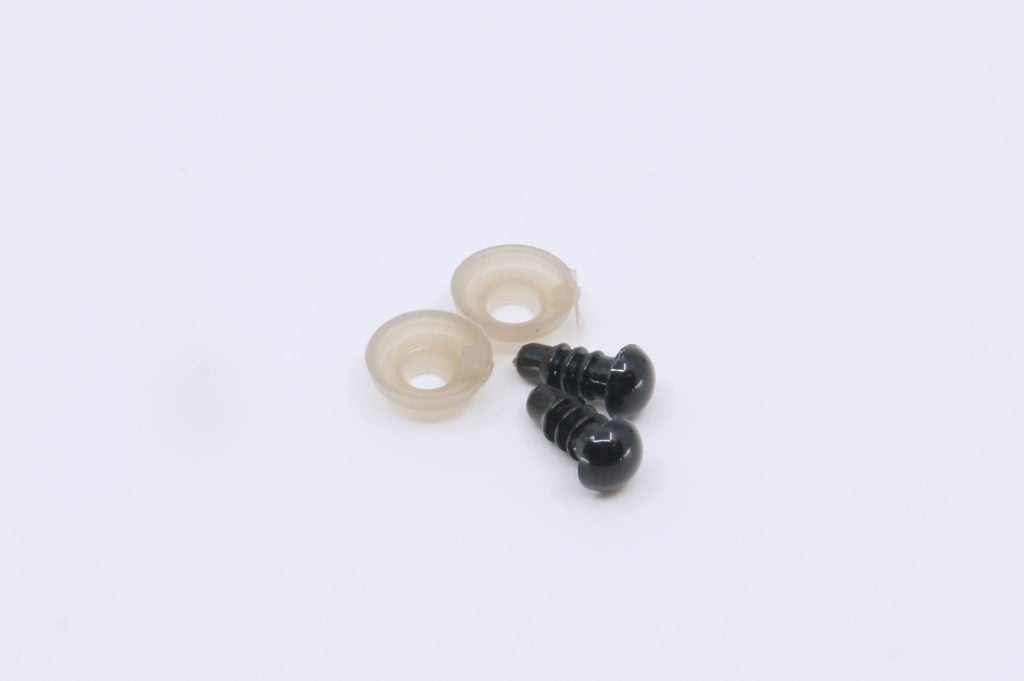
Hard plastic SUCKS. I never buy safety eyes if I can tell they come with hard backs because they are so difficult and painful to attach without an insertion tool thing and, while they stay on tighter, it is still so difficult to remove a safety eye with soft backs that it is just not worth it to me. Also, while there are different size backs to fit your piece best, I usually use a small soft back because it fits most larger sizes as well.
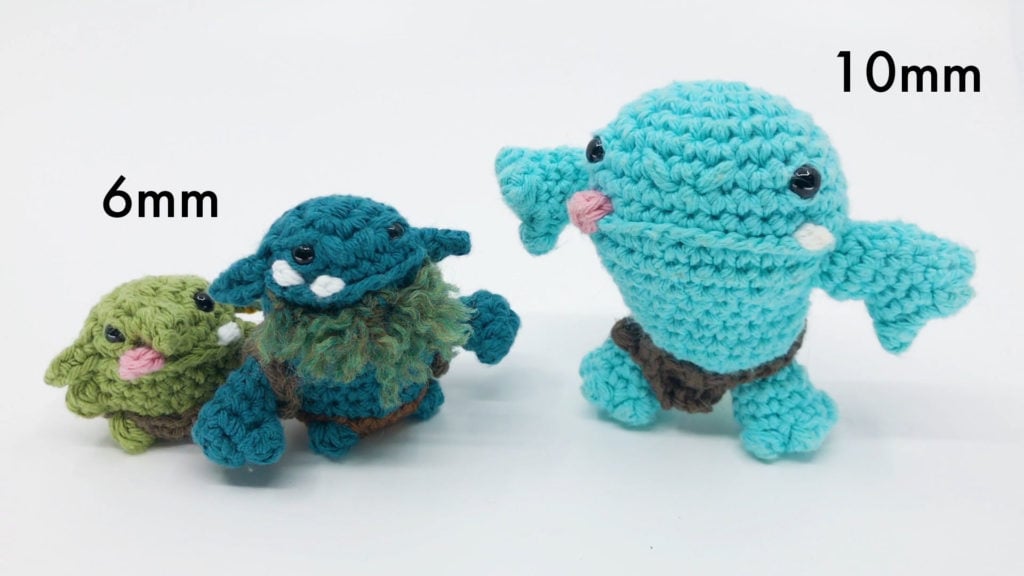
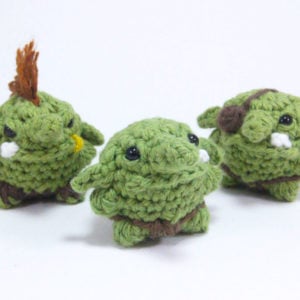
I usually use 6mm eyes for my smaller characters, for example, orcs and goblins, and larger, 10mm eyes for my bigger characters like this ogre! I’ve also been known to use micro eyes like these 2mm eyes for super minis.
My favorite place to search for weird safety eyes is Etsy, but you can also find them at your local hobby shop. You can also purchase the exact same eyes that I use for my amigurumi here, this is also a great way to support this site and channel if you’d like to.
02
How to Use Safety Eyes
1:55
To attach a safety eye, stick the pointed end from the front part of the eye through a stitch on your piece. It is best to make sure your safety eye is bigger than your hole or it might disappear in your piece. Make sure they’re where you want them because they are very difficult to remove and be sure that your piece is not stuffed yet or it could get messy.
You then snap on the back on the inside of your piece. You can snap it on with the rounded end facing towards the front piece, or away. They say that you should always face it away, probably because it stays tighter, but I do it the other way most often because it leaves less of an indented look for my pieces, is easier to apply, and still holds incredibly tightly.

03
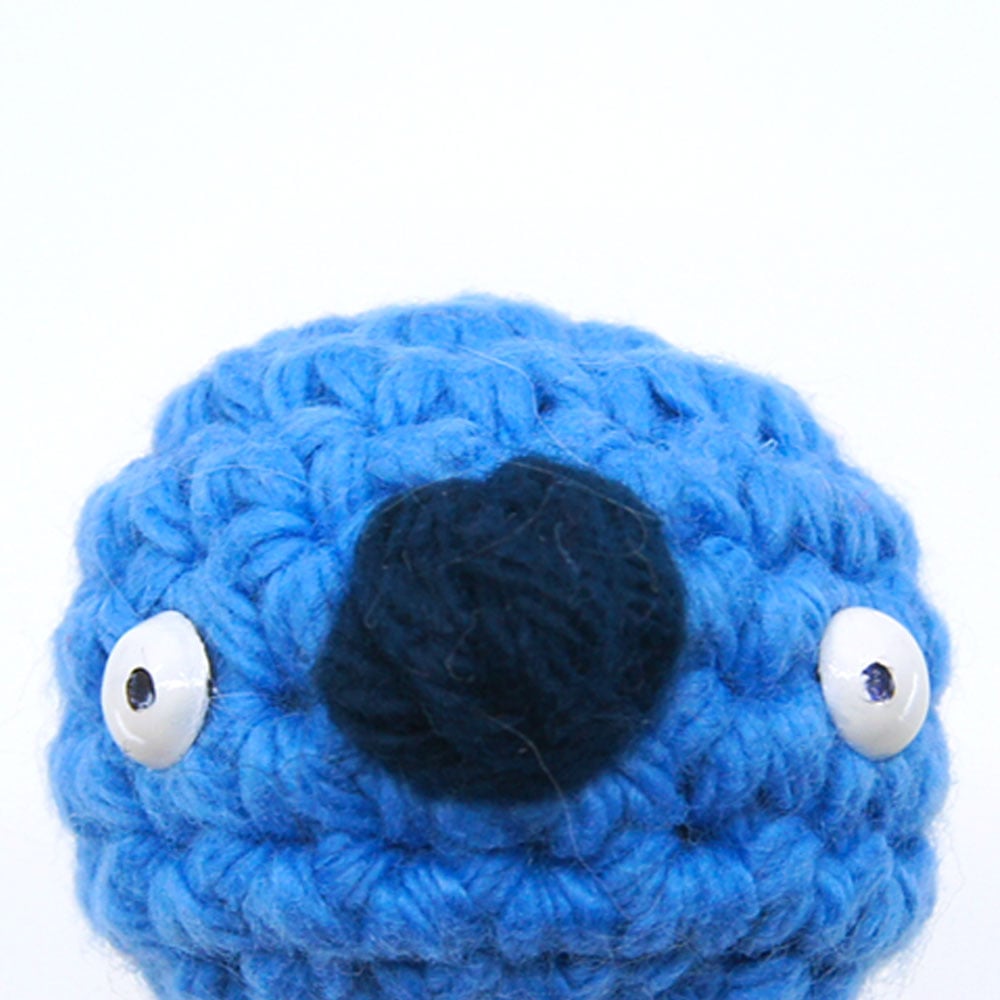
Painting Safety Eyes
2:46
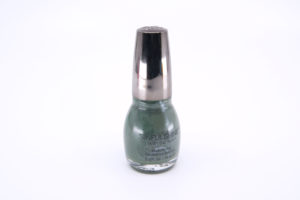
Before you attach your safety eyes, try painting them different colors! I suggest using fingernail polish as it will dry better on the hard plastic than acrylic, and you can find different shades and glosses really easily if you don’t already have some at home. Headsup, you may need to apply a few coats over time, but when they’re dry you can even draw on them using sharpies to add a little iris!
04
Adding Eyelids
3:13
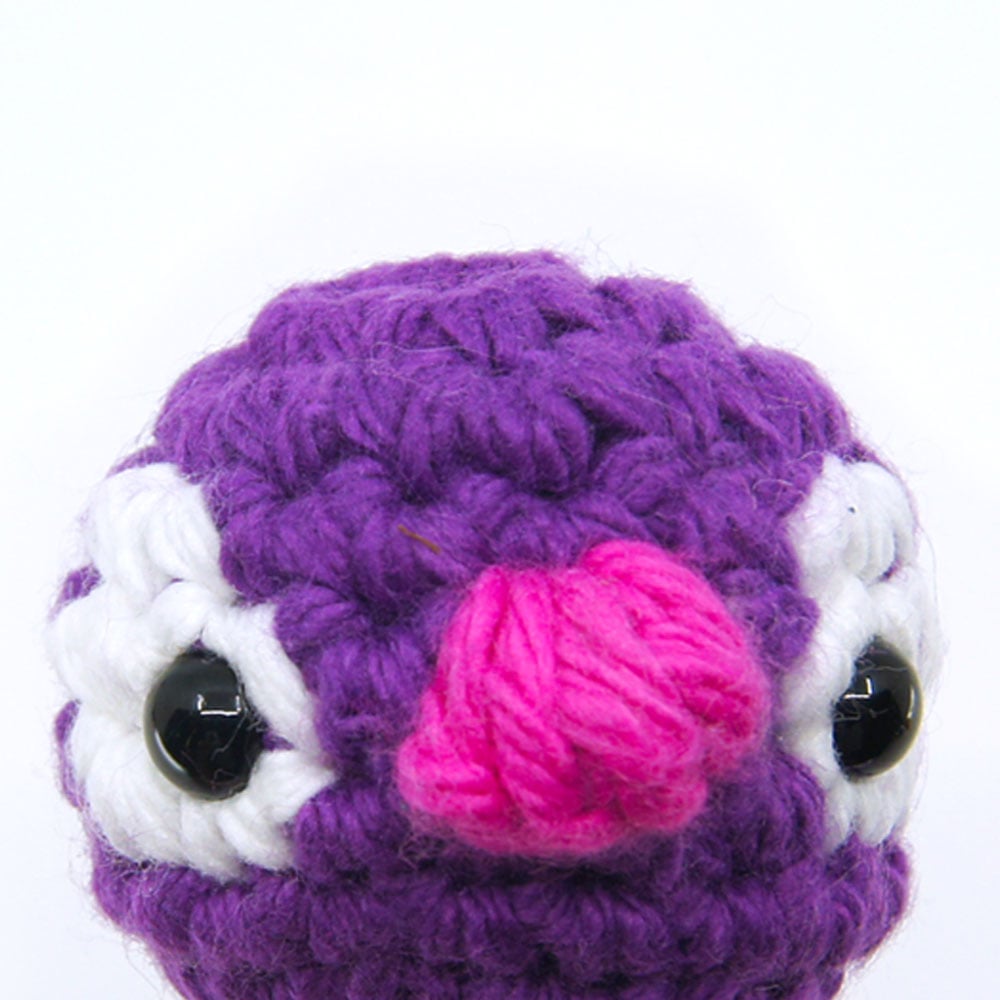
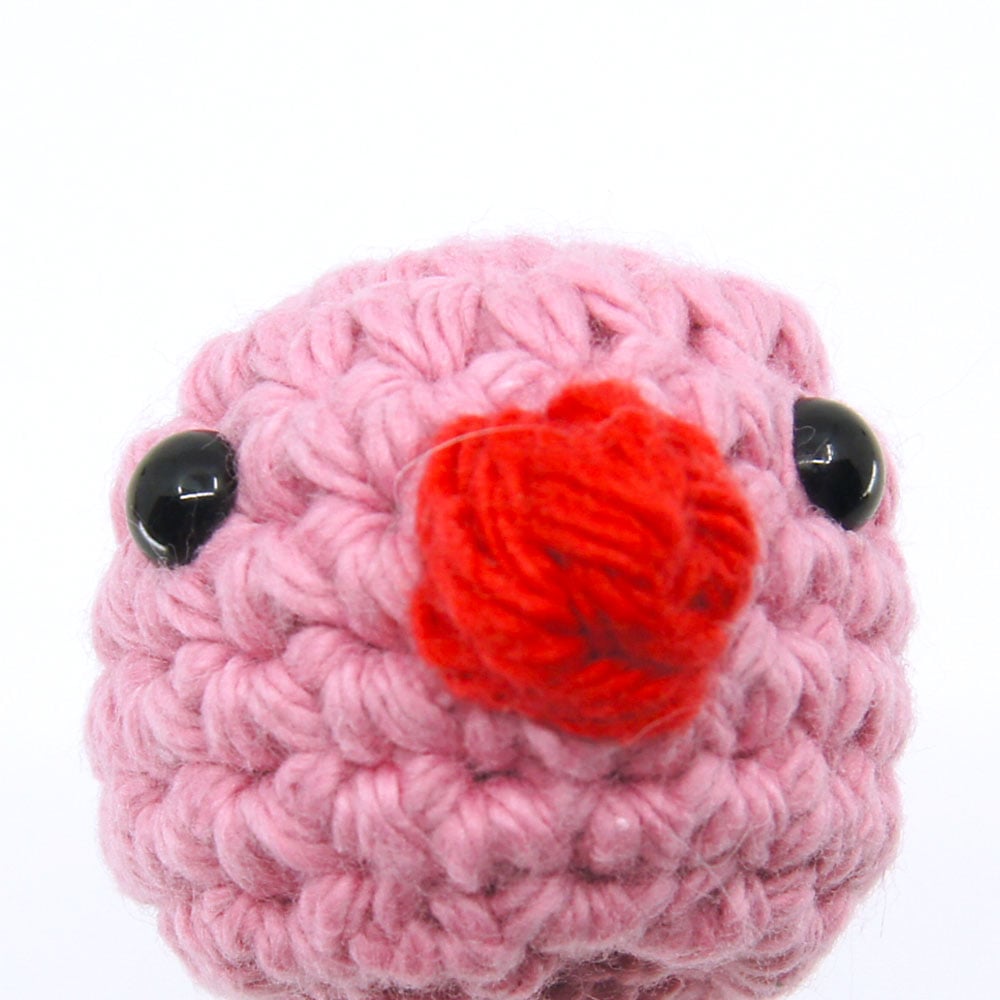
This is my favorite and most used way to customize safety eyes. Use an extra strand of yarn in the same color as your character threaded on a needle. Go around the eye back of the eye and double knot the two ends together on the inside, try not to pull this too tight as it might pull under the eye, or leave it too loose as it could wander the eye and not stay where you want it to.
I usually go out either side of the eye from a different hole or stitch than where my safety eye is. You can go around multiple times to add thicker eyelids, a top eyelid or bottom, or even eyeshadow by using black and pulled tightly over the top so that it stays behind the front piece of the safety eye.
05
Placement Matters
4:10
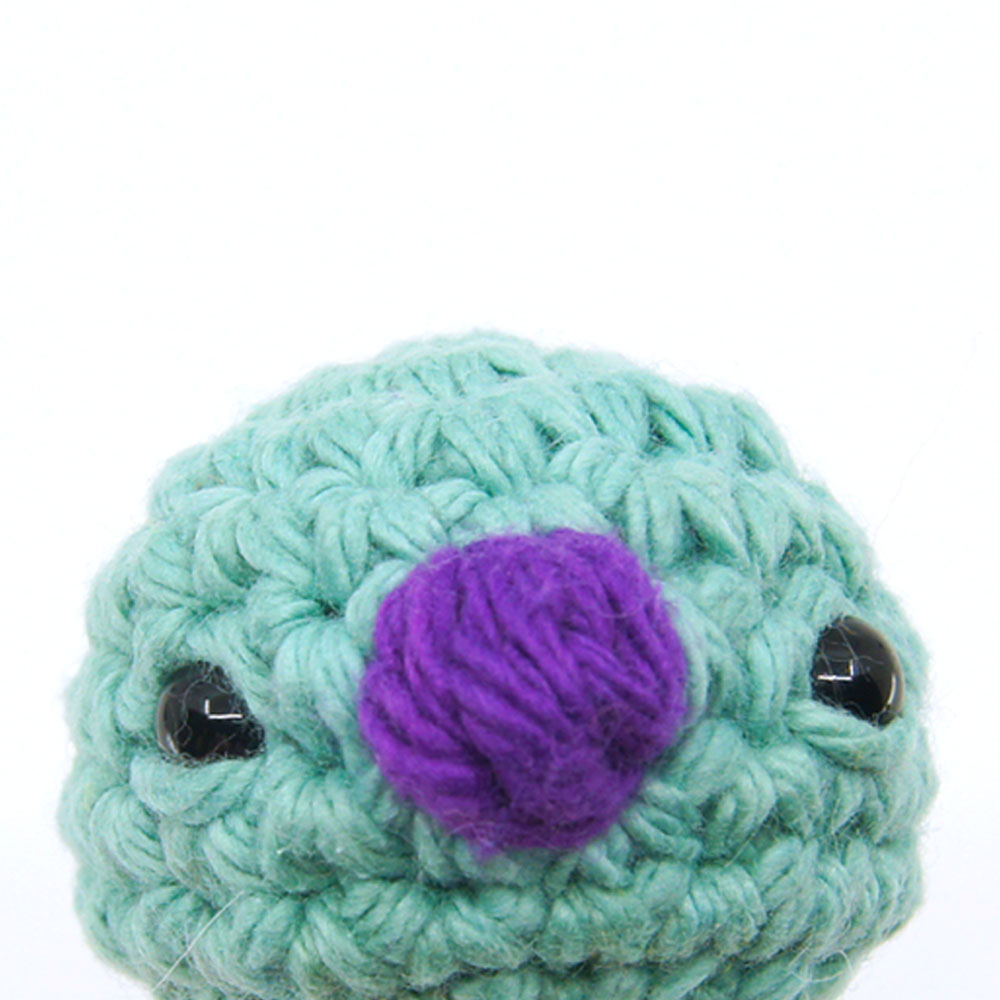
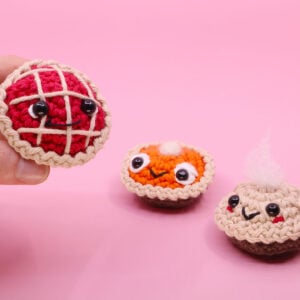
Not only can you insert your eyes in between two stitches, but you can even insert them into the center of a single crochet stitch. Use a darning needle to poke directly through the center of the stitch and twist it on the inside to stretch the stitch out slightly, then you can fit the pointed end through that stitch. This is how I get eyes into the perfect spots on small pieces like my pod people.
06
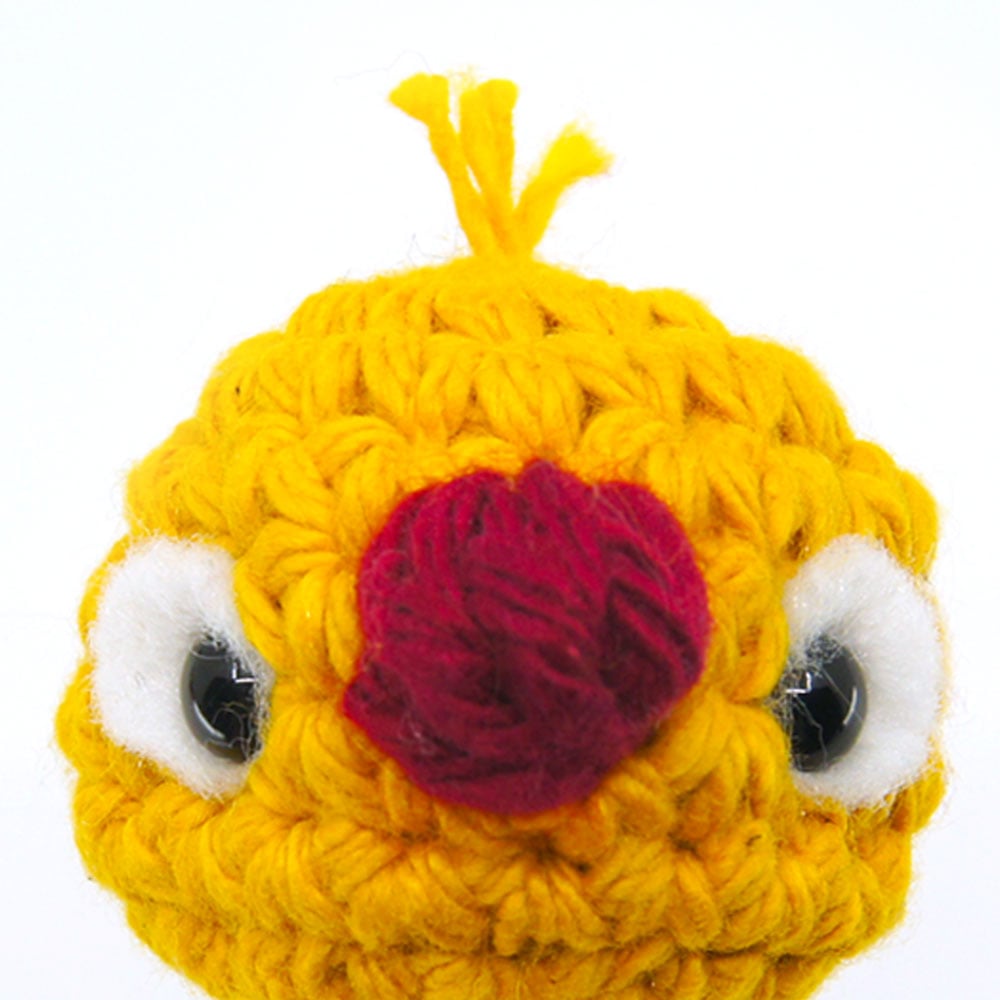
Adding a White Border with Felt
4:44
Cut out a small circle or oval in white felt for both eyes. Use a needle to poke a hole into the felt just big enough so the pointed end can fit through. Then pop this onto your character. You might want to use hot glue, sticky felt, or sewing the edges of the felt onto your piece to keep it flat.
07
Crocheting a White Border
5:17
This is one of the cooler ways to customize your eyes in my opinion and something we’ll be discussing in future videos for sure. By doing color changes and using white stitches while crocheting your piece you can prep the white (scelra) of your character’s eyes beforehand!
In my next video in my Amigurumi 101 series, I’ll be discussing this exact method in my How To Crochet Dots and Spots tutorial. Make sure to subscribe to the YouTube channel, follow Club Crochet on social media and join the email list so you don’t miss it when it comes out, and if you want early access to that video consider becoming a Club Crochet member.
Other patterns to try


Community posts
Community Showcase
Crocheted this pattern? Be the first to show off your project by submitting a photo!


