

Hanging Bat Amigurumi Pattern

Medium
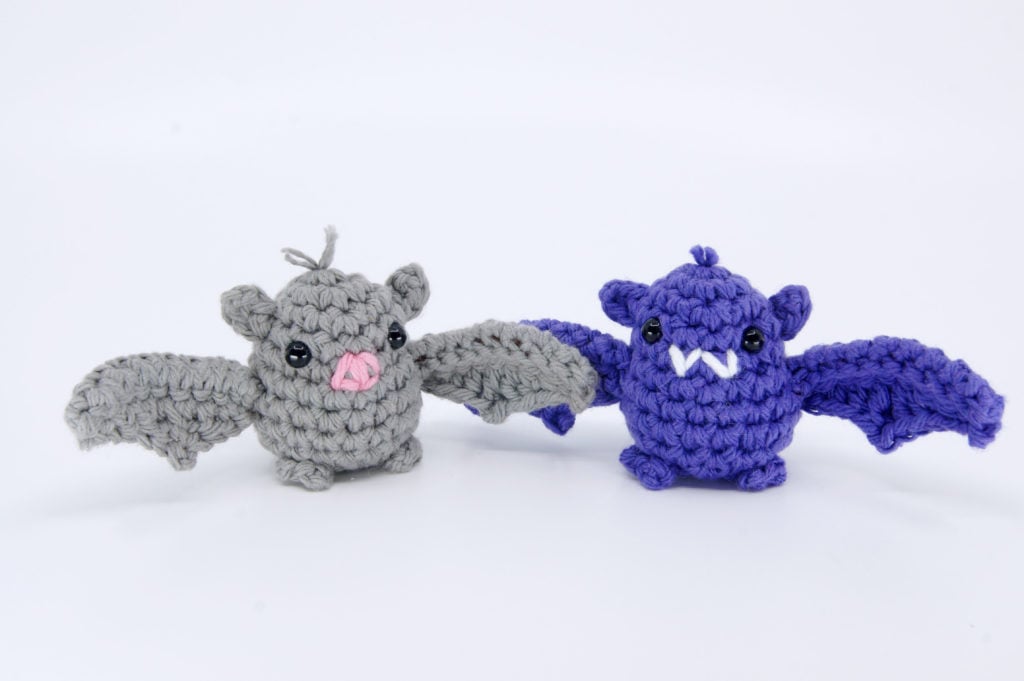
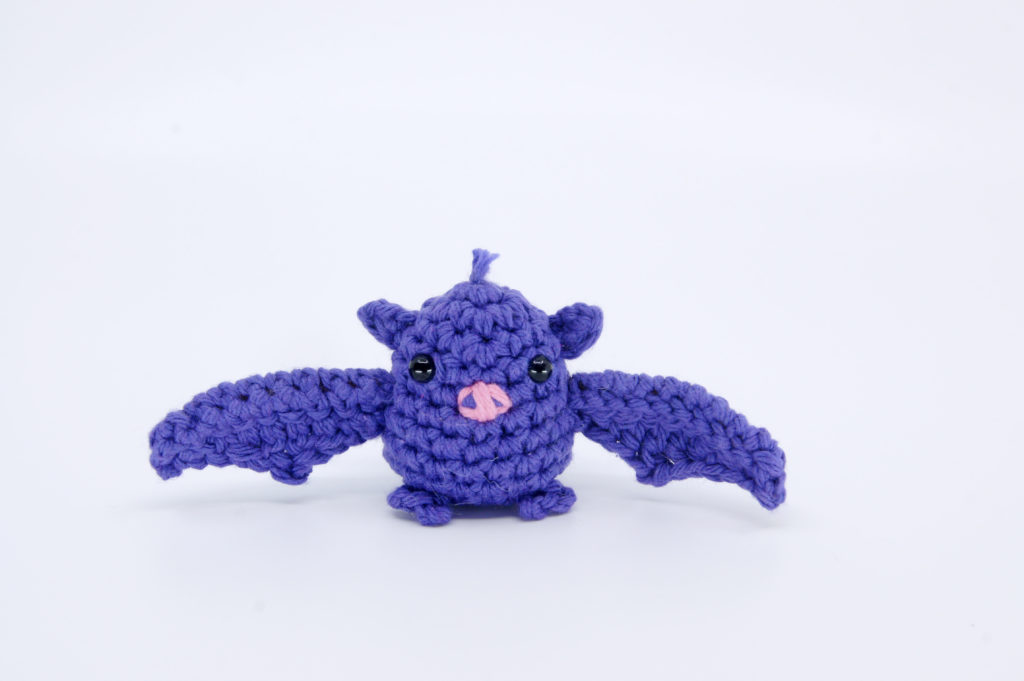
In this lesson we’ll be crocheting a Hanging Bat! This pattern has a lot of really cool design features, such as posable wings so the bat can be sleeping or awake. The wings are also crocheted in a very unique way. Additionally, by using magnets in the base, these crocheted bats can attach to anything metal to hang upside-down!

Louie's Loops
Designed by
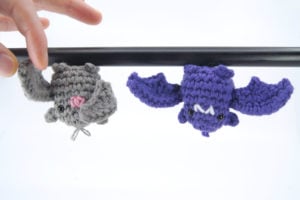
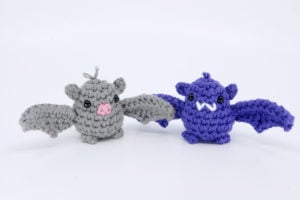
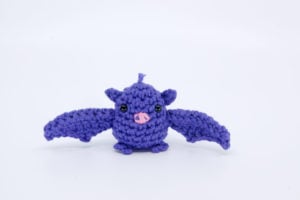
What you'll create
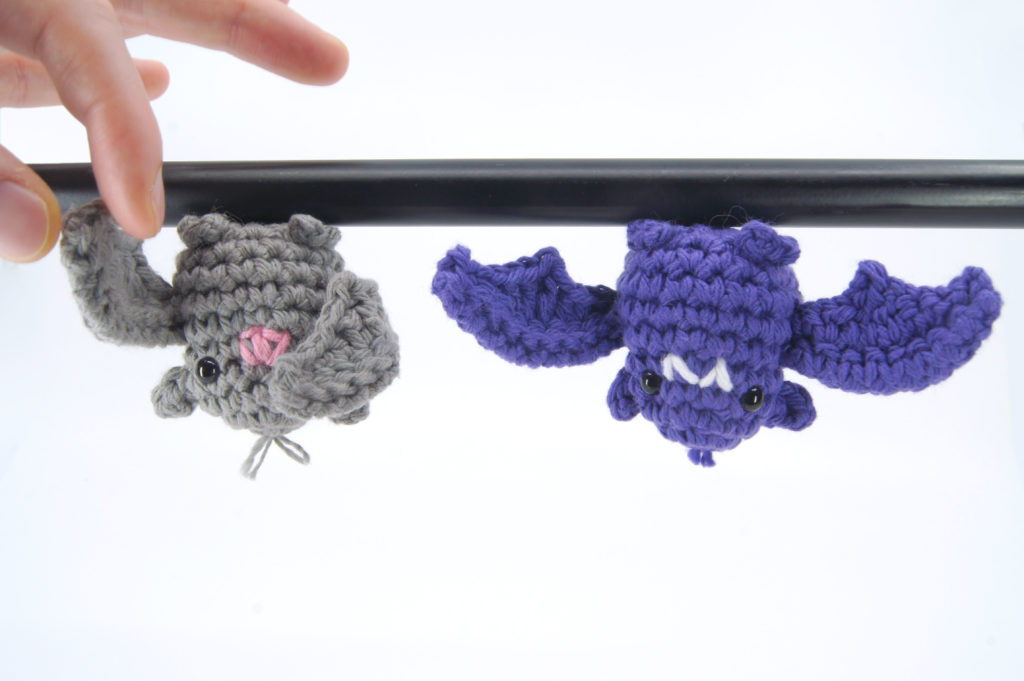
What you'll learn
What you'll need
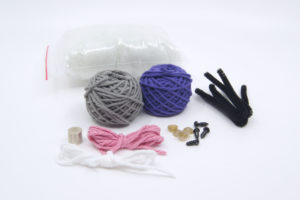
Cotton Yarn
Weight

Colors
Color A (Main)
White or Pink (Face)
Crochet Hook
G6 / 4.00 mm
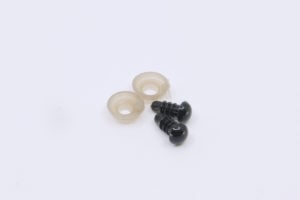
Safety Bead (x2)
6 mm

Stuffing
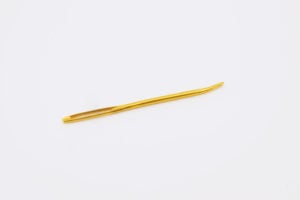
Darning Needle
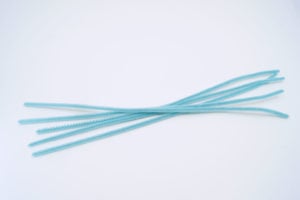
Pipe Cleaners
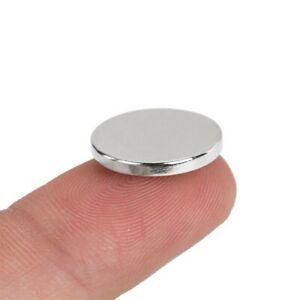
Miniature Magnet
Abbreviations used
ch
Chain Stitch
st
Stitch
slst
Slip Stitch
sc
Single Crochet
inc
Increase
dec
Decrease (Sharp)
invdec
Invisible Decrease
FLO/BLO
Front / Back Loops Only
dc
Double Crochet
hdc
Half-Double Crochet
sc2tog
Single Crochet 2 Together
mp
Mini Picot
Useful information
Gauge
5 Rnds and 4 sts per 1”
Finished piece is about 3” tall
Worked
In the Round (Body)
Flat (Ears, Wings, Legs)
Useful Tutorials
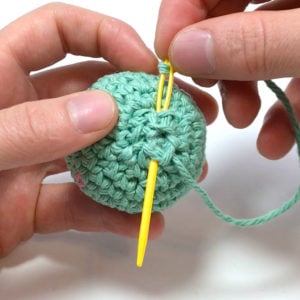
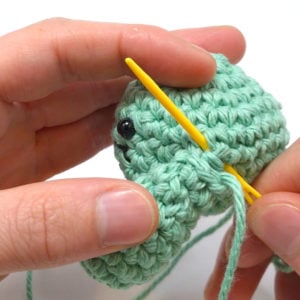
Pattern steps
01 Ears
Ch 4
Row 1: working in the BLO of the chs, sc2tog using the 2nd and 3rd ch from the hook, hdc in the final ch (2)
Other patterns to try



Community posts
Community Showcase
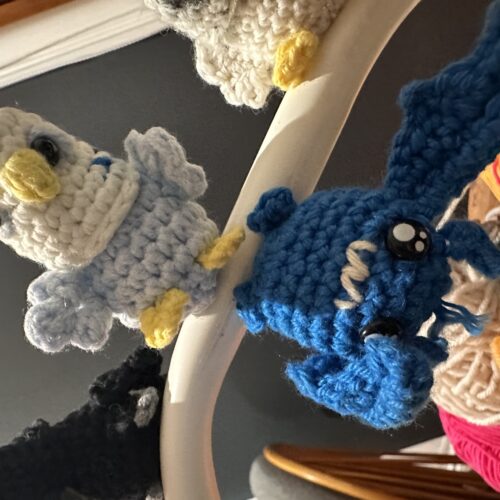
Bat and friends
Submitted by kirsty_holcombe
You need an account to submit your photo.


Mine ended up a bit fat but whatever it’s still cute
Been working through your patterns and this one is so cute!!
hi imade this and it was sooooooo fun. Sry i missed the seagull birb crochet along, i was sick.
Such an adorable pattern! I love the way the wings are made, how quick it is to make and of course, the added effect of the magnet! Soooo great!!!
Ahhh!! Thank you so much! Especially on the wing comment, I’m really proud of that part of the pattern! So glad you liked it dude!