Sewing Closed
Overview
If you’re making amigurumi or any kind of stuffed project, you’ll need to know how to stuff and sew a piece closed. You might already know this from our project when we made a sphere or hacky sack, but let’s go over it again.
Follow along in the Crocheting 101 eBook.
Download the PDF here.
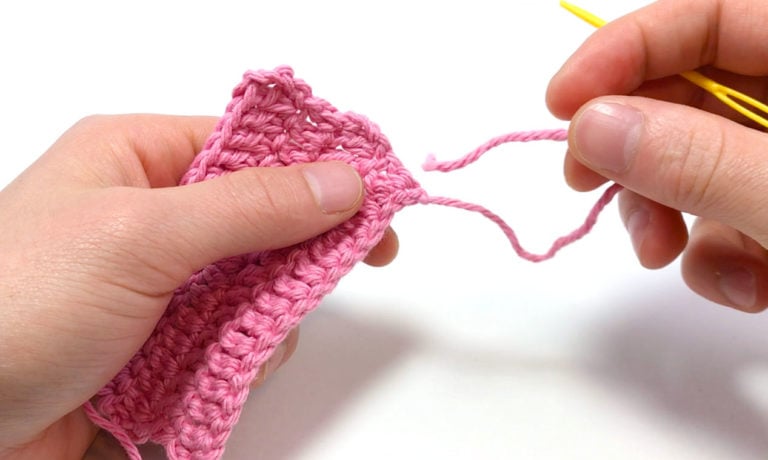
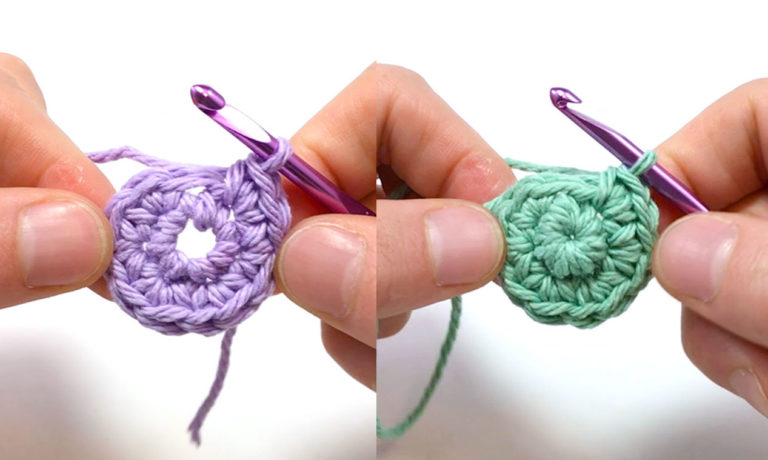
So here we have a sphere that’s ready to be stuffed and sewn together. We just finished our last Rnd, which was to decrease in each stitch around and now there are 6 stitches in the circle. After the final decrease, we cut the end leaving a decent amount of a tail to use for sewing closed and pulled it all the way through with our crochet hook.
Note:

These boxes are checkboxes
Sewing Amigurumi Closed
Start off by stuffing it. You can probably find stuffing at the closest craft store, or just use the insides of an old pillow!
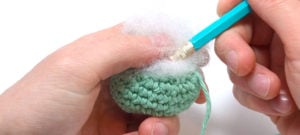
I like to use a pencil when I stuff because the rubber eraser holds the stuffing a bit. Push the stuffing into the hole somewhat sideways rather than just jabbing it in, this helps the pencil grip more stuffing.
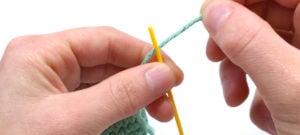
When our piece is stuffed as much as you’d like it to be, thread the tail end with a needle.
Here are our 6 stitches, and this one is the last hole from the Rnd before the final Rnd, you’ll be using this hole too.
We’re going to number them to make it easier, the final stitches will be 1-6 and the other hole will be 0.
And that’s all there is to stuffing and sewing a piece closed. Make sure to add anything you need to the piece before sewing it closed, like faces or eyes, because it’s going to be pretty tough to add anything else after stuffing and sewing it closed.


