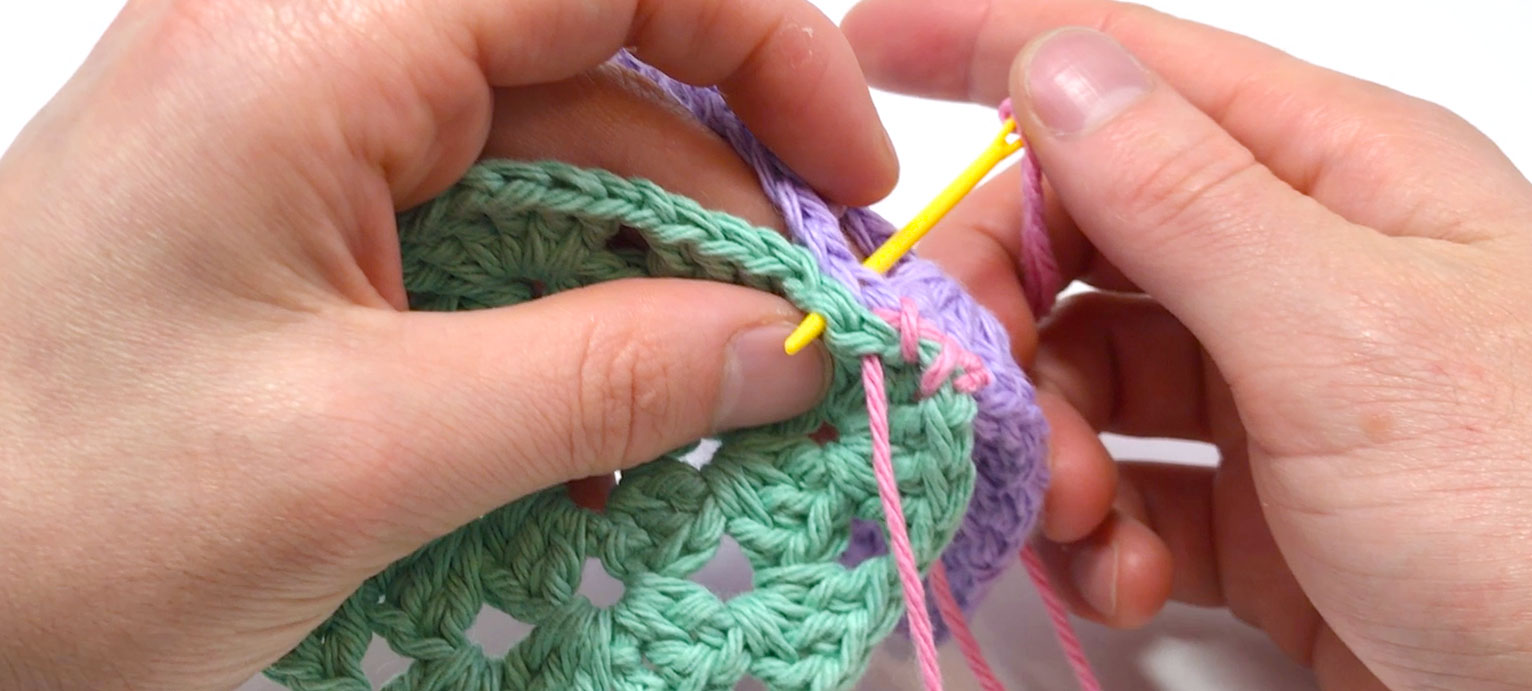
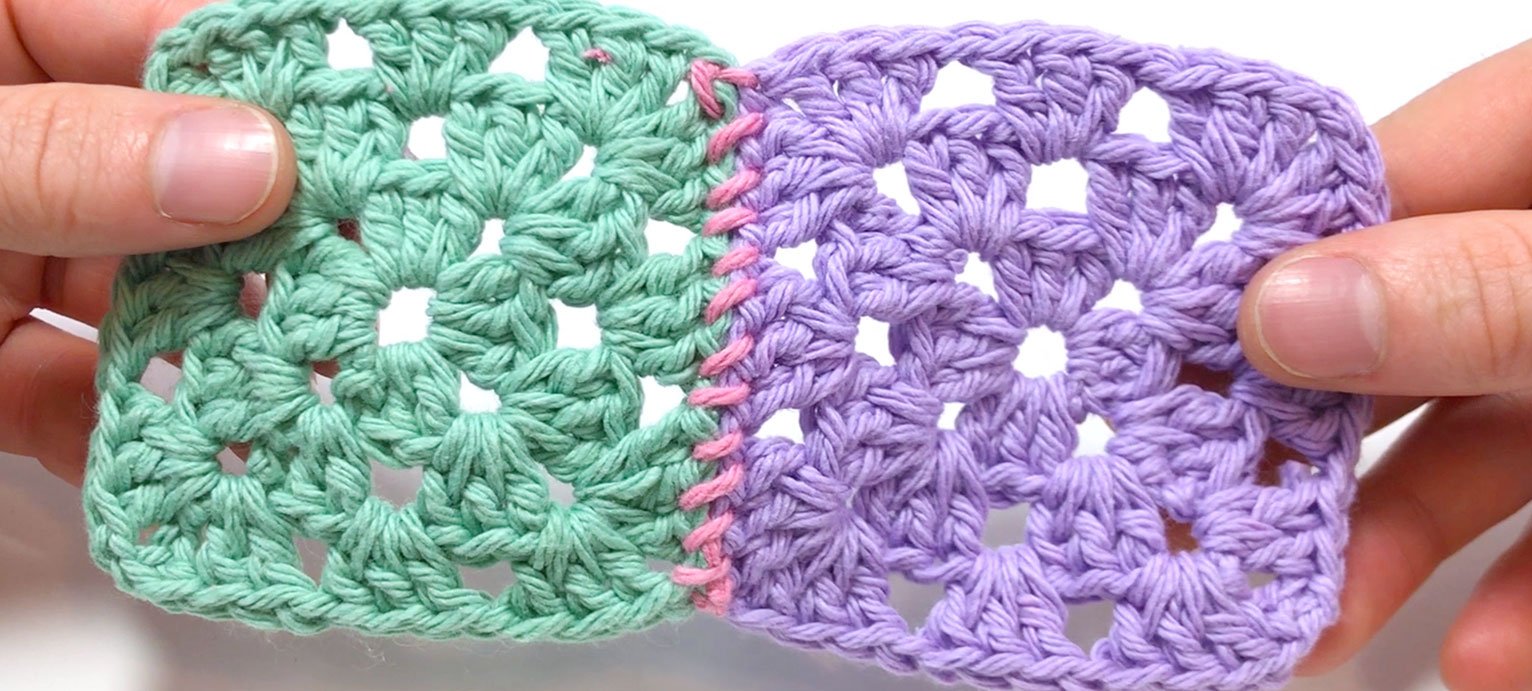
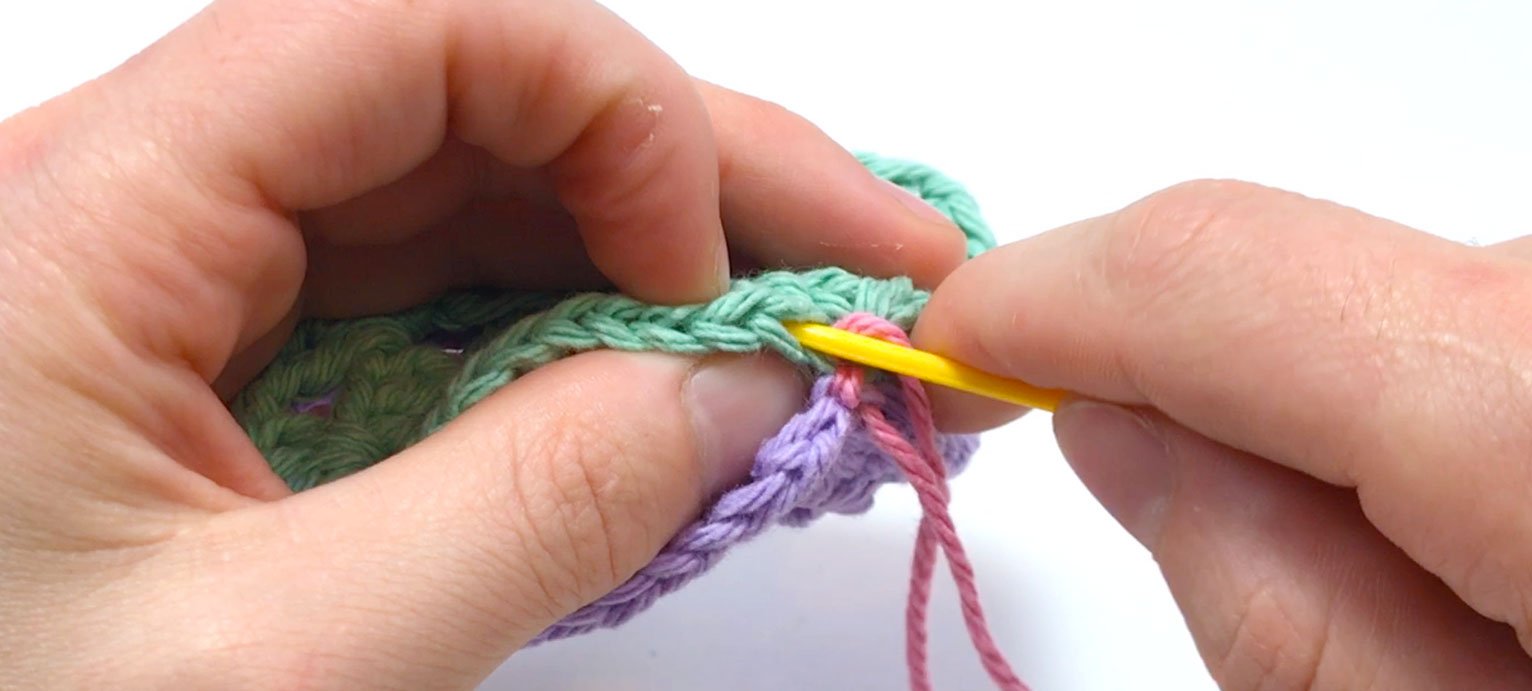
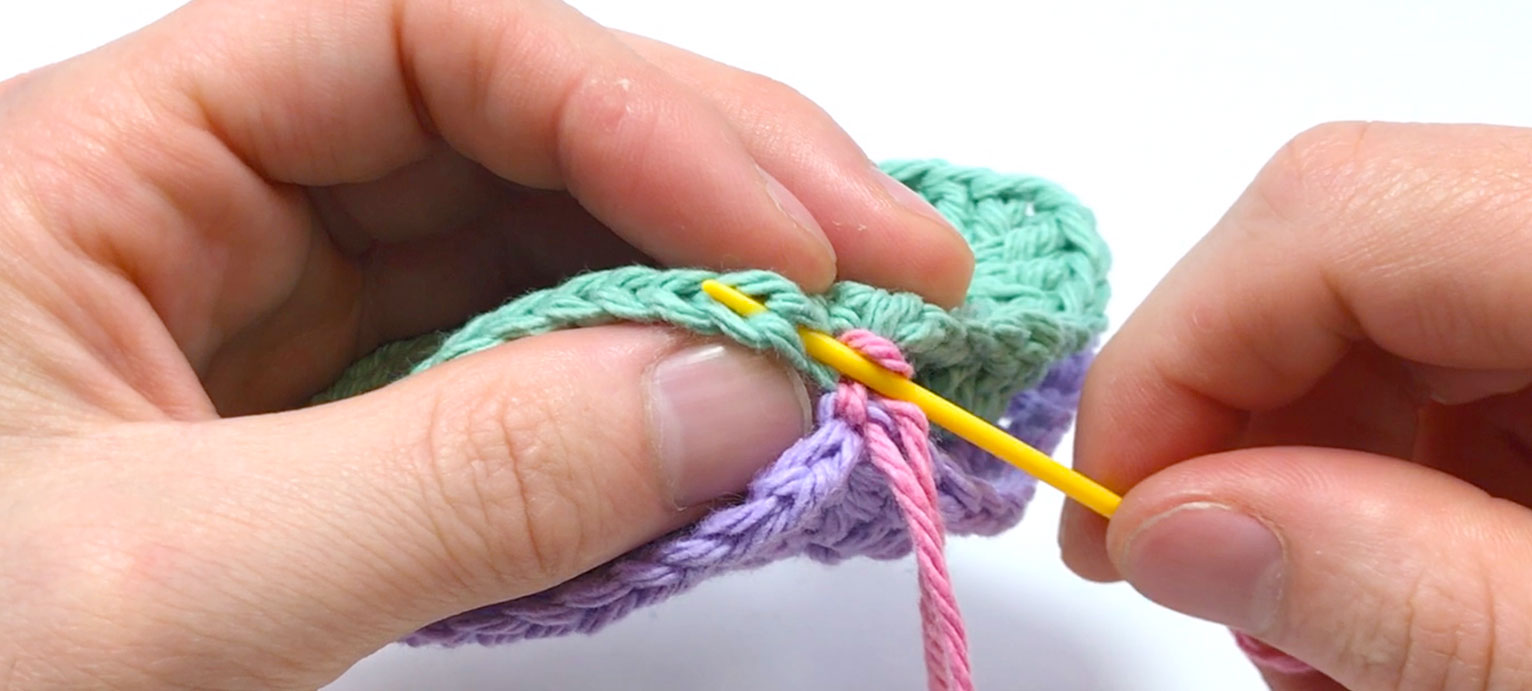
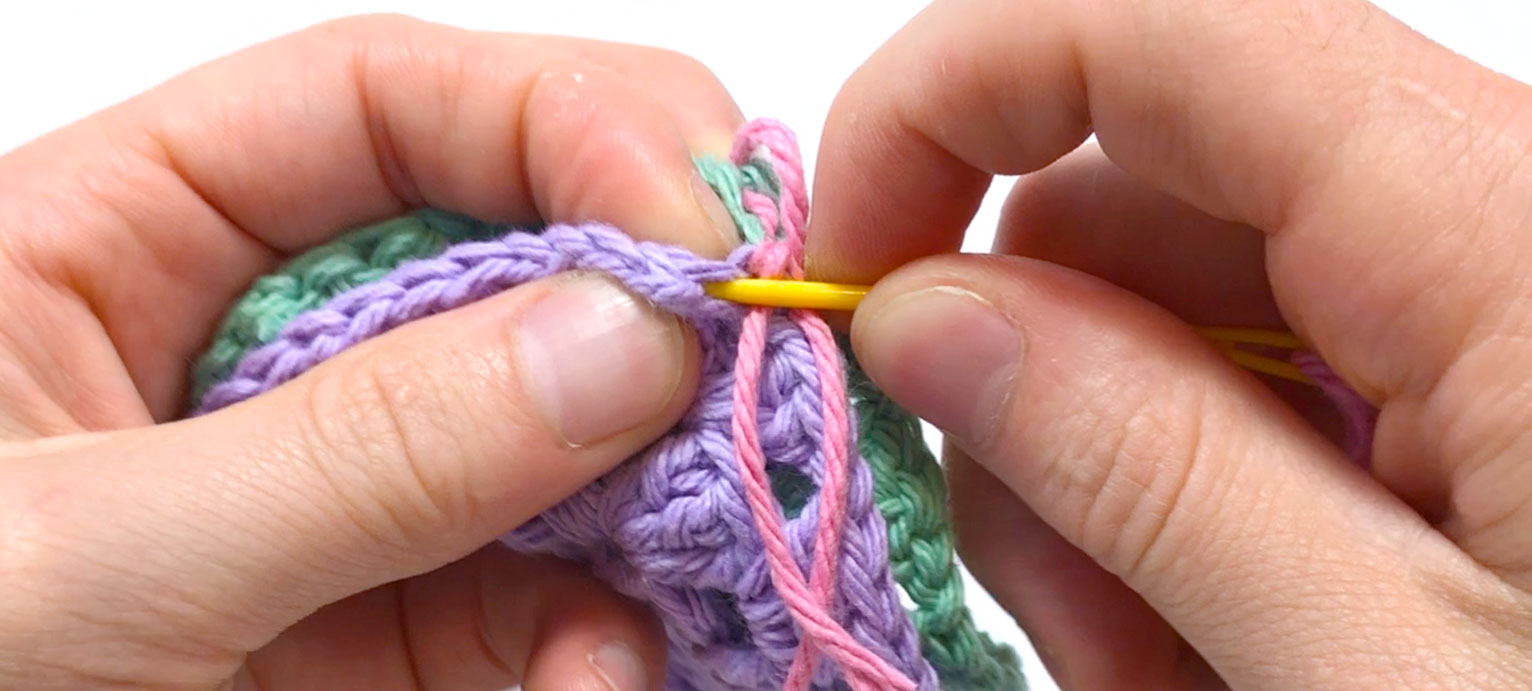
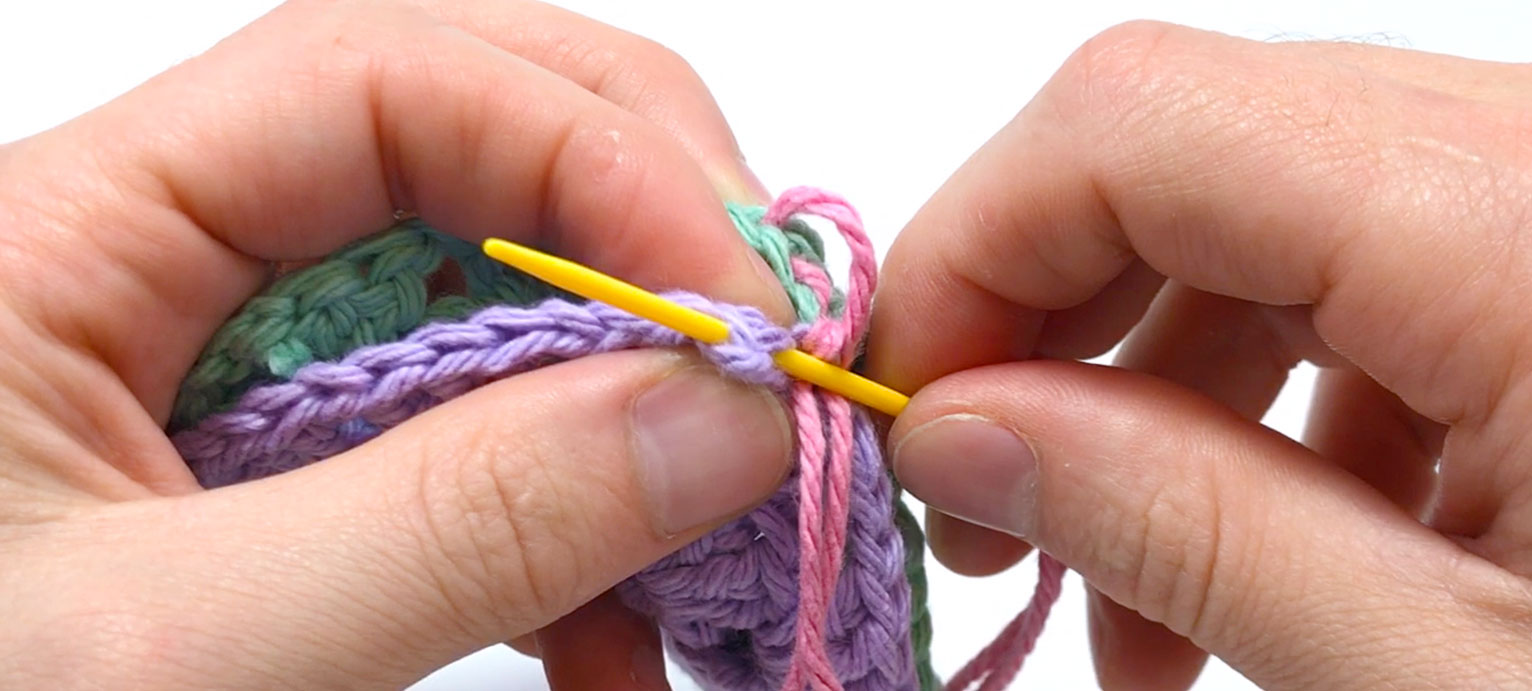
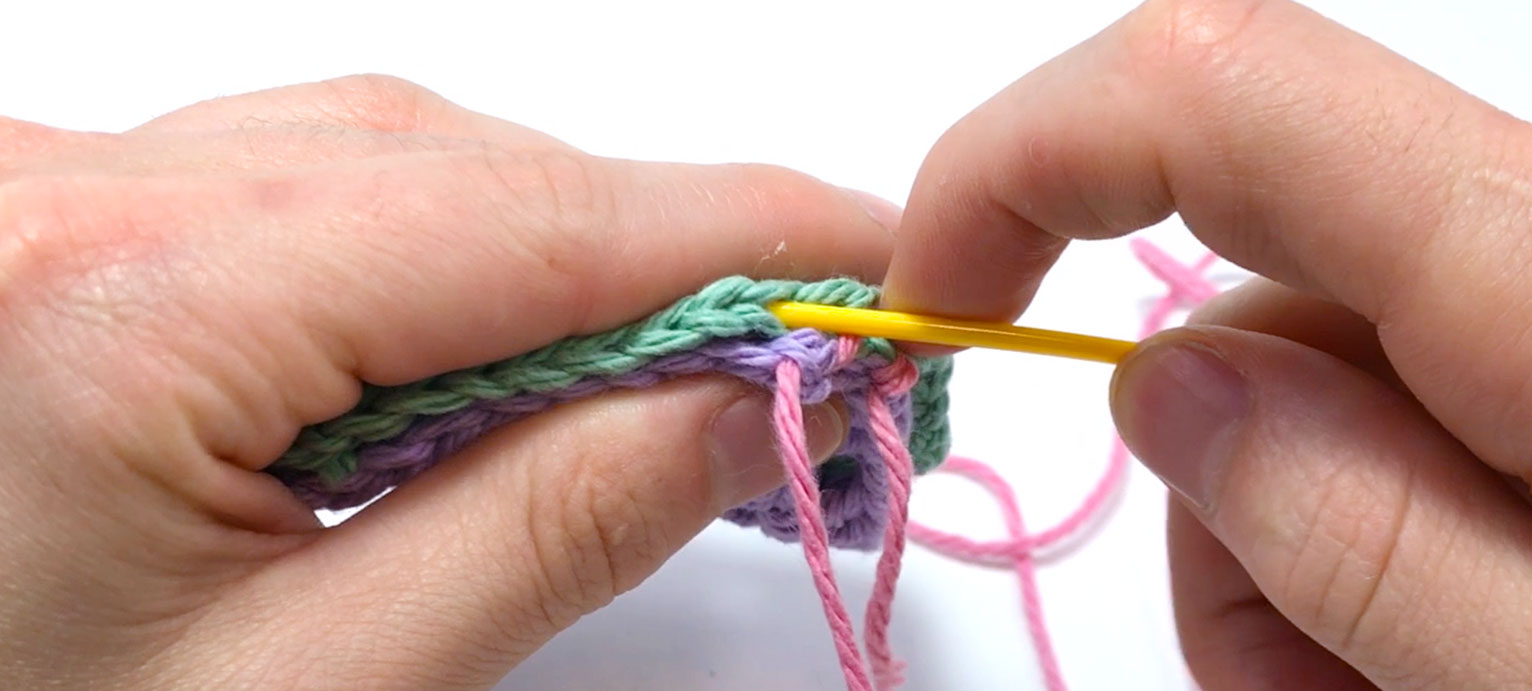
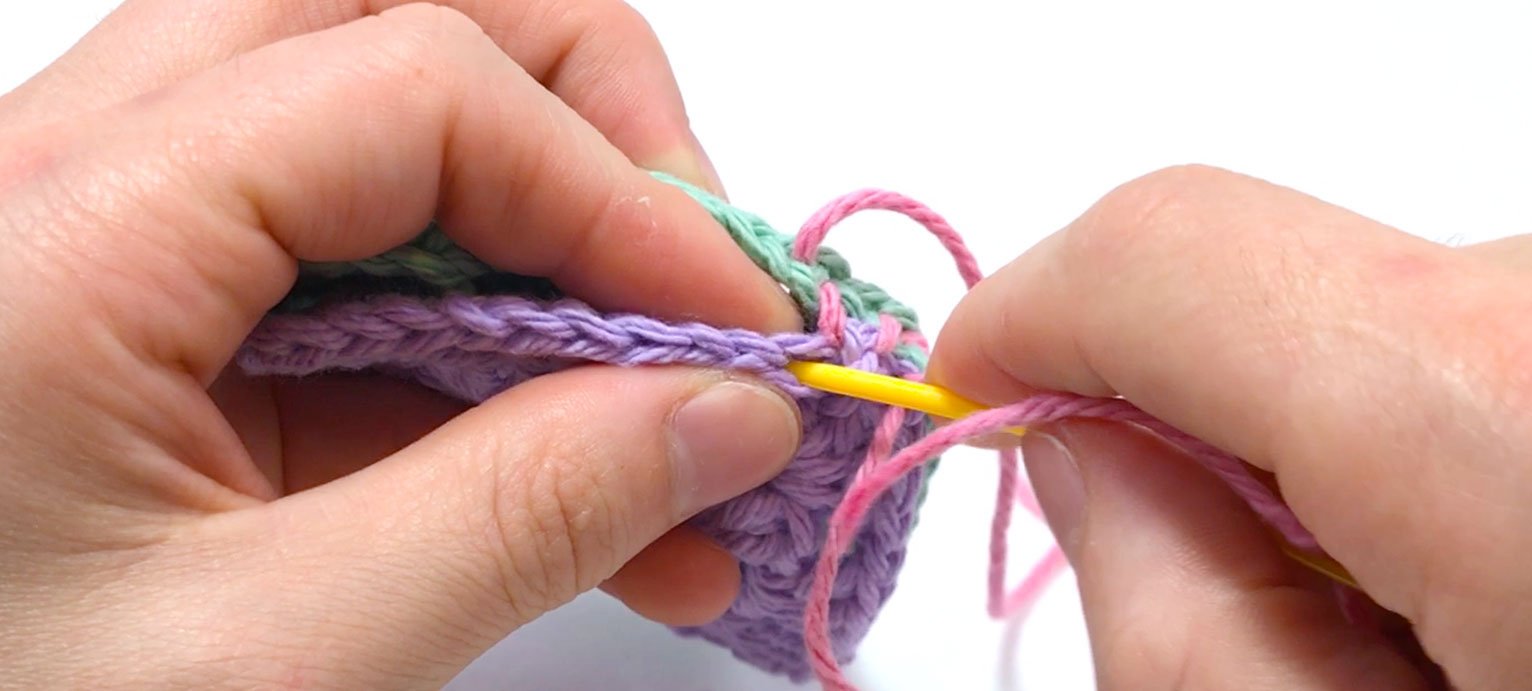
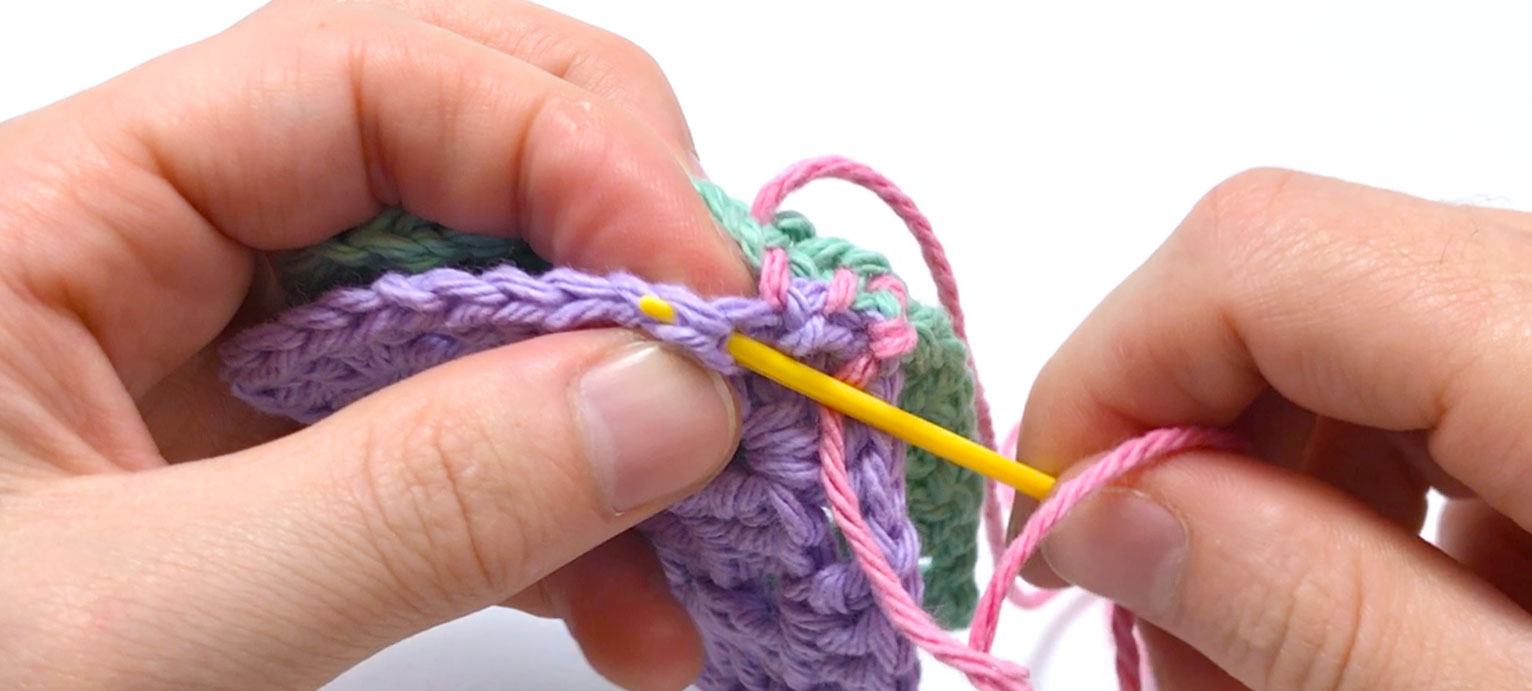
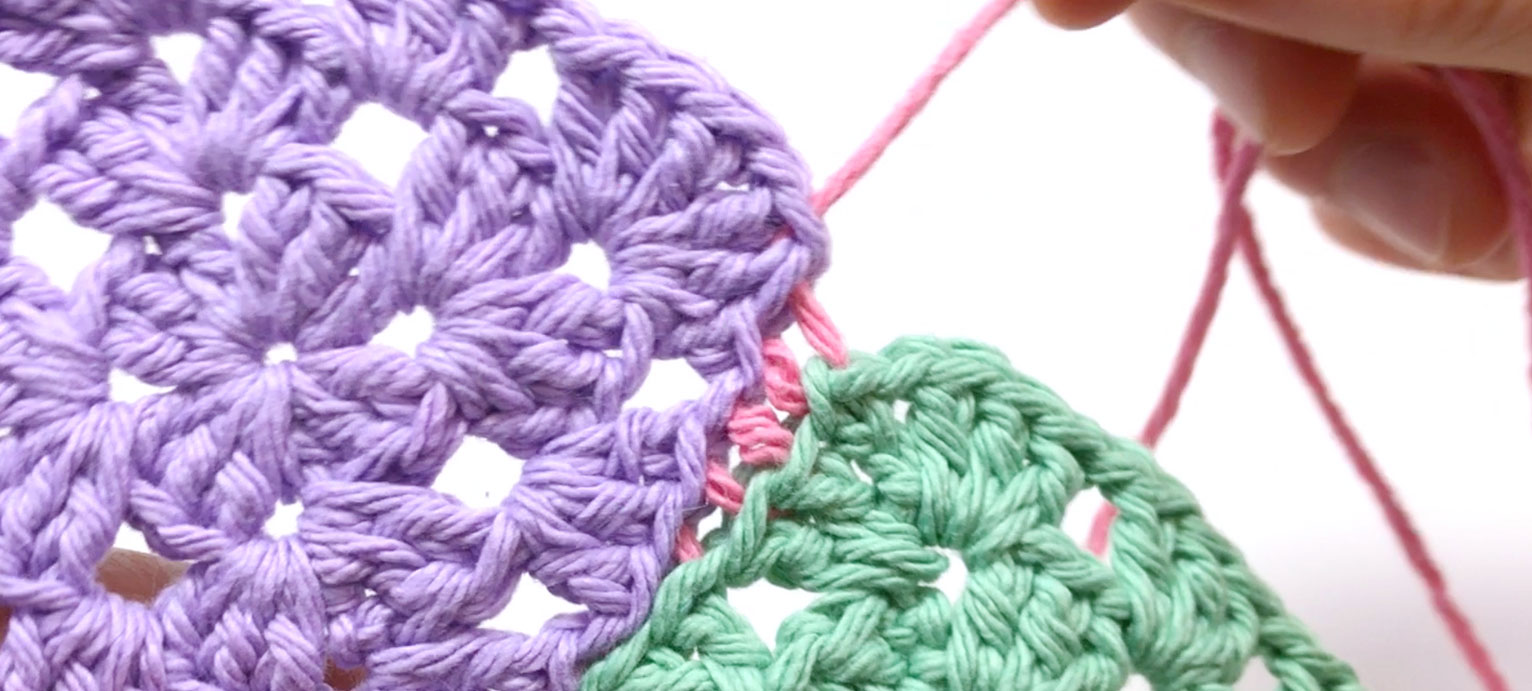
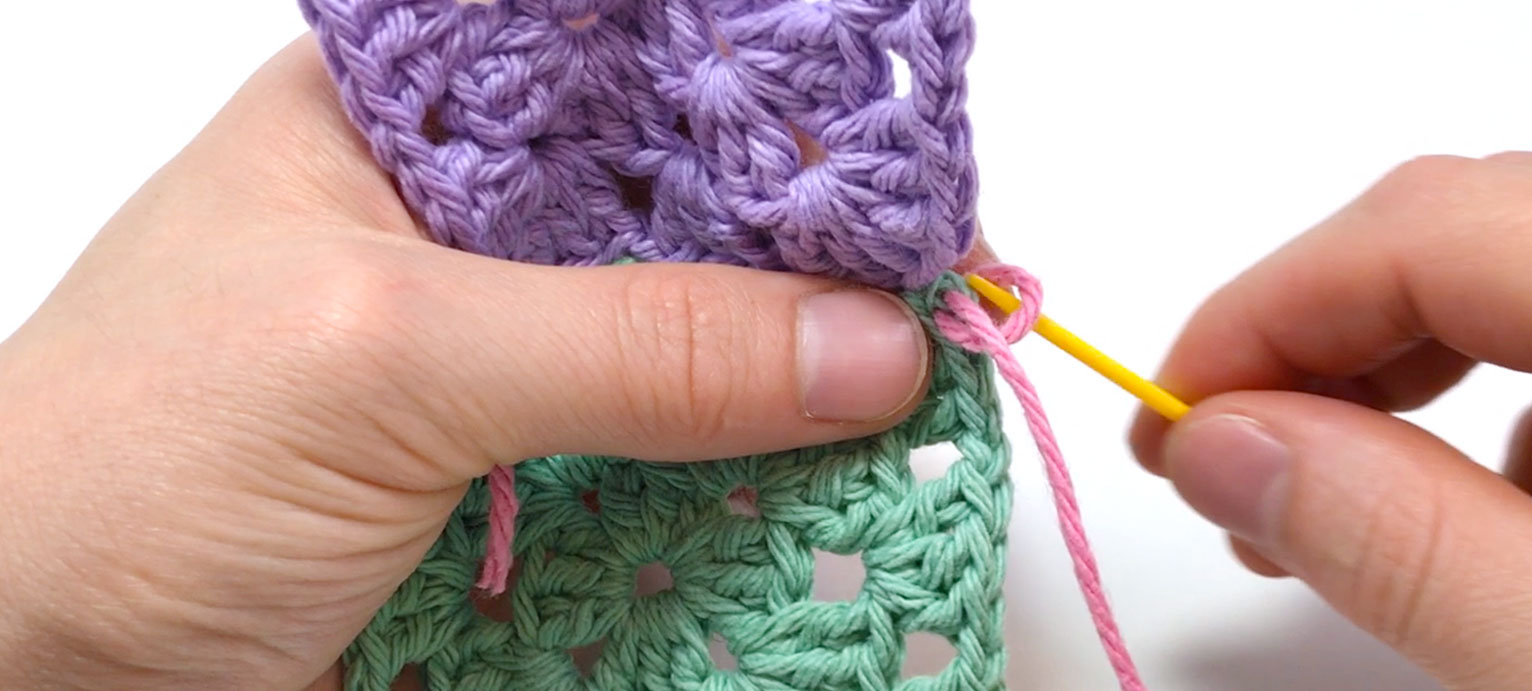
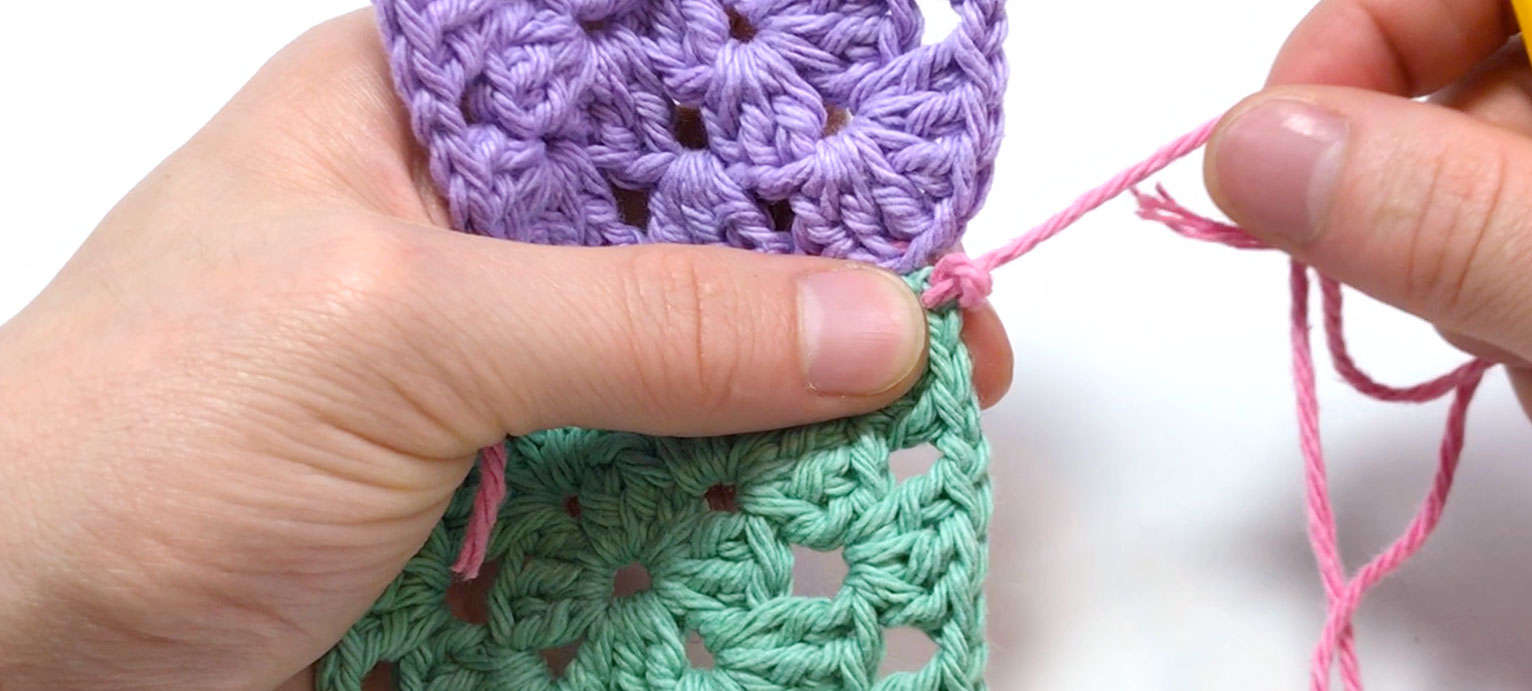
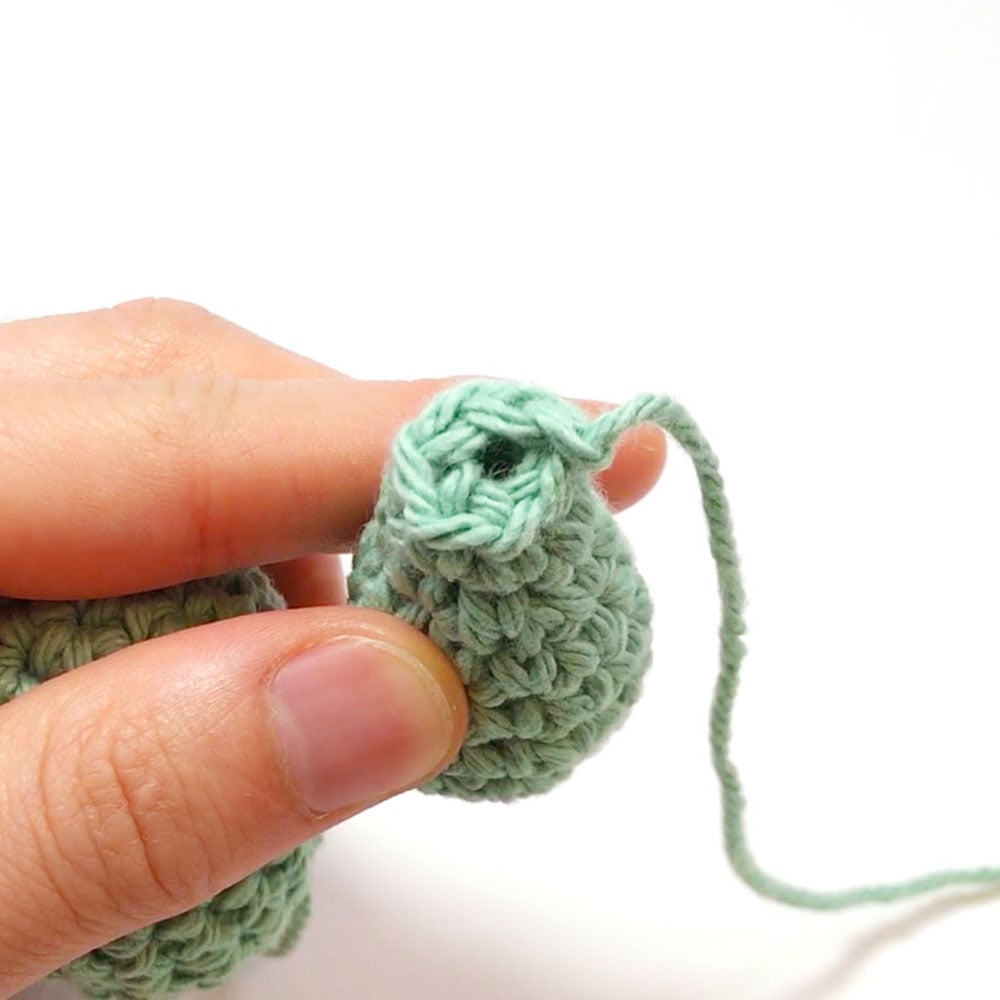
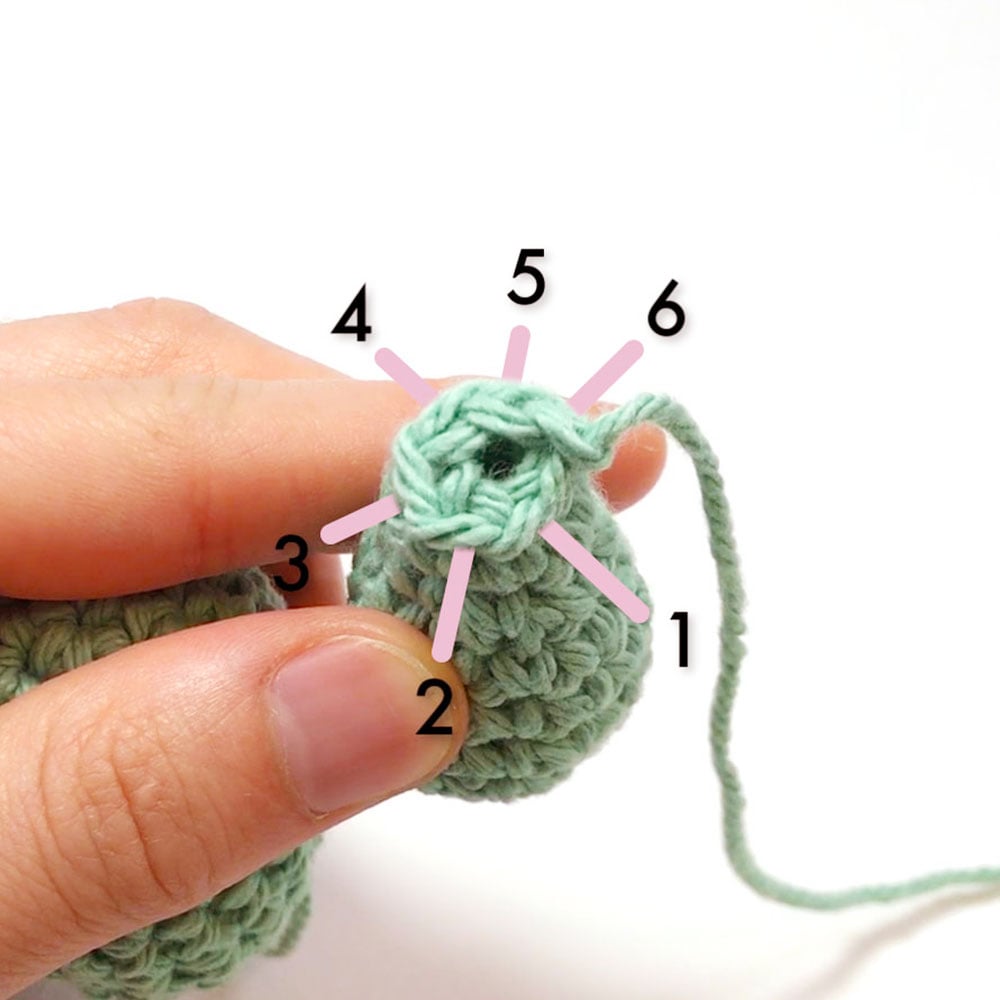
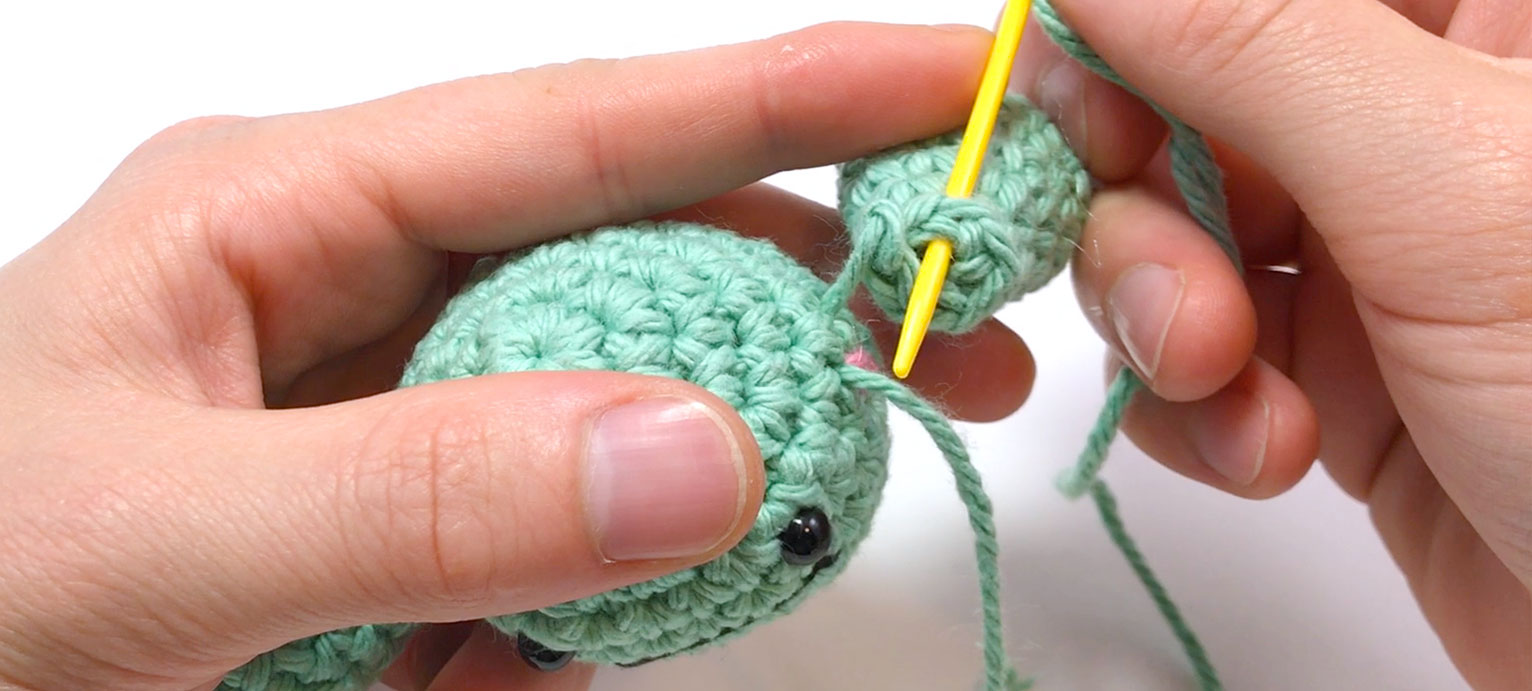
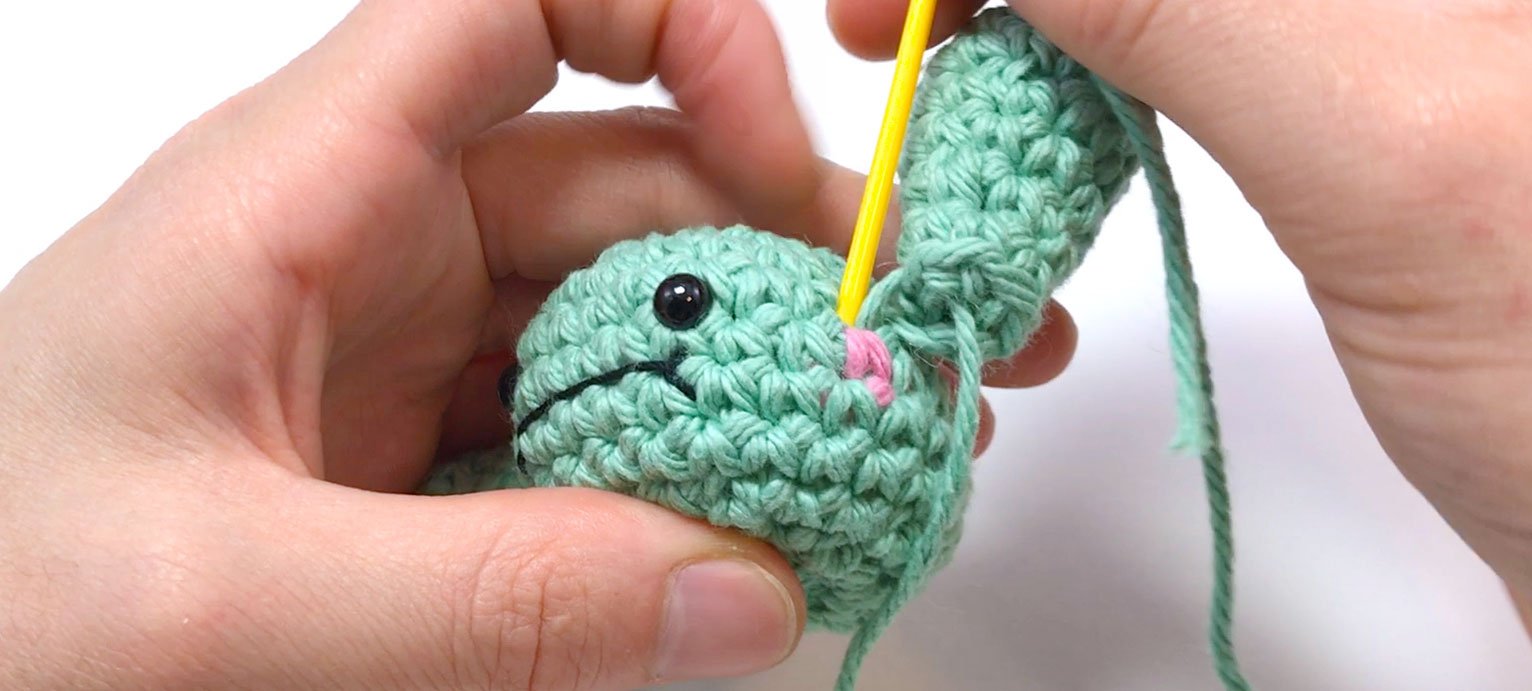
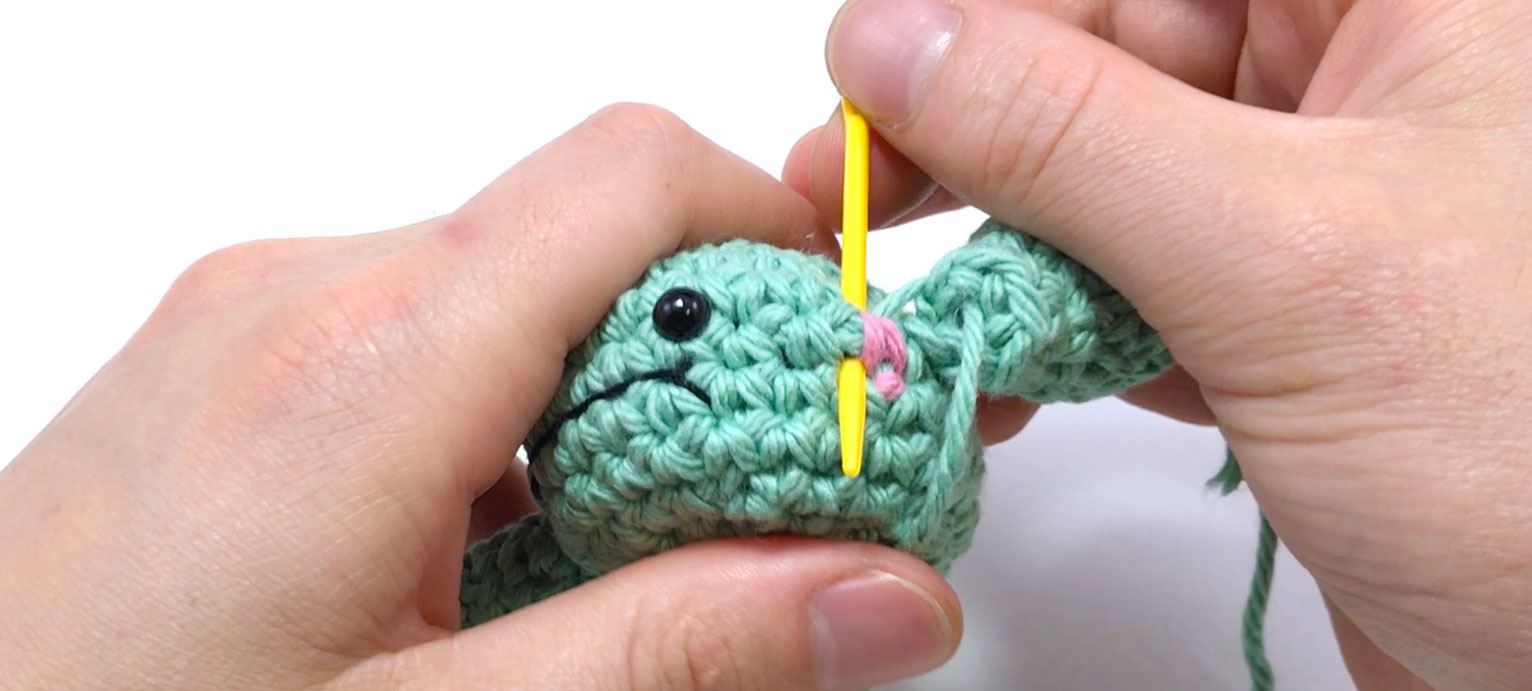
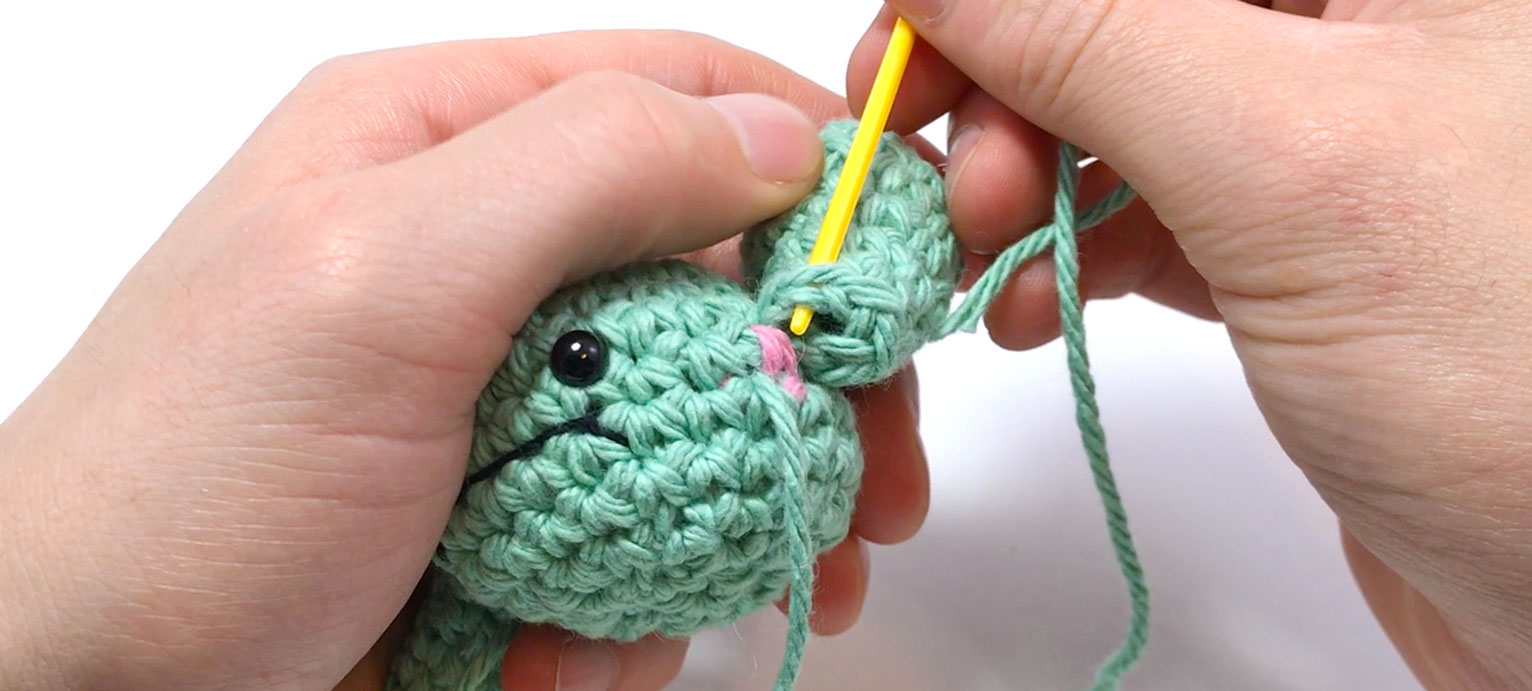
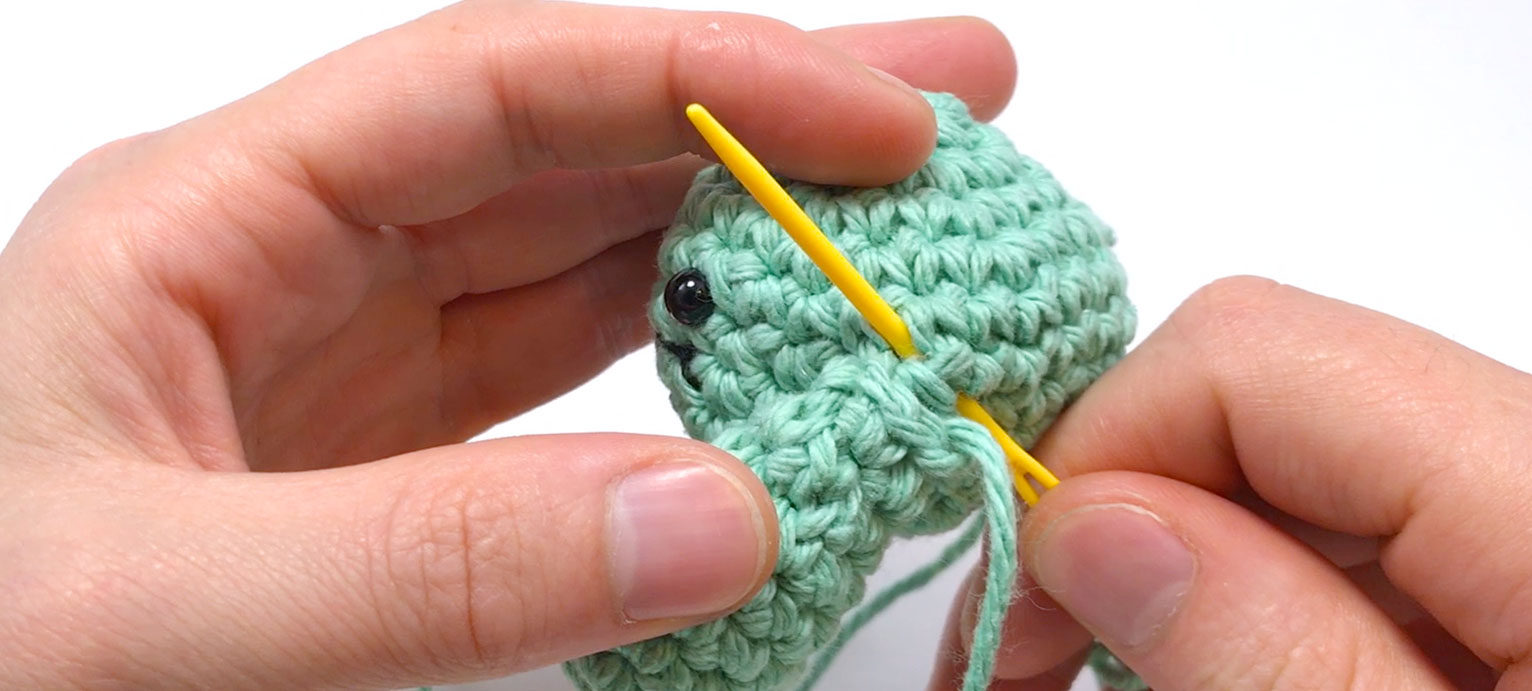
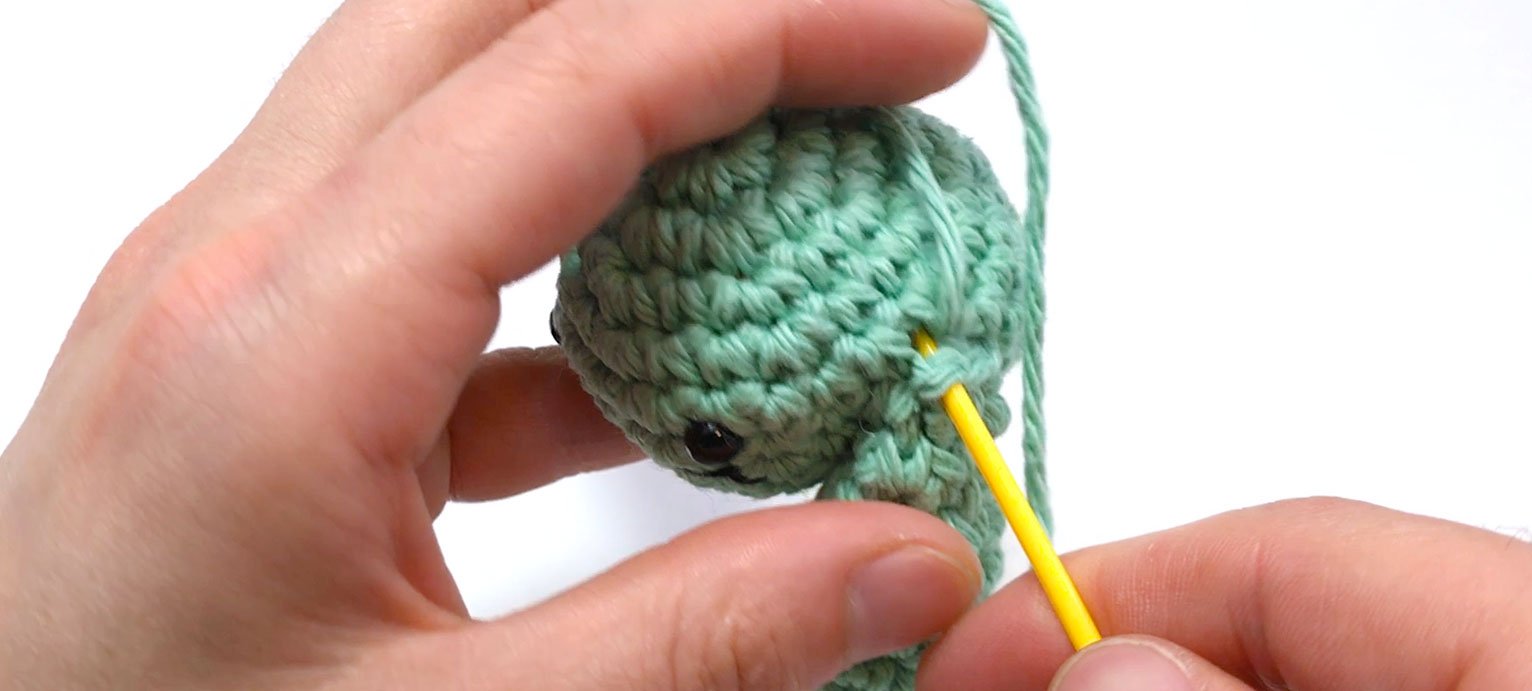
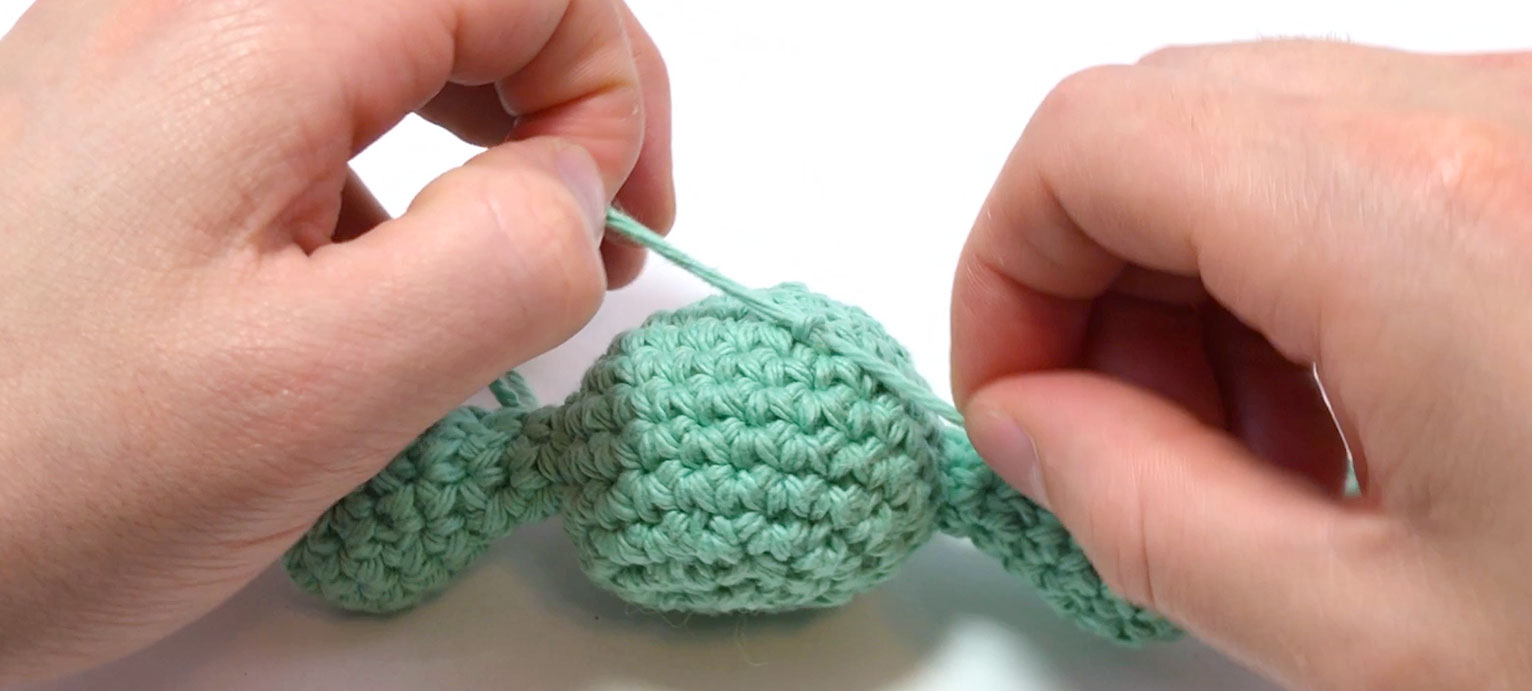
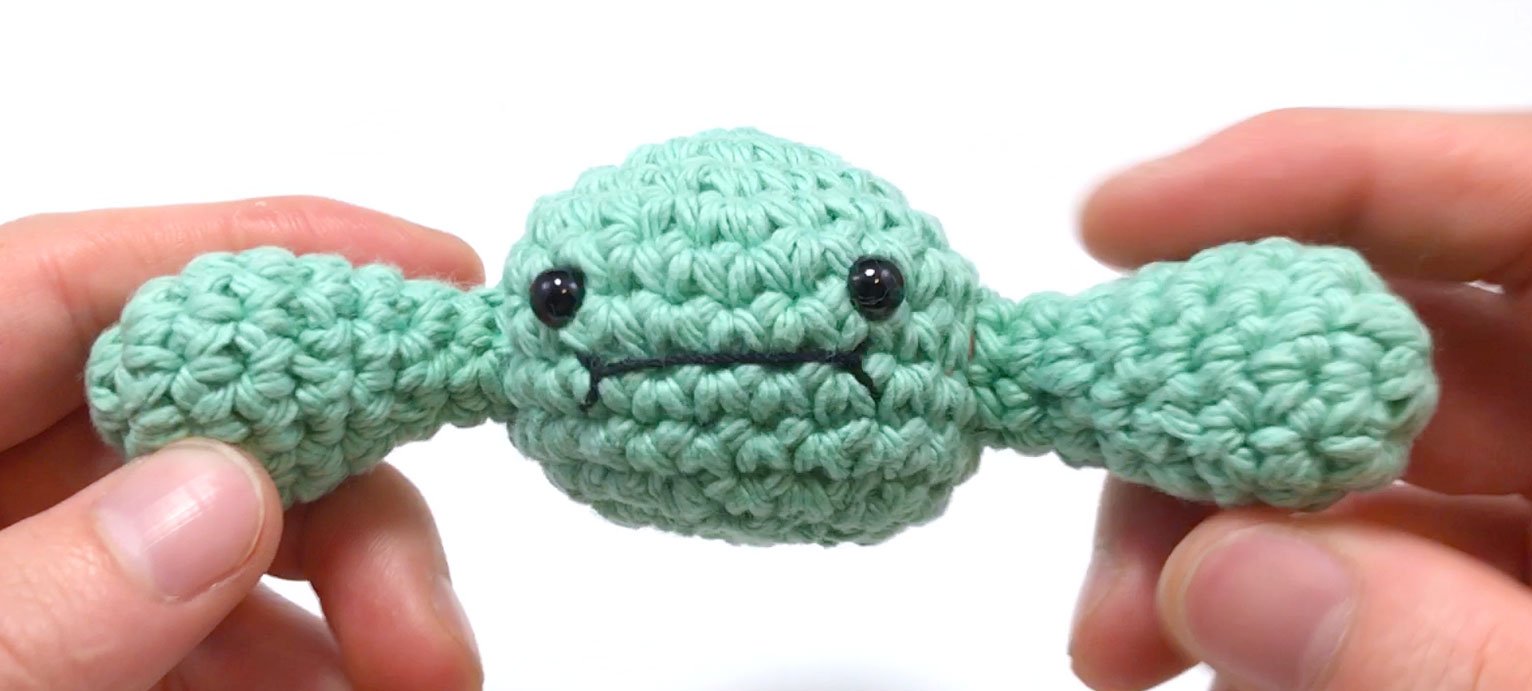
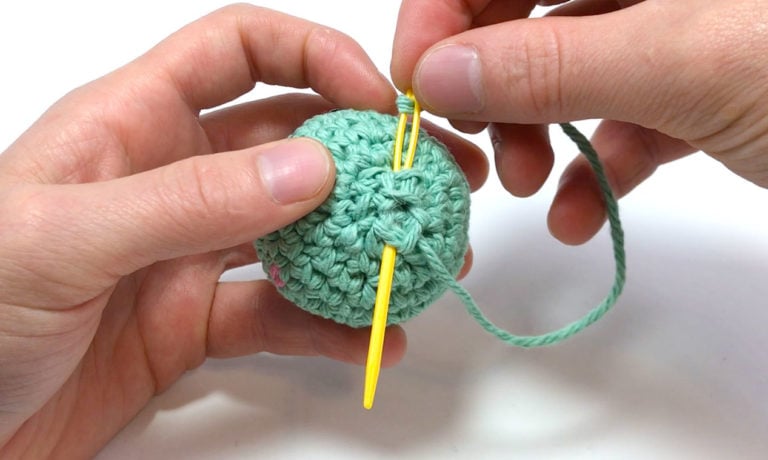
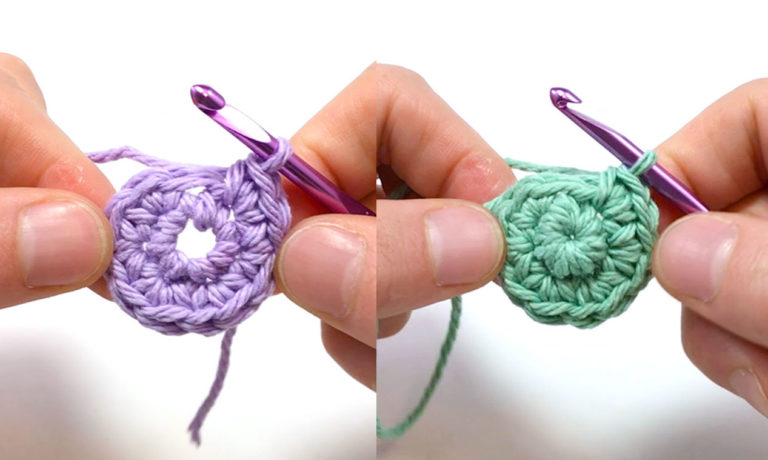
Pattern

Sewing Pieces Together

Overview

Sewing pieces together is important for many reasons like when you need to seam the end of a beanie brim or connect a bunch of granny squares for a blanket which is a pretty simple technique.

Follow along in the Crocheting 101 eBook.
Download the PDF here.

You can also sew together pieces of an amigurumi which is a slightly different technique I’ll also be teaching you.

In this section I won’t be teaching you how to sew a piece closed though, that’s going to be in the next section titled “Sewing Closed” and is a different technique.

What you'll learn

01

Sewing Two Flat Pieces Together

02

Sewing Together Amigurumi

The Lesson

Note:

These boxes are checkboxes

These time codes correlate to the video for this lesson

01

Sewing Two Flat Pieces Together

For this method you’ll be connecting flat pieces, such as granny squares, together. First make sure that the tail end of one of your pieces is pretty long; if you cut them all too short or already hid the ends, that’s no big deal, you can just use a new strand of yarn instead.

If you did cut the tail of one of the ends, anchor a new strand of yarn down by sewing around the same two beginning seam stitches multiple times to hold the yarn in place, or…

To actually sew pieces together, I usually use a simple whipstitch, meaning wrapping the yarn around and around the stitches. It’s simple and easy, but not always the prettiest finish, especially if you’re using different colors.

There’s also a method called the invisible seam.

After anchoring your yarn, go right into the center of the top of the first stitch on side A, and come out through the second stitch on side A.

Then go back and do the same on the first and second stitch on side B.

Then into the third and fourth stitches on side A.

And the third and fourth on side B.

You’ll continue this zipper effect, going back and forth making somewhat of a ladder, all the way to the end.

Be sure to tighten the seam every few stitches.

Knot the yarn at the end by going around the final stitch, and then through the loop you just made.

Make sure to hide the tail into the piece to finish.

02

Sewing Together Amigurumi

Okay so this will be slightly different. Here we want to add this arm onto the body of our character.

Again, having a long tail will make things slightly easier but not necessary because you can just use an extra strand of yarn instead.

Find where you’re going to want to have the arm sewn on and how many stitches you have to work with. Here I have 6 stitches around and a long tail.

Because there are 6 stitches for the last Rnd of the arm, when we sew it onto the body we want to find the 6 places the stitches are going to go. Try to find your 6 stitch spots before you begin sewing it together. Here’s where I’m choosing.

Thread the tail of the arm with a needle and go into the first stitch on the body. Then come out where you’ll want the second stitch.

You’ll then go into the stitch on the arm from the outside and back into the stitch on the body where you came out.

Then come out from the next spot around on the body and continue the pattern.

The last stitch should come out of the body exactly where the very first stitch went in.

If it’s not stuffed yet, you can knot it on the inside to make sure it doesn’t come un-done.

Its going to be a lot easier if the body isn’t stuffed and sewn closed, but not impossible to do.

If you already have sewn the body shut come out somewhere close to the end so you can knot it down and stuff the knot back in.

If you have to sew two things on just make both the tails come out from the same stitch, knot them together, and stuff them back in the body.

That’s how I sew amigurumi pieces together. Sometimes it can be a little confusing and take a few tries, so be patient.
Stuffing and sewing something closed is a lot easier and more straight forward though, which we’ll be learning next.

Leave a Comment