Dwarf Amigurumi

Medium
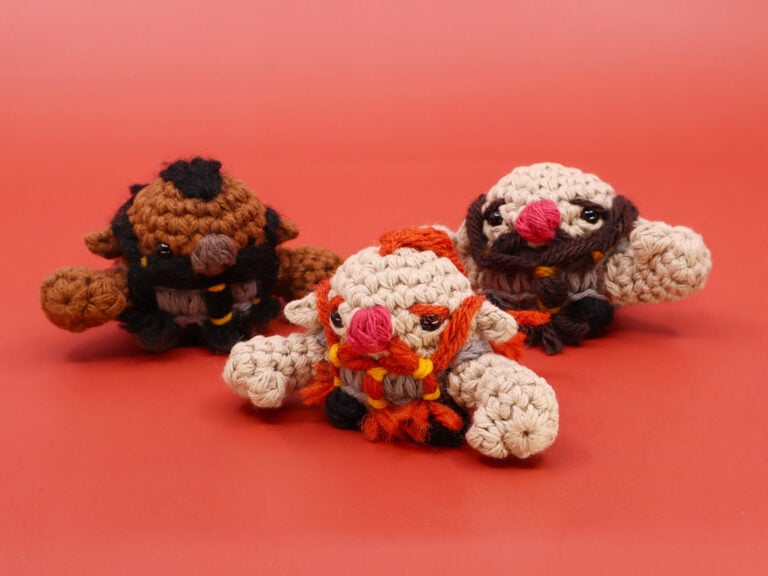
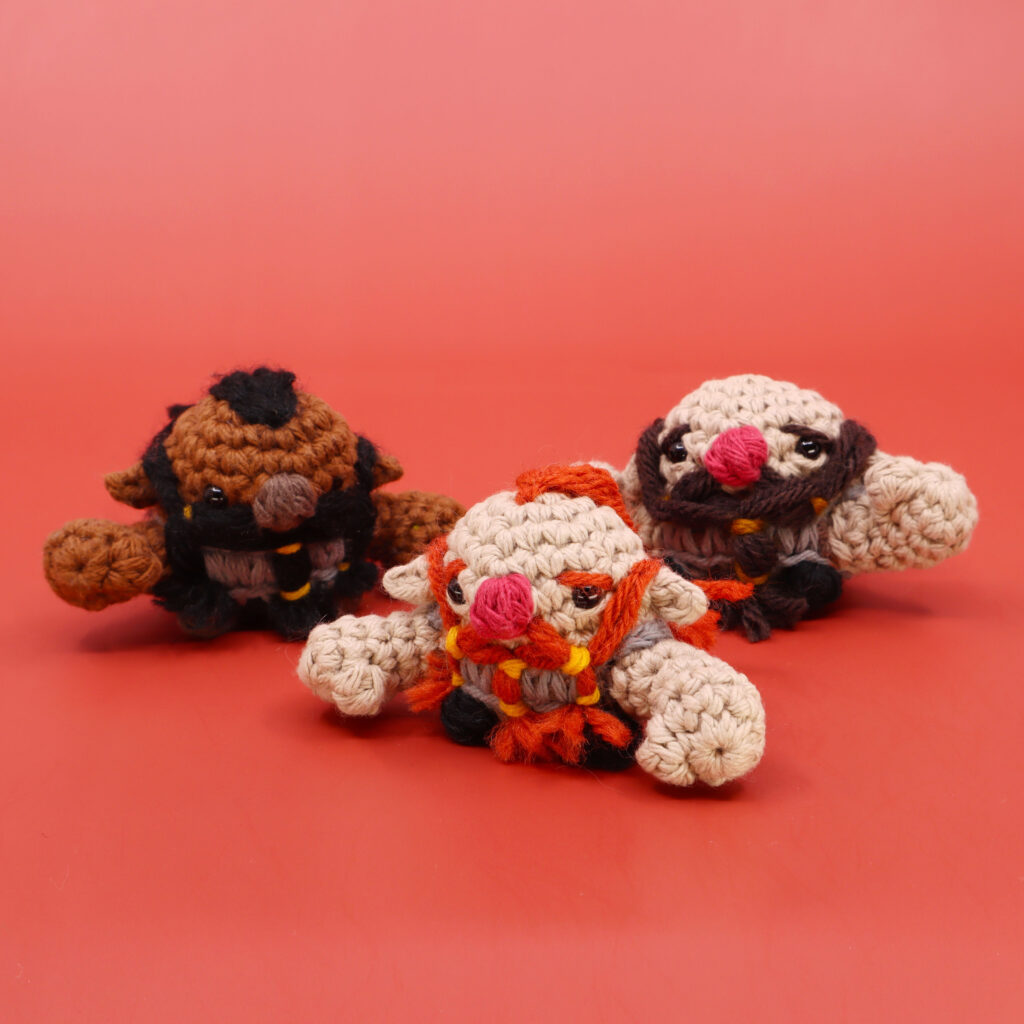
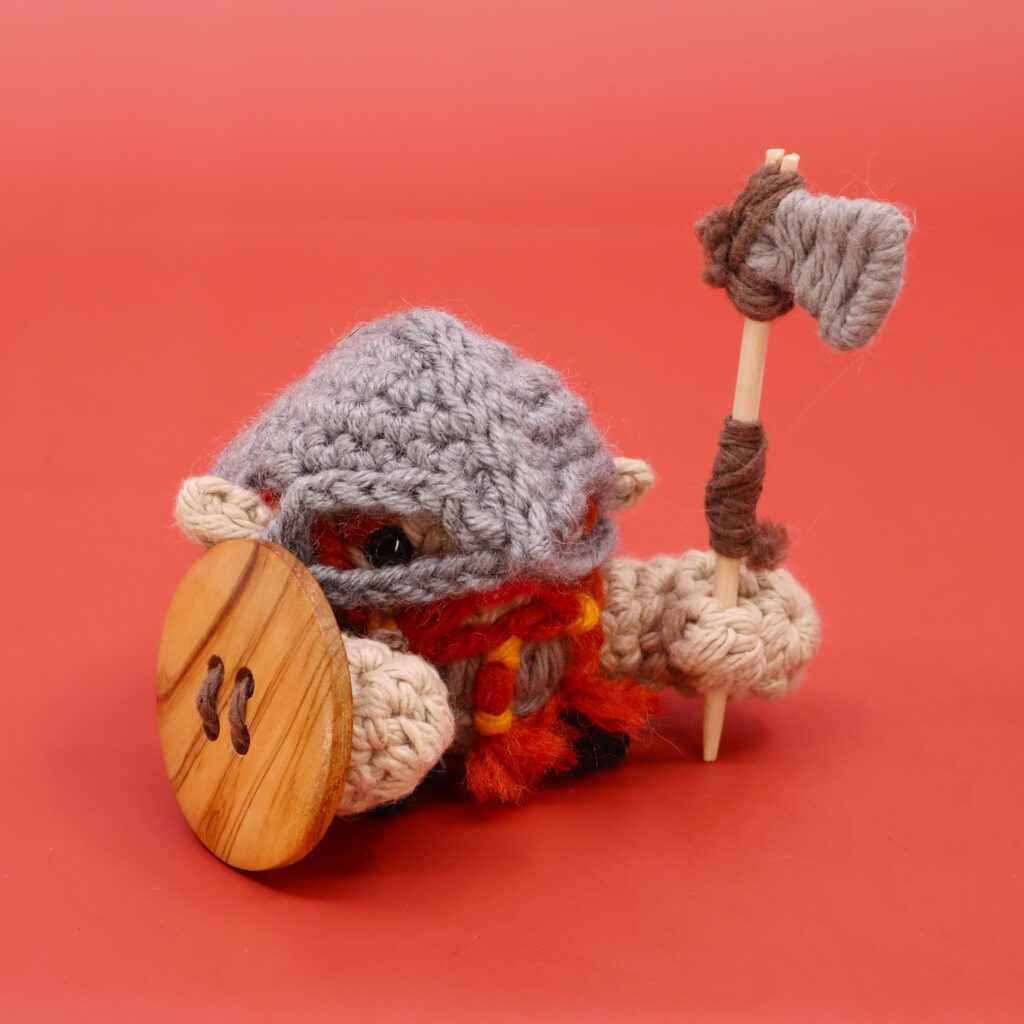
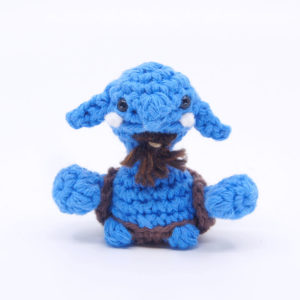
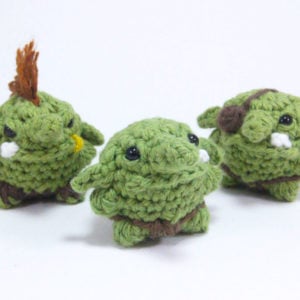
In this lesson we’ll be crocheting cute and cuddly Dwarves! This is the newest addition to my crocheted table top game Stitch'd which you can find the rules for here! This lesson is not designed for beginners, and has a few fun stitches made specifically for the pattern!

Louie's Loops
Designed by


What you'll create


What you'll learn
What you'll need

Cotton Yarn
Weight

Colors
White
Skin Tone (Body Color)
Grey (Armor Color)
Brown (Clothing)
Black (Shoes)
Nose Color (Nose)
Orange (Hair Color)
Gold (Hair ties)

Crochet Hook
G6 / 4.00 mm

Stuffing

Darning Needle

Safety Bead (x2)
6 mm
Abbreviations used
ch
Chain Stitch
st
Stitch
slst
Slip Stitch
sc
Single Crochet
inc
Increase
dec
Decrease (Sharp)
invdec
Invisible Decrease
FLO/BLO
Front / Back Loops Only
hdc
Half-Double Crochet
mbo
Mini Bobble Stitch
sc2tog
Single Crochet 2 Together
bo
Bobble Stitch (4-dc bobble)
mp
Mini Picot
Useful information
Gauge
5 Rnds and 4 sts per 1”
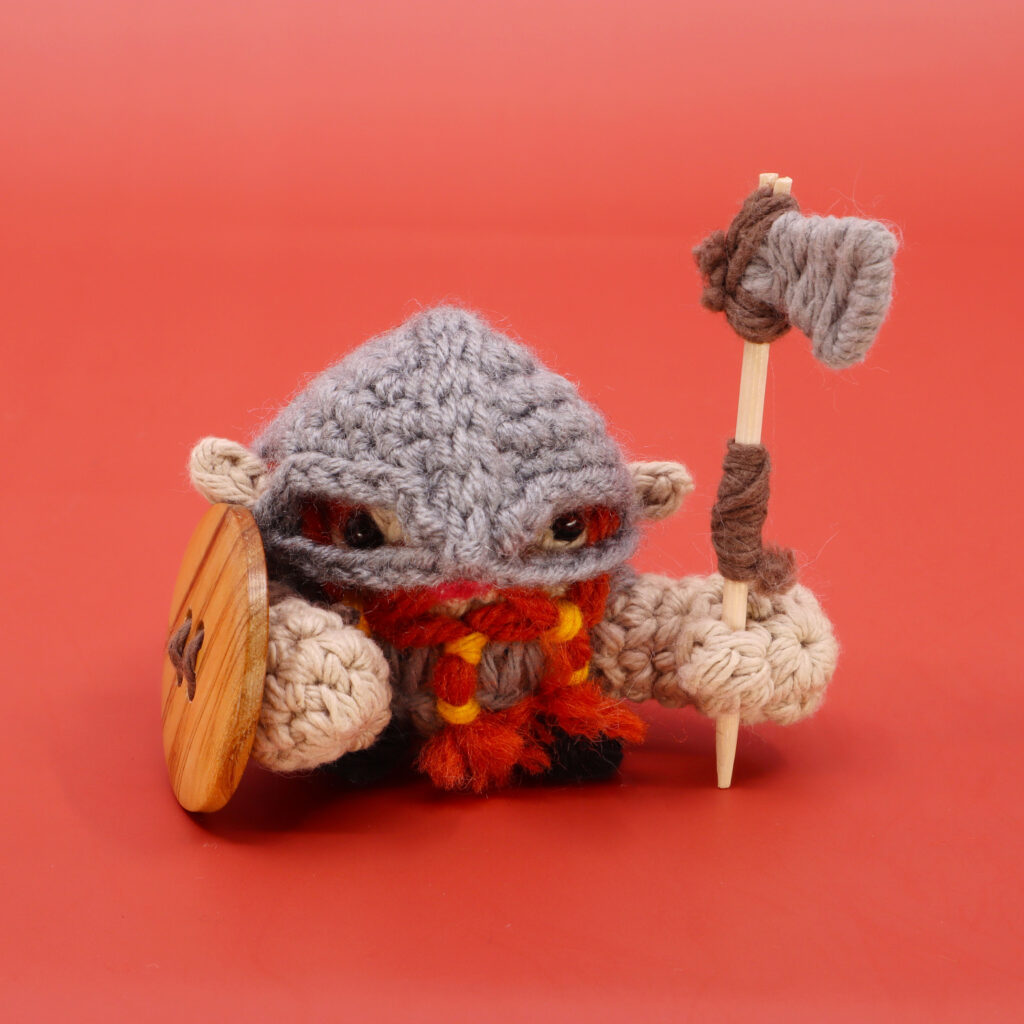
Finished piece is about 2” tall
Worked in the round (without turning)
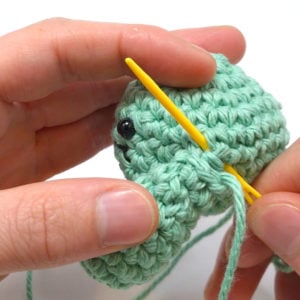
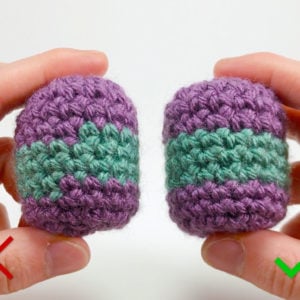
Useful Tutorials
Pattern steps
01 Arms
[Starting in Skin Tone] Magic loop
Rnd 1: sc 8 into the magic loop (8)
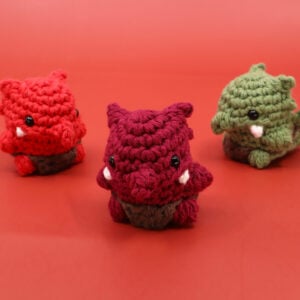
Other patterns to try
Community posts
Community Showcase
Crocheted this pattern? Be the first to show off your project by submitting a photo!
You need an account to submit your photo.


I really need that helmet pattern! It looks amazing!
I will be making this guy. Thanks for all the customization ideas!
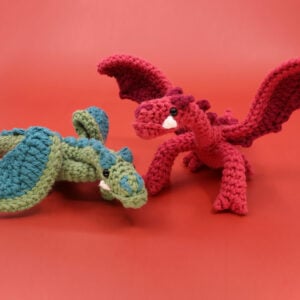
Hi! I like this pattern so much but i am sad i cant find ur baby dragon pattern. Whare shloud i find it?
Working on it now! Should be up as a pattern preview in just a few days here: http://www.clubcrochet.com/roughdrafts
I love your pattern, and I needed the video when I made it before because it is a hard pattern, but good things don’t come easily.:)
Yah it is tough for sure. Thank you so much for your feedback!