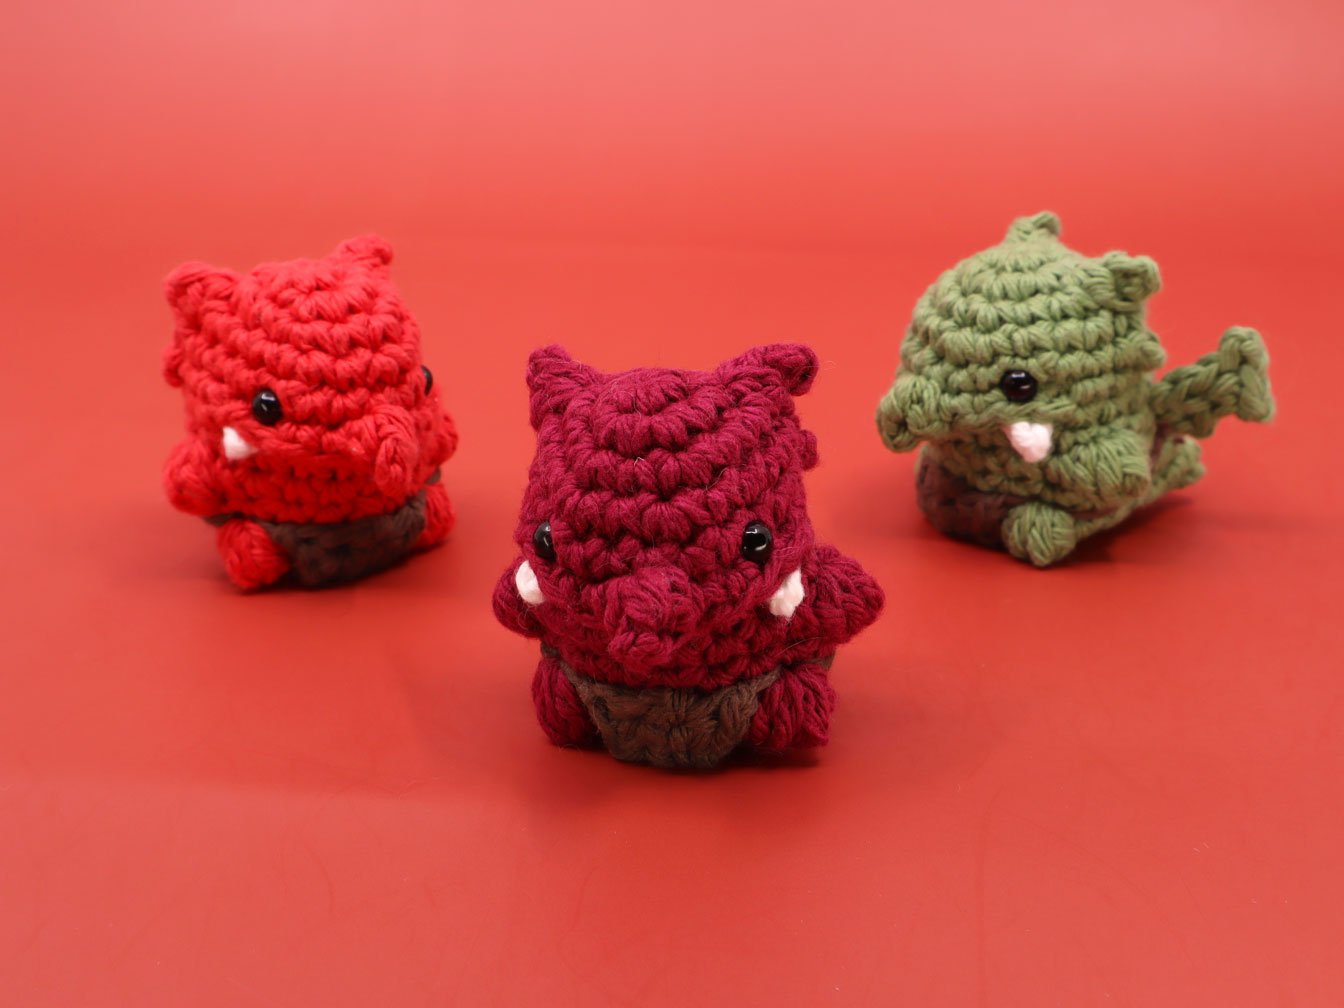
Kobold Amigurumi
What you'll create
What you'll learn
What you'll need

Cotton Yarn
Weight

Colors

Crochet Hook
G6 / 4.00 mm
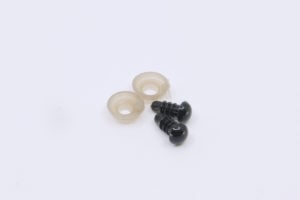
Safety Bead (x2)
6 mm

Stuffing

Darning Needle
Abbreviations
ch
Chain Stitch
st
Stitch
slst
Slip Stitch
sc
Single Crochet
inc
Increase
dec
Decrease (Sharp)
FLO/BLO
Front / Back Loops Only
sc2tog
Single Crochet 2 Together
bo
Bobble Stitch (4-dc bobble)
sbo
Spiky Bobble Stitch
mp
Mini Picot
Other Useful Info
Gauge
5 Rnds and 4 sts per 1”
Finished piece is about 2” tall
Worked
In the round unless otherwise stated
The Pattern
 Use the checkboxes to track your progress
01Teeth
[All White]
Ch 3, pull tight
Skip 2 chs, working in the 3rd chs back loop sc 1, ch 1, cut the yarn and pull through.
Sew this onto the body under the lip (Rnd 5a).
02Mini Dragon Wings
[All Main Color]
*All stitches worked in the back loops of the chains.
[ch 3, slst 1 in 2nd ch from the hook] 3 times.
Starting in the 2nd slst chain, hdc 1, sc2tog using the next 2 chs, sc 1 in the last ch.
Ch 1, cut the yarn and pull through.
03Body
[All Main Color]
Magic loop
Rnd 1: sc 6 into the magic loop (6)
Rnd 2: inc in each (12)
How to crochet the Spiked Bobble (aka “sbo”)
Step 1: Work 2 double crochet into one stitch, leaving the last loop of each on the hook.
Step 2: With the loops still on the hook, work a mini picot (ch 2, sl.st into the 2nd ch from the hook)
Step 3: Work 1 more double crochet into one stitch, leaving the last loop of each on the hook.
Rnd 3: [sc, inc] 3 times, sbo 1, inc 1, sc 1, inc 1, sbo 1, inc 1 (18)
mp = Mini Picot
(ch 2, slst into the back loop of the first ch)
Rnd 4: sc 2, inc 1, sc 1, inc 1, sc 5, mp, sc 6, mp, sc 2 (20 +2 mps)
Rnd 5: sc in each, working around the mp stitches (20)
Rnd 6: sc 1, working in the FLO, slst 1, sc 3, sbo 1, sc 3, slst 1, working in both loops, sc 10 (20)
Rnd 7: sc 1, working in the unused BLO from Rnd 5, sc 1, dec 1, sc 3, dec 1, sc 1,
working in both loops, sc 10 (18)
See video for how to attach the teeth during Rnd 7 to make it slightly easier to sew on.
Rnd 8: sc in each st around (18)
Rnd 9: bo 1, sc 8, bo 1, sc 3, inc 2, sc 3 (20)
Add eyes between Rnds 5 and 6, stitch 3 and 9.
Sew on teeth in the corners of the mouth between Rnds 6 and 7.
Rnd 10: sc 14, inc 2, sc 4 (22)
Rnd 11: sc 2, bo 1, sc 5, bo 1, sc 7, inc 1, sc 5 (23)
Rnd 12: [sc 1, dec 1] 5 times, skip 5, sc 1, dec 1 (12)
Rnd 13: dec in each (6)
Stuff fully.
Sew final 6 stitches closed, enter the bottom and exit out the base of the tail.
Seam together the tail by going through adjacent stitches up to the tip of the tail (3 stitches total) and then back down. Hide the end in the body thoroughly and cut the end close.
04Loin Cloth
[All Brown]
Ch 3
Row 1: skip the first ch, sc in next 2 (2)
Row 2: turn, ch 1, sc in each st (2)
Row 3: turn, ch 1, sc in each st (2)
Cut the yarn, ch 1 and pull through leaving a long enough end to sew onto to body.


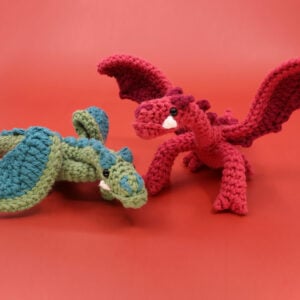
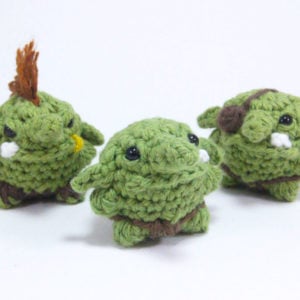
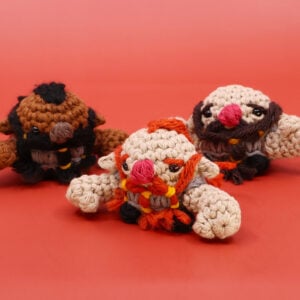

love these little guys!
I love this pattern, Louie!
I modified the skull helmet to fit on one of these guys, and after I embroidered on some skeletal details, it was adorable. (You do have to sew the helmet on to make it fit, which might be a drawback in case I wanted it removable).
Thanks for another great pattern! I opted for no wings. He’s just the cutest! ❤️❤️❤️
I LOVE this pattern!! It’s relatively easy to me, but I am not a beginner. It’s SO CUTE!!!
So excited to make today!