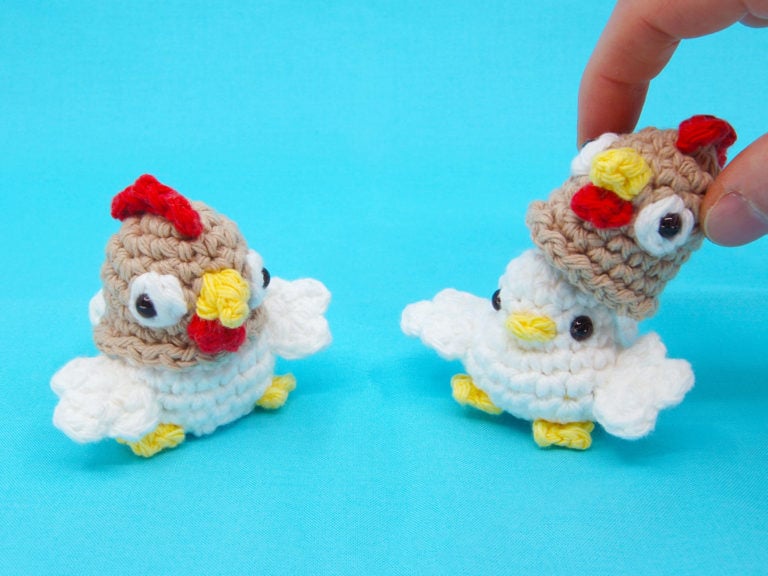
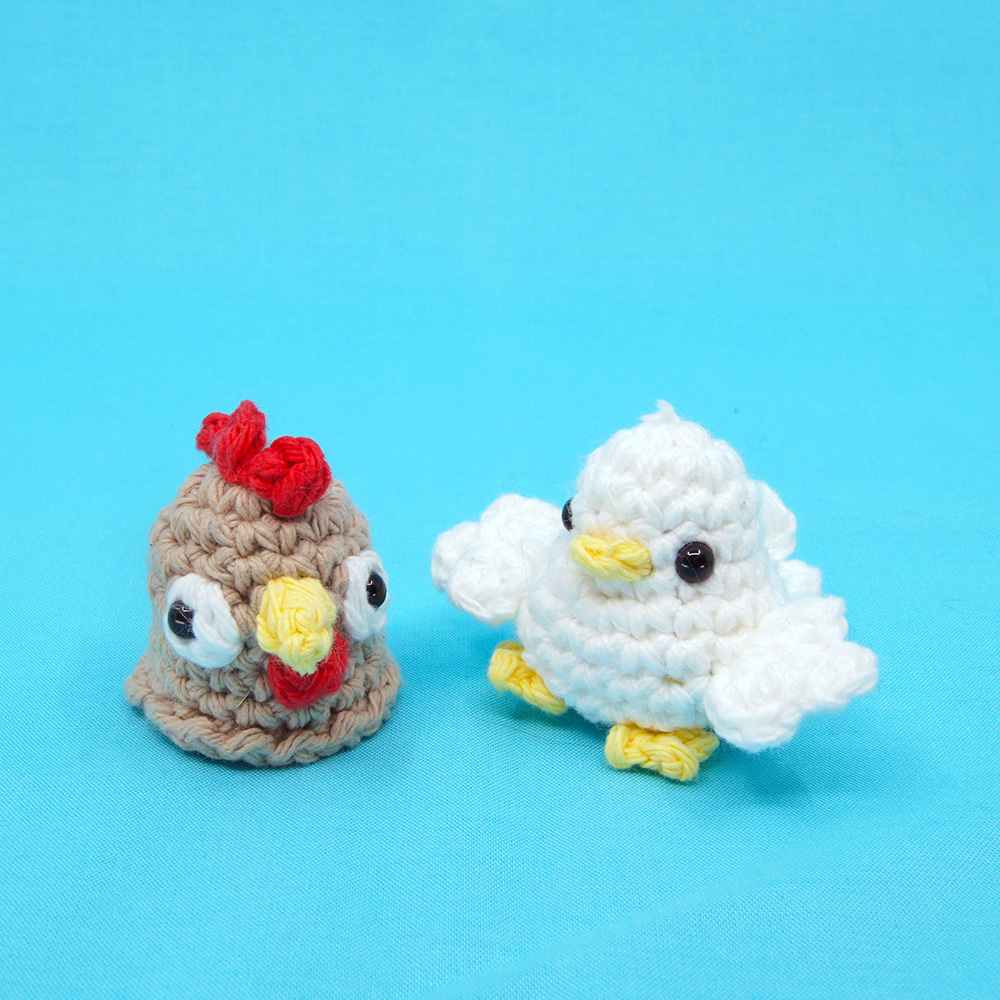
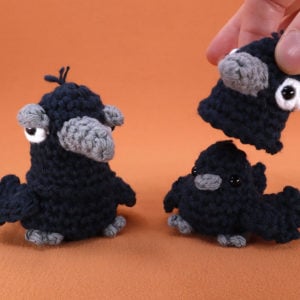
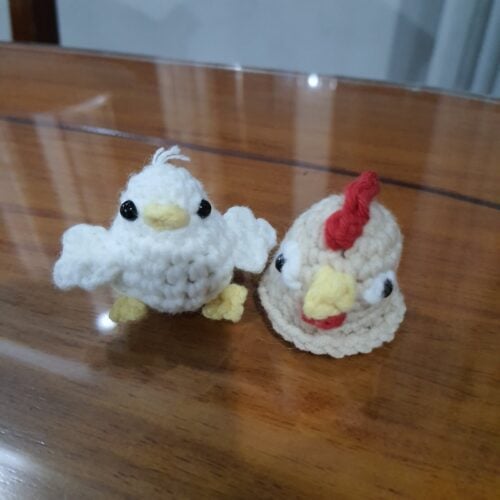
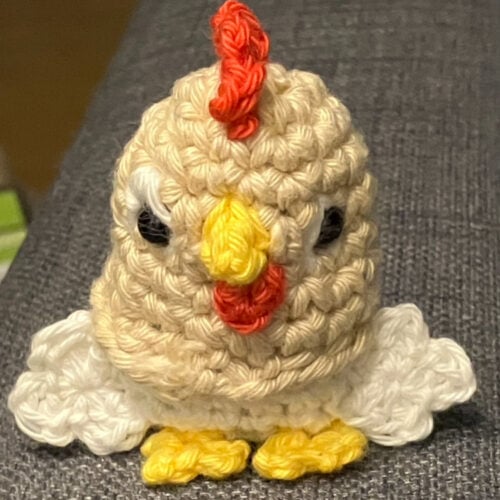
Chicken Birb Amigurumi

Medium

Louie's Loops
Designed by


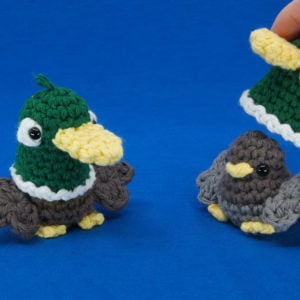
What you'll create


What you'll learn
What you'll need

Cotton Yarn
Weight

Colors

Crochet Hook
G6 / 4.00 mm

Safety Bead (x2)
6 mm

Stuffing

Darning Needle

Small Magnet
Abbreviations used
ch
Chain Stitch
st
Stitch
slst
Slip Stitch
sc
Single Crochet
inc
Increase
dec
Decrease (Sharp)
invdec
Invisible Decrease
FLO/BLO
Front / Back Loops Only
dc
Double Crochet
hdc
Half-Double Crochet
tr
Tripple (Trebble) Crochet
mbo
Mini Bobble Stitch
sbo
Spiky Bobble Stitch
Useful information
Gauge
5 Rnds and 4 sts per 1”
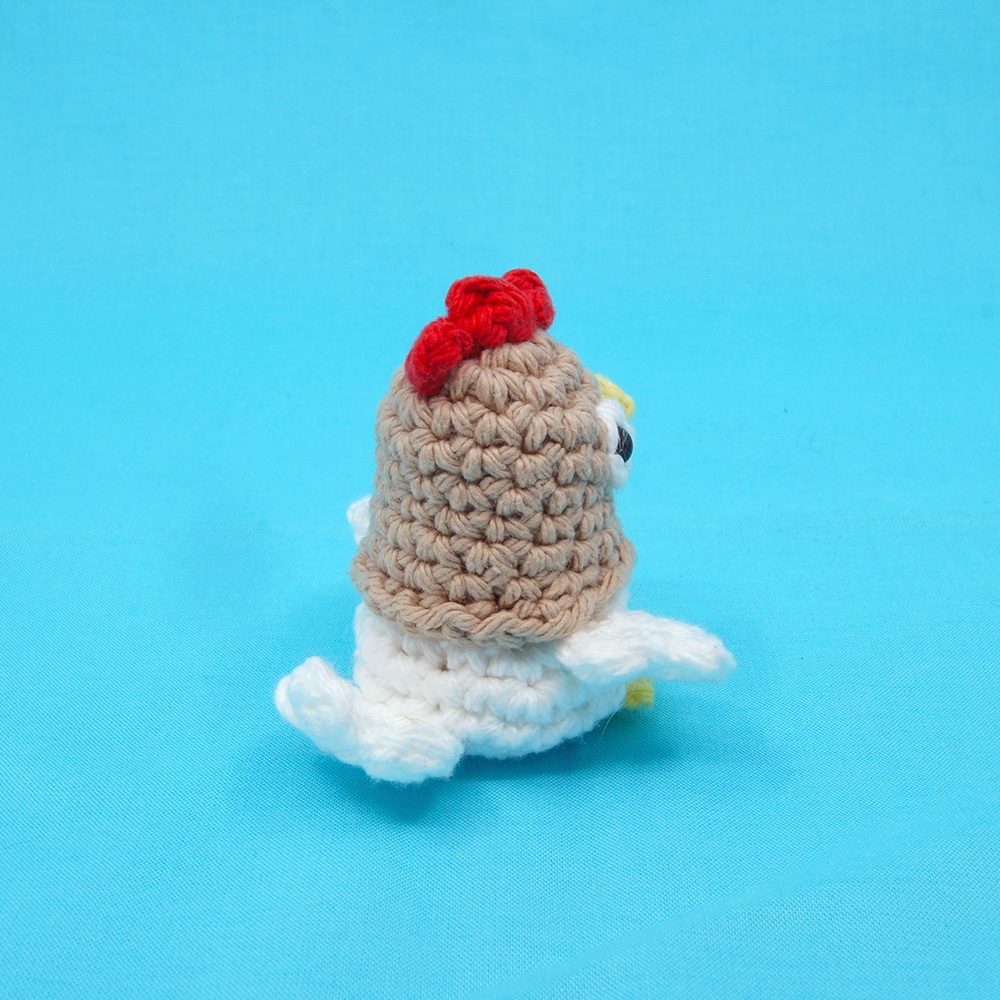
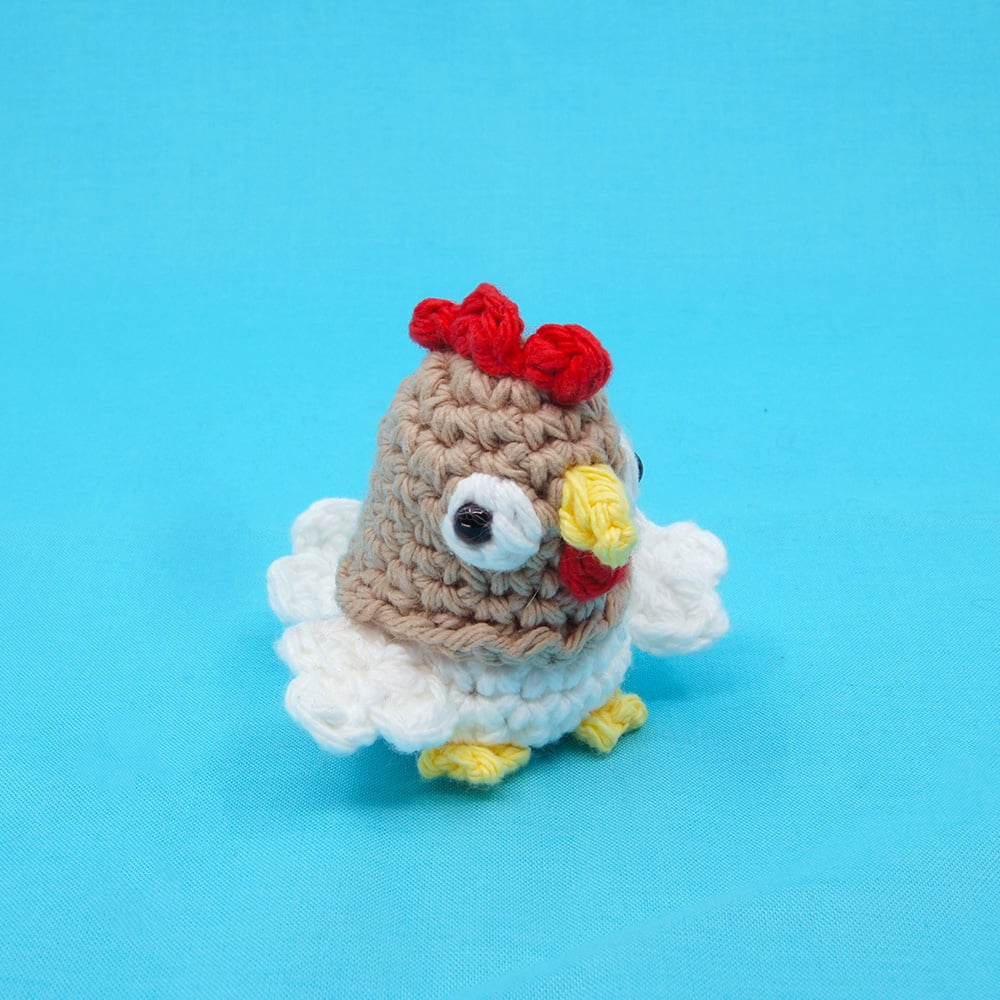
Finished piece is about 3” tall
Worked
In the round: Body and head
Flat: Wings, tail, and feet
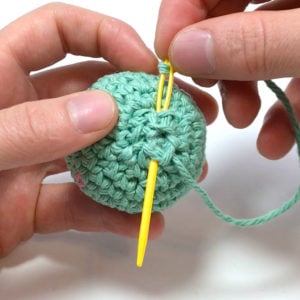
Useful Tutorials
Pattern steps
01 Wings
[All in Grey]
Magic loop leaving a long end
Row 1: Working into the magic loop, sc 1, hdc1, dc 1, ch 1, slst 1, ch 2, dc 1, ch 1, slst 1, ch 2, dc 1, hdc 1, sc 1 (7 not including chs and slsts)
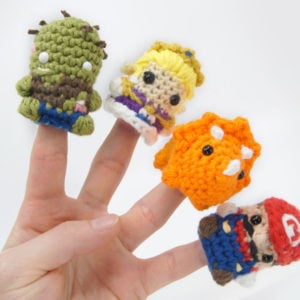
Other patterns to try


Community posts
Community Showcase
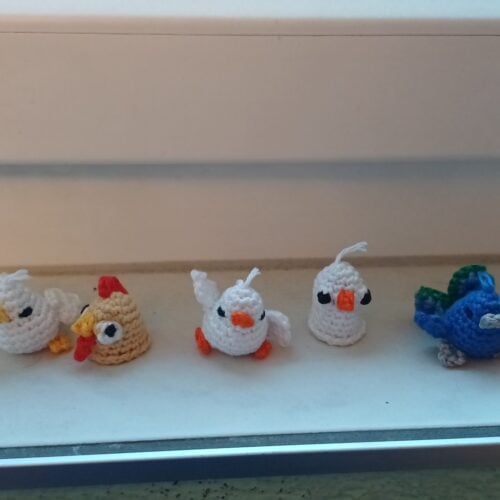
Chicken jo
Submitted by rita-medvedskiy
Submitted by artyom
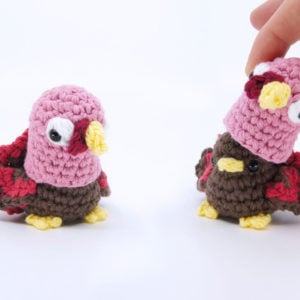
Birbs ready for secret mission
Submitted by lotta_daniel
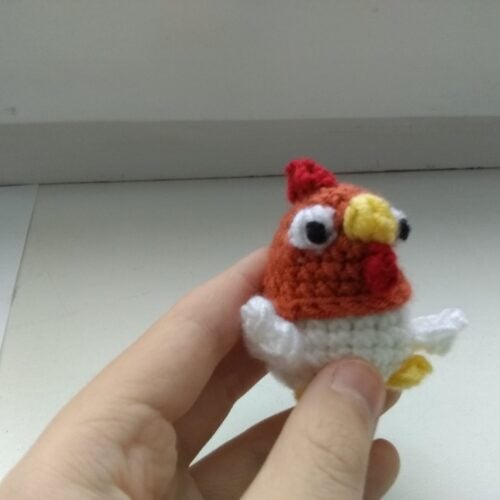
Chickeny Chicken
Submitted by alden_go
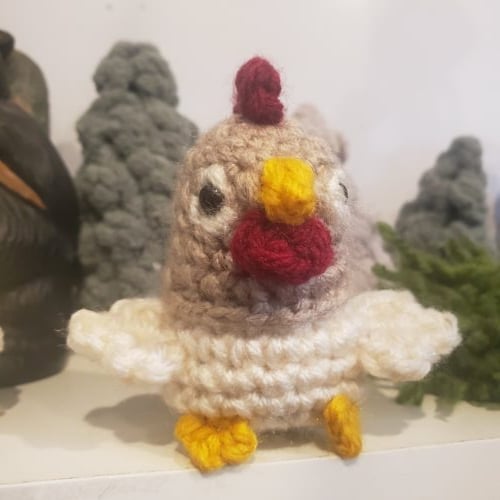
Cookie the Chicken
Submitted by Tina Krause


<3
Made six of these and hid them around the house, love this
Bless your cotton socks, it’s a WATTLE, not a waddle ;D
I love these, thank you
Thought free patterns on ravelry were free not have to have additional access . I have been a member for years and not had this problem before
Absolutely obsessed with this pattern!! I’ve already made three chickens today, and they’re so cute! I made one each for my brother and my girlfriend, and they both love them as much as I do! (The third one is for me. Lol!) I’d highly suggest swapping the colors for different browns and neutral colors, as it can make really fun and unique individual chickens! Thanks for the pattern, Louie!
Thank you so much for this pattern. I am a chicken girl for sure! Making it right now!!! thank you
I got the chicken in the monthy kit ( I am a pro member and proud of it:)) and I absolutely loved it! Just the right amount of challenge for me, but wasn’t overwhelming. The video was very useful! Super cute, and now my chicken birb is spying on my family members