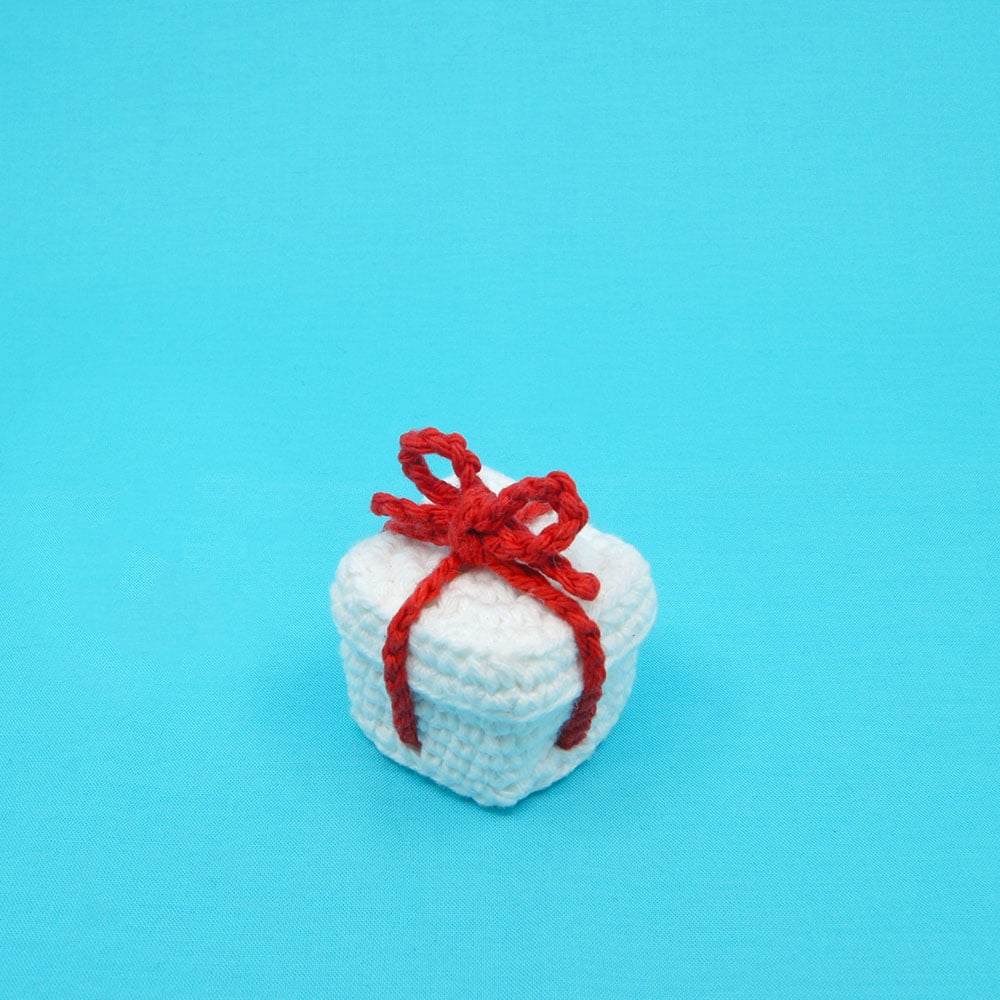
Present Gift Box

Medium
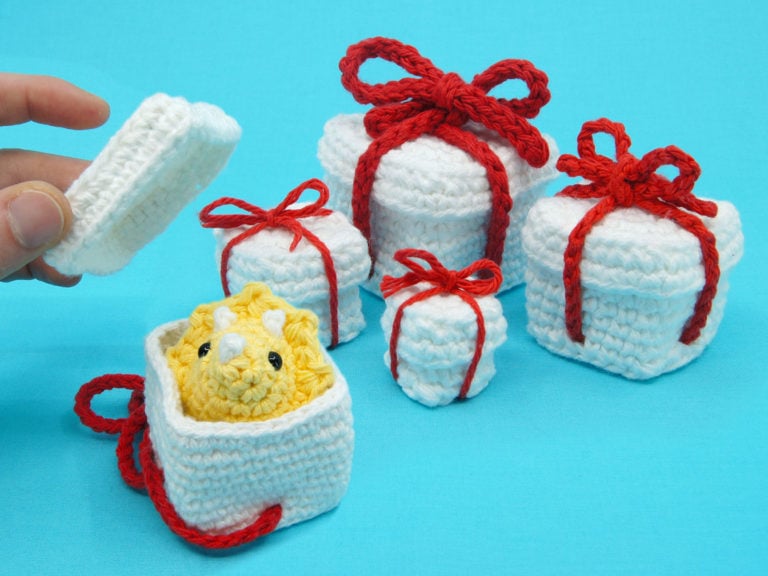
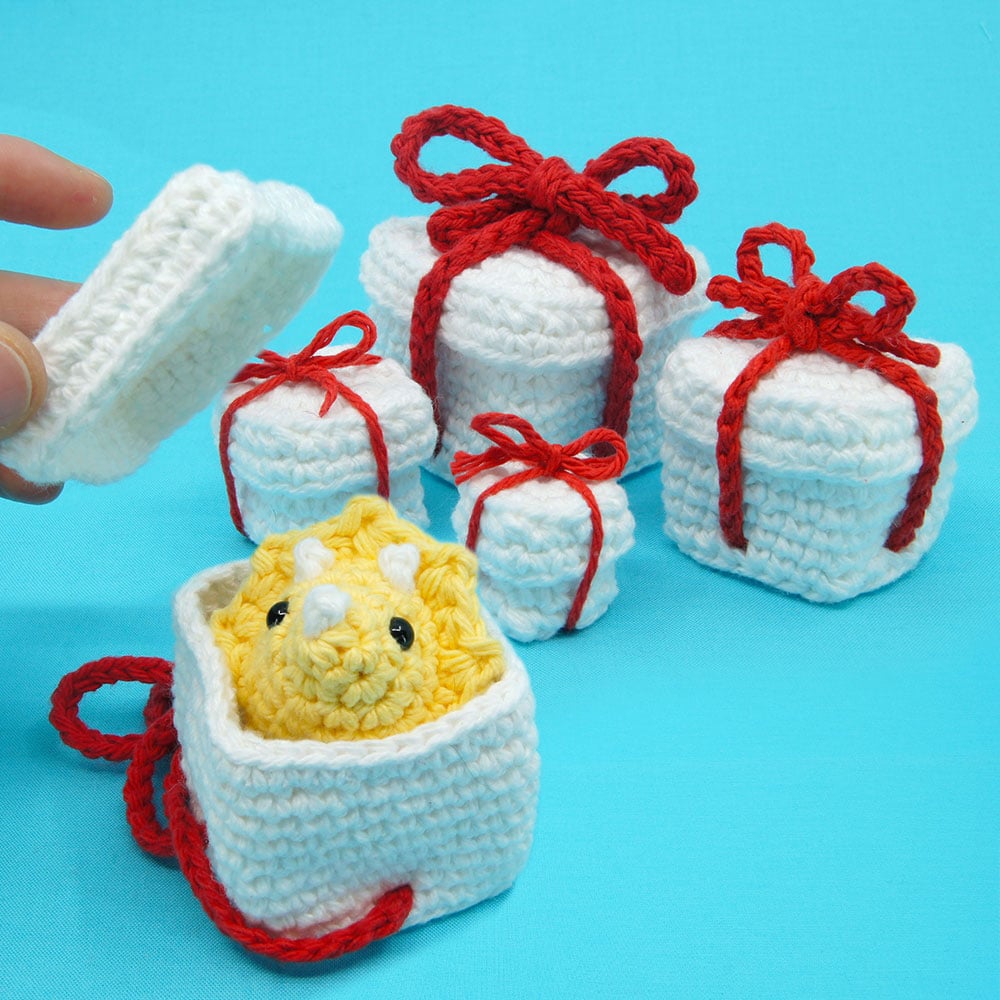
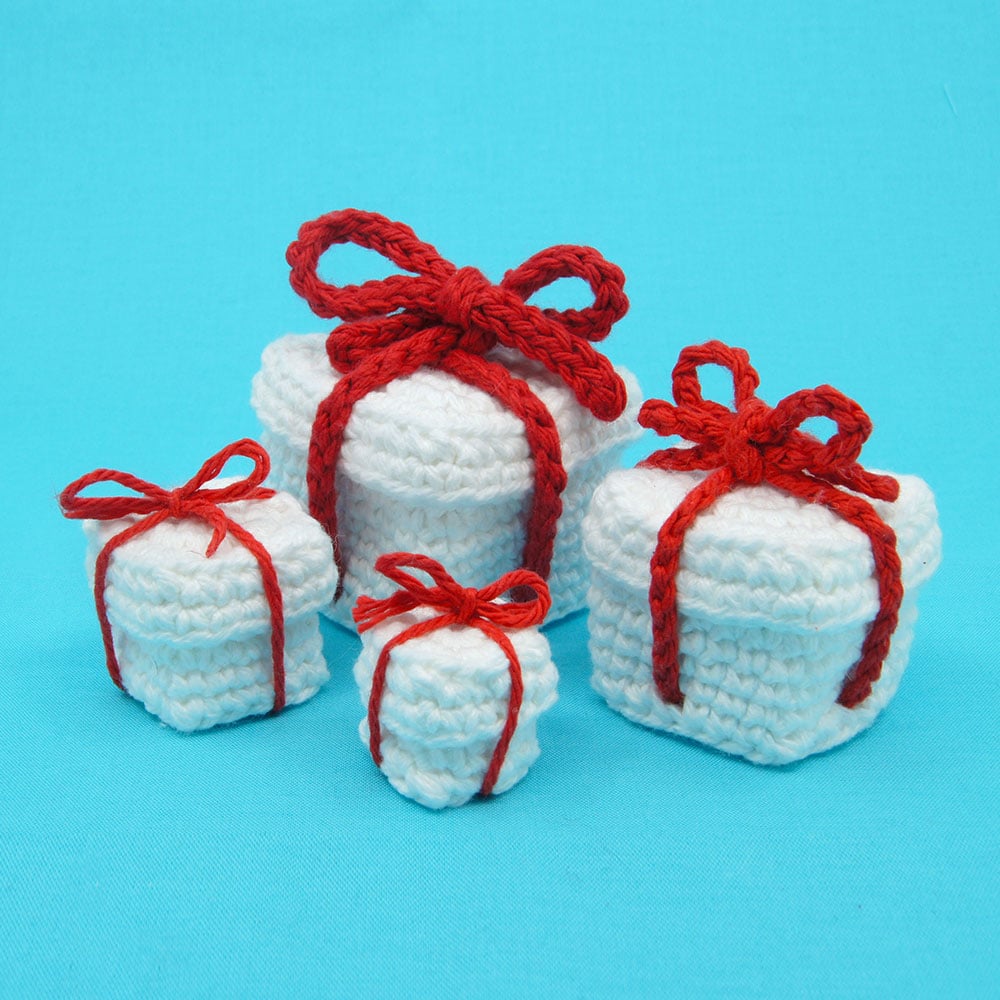
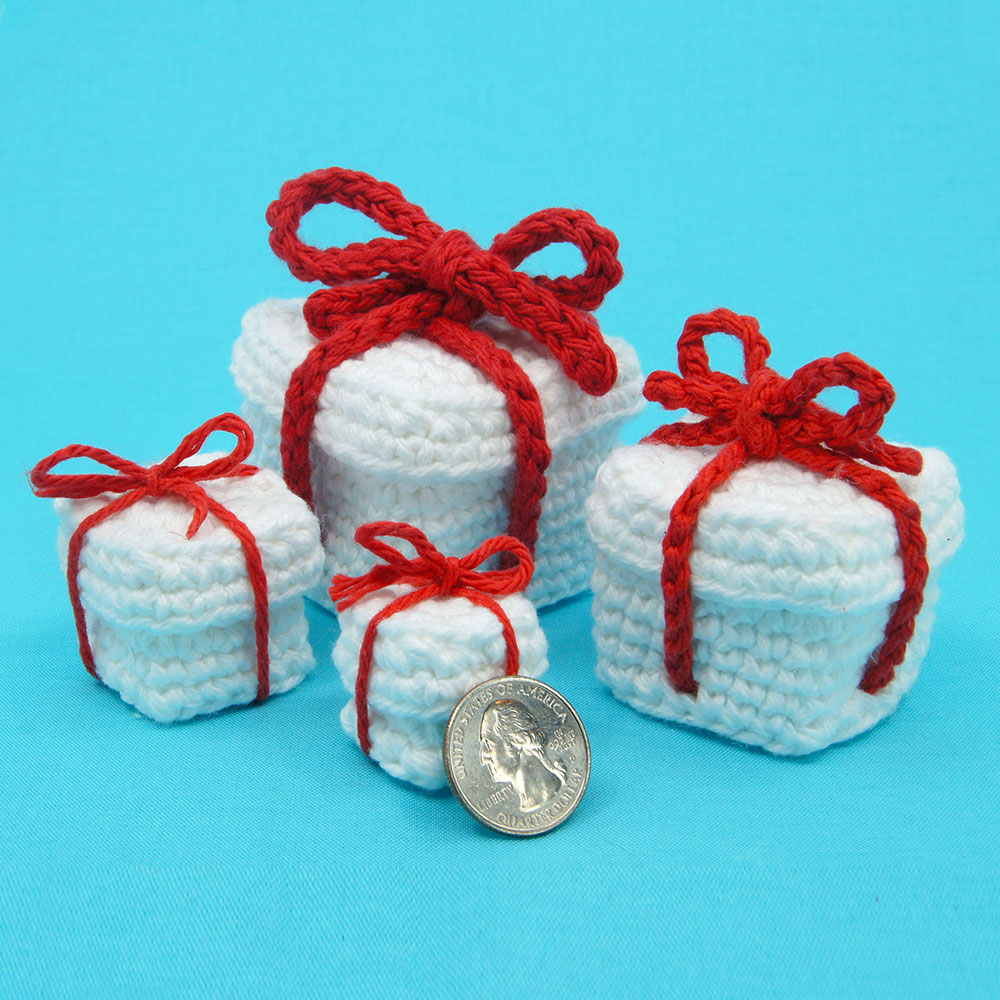
In this lesson we’ll be learning how to crochet boxes that can actually be opened and closed, perfect to use for presents! This tutorial includes instructions for how to make 4 different sizes of present and how to add holes for easy ribbon additions.

Louie's Loops
Designed by


What you'll create


What you'll learn
What you'll need
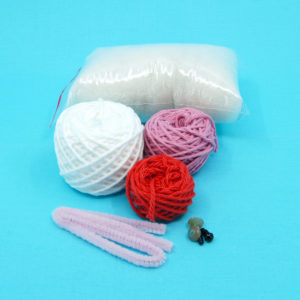
Cotton Yarn
Weight

Colors
Main Color
Ribbon Color

Crochet Hook
G6 / 4.00 mm

Stuffing

Darning Needle
Abbreviations used
ch
Chain Stitch
st
Stitch
slst
Slip Stitch
sc
Single Crochet
inc
Increase
dec
Decrease (Sharp)
FLO/BLO
Front / Back Loops Only
Useful information
Gauge
5 Rnds and 4 sts per 1”
Finished piece is about 3” tall
Worked
In the Round unless otherwise stated
Note
This pattern has a few tricky parts and I suggest starting with a medium box using the video tutorial above for beginner crocheters.
Pattern steps
01 Small Box
Lid
Magic loop
Rnd 1: sc 8 in the magic loop (8)
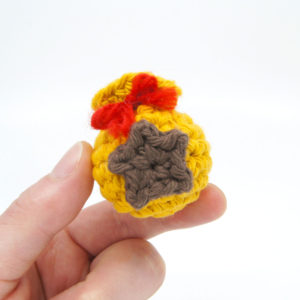
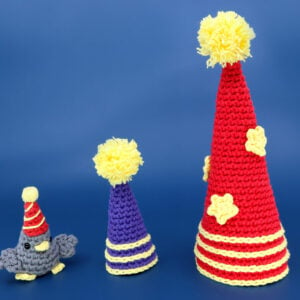
Other patterns to try


Community posts
Community Showcase
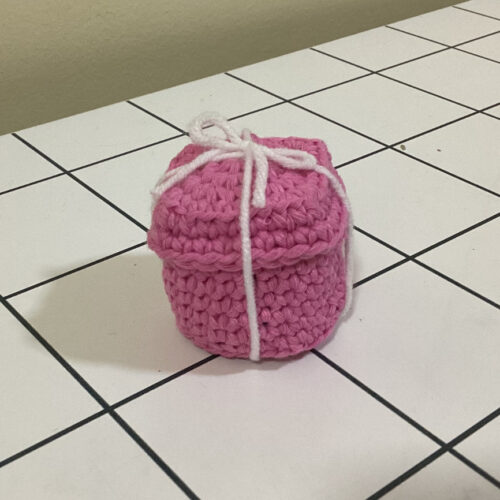
Gift box
Submitted by Soha
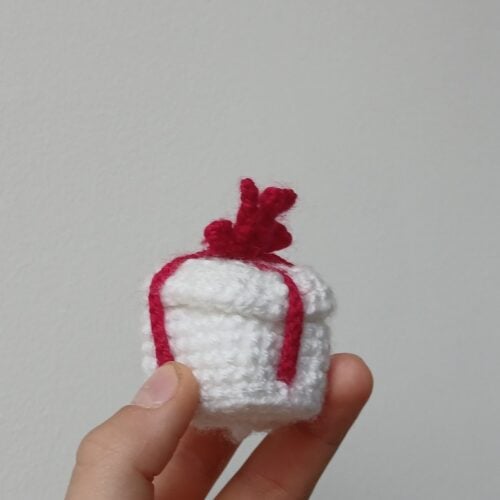
What's inside?
Submitted by aliasdannyboy
You need an account to submit your photo.


Very beautiful, I made the large one.
That was very good pattern todo make and I have more ideas to make my creations, thanky Louie
i love your energy and have been watching you for a long time i was lost in waress for a long time, i lost my son 50 years old and just this week my kitty -i am 82 and back to stay just deciding what way i want to go. HAPPY HOLIDAYS. no need to respond life is what it is- if you know the way to go share it with others, in the 60s the hippes use to say KISS keeo it simple stupid. love jeacquie.
i login 5 times for large box pattern and i dont know its not showing ?
Tina! I would make the medium size for that I think. Maybe using some cardboard you can effect the lid’s edges a bit easier.
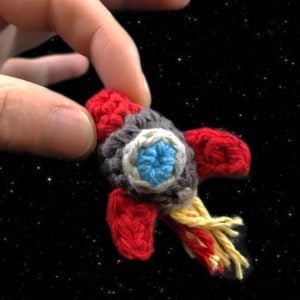
Hallo Louie
what size would you choose to make – if you have crocheted that heart (human heart) and want to put it in a package?
can you pack the lid – ie the edges in another way?
I still can’t get the mini box. Nothing comes up. I thought I could figure it out myself mathematically but I don’t have close to your talent , with my numbers it came up as a strange little ball/cube/?? .. lol..
The mini one is really tricky just because of the size. Maybe try it with larger or more loose yarn? Like wool?