
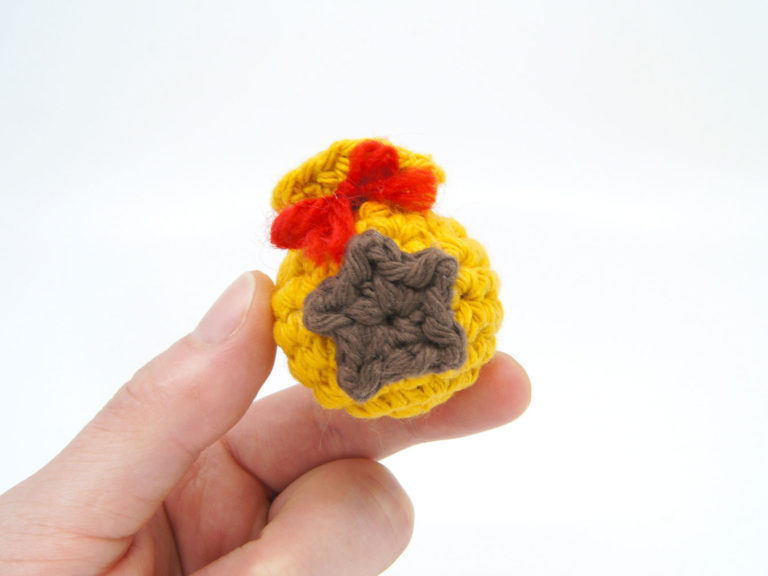
Mini Bell Bags from Animal Crossing

Easy
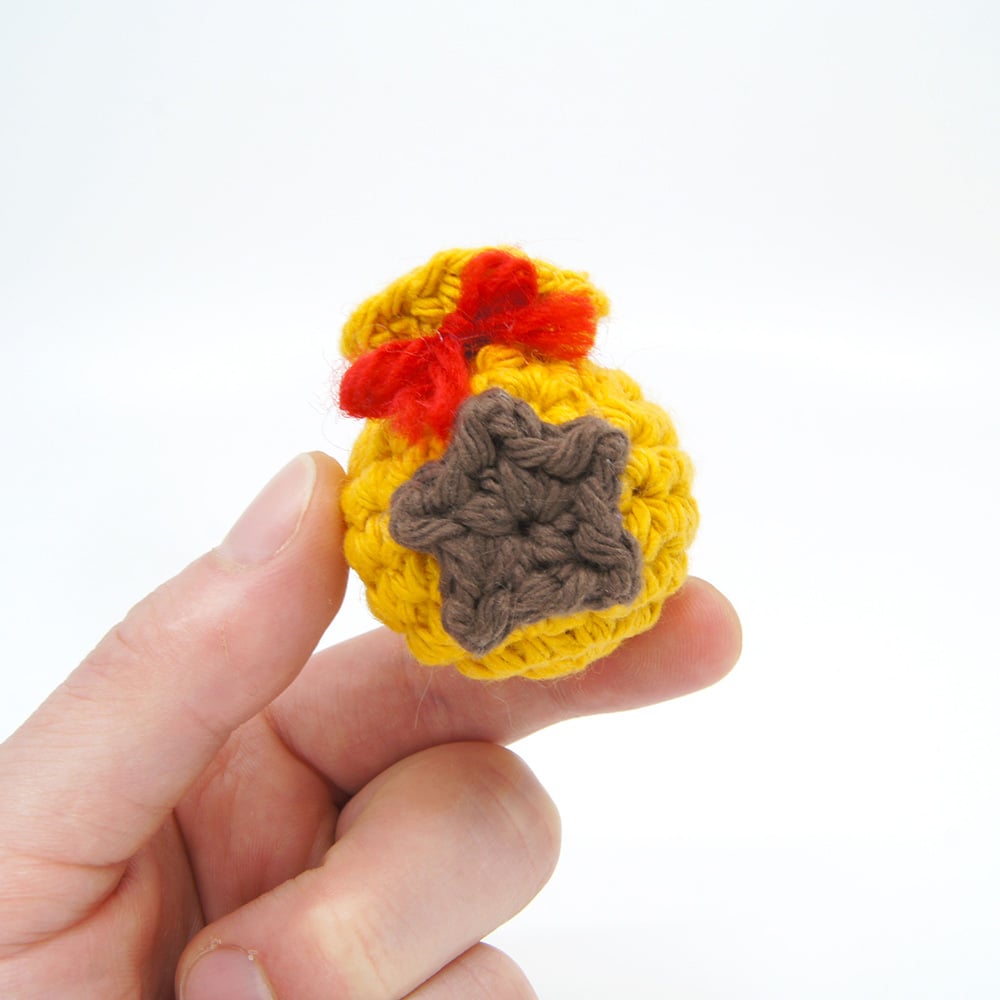
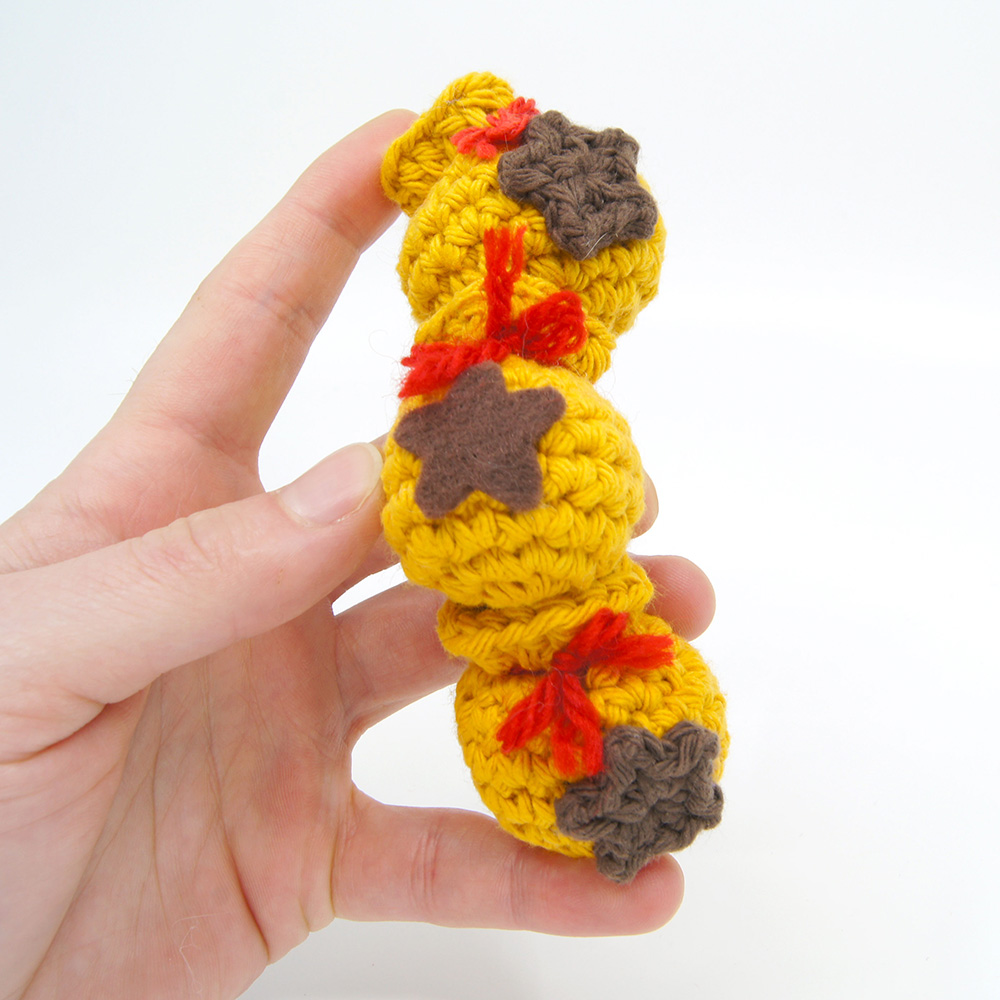
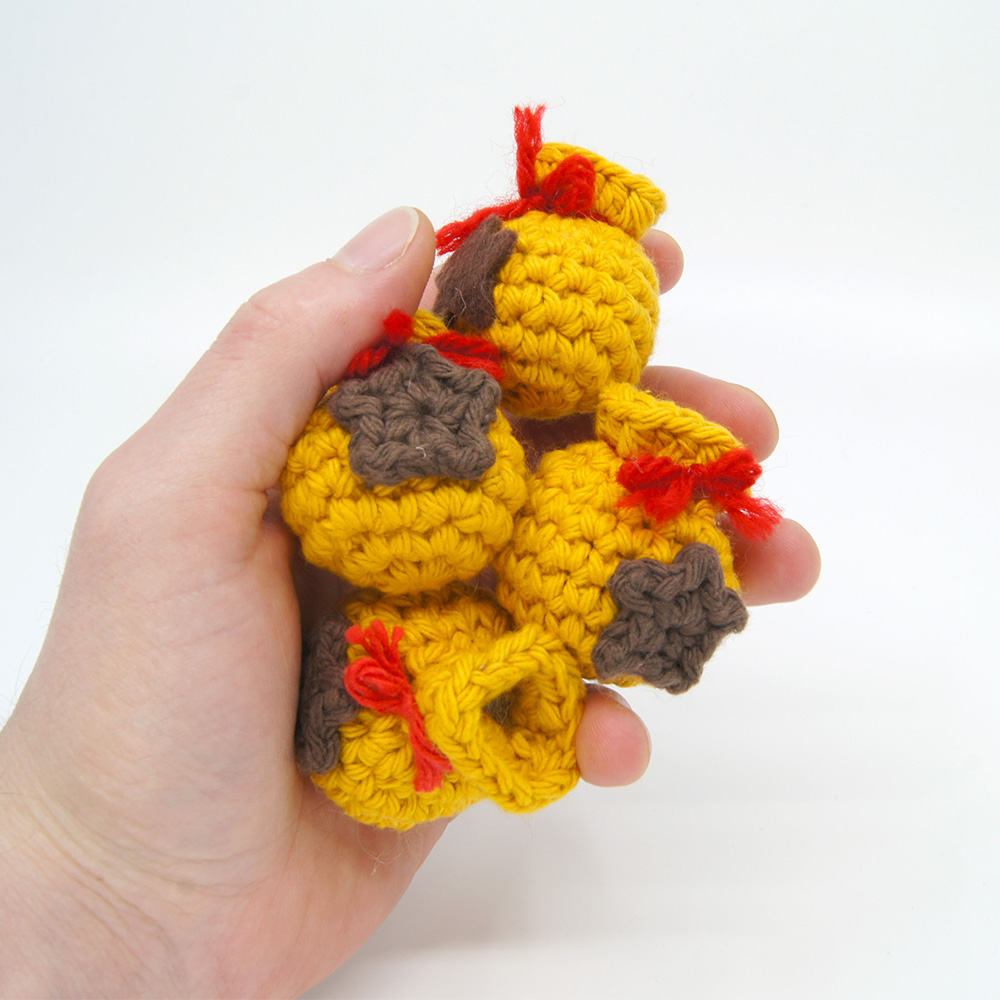
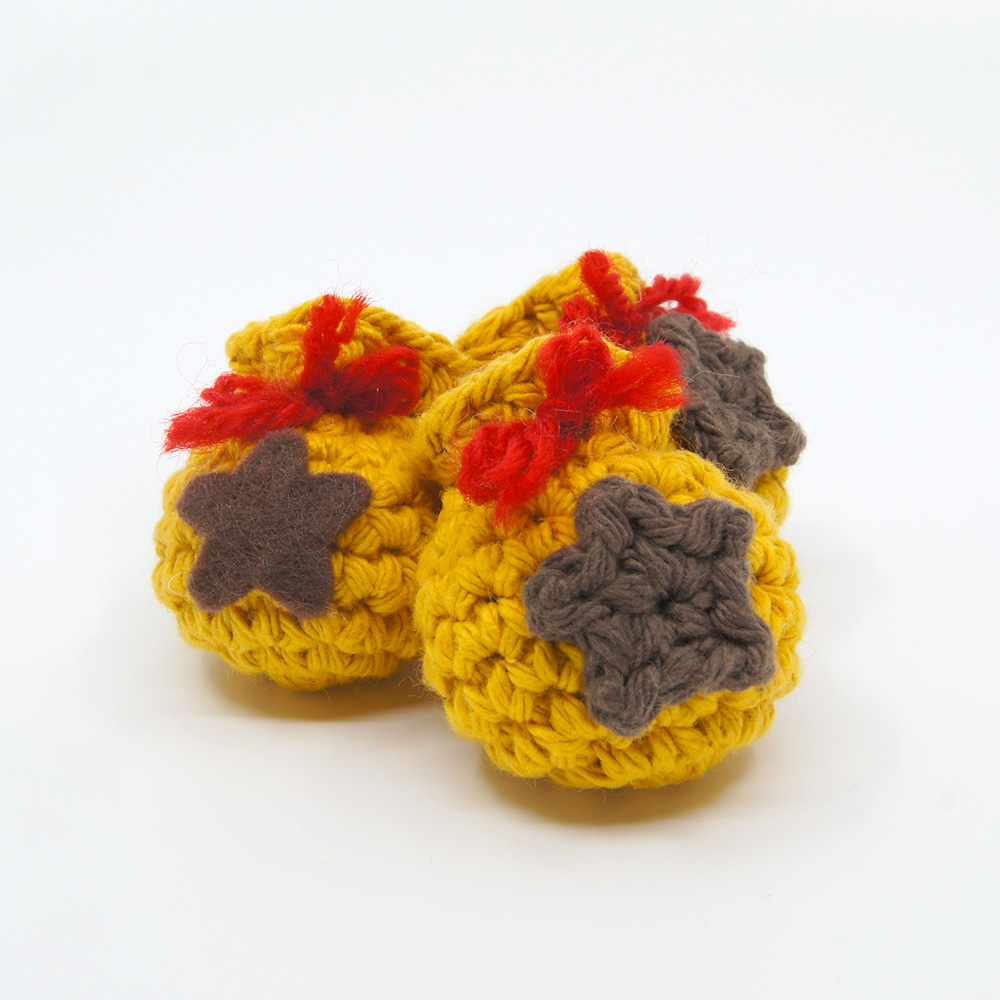
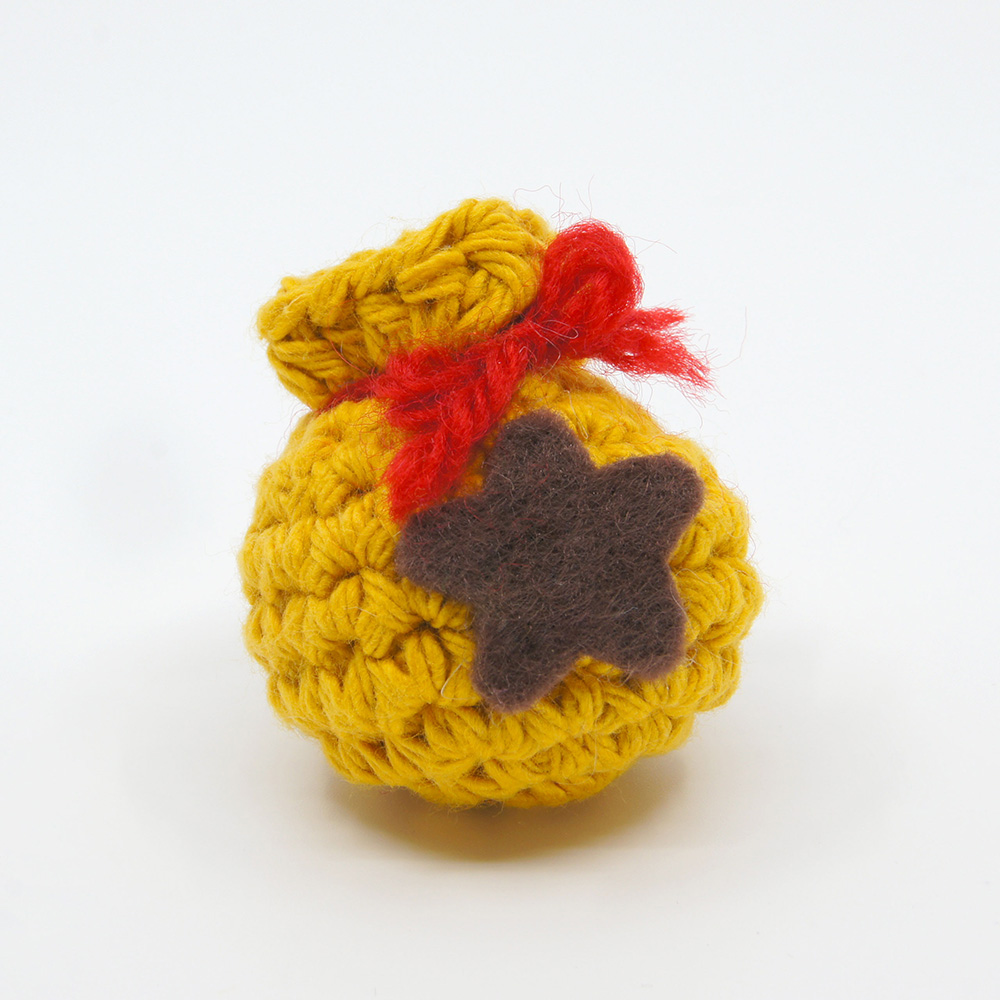
In this lesson we’ll be crocheting mini bell bags from Animal Crossing, perfect for having on hand when you go visit Nook’s Cranny! These bell bags are ultra easy to make so you can make a bunch to hide for your kids!

Louie's Loops
Designed by


What you'll create



What you'll learn
What you'll need
Cotton Yarn
Weight

Colors
Yellow (Main)
Brown (Star)
Red (Rope)
Crochet Hook
G6 / 4.00 mm
Brown Felt for Star
(optional)
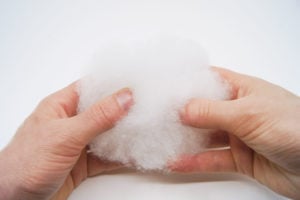
Stuffing
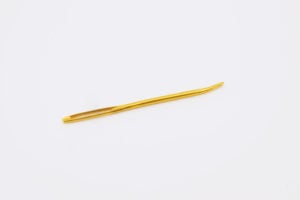
Darning Needle
Abbreviations used
ch
Chain Stitch
st
Stitch
slst
Slip Stitch
sc
Single Crochet
inc
Increase
invdec
Invisible Decrease
FLO/BLO
Front / Back Loops Only
hdc
Half-Double Crochet
mp
Mini Picot
Useful information
Gauge
5 Rnds and 4 sts per 1”
Finished piece is about 2” tall
Worked
In the round unless otherwise stated
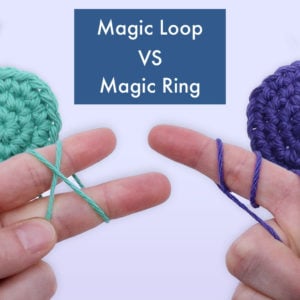
Useful Tutorials
Pattern steps
01 Star
[All in Brown]
Magic loop
m.p = Mini Picot
ch 2, slst 1 into the back loop of the 2nd ch from the hook.
Other patterns to try



Community posts
Community Showcase
Crocheted this pattern? Be the first to show off your project by submitting a photo!
You need an account to submit your photo.

I love this bag it’s so cute!!!
Heads up! In Rnd 7 it says “[sc 4, invdec] repeat 6 times (15)” It should be you repeat 3 times, not 6.
Thanks I think he fixed it
man, i absolutely love these tutorials and how you teach things. but i’m having such a hard time following along and learning because i am left handed. is there any possibility you could have separate mirrored videos too? that’s probably asking a lot but i am so interested in learning how to do this and i haven’t found any other person i like learning from with patterns and things that i’m interested in learning about. i’m sure there are many others in the same boat
I’m left-handed too and I generally just study the pattern instructions so I understand how the row/round should look, then do it left-handed. As long as you have the stitches in the right place, your pieces should turn out just fine. I would start by first watching left-handed videos on how to execute the different stitches and make sure you have the basics down, then transfer that knowledge to other patterns. I hope this helps!