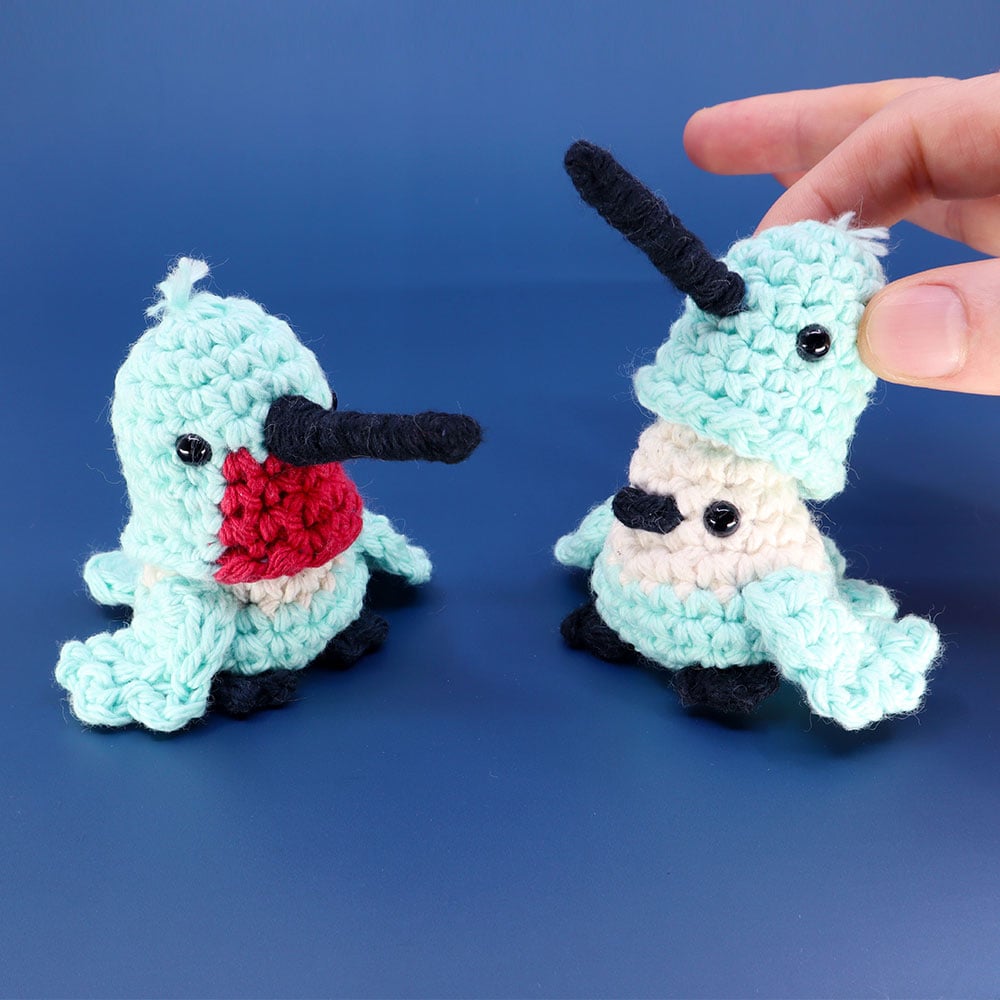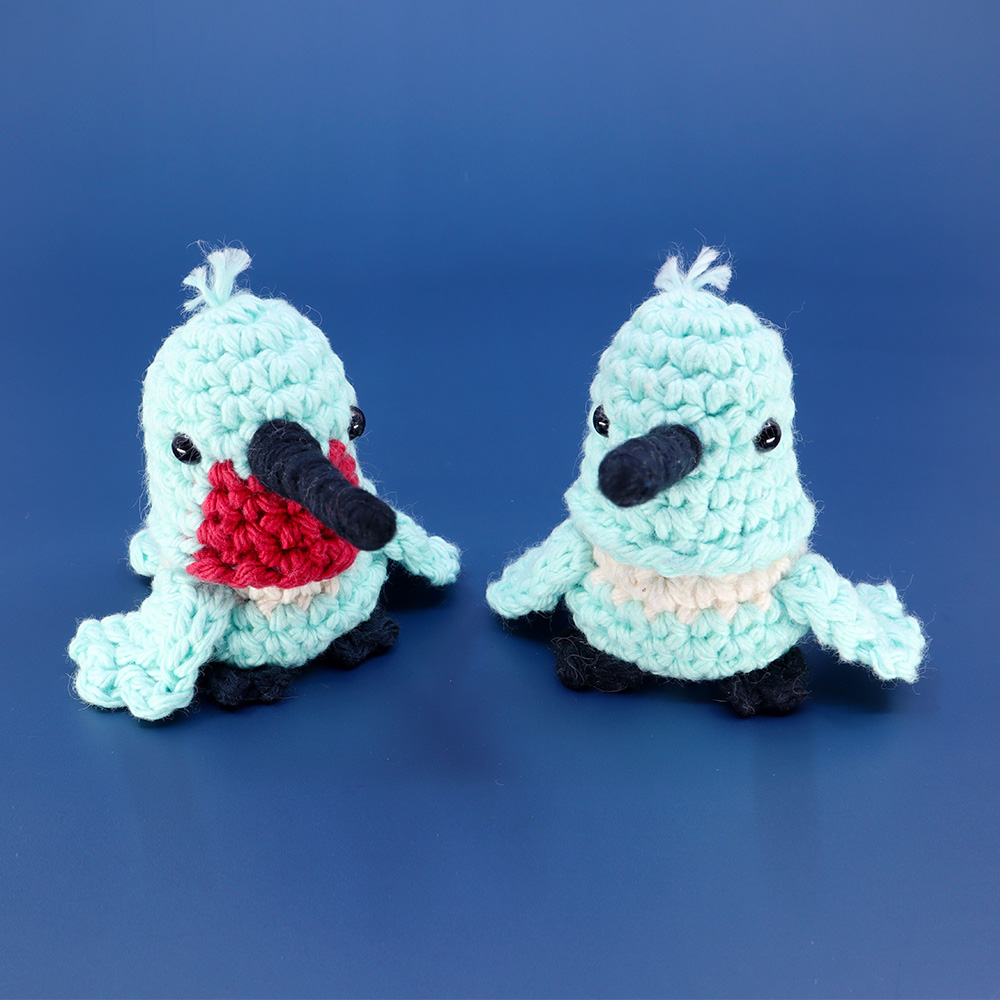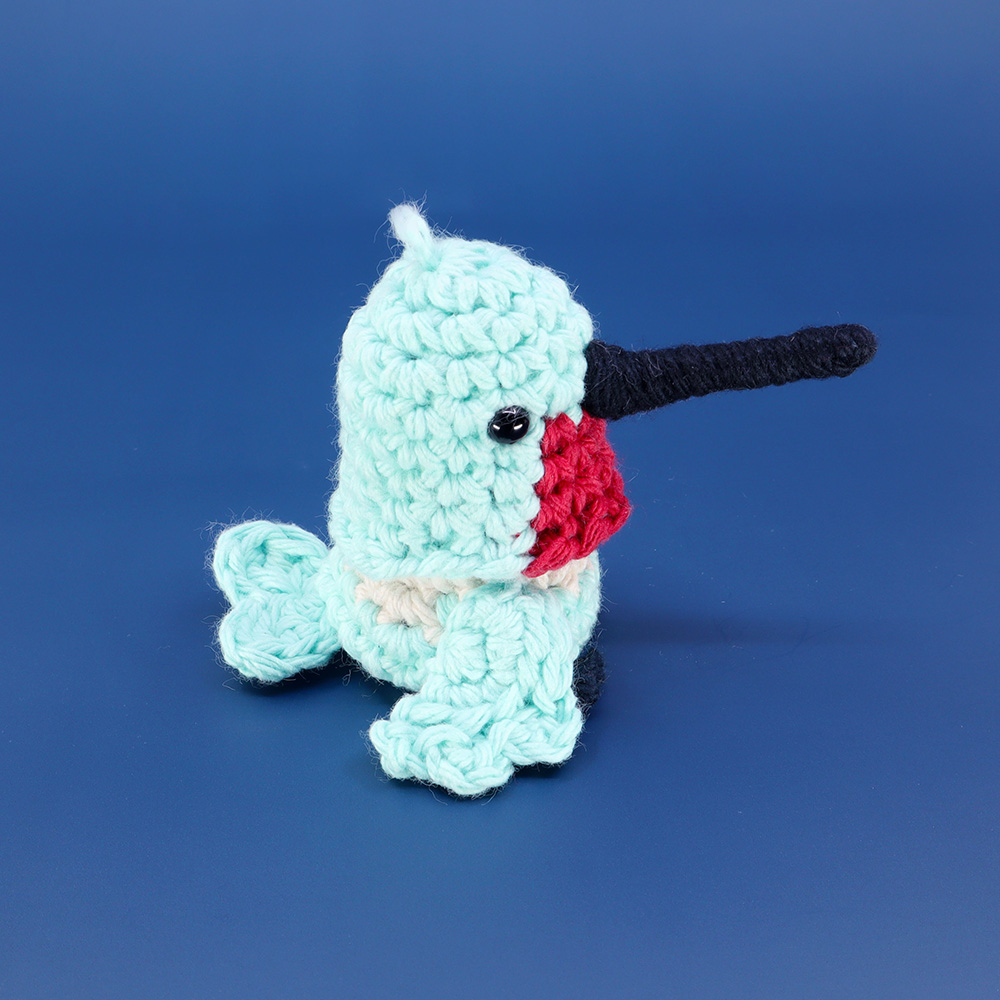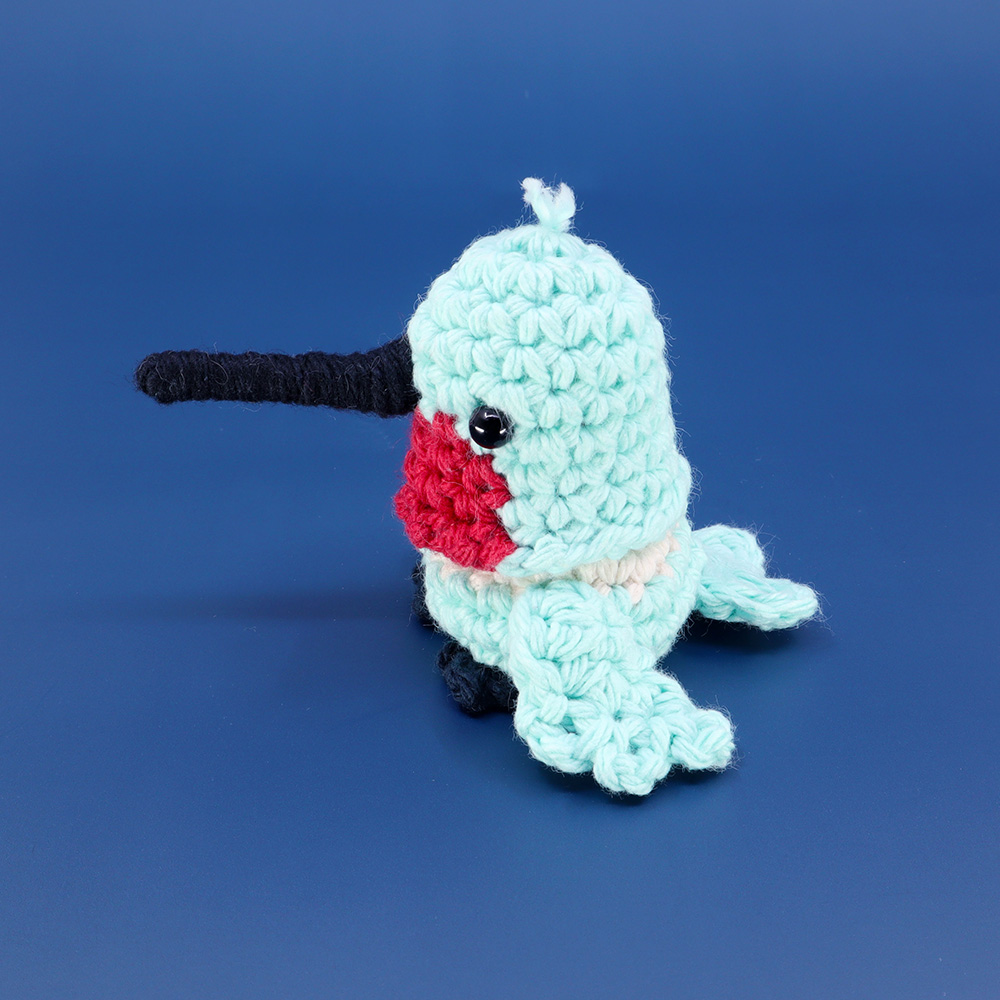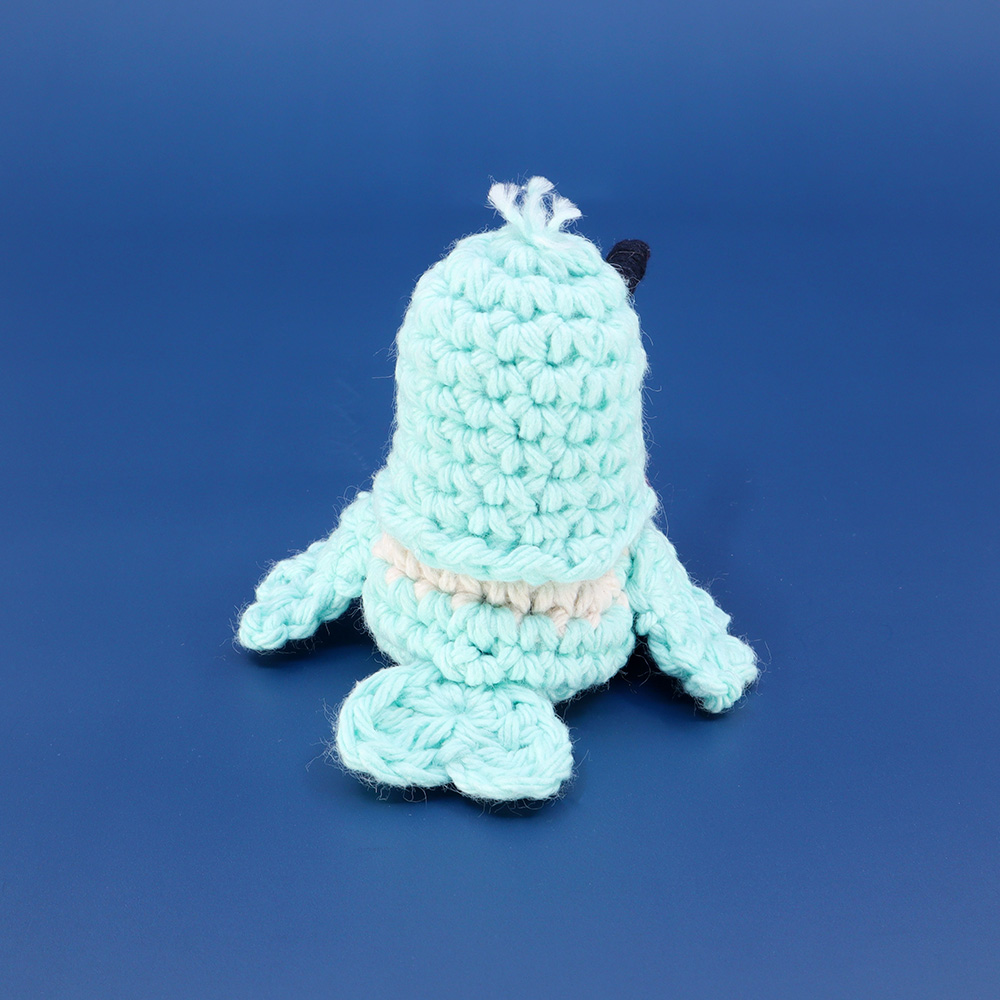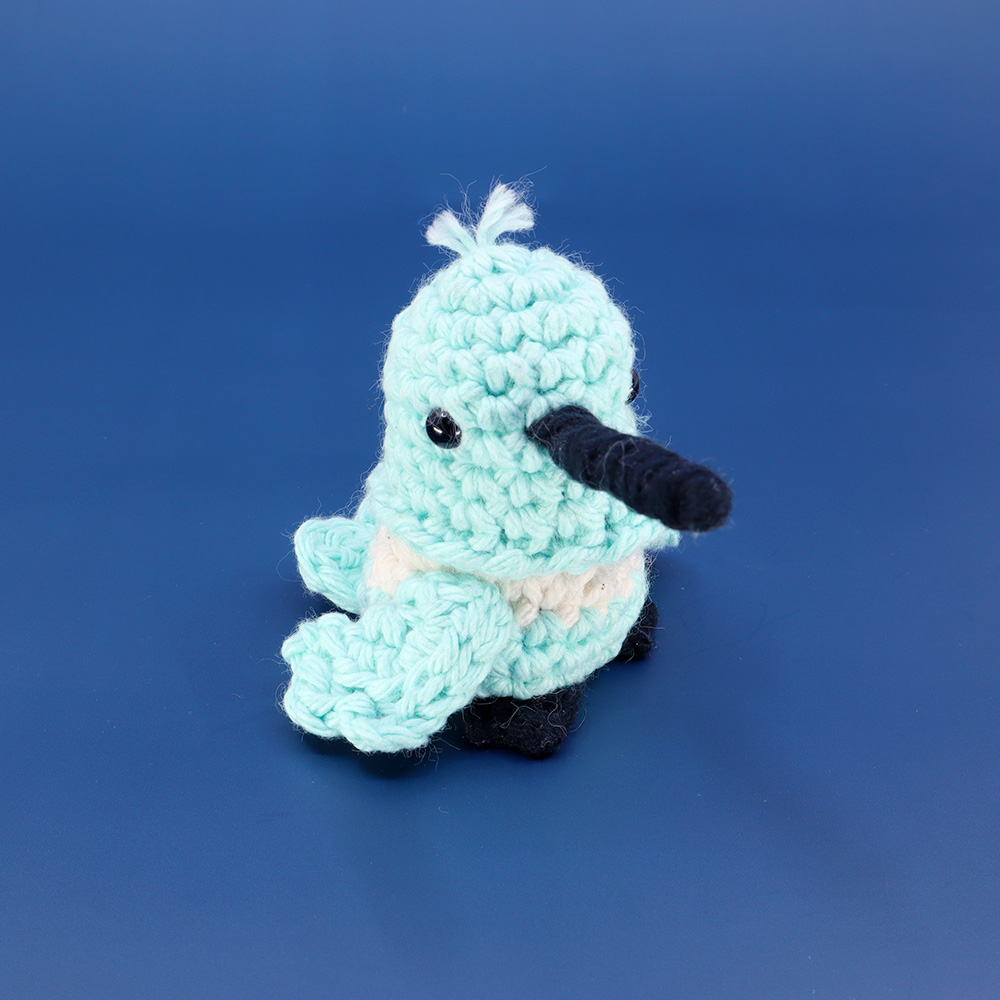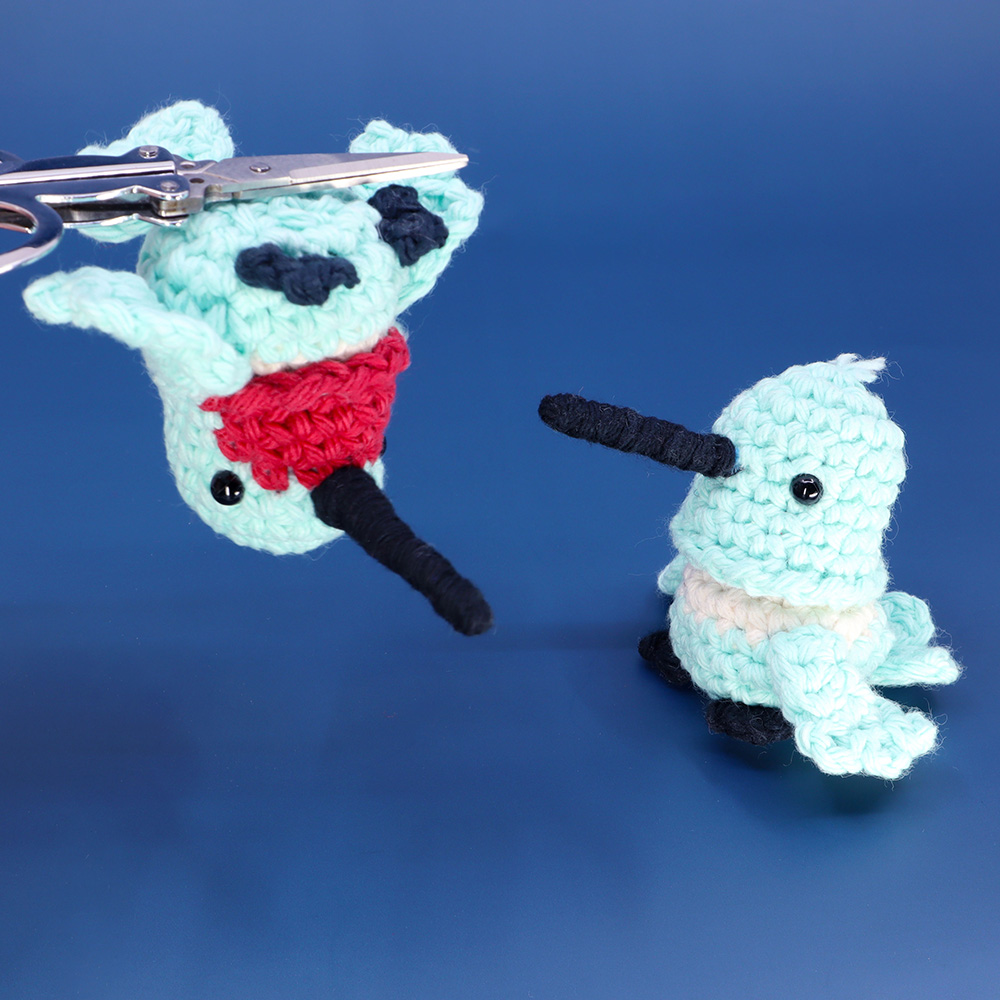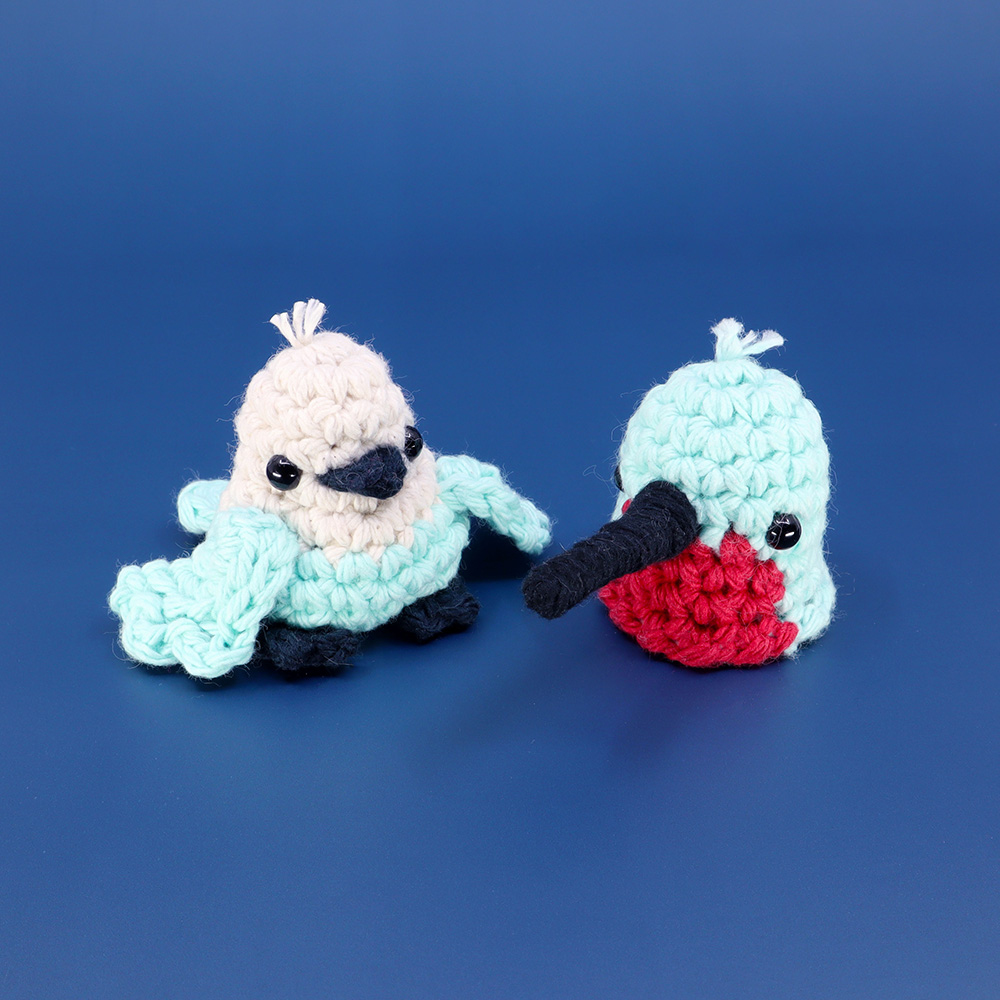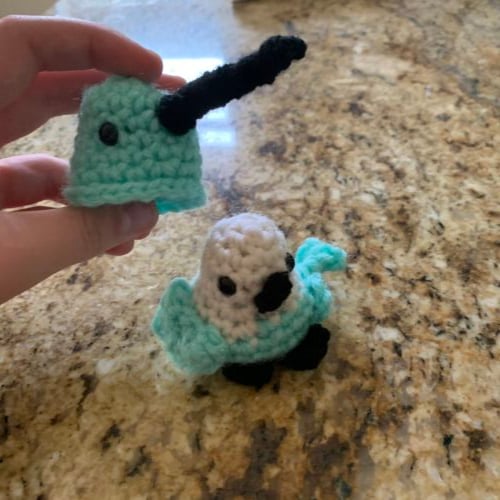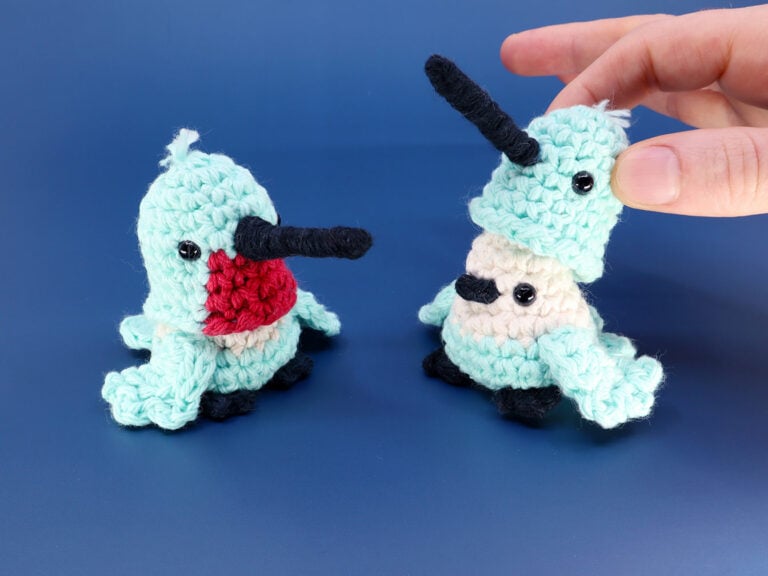
Hummingbird Birb Amigurumi
What you'll create
Video tutorials
Main Video
Lefty
What you'll learn
What you'll need
Cotton Yarn
Weight

Colors
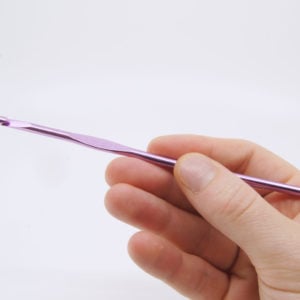
Crochet Hook
G6 / 4.00 mm
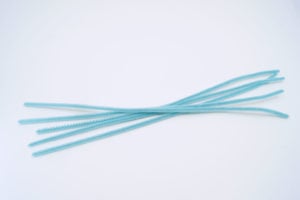
Pipe Cleaners
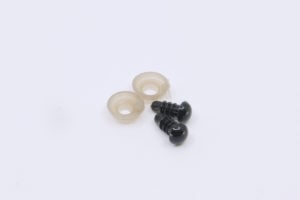
Safety Bead (x4)
6 mm
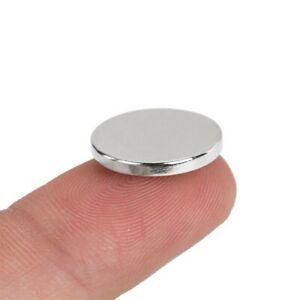
Mini Magnet
Abbreviations used
ch
Chain Stitch
st
Stitch
slst
Slip Stitch
sc
Single Crochet
inc
Increase
dec
Decrease (Sharp)
invdec
Invisible Decrease
FLO/BLO
Front / Back Loops Only
dc
Double Crochet
hdc
Half-Double Crochet
tr
Tripple (Trebble) Crochet
mp
Mini Picot
Useful information
Gauge
5 Rnds and 4 sts per 1”
Finished piece is about 2” tall
Worked
In the Round unless otherwise stated
Useful Tutorials
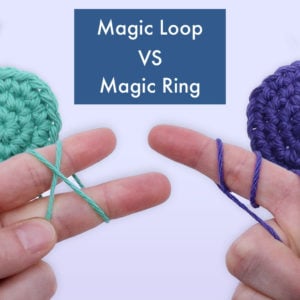
Pattern steps
01
Wings
5:57
Qty 2
[All in Color A]
Magic loop leaving a long end
Row 1: sc 3 in the magic loop (3)
Row 2: turn, ch 2, hdc 2 (inc) in each st around (6)
Row 3: turn, [ch 3, slst 1] 3 times, slst in last 3 sts (6 slsts)
Ch 1, cut the yarn, and pull through. Use the two tail ends to sew onto the body before you sew closed.
02
Tail
18:52
[All in Color A]
Magic loop leaving a long end
Row 1: Working into the magic loop, sc 1, hdc 1, dc 1, tr 1, ch 2, slst 1, ch 3, tr 1, dc 1, hdc 1, sc 1 (8 not including chs and slsts)
Cut the yarn, and pull through. Don’t ch. Use the two ends to sew these onto the butt.
03
Feet
24:30
Qty 2
[All in Black]
Ch 3
Step 1: Skip 2 chs, pull tight to make a point, slst in 3rd ch
Step 2: Ch 2, pull tight to make a point, slst in same ch as step 1.
Step 3: Ch 2, pull tight to make a point, slst in same ch as step 1.
Ch 1, cut the yarn, and pull through. Use the two tail ends to sew onto the body after Rnd 10.
04
Birb Beak (Optional)
29:23
[All in Black]
(only make if you want the removable hummingbird head)
Ch 3, hdc 1 in the 3rd ch from the hook.
Cut the yarn, ch 1 and pull through.
05
Head
31:50
[Starting in Color A]
Magic loop
Rnd 1: sc 6 into the magic loop (6)
Rnd 2: inc in each st (12)
Rnd 3: [sc 3, inc 1] 3 times (15)
Rnds 4-5: sc in each st (15 x 2)
In the following Rnds, you can do color changes to add a Red neck to your hummingbird. These color changes are completely optional and can be difficult for complete beginners. For beginners, instead continue in Color A for the rest of the head.
To follow the color changes, make any underlined stitches in Red, and the rest in Color A. Follow the video at (44:25) for detailed instructions.
Underlined = Red
Rnd 6: sc 2, sc 4, sc 9 (15)
Rnd 7: sc 2, sc 5, sc 8 (15)
Rnd 8: sc 2, sc 5, sc 8 (15)
Rnd 9: working into the FLO, [ch 1, slst 1] 2 times, [ch 1, slst 1] 6 times, [ch 1, slst 1] 7 times (15 slsts)
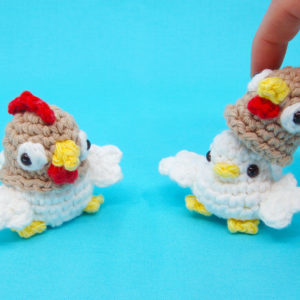
To make the head attached to the body instead of a secret Birb underneath, use a new strand of Color B and continue from Rnd 6 on the Body, working in the BLO from Rnd 8 above.
To make the head separate, slst 1, cut the yarn, pull through and hide the end.
06
Hummingbird Beak
1:01:30
To make the beak, cut a black pipe cleaner in half, and then half again. Fold in half and place a needle in the end and spin around leaving 2 small pointed ends to add into the face and a small loop on the end that you can fit your needle through.
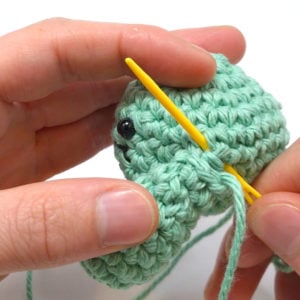
Attach to the face by sticking the two pointed ends between the eyes (around stitch 9 in Rnd 5) and twist on the inside to secure. Then, using a strand of Black yarn on a needle, exit the face from one side of the pipe cleaner and begin wrapping up the pipe cleaner to cover it.
When you get to the tip, insert the hook into the loop at the end and wrap around a few times to secure before wrapping back down the beak to the base. Try to wrap so that it is slightly thicker on the base. Insert into the stitch at the base opposite from where you entered and double knot on the inside to secure.
07
Birb Body
1:13:56
[Starting in Color B]
Magic loop
Rnd 1: sc 6 into the magic loop (6)
Rnd 2: inc in each st (12)
Rnds 3-4: sc in each st (12 x 2)
Rnd 5: [sc 3, inc 1] 3 times (15)
Rnd 6: [sc 4, inc 1] 3 times (18)
[Change to Color A]
Rnd 7: sc 11, inc, sc 2, inc, sc 2, inc (21)
Rnd 8: sc in each st (21)
Skip the following if you made the head attached.
Sew on the Birb Beak in Rnd 4 using the tail ends into st 3 and 5. Add the eyes 1 st away from the beak, into sts 2 and 6.
Using the tail end pull through the very center of the head and cut close to create a little tuft of hair at the top.
Rnd 9: sc 11, invdec, sc 2, invdec, sc 2, invdec (18)
Rnd 10: [sc 1, invdec] 6 times (12)
Sew together. Start by sewing on the wings onto the side of the body into Rnd 8. Sew the tail onto the back into Rnd 9. Sew on the feet into Rnd 10.
Rnd 11: dec in each st (6)
To make your hummingbird “pooping“ use a long strand of white yarn with knots on both ends pulled through the Birbs body, through the head, and hidden under the fake head. Pull the end coming from the butt to make him poop!
Other patterns to try
Community posts
Community Showcase
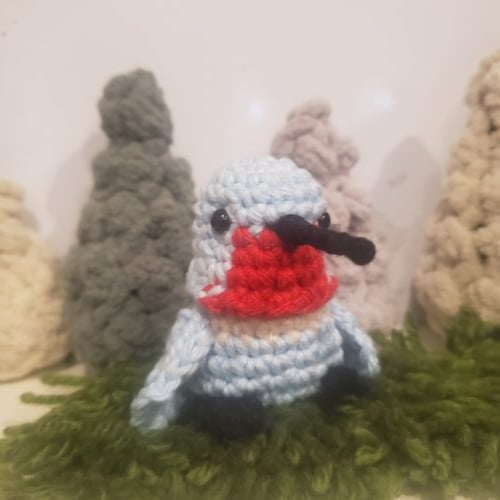
HUMMINGBIRD
Submitted by Luiza P.

Hammy
Submitted by rita-medvedskiy

Hummingbirb
Submitted by thegoodstuff
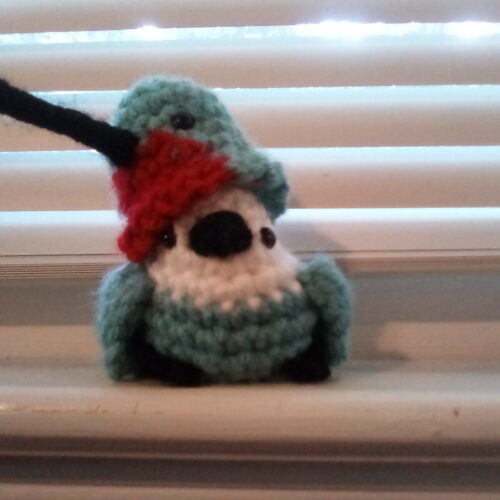
Hummus the hummingbirb
Submitted by octopus723
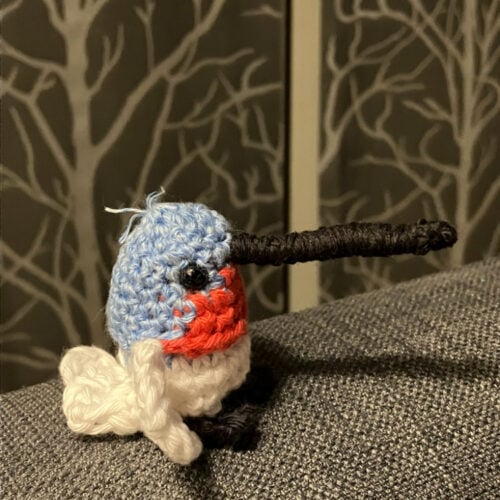
Sunshine the Humming birb
Submitted by Tina krause


The bee emoji won’t show up
Someone comment if u see it
HAHAHHAHA
Where does the magnet go?
I think in the butt cus that’s where I put it
No offense that’s just where I’m putting it
I’m a bit confused on the body sense I’m not making the head unattach could somome help me please
The parrot birb Doesn’t say to add the face or on the bird beak it doesn’t say to chain three