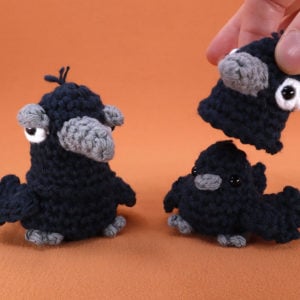
Pet Rock Amigurumi

Beginner

Louie's Loops
Designed by

What you'll create


Video tutorials
Main Video
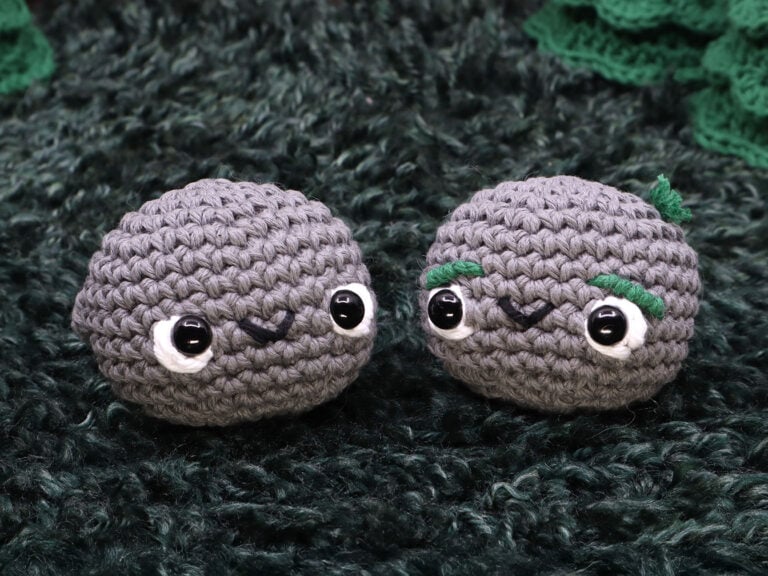
Lefty
What you'll learn
What you'll need

Cotton Yarn
Weight

Colors

Crochet Hook
G6 / 4.00 mm

Safety Bead (x2)
6 mm

Stuffing

Darning Needle
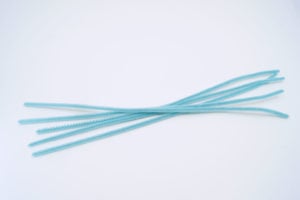
Pipe Cleaners
Abbreviations used
ch
Chain Stitch
st
Stitch
slst
Slip Stitch
sc
Single Crochet
inc
Increase
dec
Decrease (Sharp)
invdec
Invisible Decrease
FLO/BLO
Front / Back Loops Only
dc
Double Crochet
hdc
Half-Double Crochet
mbo
Mini Bobble Stitch
bo
Bobble Stitch (4-dc bobble)
bbo
Bulky Bobble Stitch
mp
Mini Picot
yo
Yarn Over
{ }
Worked in same stitch
Bump (2-dc bobble)
Bump (2-dc bobble)
Useful information
Gauge
5 Rnds and 4 sts per 1”
Size
about 2 - 4 inches tall
Worked
in the Round (without turning)


Pattern steps

01
Rock Body
4:52
Starting in Grey Magic loop
Rnd 1: sc 6 in the magic loop (6)
Rnd 2: inc in each st (12)
Rnd 3: [sc 1, inc 1] 6 times (18)
Rnd 4: [sc 2, inc 1] 6 times (24)
Rnd 5: [sc 3, inc 1] 6 times (30)
Making a Bigger Rock
In the next few rounds we’ll be adding height to your rock by sc in each st around. To make your rock bigger, before we add height, continue the pattern of increasing by adding one additional sc between inc sts. For example...
Rnd X: [sc 4, inc 1] 6 times (36)
Keep in mind, you will need to add additional rounds of decreases for each round of increasing you added to get the stitch count to match the pattern. For example, after adding your height (with rounds of single crochet in each), your next Round would be...
Rnd Y: [sc 4, invdec 1] 6 times (30)
How to Crochet a Bobble Stitch (bo)

Step 1:
Yarn over and insert
hook into the stitch.

Step 2:
Yarn over again and pull through.

Step 3:
Yarn over a 3rd time and pull through only 2 loops.

Step 4:
Repeat steps 1 – 3 four times total for a classic bobble stitch.

Step 5:
Yarn over and pull through all the loops on the hook.
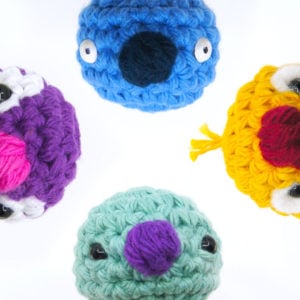
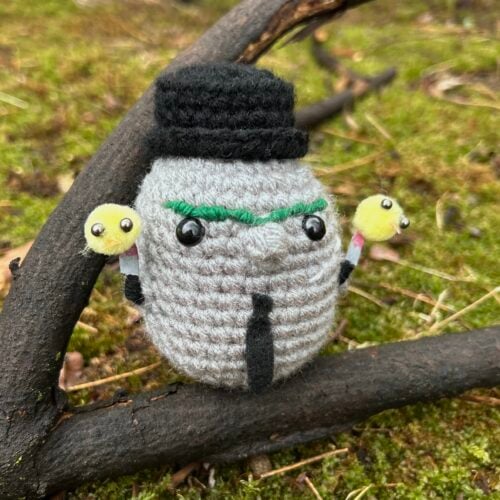
Adding Details using Bobble Stitches
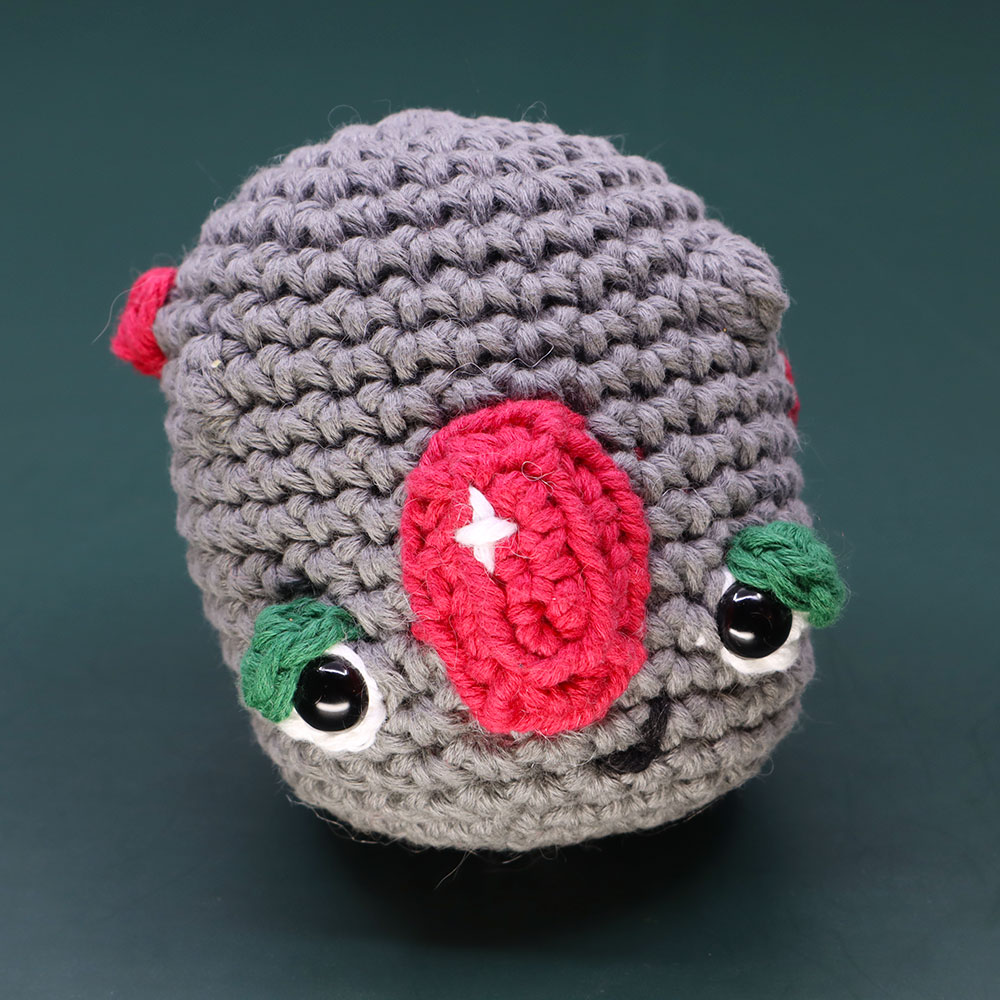
As your adding your height in the following Rnds 6 - 11, you can add in Bobble Stitch variations in place of any of the sc sts to add bumps to your rock to give them more character (see Page 6 for bobble stitch details). You can make these bobbles bigger or smaller based on how many repeats of Step 4 you make. While a classic bobble is usually a 4dcbobble, my favorite sized bumps to add are a bit smaller, by making a 2dcbobble or 3dcbobble. See video at 29:24 for detailed instructions on this.
Note: Using a well placed bobble stitch a great way to add a simple nose to your rock or add gems! See the Customizing Your Pet Rocks lesson for details.
Rnd 6-11: sc in each (30 for 6 Rnds)
Repeat to add height to your rock. Leave your loop here and continue after adding the face.
02
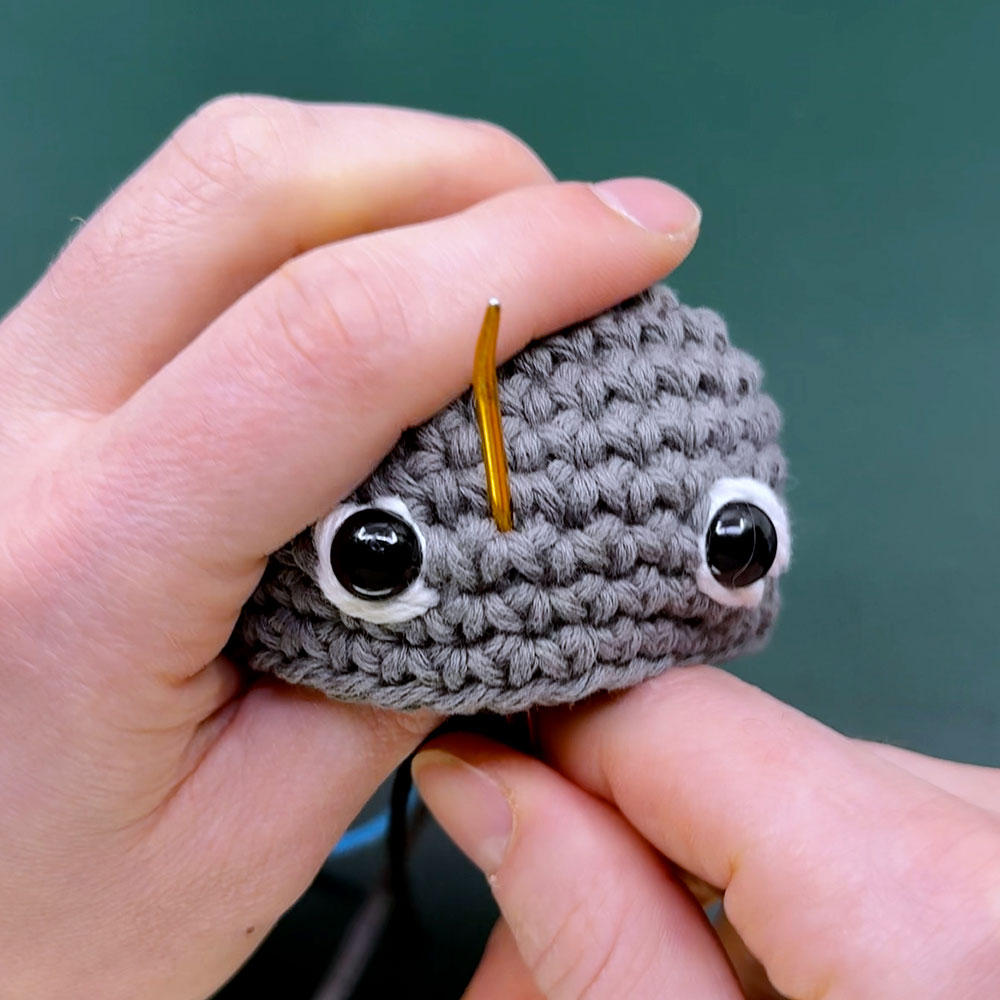
Adding Eyes
48:03
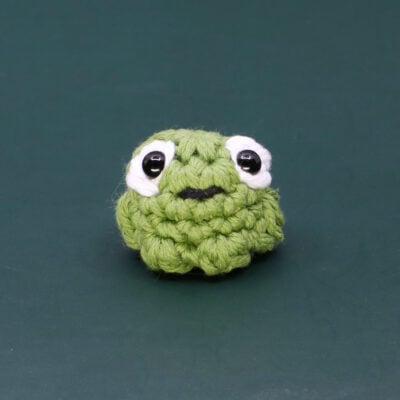
The easiest method to add eyes is by using safety eyes into your sc sts made. For a classic rock I usually like them around Rnd 9, about 5 sts apart.
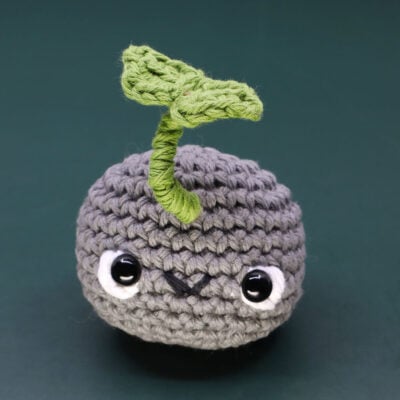
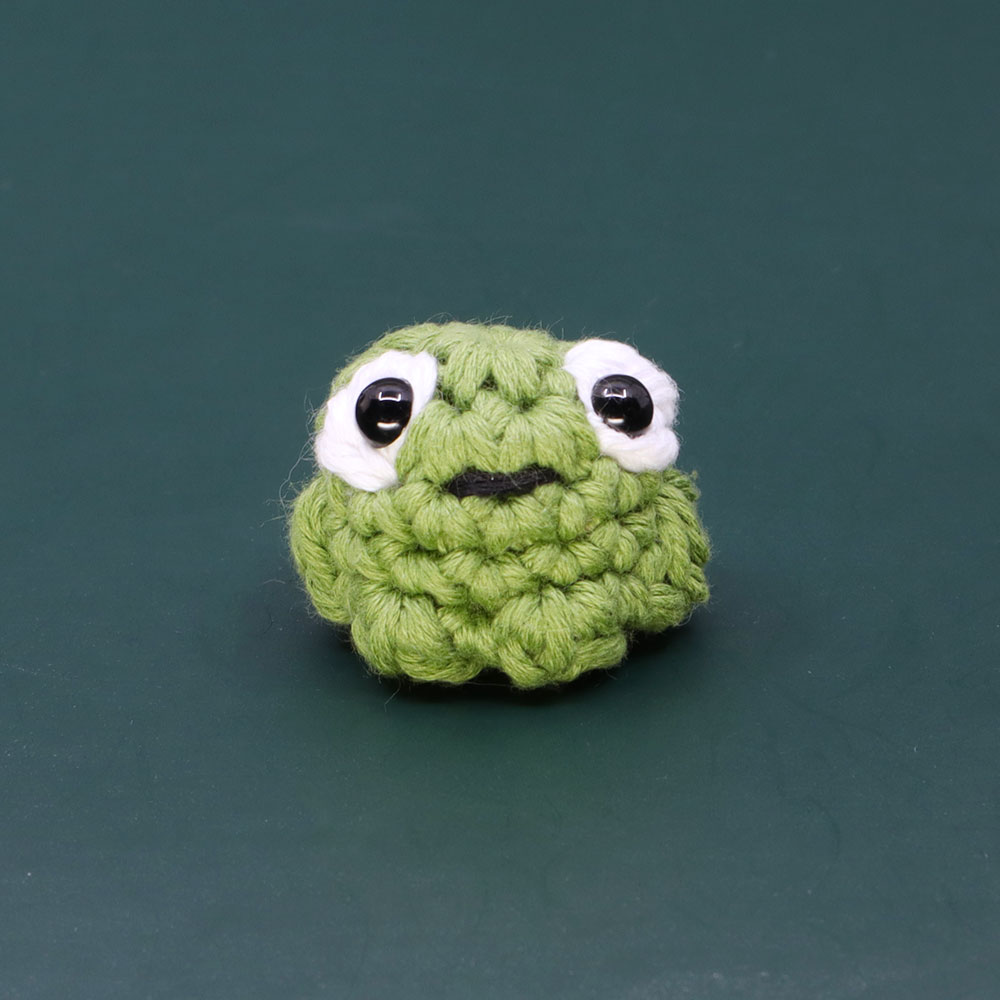
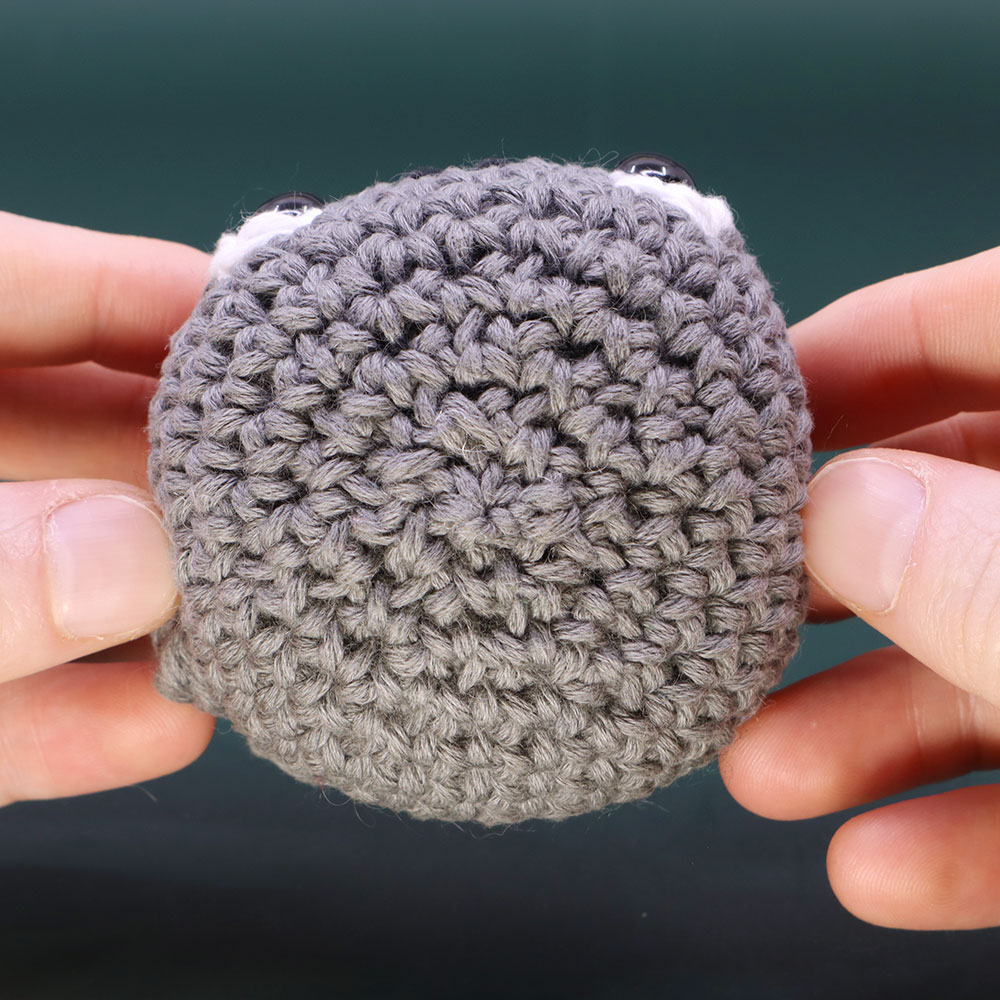
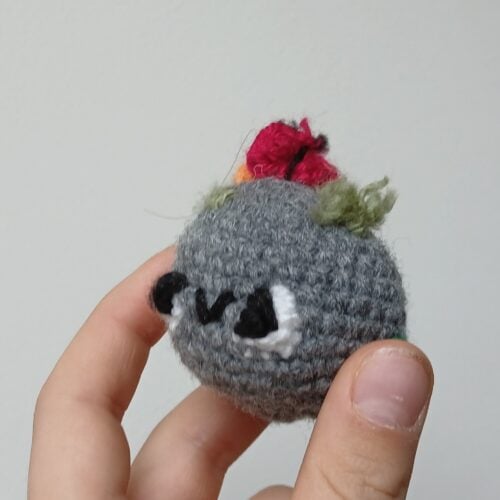
To add bobble stitch eyes (pictured), you’ll first need to pre-emptively add mini bobble stitches (mbo aka 3dcbobble) in White as you add your Rnds of height. For exact placement as the rock pictured, replace Rnd 9 with...
Rnd 9*: sc 12, mbo 1 in white, sc 5, mbo 1 in white, sc 11 (30)
After adding the mbo stitches and creating the rest of your height, add safety eyes into the white mbo sts made. Try different placements within the mbo stitch for different looks and faces.


To add eyelids, using Accent Color make a magic loop, sc 3, cut the yarn and pull through. Sew this over the eyes using the tail ends.
Alternative Eyes
To make an alternative eyes like customized safety eyes see the bonus video linked below.
How to use Safety Eyes
03
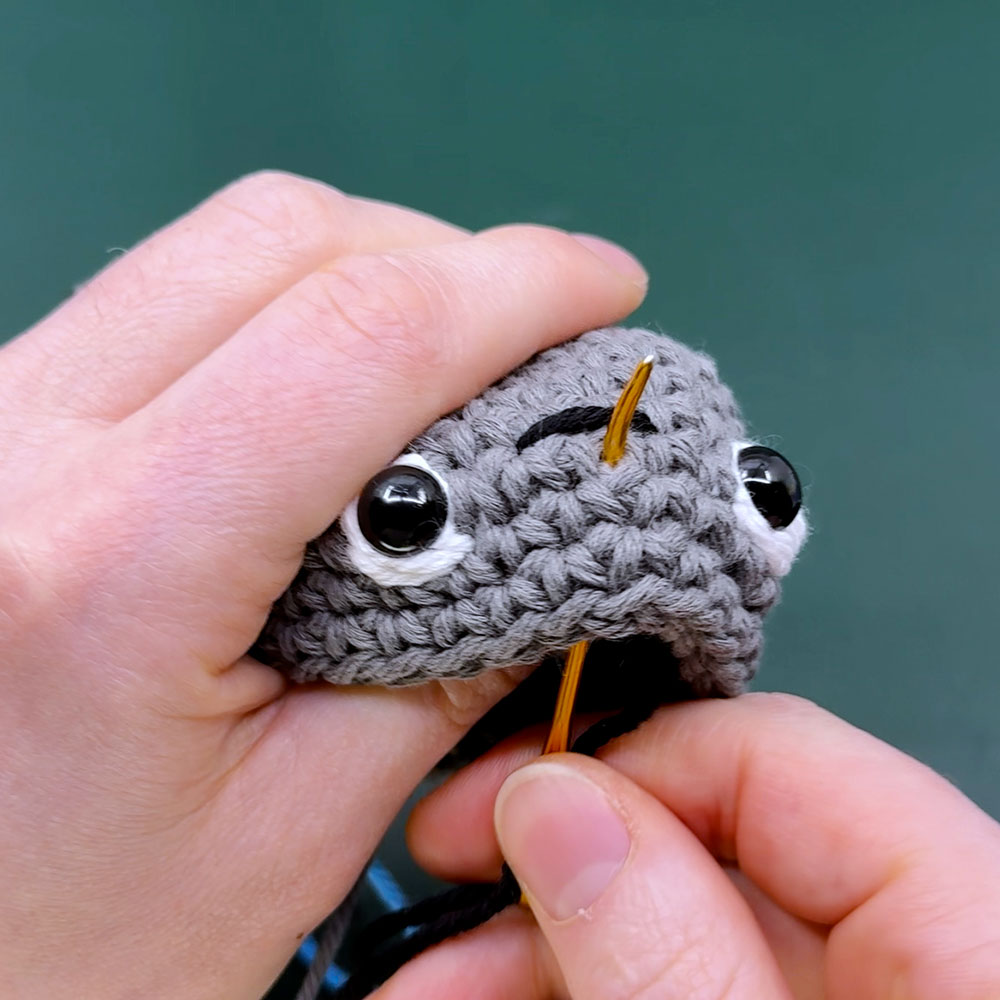
Adding a Mouth
55:03

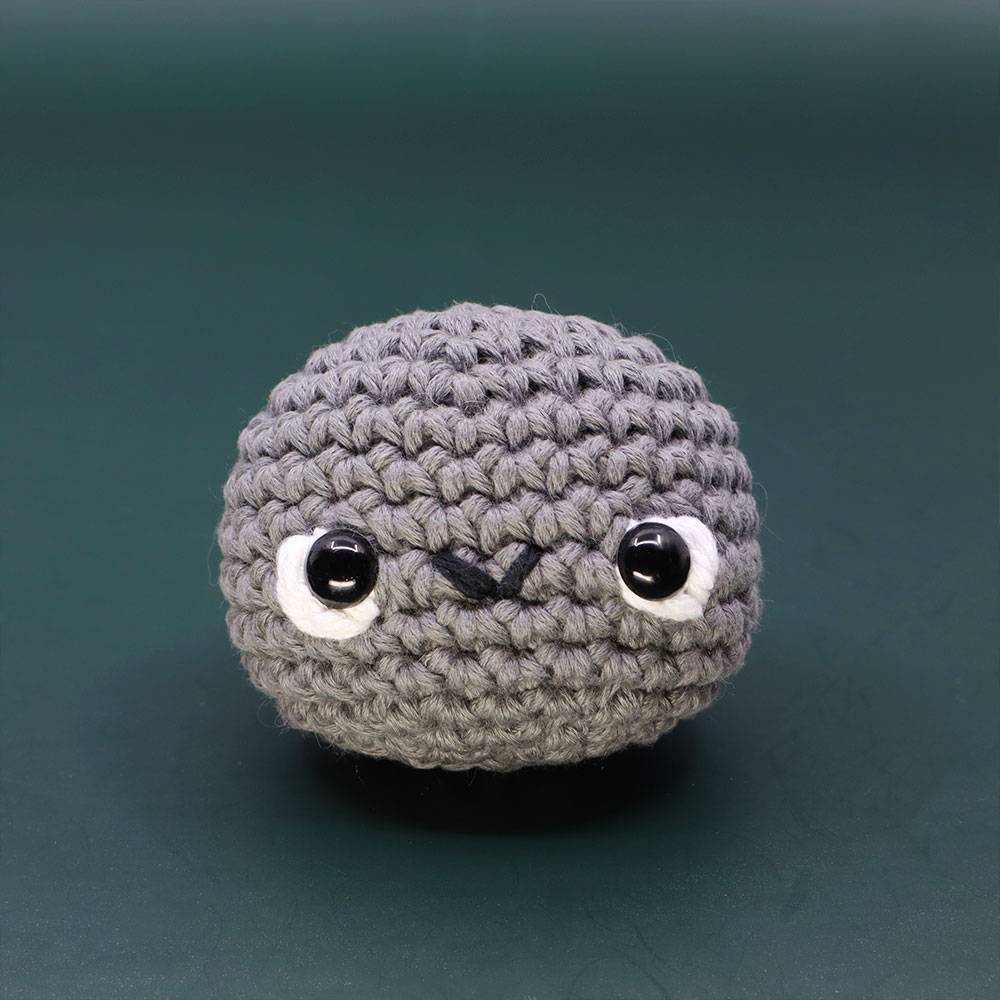
After adding eyes I like adding a mouth using Black yarn or thread seamed between the
eyes. I usually like making the mouth at nearly the same height as the eyes, but you can of
course change this placement for different looks.
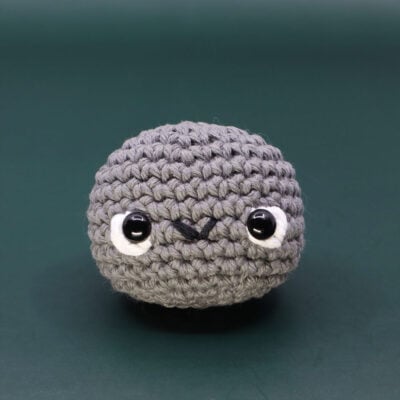
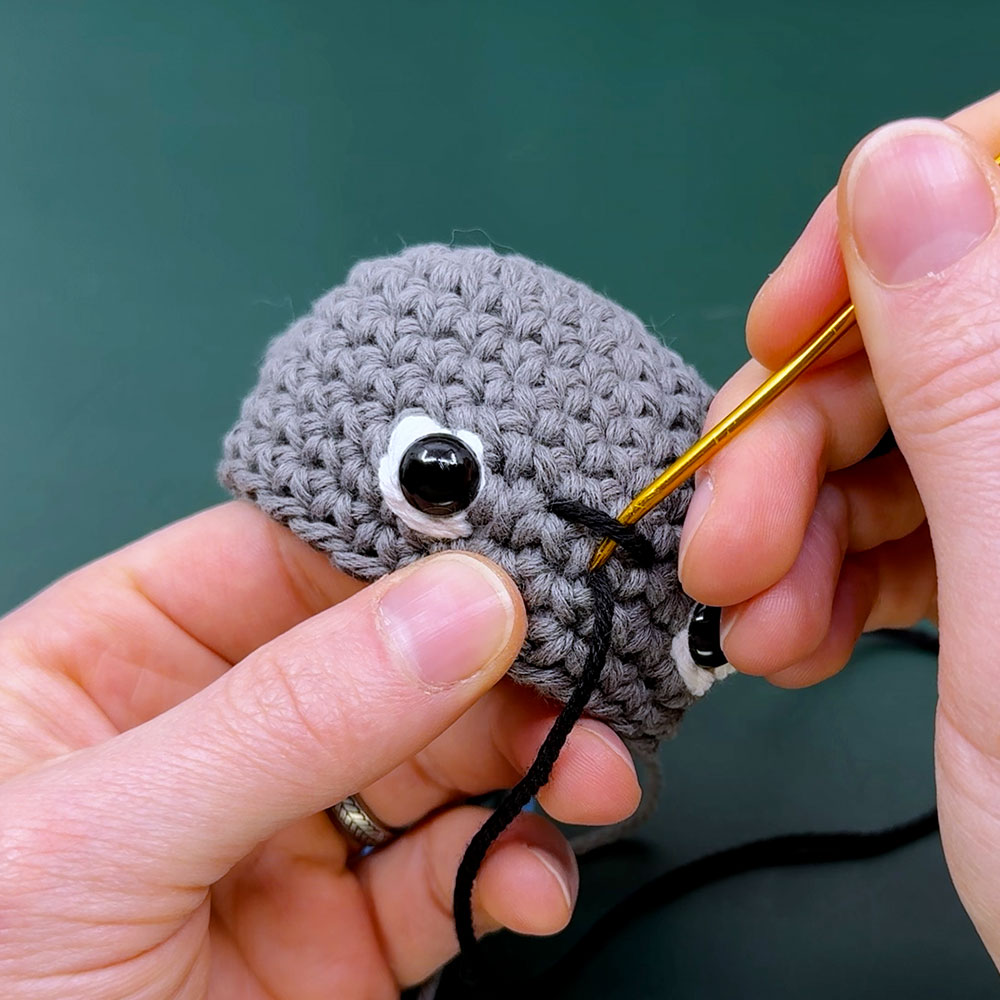
Simple Smile
1. Using Black thread insert the needle from the inside of the body and exiting where you want a smile to begin.
2. Pull to the opposite corner of where you want the smile to end, and insert your needle back into the body. This will create a straight line.
3. Insert your needle to exit the body where you want the bottom of the smile to be. Go around the straight line and insert back into the body through the same stitch you last exited.
4. Double knot the two ends on the inside of the body and cut close.
1

2
3
4
Alternative Mouth
To make an alternative face like a cat mouth or chubby face, see the bonus video linked below.
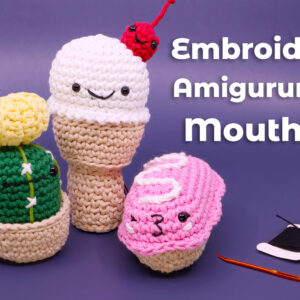
How to Embroider Different Mouths for Crocheted Amigurumi
04
Rock Body Finishing...
58:19
To complete our rock, we'll begin decreasing in the following Rnds. Keep in mind there are many different methods to decrease, but my favorite is the Invisible Decrease (aka invdec). For alternative decrease methods and why I like some more than others, see the bonus video at
How to Decrease in Crochet
You may have to add additional Rnds of decreasing if you made your rock bigger (see Rock Body).
Rnd 12: [sc 3, invdec 1] 6 times (24)
Rnd 13: [sc 2, invdec 1] 6 times (18)
Rnd 14: [sc 1, invdec 1] 6 times (12)
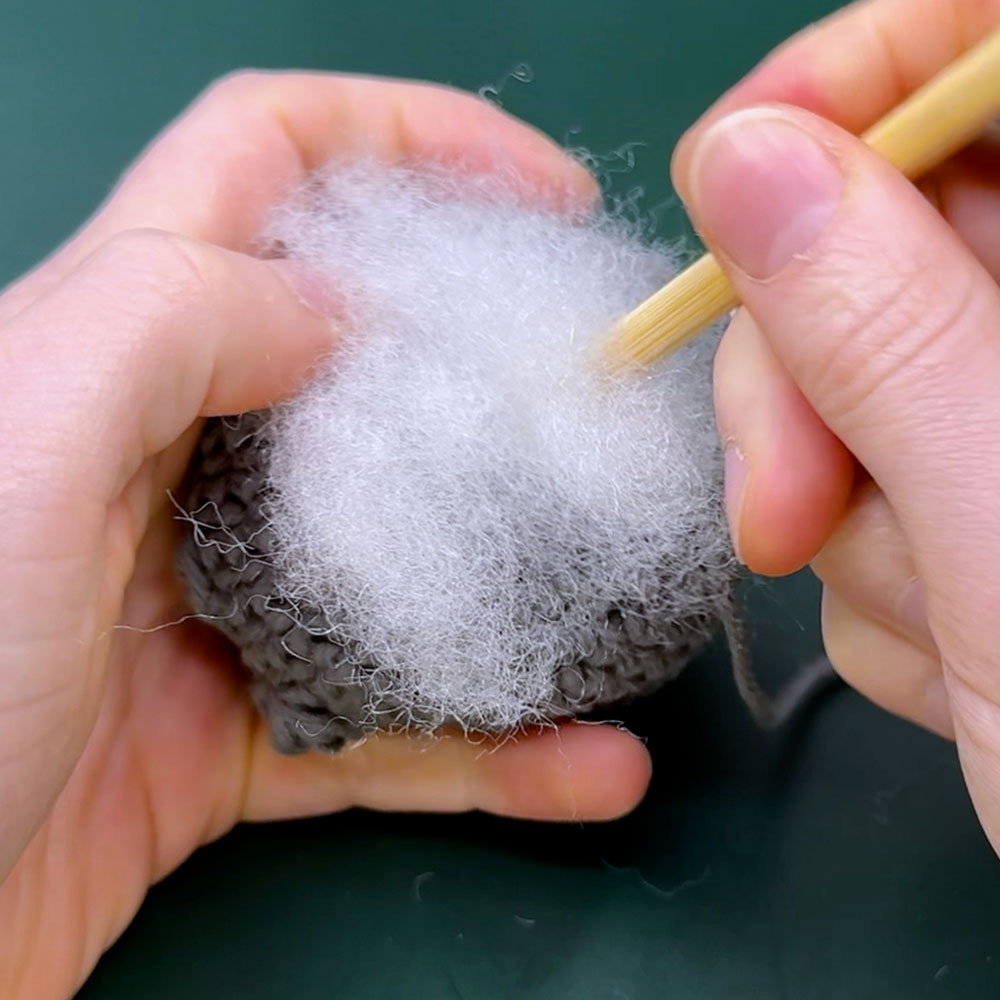
Stuff the rock mostly.
Rnd 15: dec in each st (6)
Cut the yarn, stuff fully, and sew closed.
05
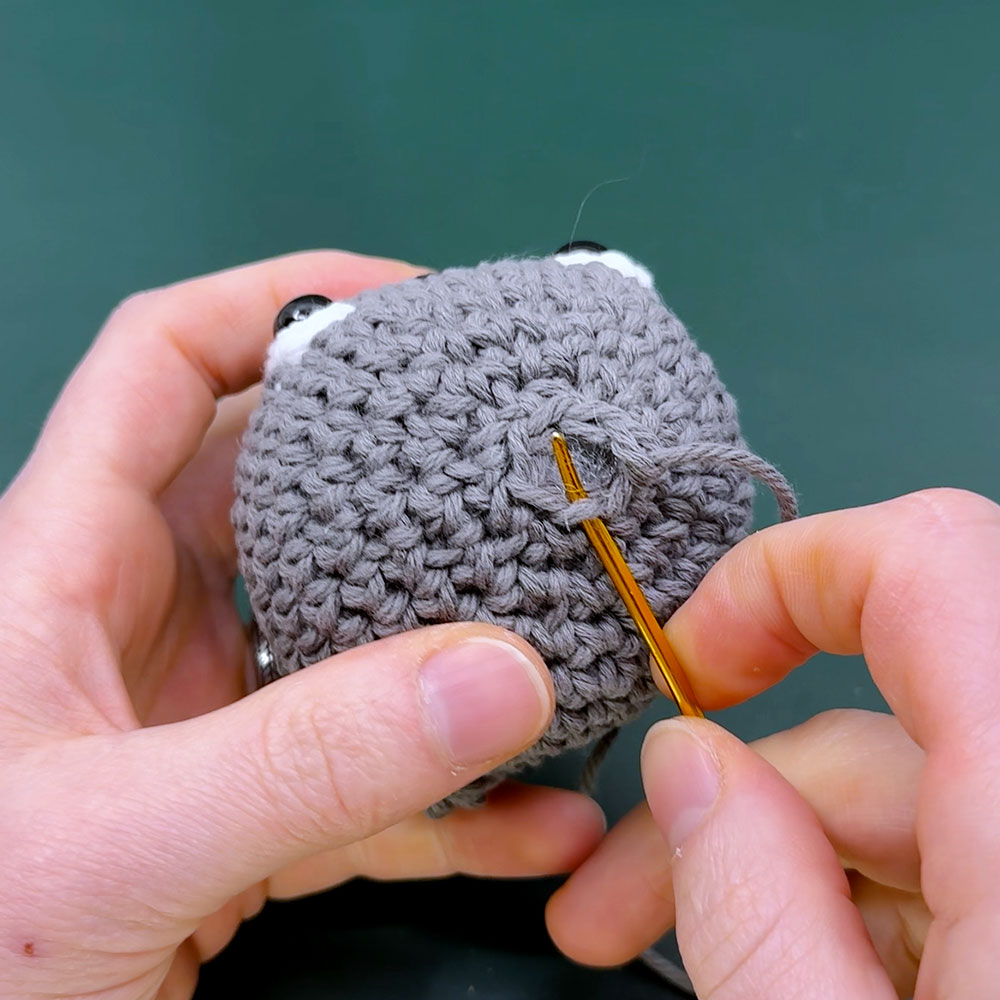
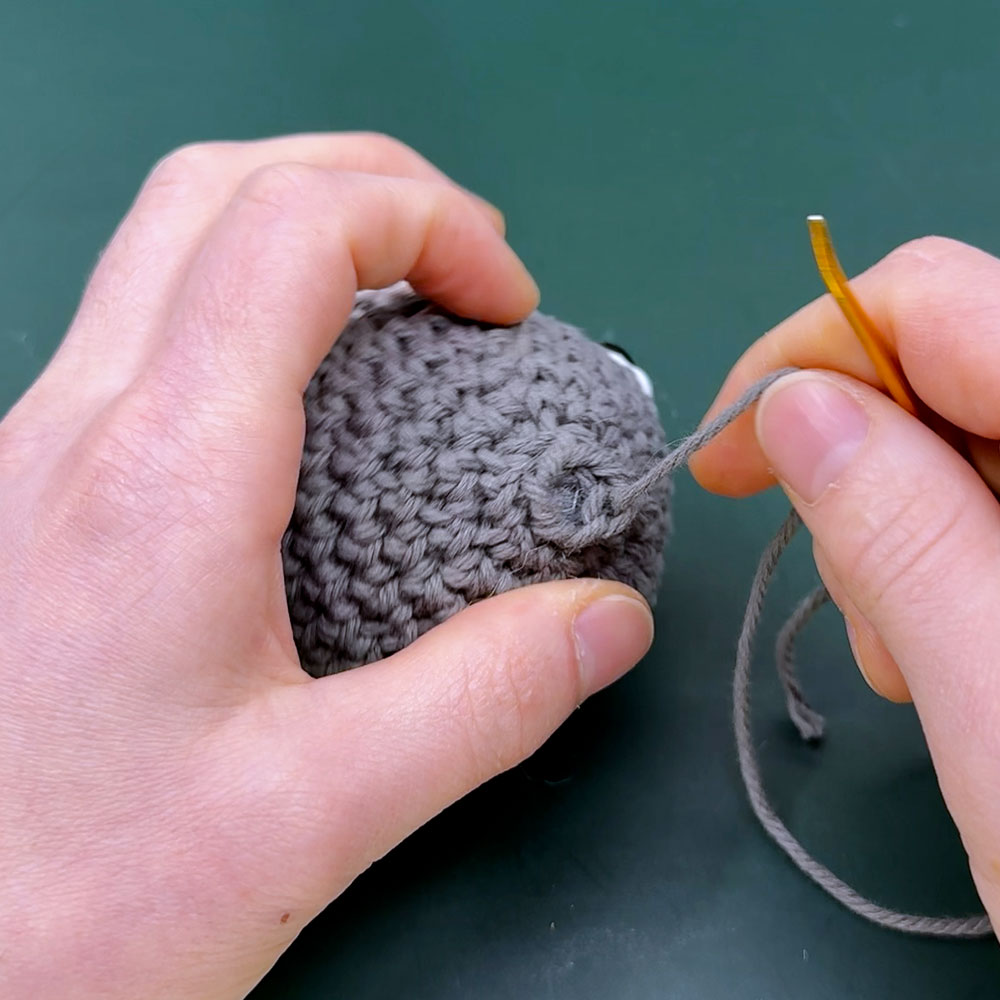
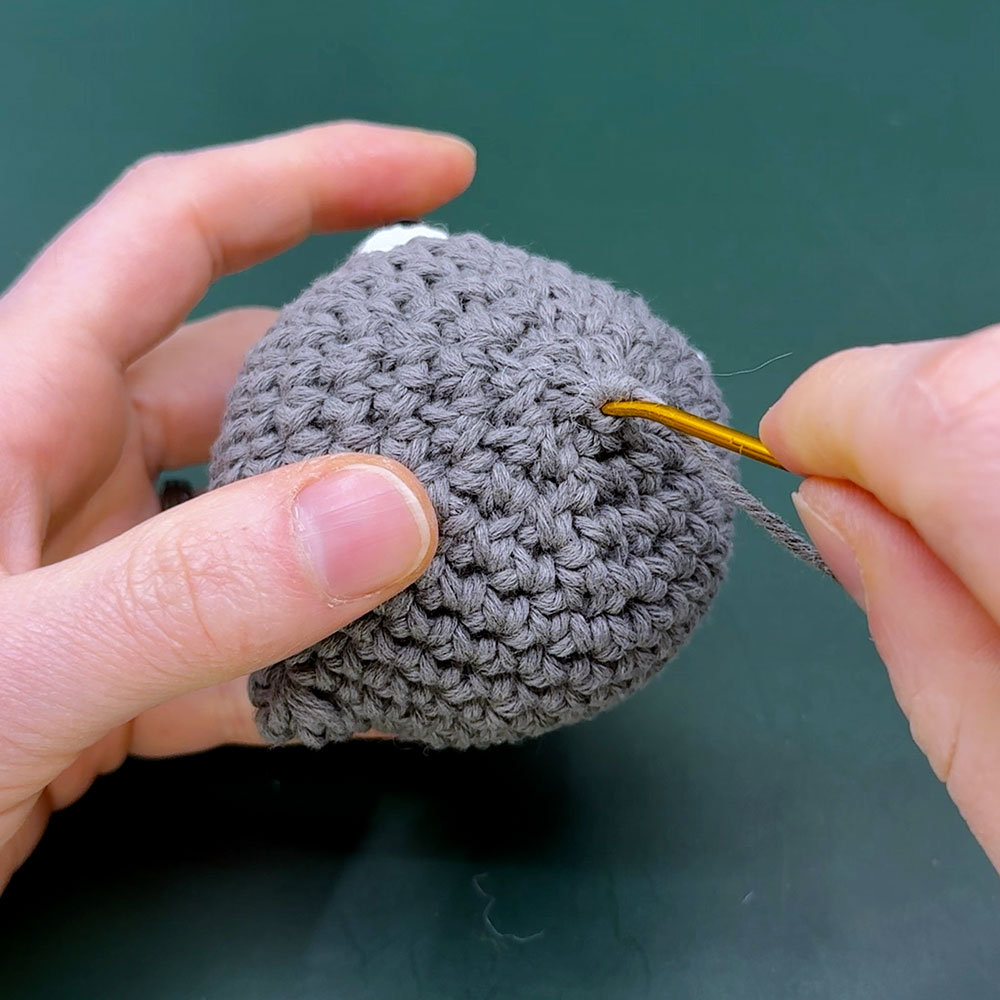
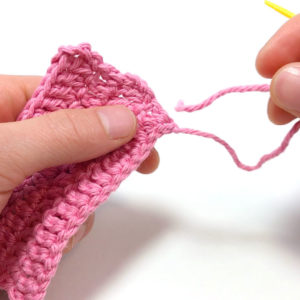
Sewing Closed
1:11:52
To sew closed, thread the tail end onto a darning needle, and weave the needle through the front loops of all the stitches around (6 total). Pull tightly to close the end tight, then insert the needle into the center and out from a stitch on the side before cutting close to hide the end.
Other patterns to try

Community posts
Community Showcase
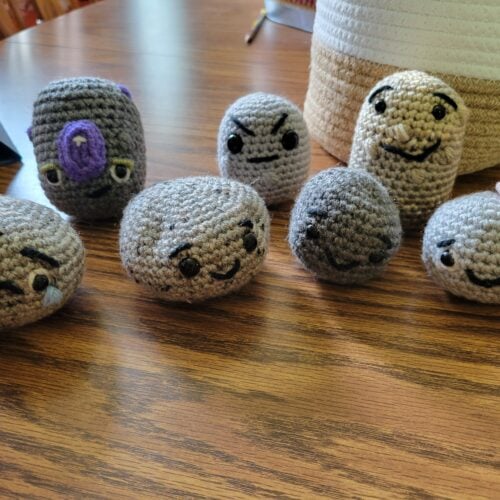
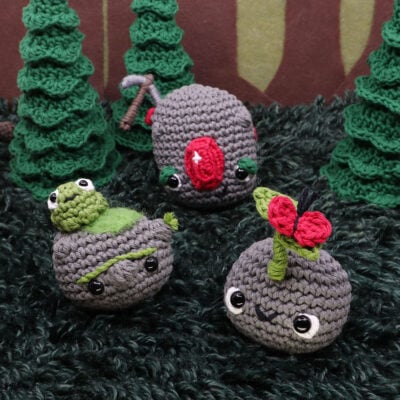
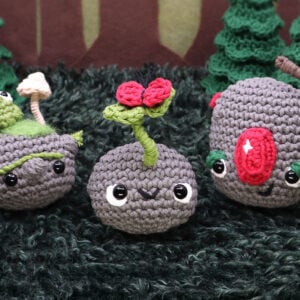
Pet Rock Family
Submitted by erica_martindale
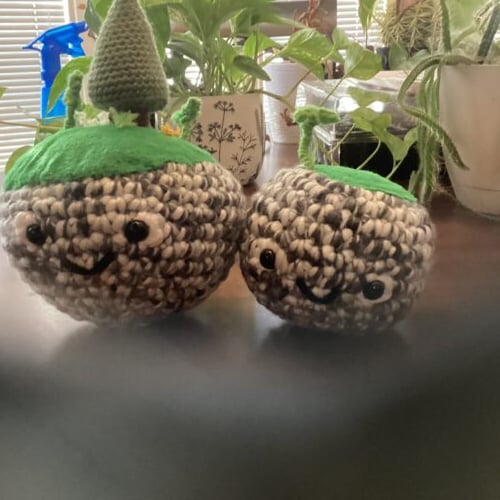
Forest family
Submitted by landon-c
It just rocks...
Submitted by aliasdannyboy

Peblo Picasso
Submitted by madisonme
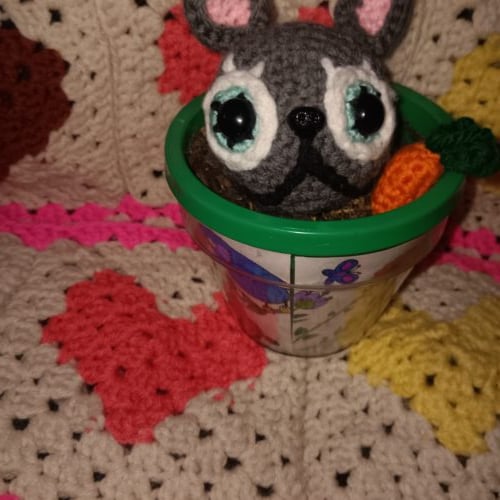
The Easter Rock
Submitted by ladywithrow
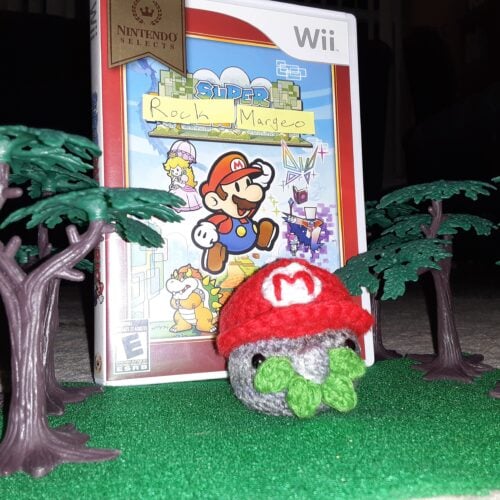
Super Margeo
Submitted by amyrose417

Gnomen and his pet rock monster
Submitted by Bluesword1912
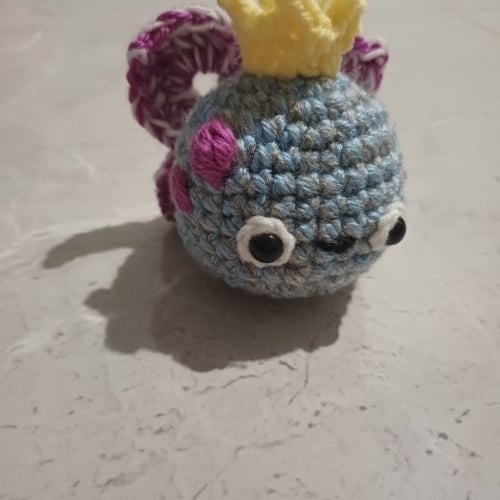
Fairy princess rock
Submitted by nia_k
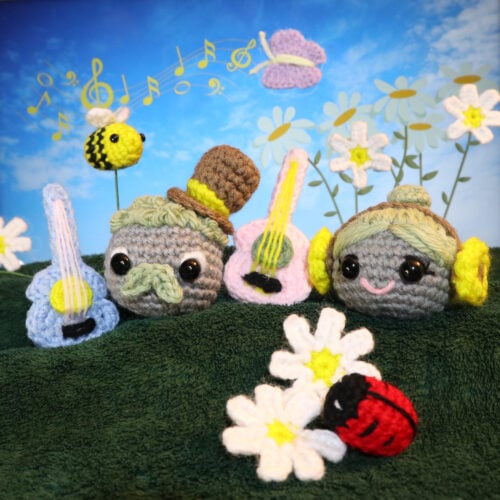
Springtime Serenade
Submitted by @devita.sugawara
Kill 2 Birds with 1 Stone
Submitted by Kim Tran


excellent pattern
✂️