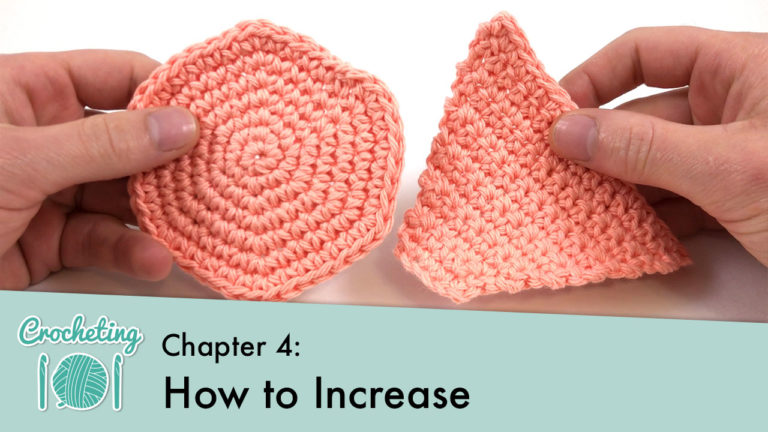
Chapter 4: Taking Shape
Part of Crocheting 101: How to Crochet for Complete Beginners

Beginner

Louie's Loops
Designed by
Video tutorials
Main Video
What you'll learn
What you'll need

Cotton Yarn
Weight

Colors

Crochet Hook
G6 / 4.00 mm
Abbreviations used
ch
Chain Stitch
st
Stitch
sc
Single Crochet
inc
Increase
Useful information
Rnd
Round (worked in the round)
Row
Row (worked in the flat)
Pattern steps

01
Working in the Round
00:32
Working ‘in the round’ means you are literally working around in a circle without ever turning. I find this a lot easier than Joining in the Round which we’ll talk about in Chapter 10, but you also have to keep better track of where the round begins and end.

Rnd 1: When working in the round, rows turn into rounds. For example, in pattern instructions, you’ll see Round 1 instead of Row 1 (which is used for working in the flat). When you’re working in the round you typically work in a spiral and don’t change directions.
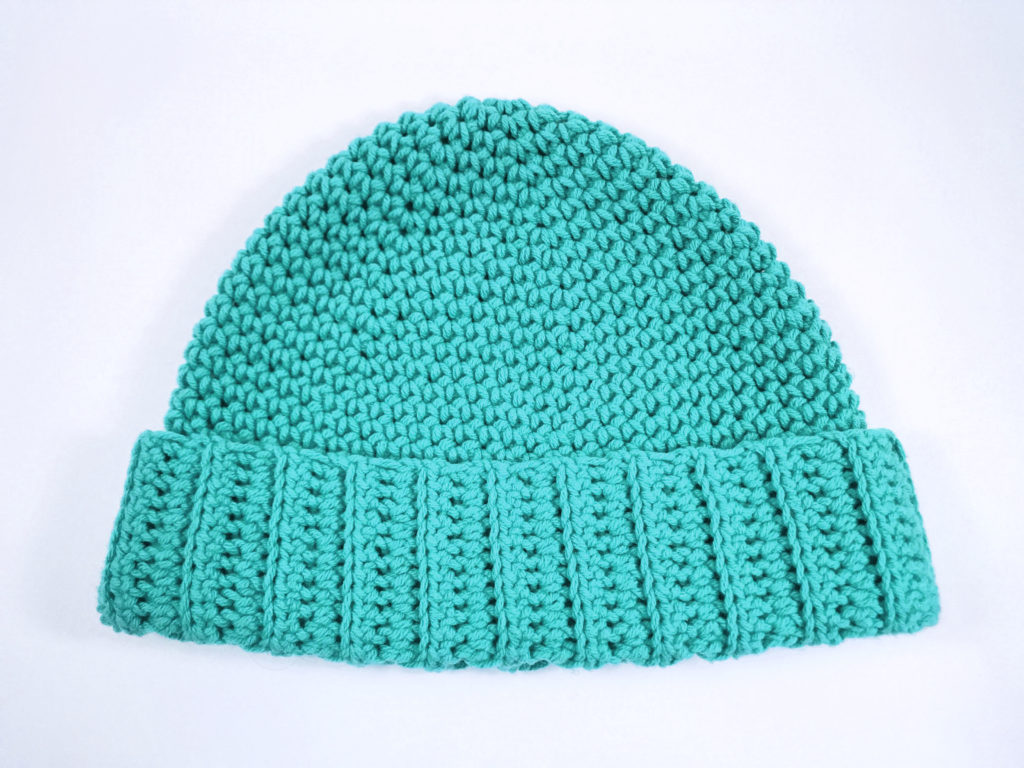
This creates a virtually seamless piece, making it really useful for circular or spherical shapes like beanies and amigurumi. You can also make 2 dimensional things like coasters and blankets while working in the round, though it’s more difficult to get sharp edges than working in the flat.
02
Increasing in the Round
3:12
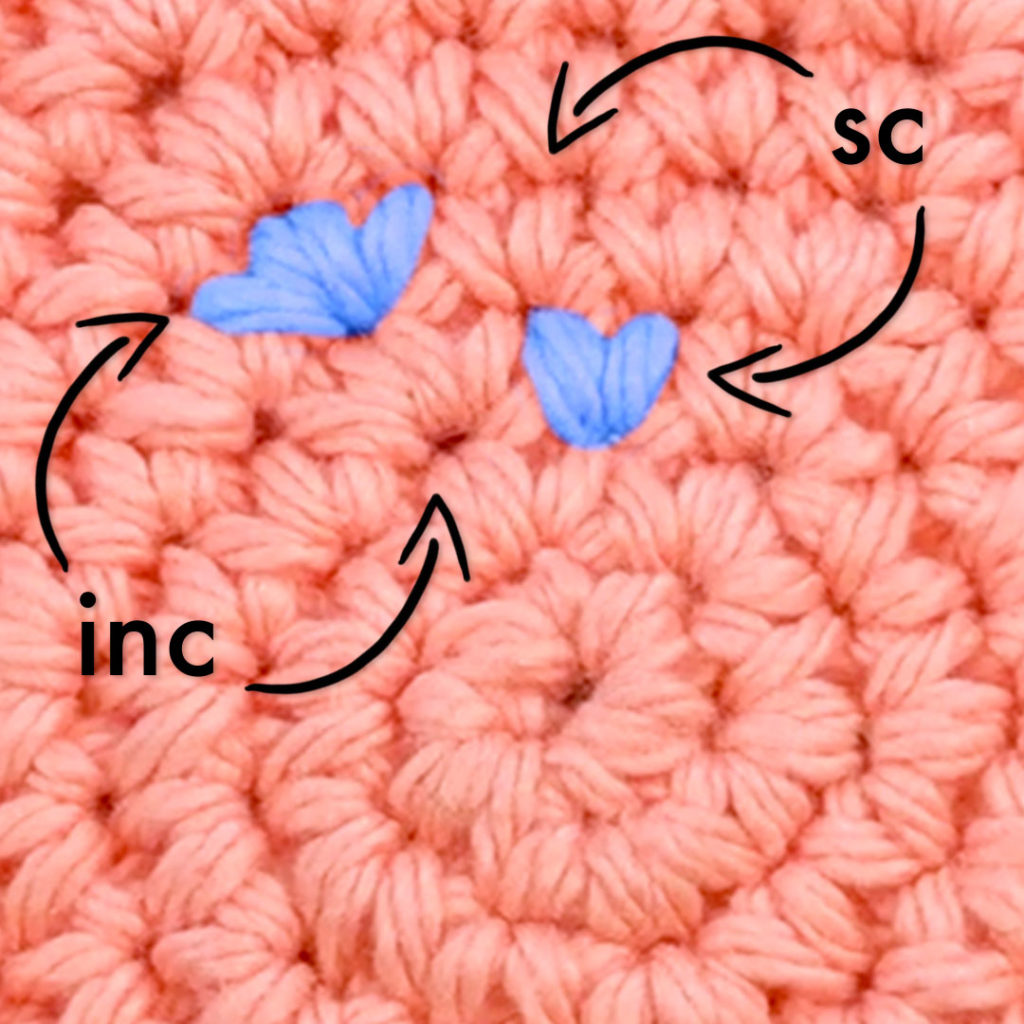
Increasing in the round is pretty straight forward; it means simply single crocheting into the same stitch twice to get more stitches at the end of the round (Rnd) then you did in the beginning. When you see the symbol ‘inc’ (for increase) it means do this technique.
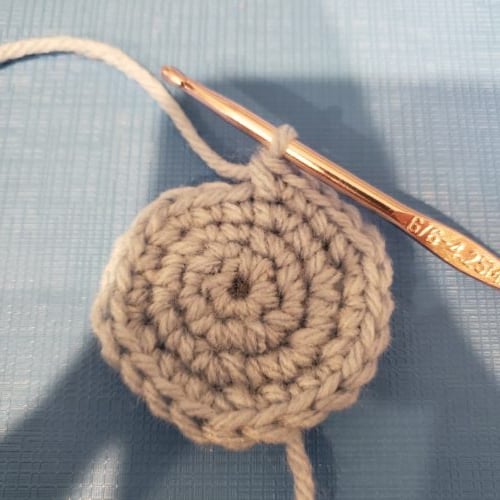
The hardest part is getting something in the round started, so let’s look at how that’s done first.
While there are a couple of different ways to get started including the “Magic Loop Method” (see Chapter 10), I’ll be teaching you the most simple way to get started which is called the “Chain 2 Method”.
Ch 2
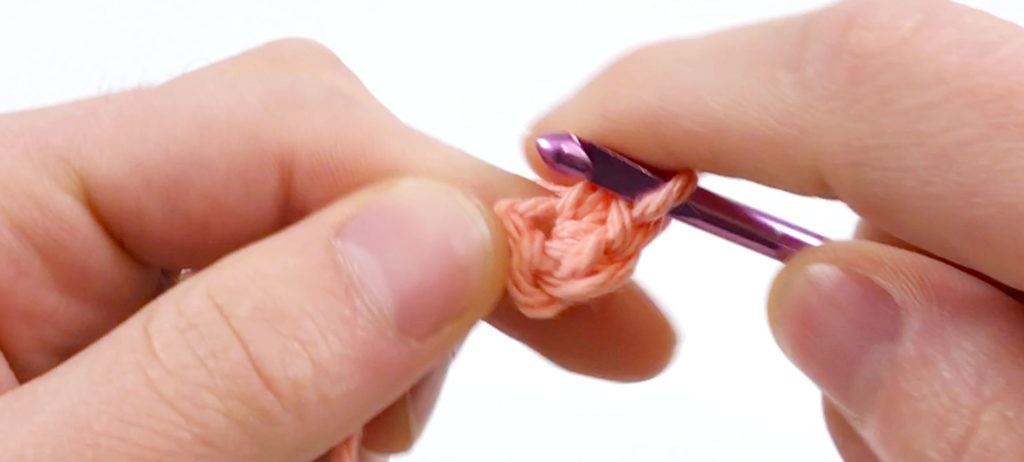
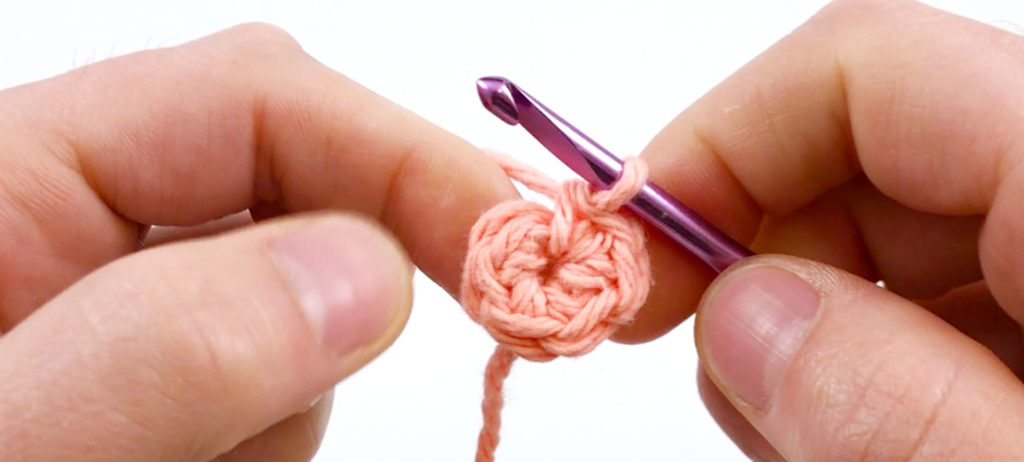
Rnd 1: Sc 6 times into the 2nd chain from the hook. (6 stitches total)

To keep track of where your row begins and ends, either use a stitch marker or try sewing in a spare thread between the last stitch of Rnd 2 and the first stitch of Rnd 3. Don’t forget to move this marker up at the beginning of each new round.
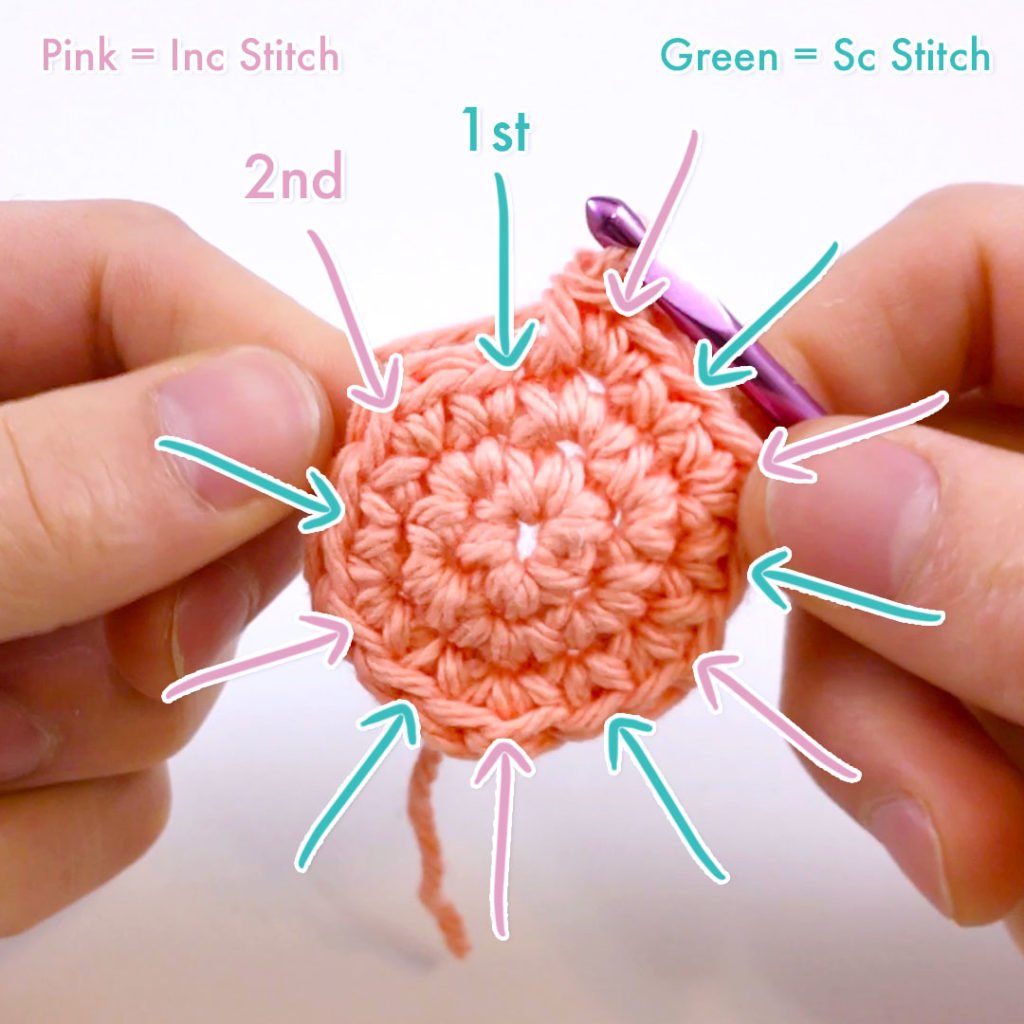
Rnd 2: inc 6 times (12 stitches total)
Okay here’s the tricky part; find the first sc you made in Rnd 1, and sc 2 times (aka increase) into that stitch.

You should have 2 single crochets in one hole now. That’s an increase.
Now you have to put an increase into every stitch around in a circle, 6 increases total, 12 stitches total.
Rnd 3: [sc in the first stitch, inc in the next stitch] repeat 6 times total (18 stitches total)
As a general rule of thumb, especially when starting out, try to be sure to increase in each Rnd by the same amount as whatever amount of stitches you made in Rnd 1.

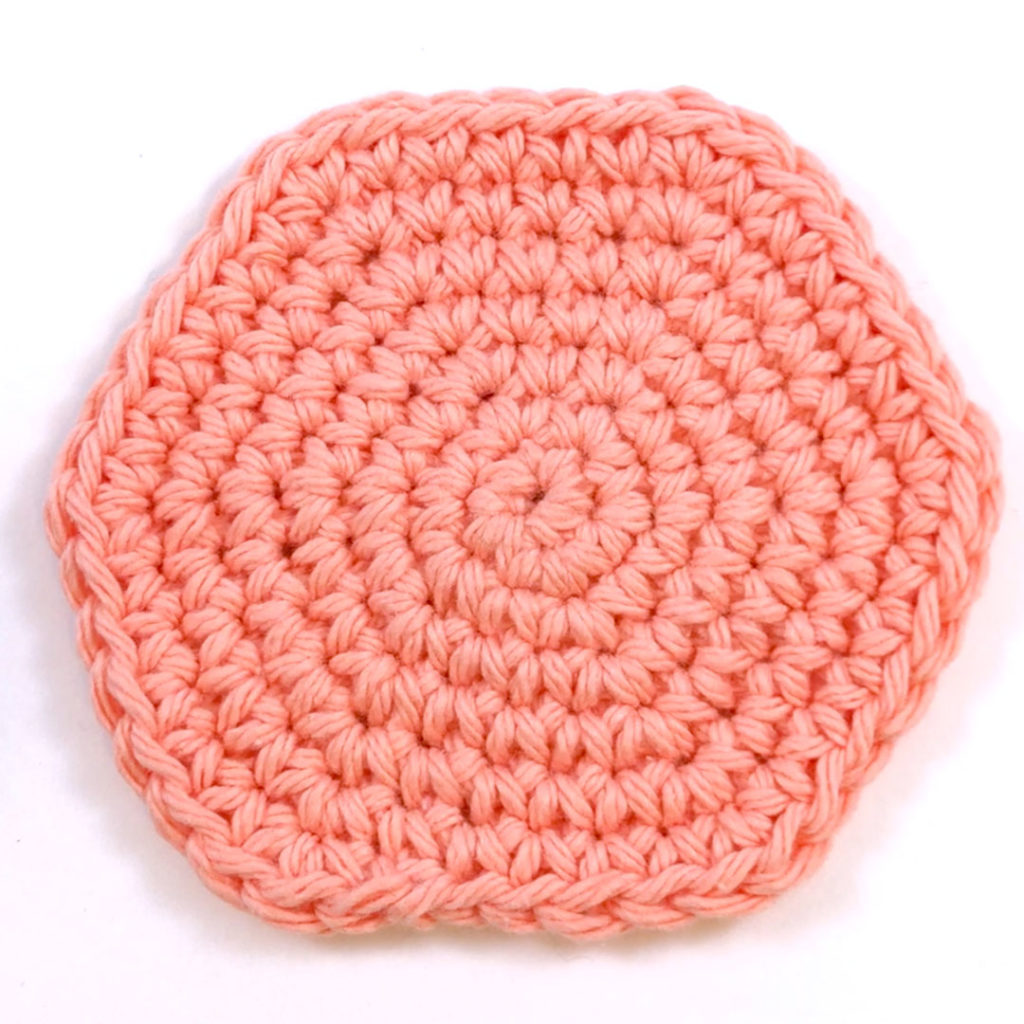
For example, since we started with 6 stitches, we want to increase 6 times evenly in each round. When the increase are evenly spread out, the piece will make a perfect circle.
So to do this in Rnd 3, we sc 1 in the first stitch, then inc in the next, and repeat that process 6 times total.
The full pattern of stitches for Rnd 3 will look like this: sc 1, inc, sc 1, inc, sc 1, inc, sc 1, inc, sc 1, inc, sc 1, inc
Rnd 4: [sc in 2 stitches, inc in the next stitch] repeat 6 times total (24 stitches total)
From here on out the pattern gets pretty consistent, sc in one more stitch than the last Rnd and then increase in the next one.
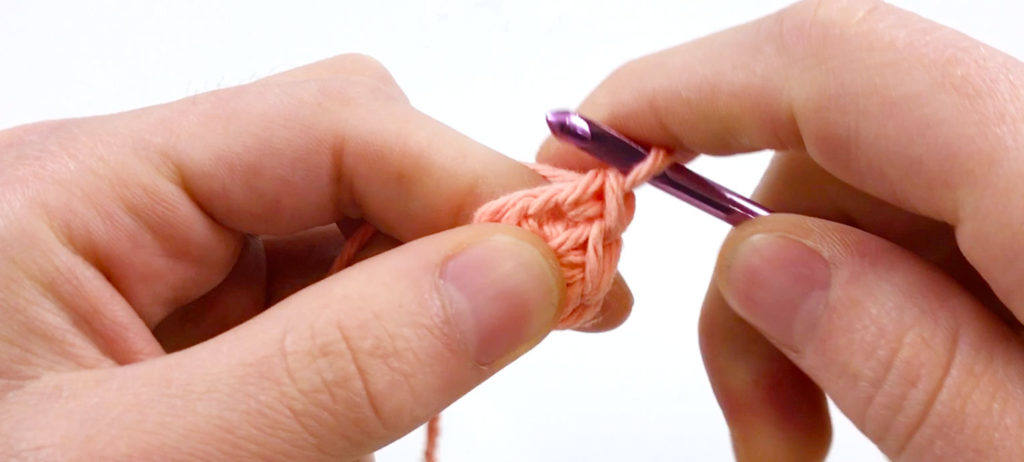
Rnd 3 Finished (1 sc between increases)

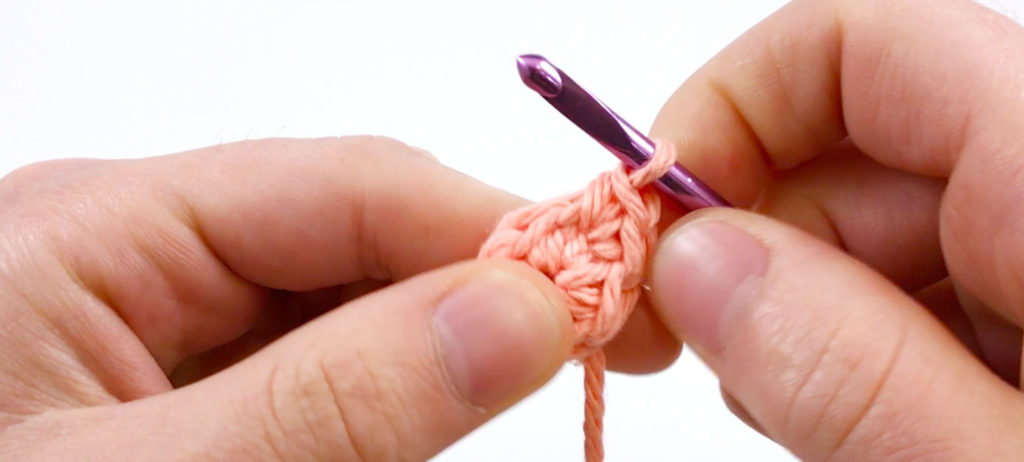
Rnd 4 finished (2 sc between increases)
We’ll be putting this to the test in our project for this chapter when we make a coaster.
03
Working in the Flat
6:31
If you made Project 2 – a mini bow – from the last chapter, you’ve already worked in the flat. Working flat basically means turning your work after each row. Also, it’s usually split up into a “Row” for each step, written something like ‘Row 1:’, rather than a “Rnd” (round) which we just learned about.


Row 1: It’s called working flat because usually you’re making a flat project like a scarf or blanket, but can be used for things like beanies, which are generally more three-dimensional.
04
Increasing in the Flat
7:27
There are two ways to increase while working flat.
The first way is by simply working two single crochets into one stitch (the same way you inc in the round). I would avoid doing it this way if you intend on making your piece truly flat for something like a scarf or blanket because this will tend to make your piece curve a bit or end up lumpy.
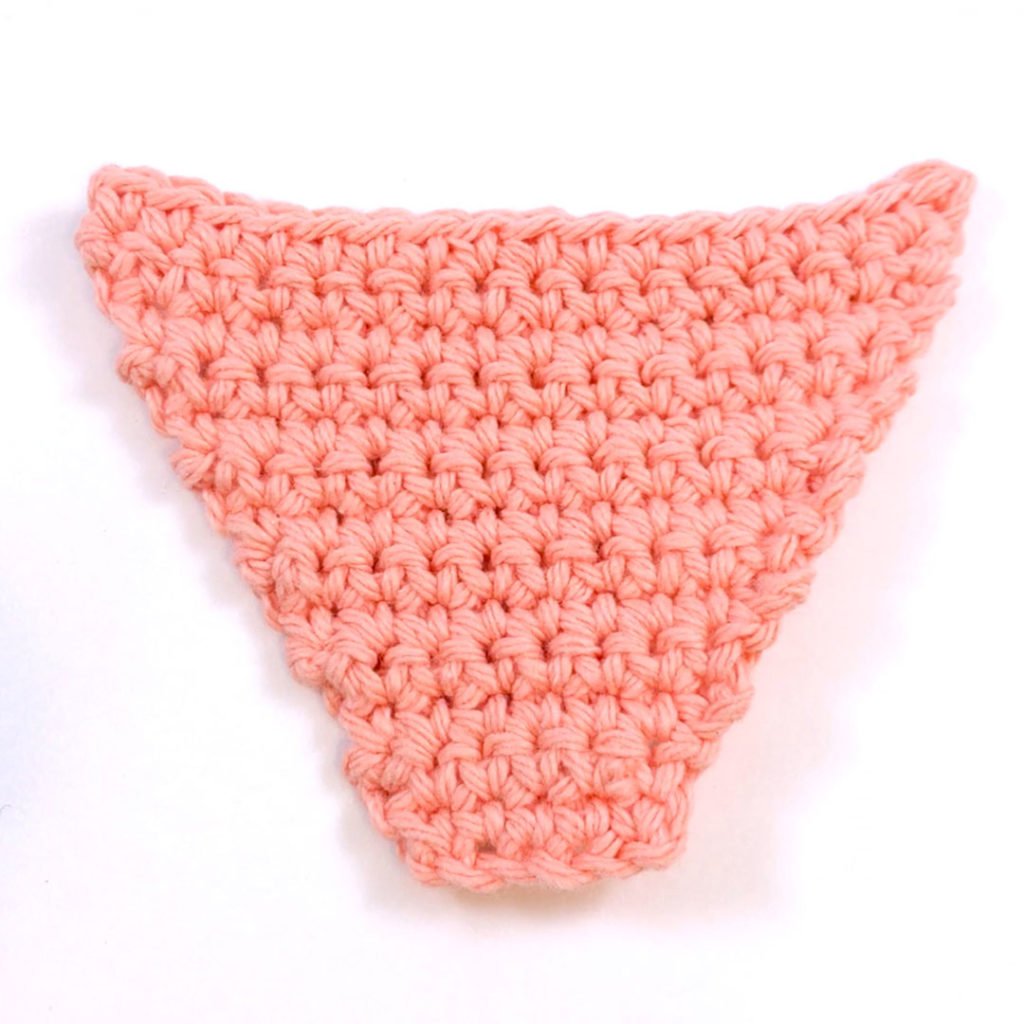
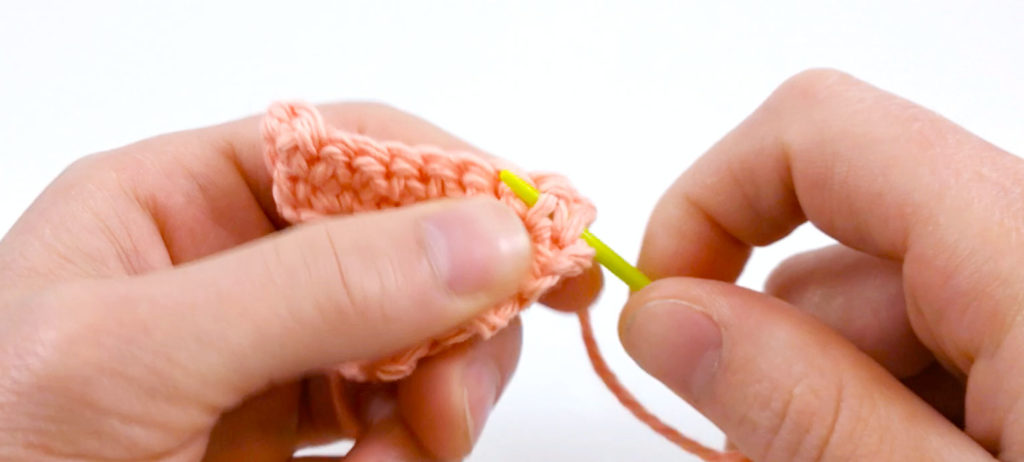
The main way to increase while flat is by adding extra chains at the beginning of the round and single crocheting into the extra chains which will add stitches into the final row. By adding just one increase into each row, you can get a steady increase, or try adding a lot more into each row to make more obtuse edges.
To start, make a chain however long you want the shortest side. For me, I’m going to work kind of small.
Ch 5
(If you want a simple triangle, try starting with a chain 2)
Row 1: Skip the first ch, sc in each ch across (4 stitches total)
Notice how this is called a ‘Row’ while the other ones were a ‘Rnd’ or ‘Round’. That’s the quickest way to tell if you’re working in the round or flat.
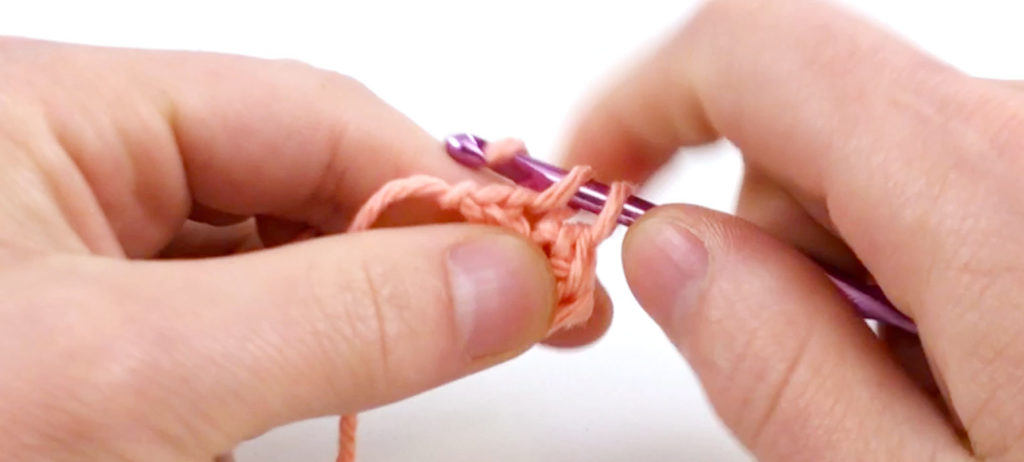
Row 2: Turn, ch 2
Skip the first ch, sc in the next one
Sc in each stitch from the last row across (5 stitches total)
ch 2

Skip the first ch, sc in the next one
Row 3: Turn, ch 2
Skip the first ch, sc in the next one
Sc in each stitch from the last row across (6 stitches total)
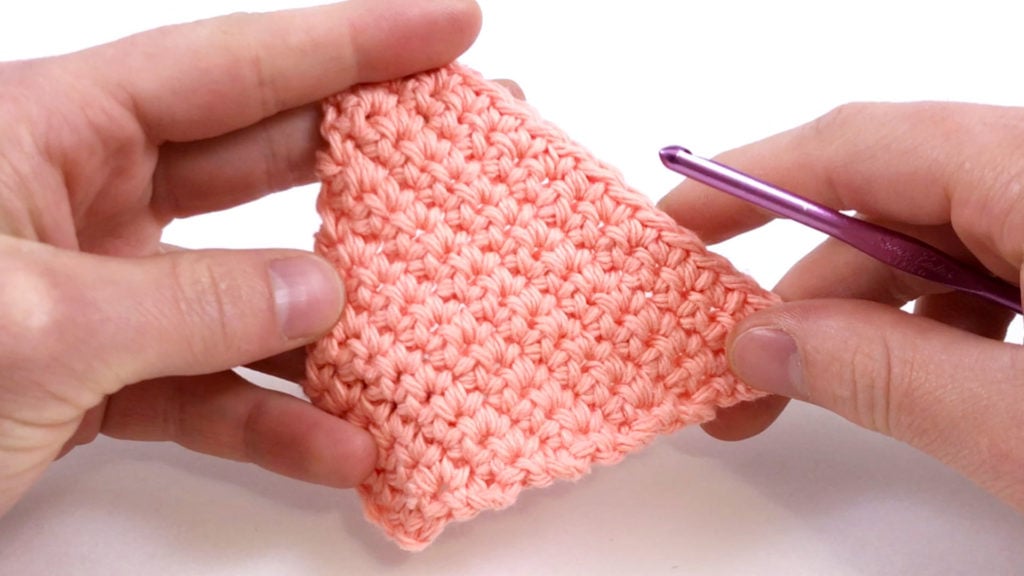
Rows 4+: Turn, ch 2
Skip the first ch, sc in the next one
Sc in each stitch from the last row across (7 stitches total)
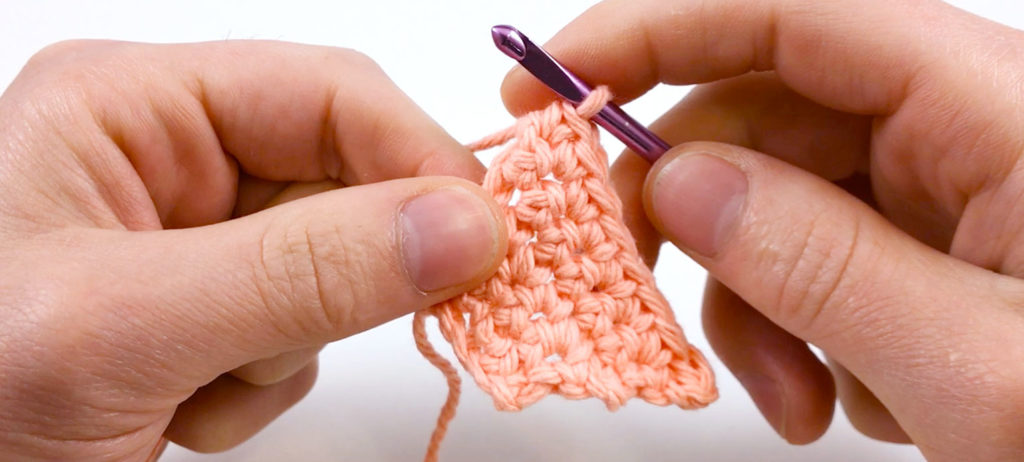
You can just keep up this pattern until you like how wide it is. For the picture I made 6 Rows.
We’ll be putting this to the test in our project for this chapter when we make a coaster.
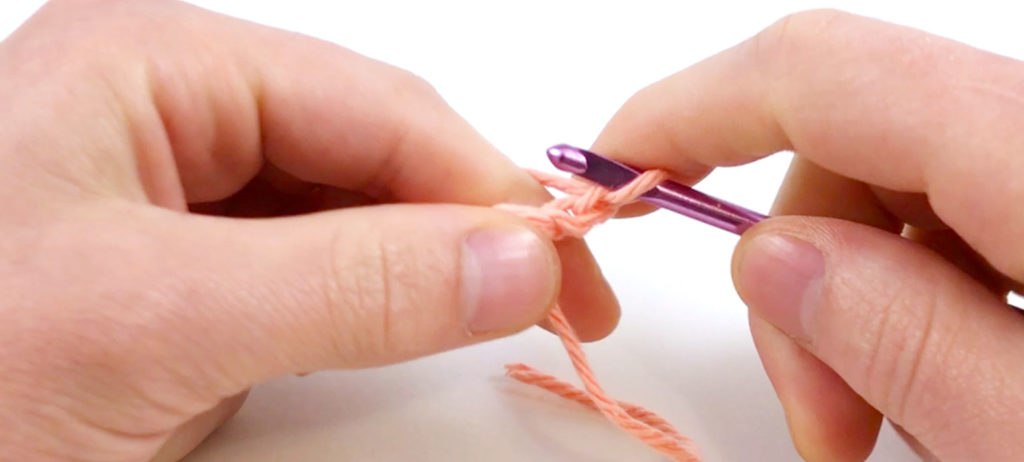
Finishing: To finish, you cut the yarn, ch 1, and pull the yarn through the last loop. Then sew the tail into the piece to hide it.
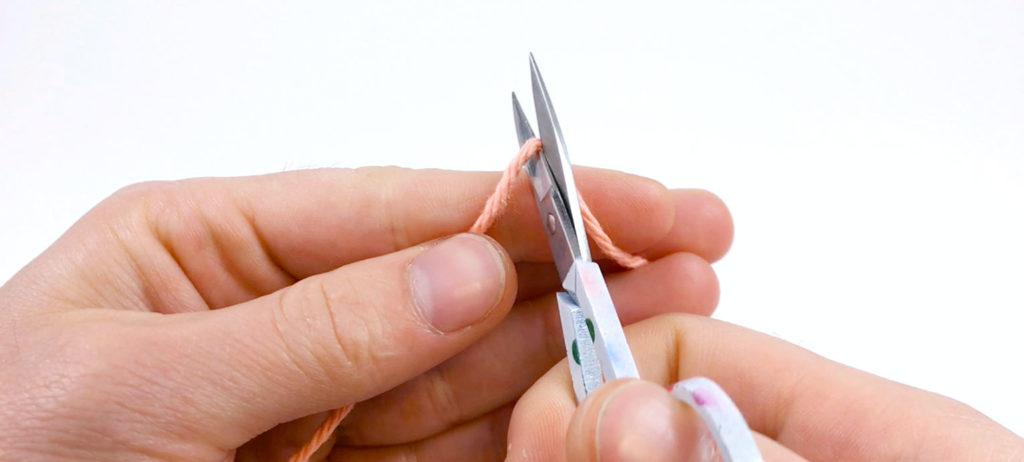
Cut the yarn
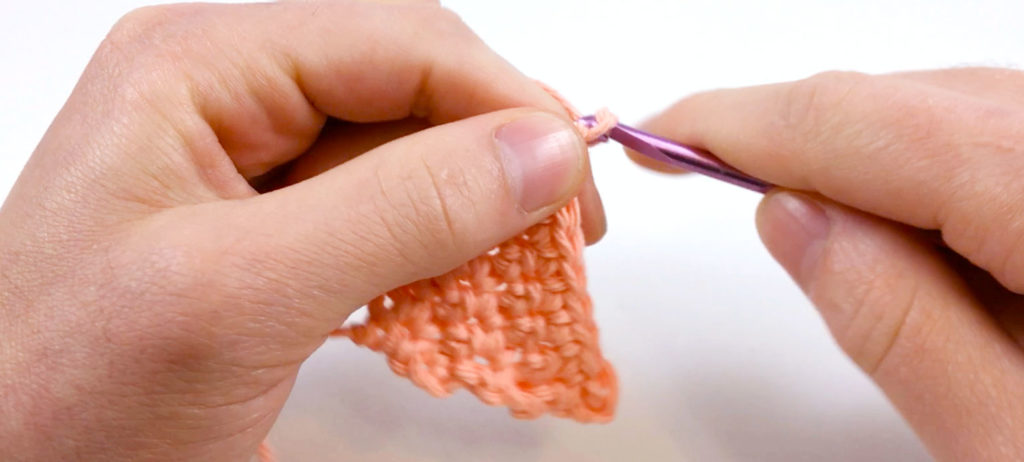
Ch 1 and pull through
Hide the end
Other patterns to try
Community posts
Community Showcase
Submitted by rita-medvedskiy


to be honest this one was a little confusing for me…. It felt like i wanted to give up but then i noticed never give up. After i felt that i started noticing i was doing it
I can’t get these videos to work. It says I need to complete the previous one, even though I have. Any suggestions?
great
Makes sense, easy to understand, well written