
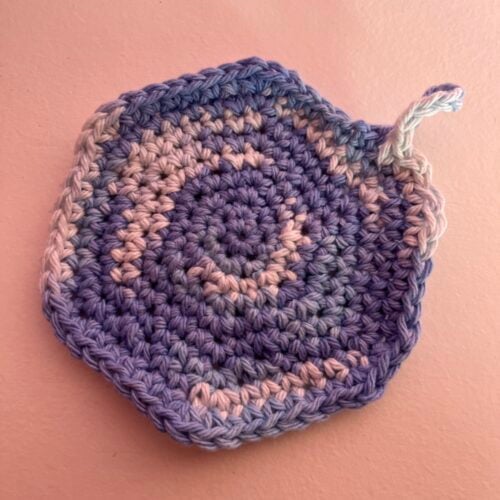
Simple Coaster

Beginner

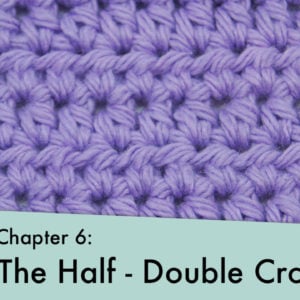
Louie's Loops
Designed by

What you'll create

Video tutorials
Main Video
What you'll learn
What you'll need

Cotton Yarn
Weight

Colors

Crochet Hook
G6 / 4.00 mm

Darning Needle
Abbreviations used
ch
Chain Stitch
st
Stitch
slst
Slip Stitch
sc
Single Crochet
inc
Increase
yo
Yarn Over
Useful information
Note
The ‘Steps’ for this project are called ‘Rows’. We’ll explain this in a future project, but just know for now that Row 1 = Step 1.
Pattern steps

01
Main Section
1:12
Ch (Chain) 2

Rnd 1: Sc 6 times into the 2nd chain from the hook (6)
This (6) is the number of stitches that you’ll have by the end of the Rnd.


Because we’re working in the Round for this project, you will never turn your work. Be sure to use a stitch marker to keep track of the beginning of each round.
Rnd 2: Inc (increase) in each st around (12)


Rnd 3: [sc 1, inc 1] repeat 6 times total (18)
Notice how it’s written in brackets, with “repeat 6 times total” after it. This is how I write repetitions. It means keep doing what’s in the brackets 6 times.


Rnd 4: [sc 2, inc] repeat 6 times total (24)

Let’s look closer at our stitches. The single crochet you can see is just one V going in that hole. And the increase is two V’s going into one hole. This pattern is awesome because all the increases in each Rnd all the way around for the entire project are going where that second stitch from the Increase before is. So it will look like our increases are continuing on in the same spot all the way up.
This pattern is awesome for another reason too. Like I said before, we’re adding one single crochet for each Rnd in between increases; in Rnd 3 it was just one single crochet, and now there are two single crochets. This is how I crochet without using stitch markers at all. If you add the stitches from one increase to the next you’ll have 4 stitches (two single crochets, and one increase which is two single crochets together), and we’re on Rnd 4. So if you count the number of single crochet’s between increases and add two (to account for the increase) you’ll get the number of the Rnd that you’re on for this pattern.

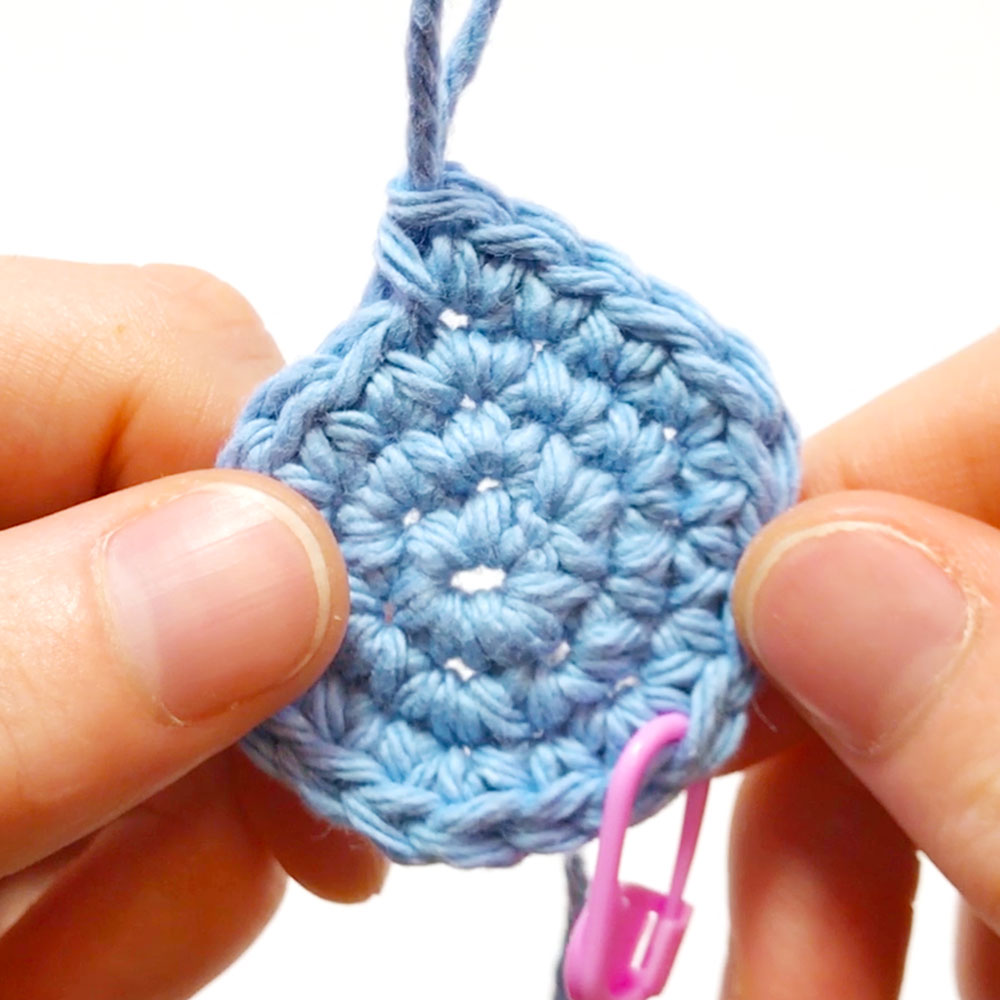
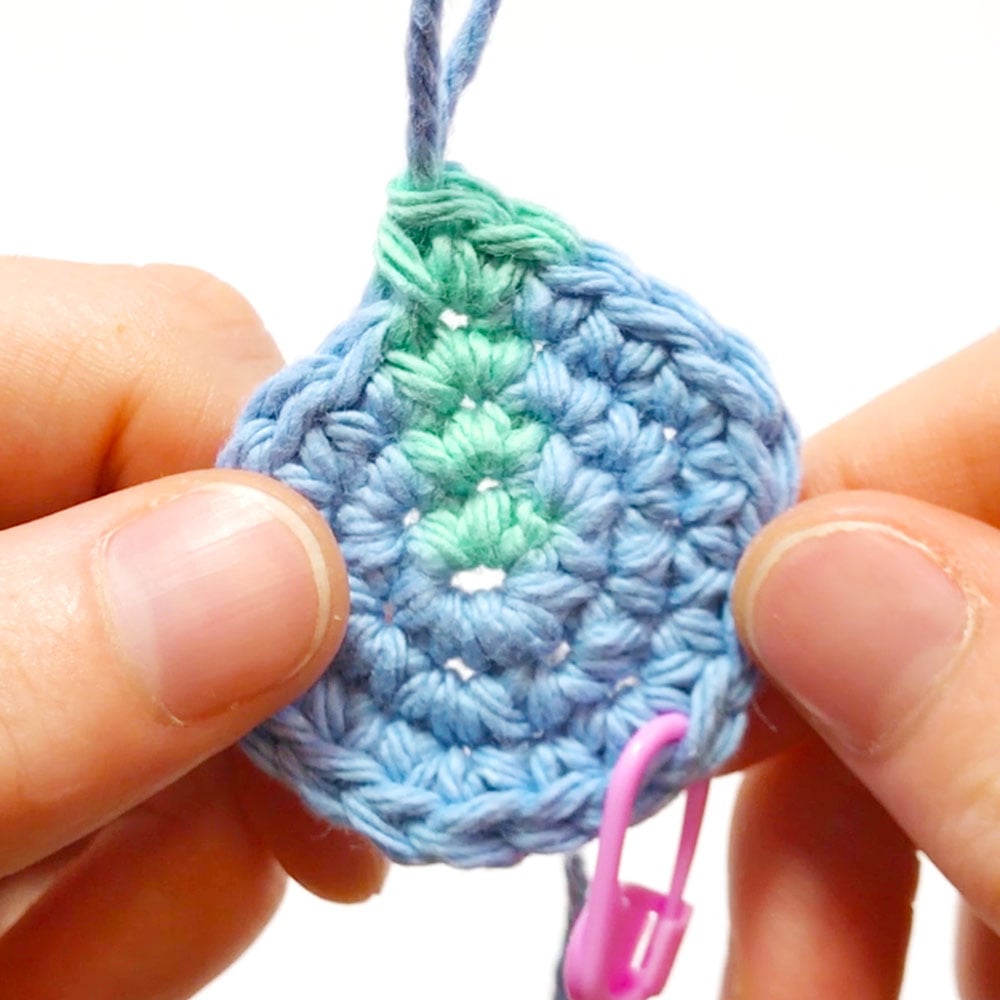
Rnd 4 in Blue Rnd 3 in Pink
Look for the increases and single crochets.
Rnd :
Rnd 5: [sc 3, inc] repeat 6 times total (30)

I’m not moving the stitch marker so I can show you how you can tell where the end of a Rnd is, but you might want to move it up.

Our stitch marker is right here marking the end of our Rnd 5, but let’s pretend that we didn’t have that stitch marker there and continue on to Rnd 6 without knowing that it was the end of the Rnd.

As we continue on, if we still thought we were on Rnd 5, we would make 3 single crochets and then the increase, but if we did that, our increase wouldn’t go into the right spot, and look disjointed from the rest of the pattern. This is where noticing the difference between increases and single crochets can really come in handy. Now I know that I must be on Rnd 6 because there should be 4 single crochets between increases.
Rnd 6: [sc 4, inc] repeat 6 times total (36)

Rnd 6 finished. Look for the scs and incs.
Rnd 7: [sc 5, inc] repeat 6 times total (42)

You could stop here and skip to the invisible end, but I’m going to go back a few stitches to make a simple handle so we can hang our coaster up on a hook.
02
Handle
10:05
Go back 3 stitches.
Pull out our final increase and a single crochet.

Ch 10


Top and Bottom loops of stitch

Back loop of stitch
Sl.st (Slip stitch) into the back loop of the first ch made.


For a slip stitch, once you’re in the stitch, yarn over.

And pull through all the loops on the hook

Now re-do the three stitches you pulled out of Rnd 7. Sc 1, inc 1

Finally we’ll make an “Invisible End” to hide the end of the Rnd
Sl.st into the next st


03
Hidden End
11:45
Now we’ll make something called a hidden (or invisible) end to hide the tail.
Cut the yarn and pull all the way through

Thread it on a needle, go around back of the next stitch, and into the center of the slip stitch we made.


Hide the ends in, and cut the tails close to the piece so it’s totally hidden.


And now we have a little coaster, so I don’t want to hear any excuses for why you didn’t use one!!
Other patterns to try


Community posts
Community Showcase
Coaster
Submitted by cinnamonbunny


So perfect if you are just getting into crocheting!
As I mentioned, different colors and a beach ball