Castle / Sandcastle Amigurumi

Medium
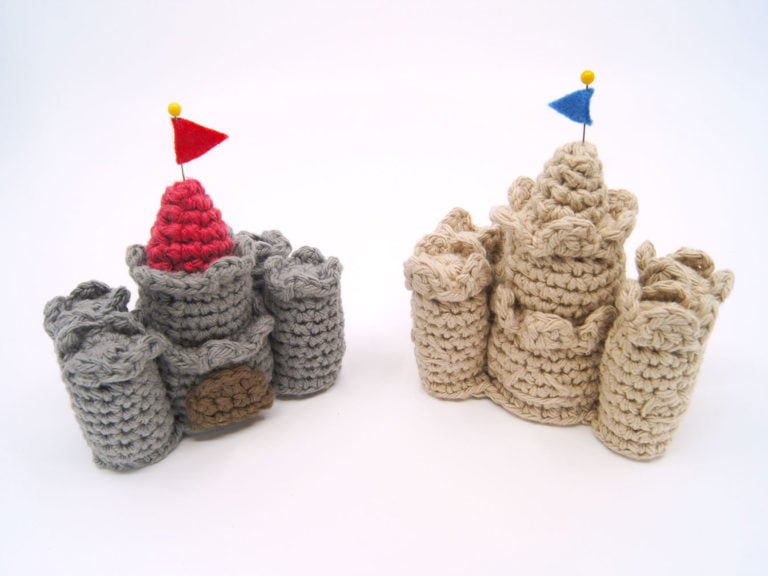
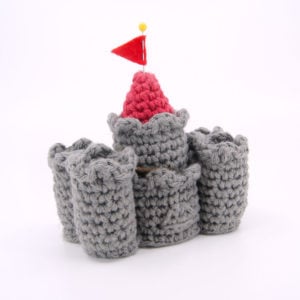
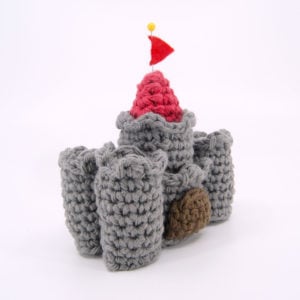
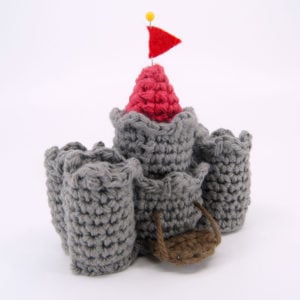
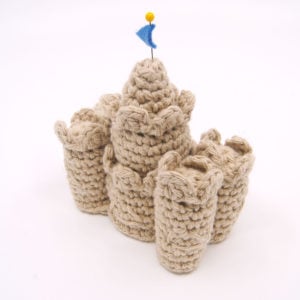
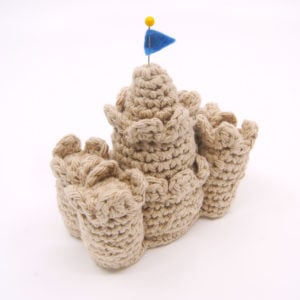
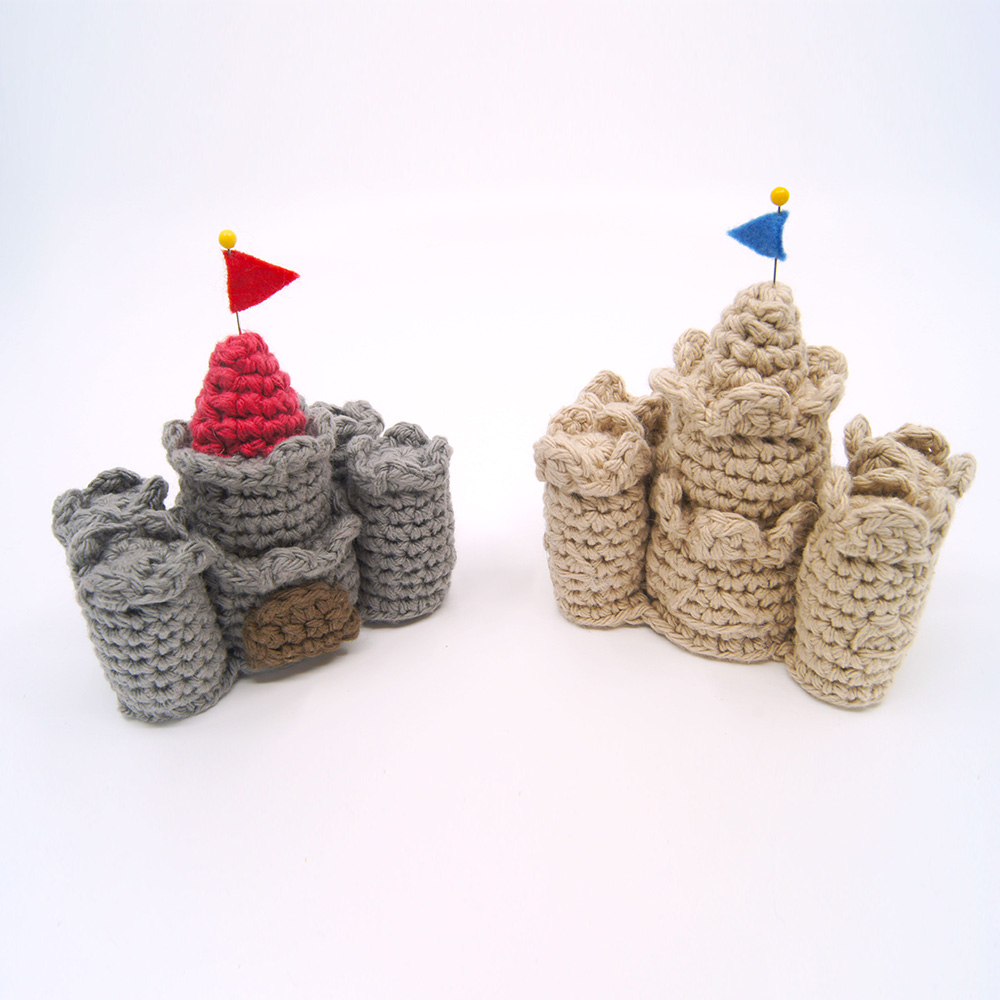
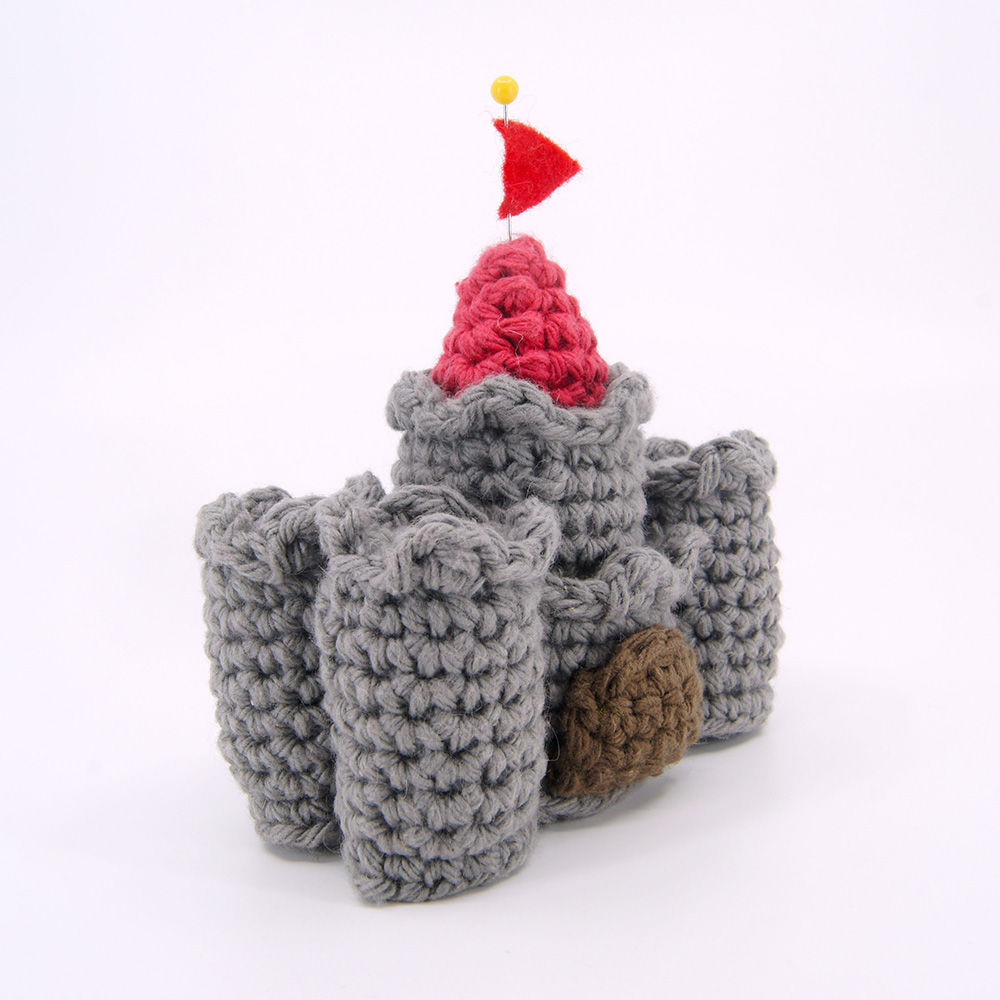
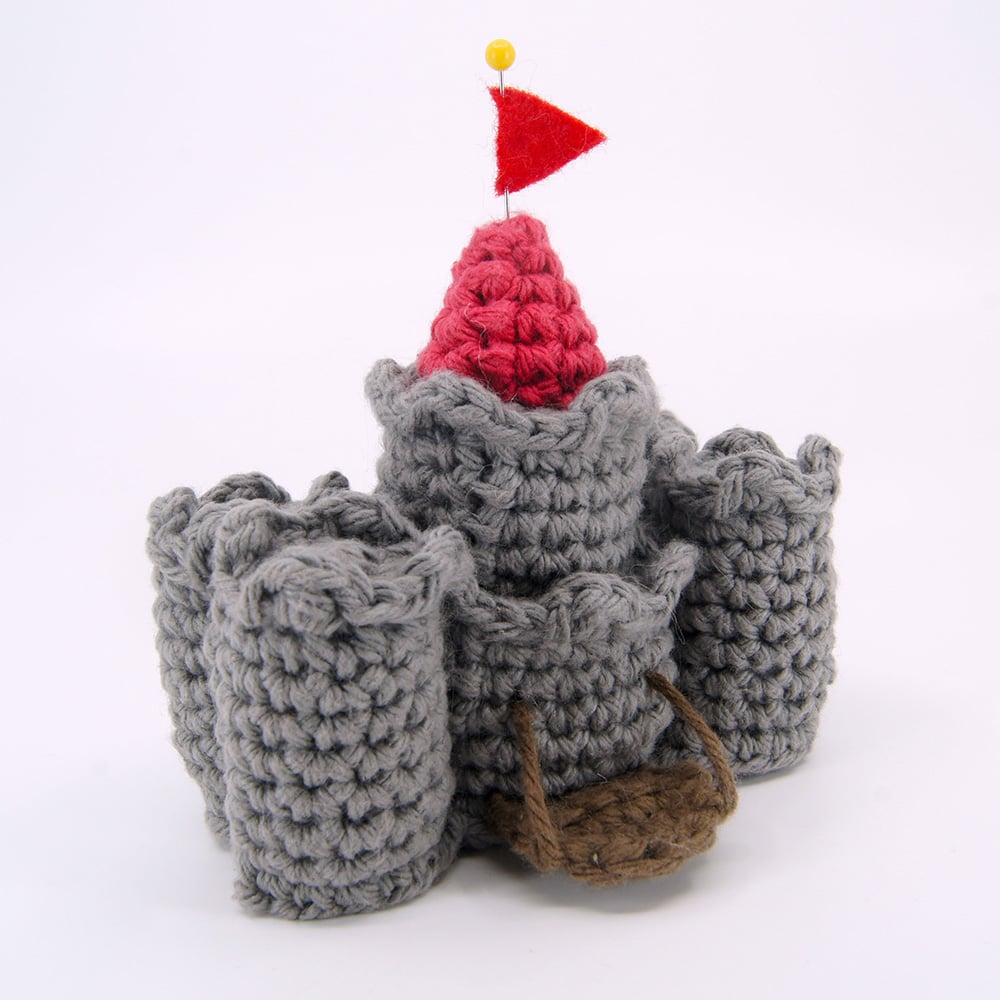
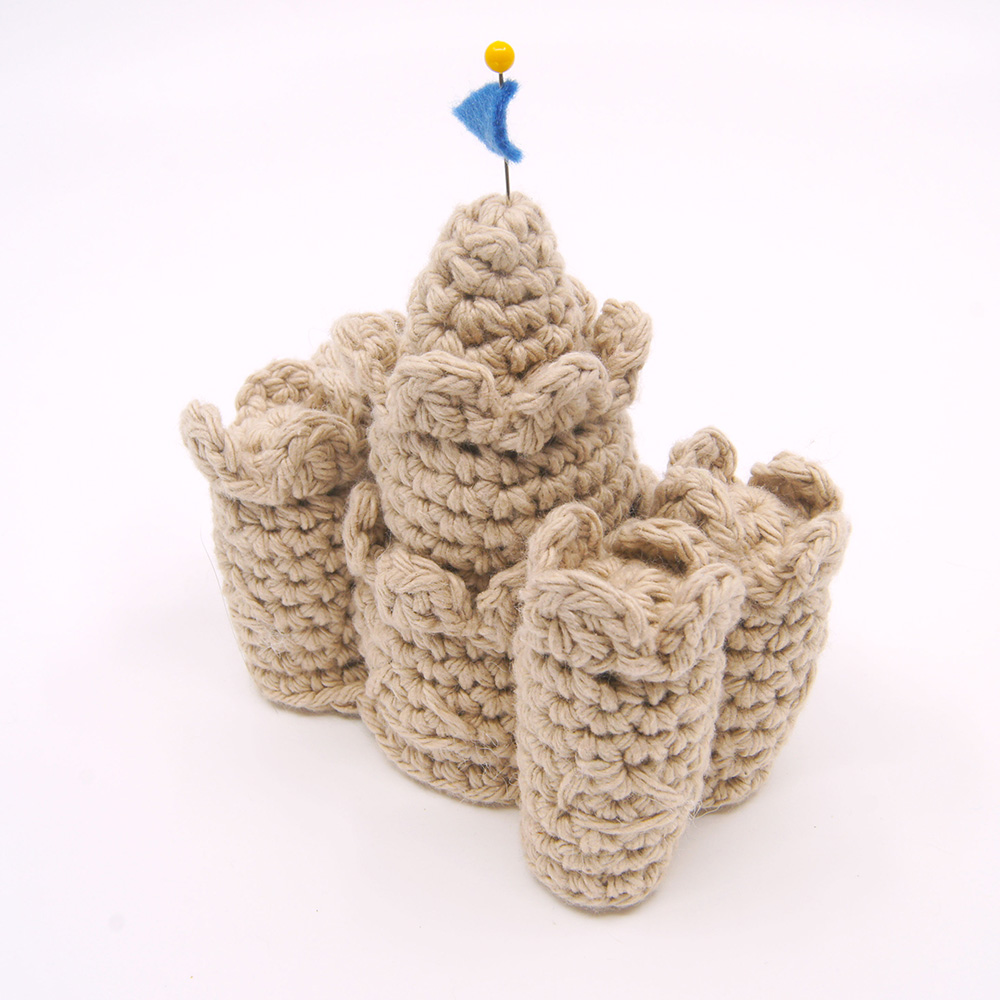
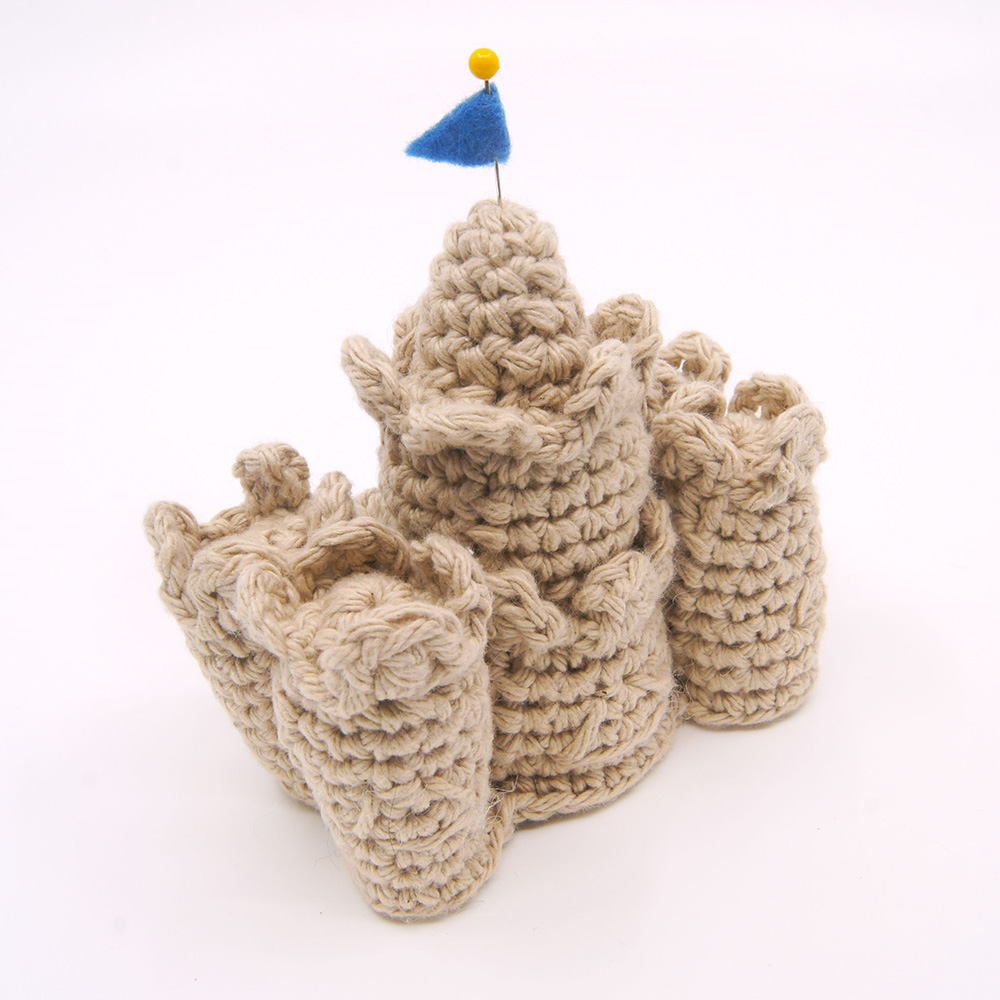
In this lesson, we’ll be crocheting a castle or sandcastle! This pattern is designed by @RavenCraft__Designs, and includes instructions on how to crochet your castle in different sizes and with a drawbridge that can actually be pulled up!


What you'll create


What you'll learn
What you'll need

Cotton Yarn
Weight

Colors
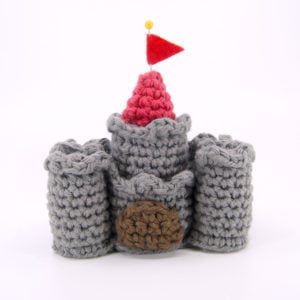
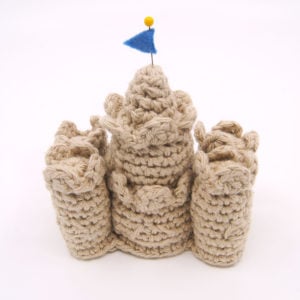
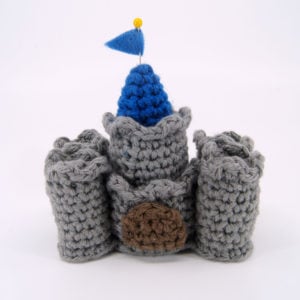
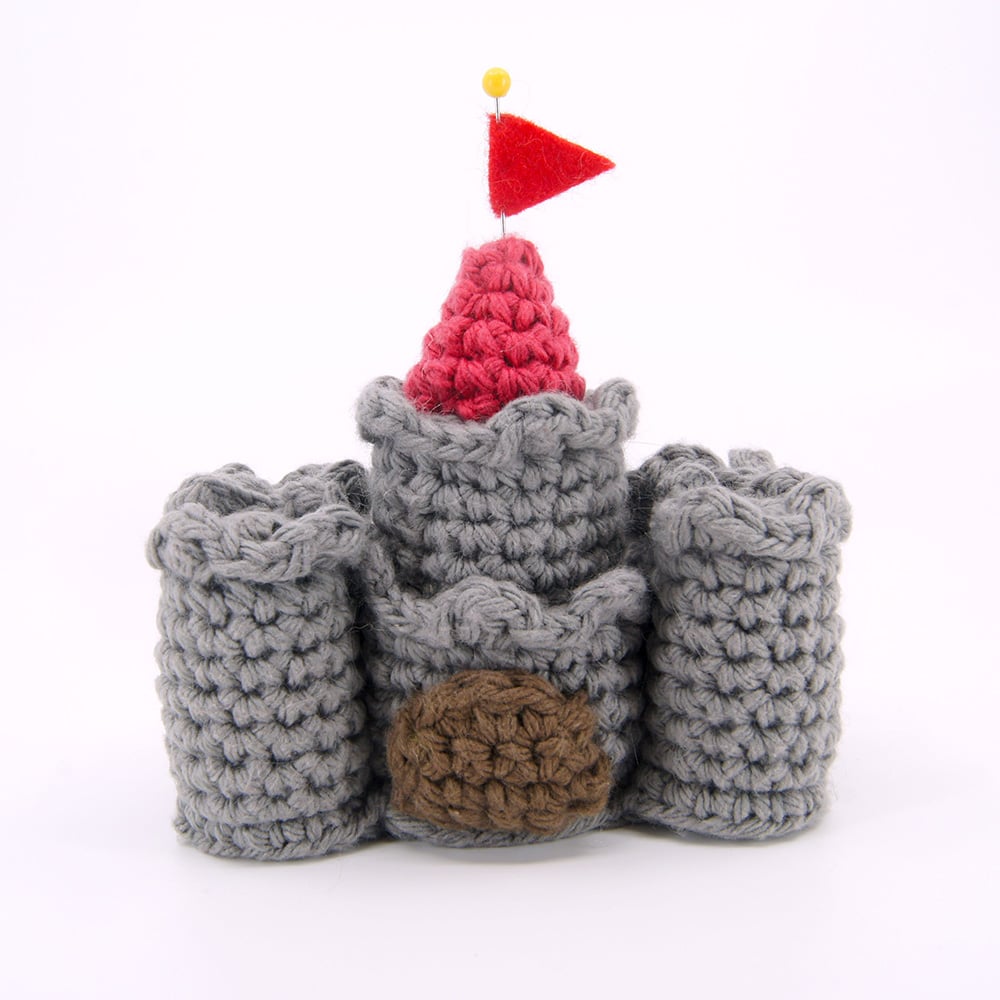
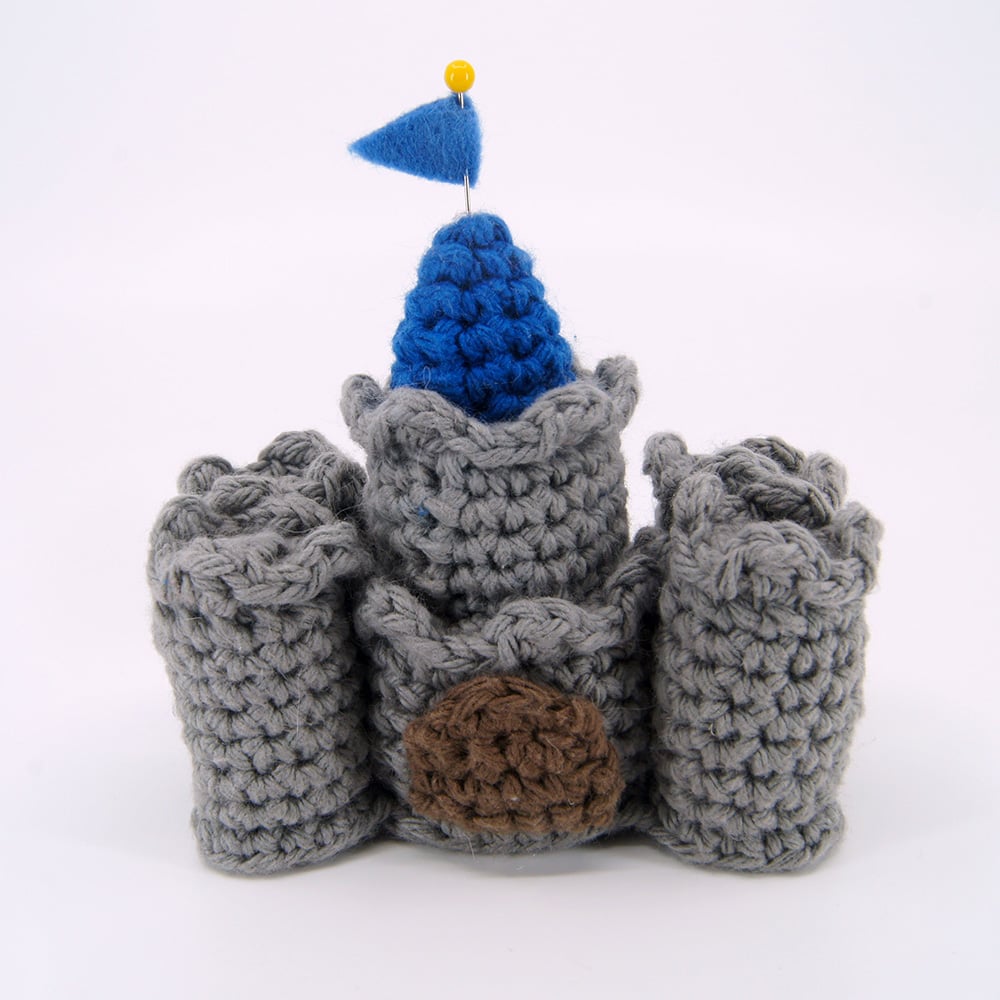
Grey / Tan (Main)
Brown (Drawbridge, optional)
Red (Peak, optional)

Crochet Hook
G6 / 4.00 mm

Stuffing

Darning Needle
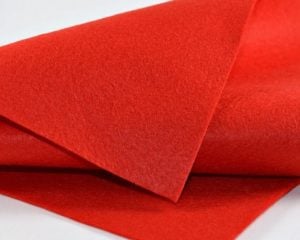
Felt
(for flag)
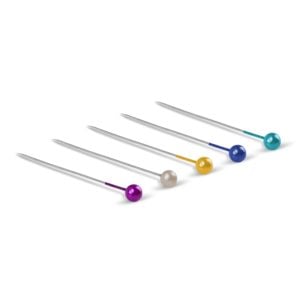
Pin
(for flag)
Abbreviations used
st
Stitch
slst
Slip Stitch
sc
Single Crochet
inc
Increase
dec
Decrease (Sharp)
FLO/BLO
Front / Back Loops Only
hdc
Half-Double Crochet
Useful information
Gauge
5 Rnds and 4 sts per 1”
Finished piece is about 3.5” x 3.5” tall
Worked
In the Round (except the drawbridge)
Useful Tutorials
Pattern steps
01 Skinny Tower
Make 2 or 4
[All in Main Color]
Magic loop
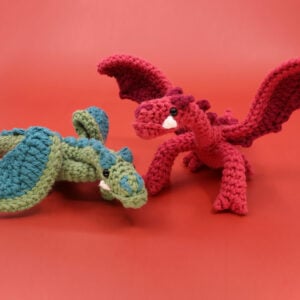
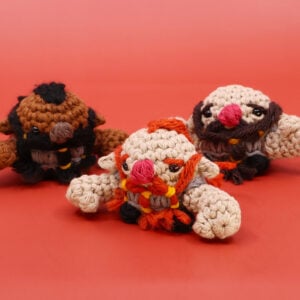
Other patterns to try


Community posts
Community Showcase
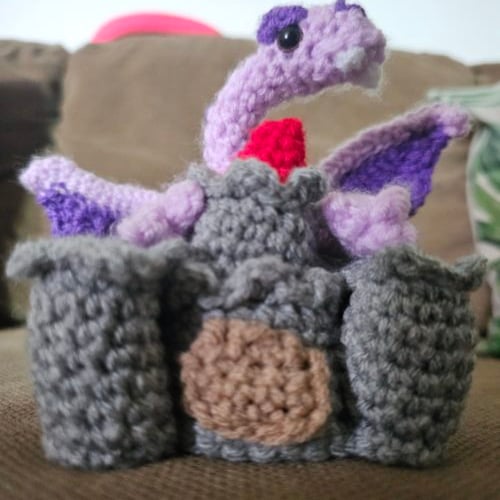
Dragon Attack
Submitted by chufe
You need an account to submit your photo.


I made this for my granddaughters who love to play in their sandbox. Now their dolls can “make” a sandcastle in their “sandbox” in the “yard” of their dollhouse!
I want to become a member
Louie, you need to make a minigurimi knight and princess to go with this!