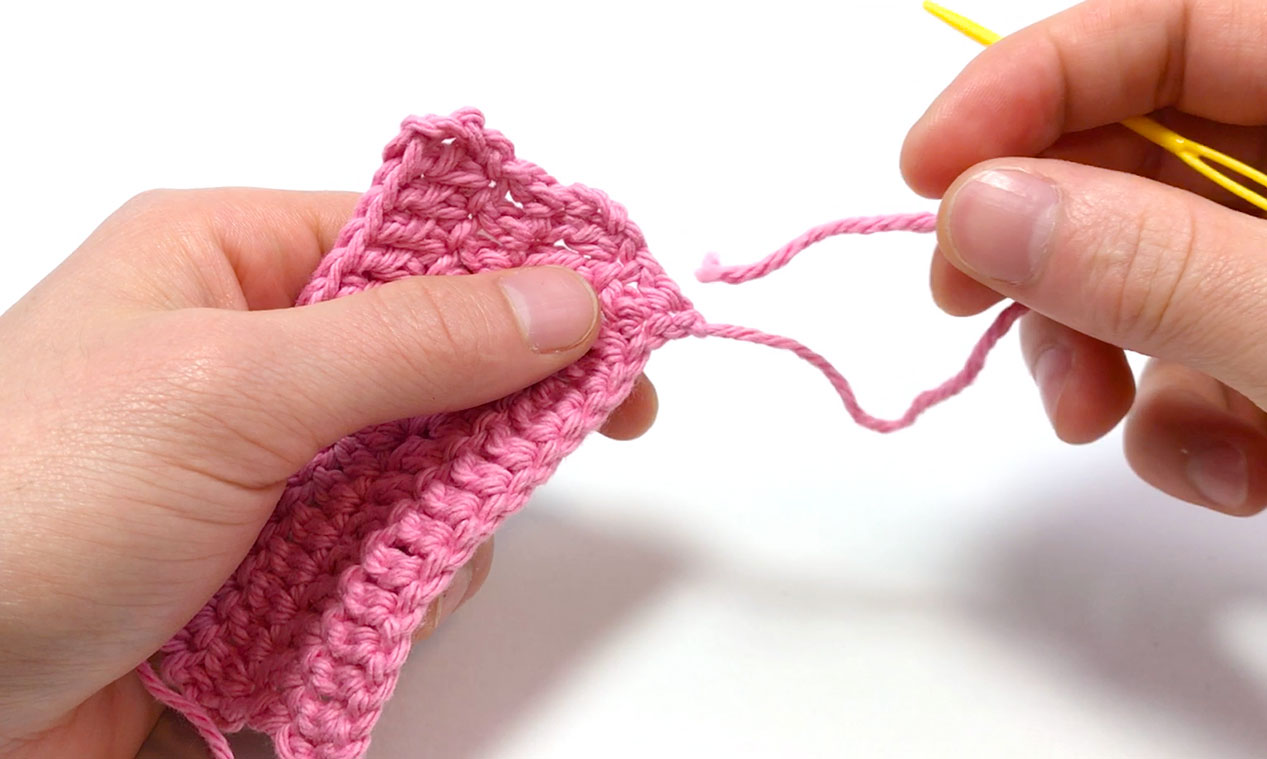
When you’ve finished a project or piece of a project, you’ll likely need to hide in the ends, meaning these little tail ends here. The main way to do that is by simply sewing the end into some stitches that are close by.
You’ll need an account to download the PDF version of Crocheting 101. Don’t worry, it’s totally free!
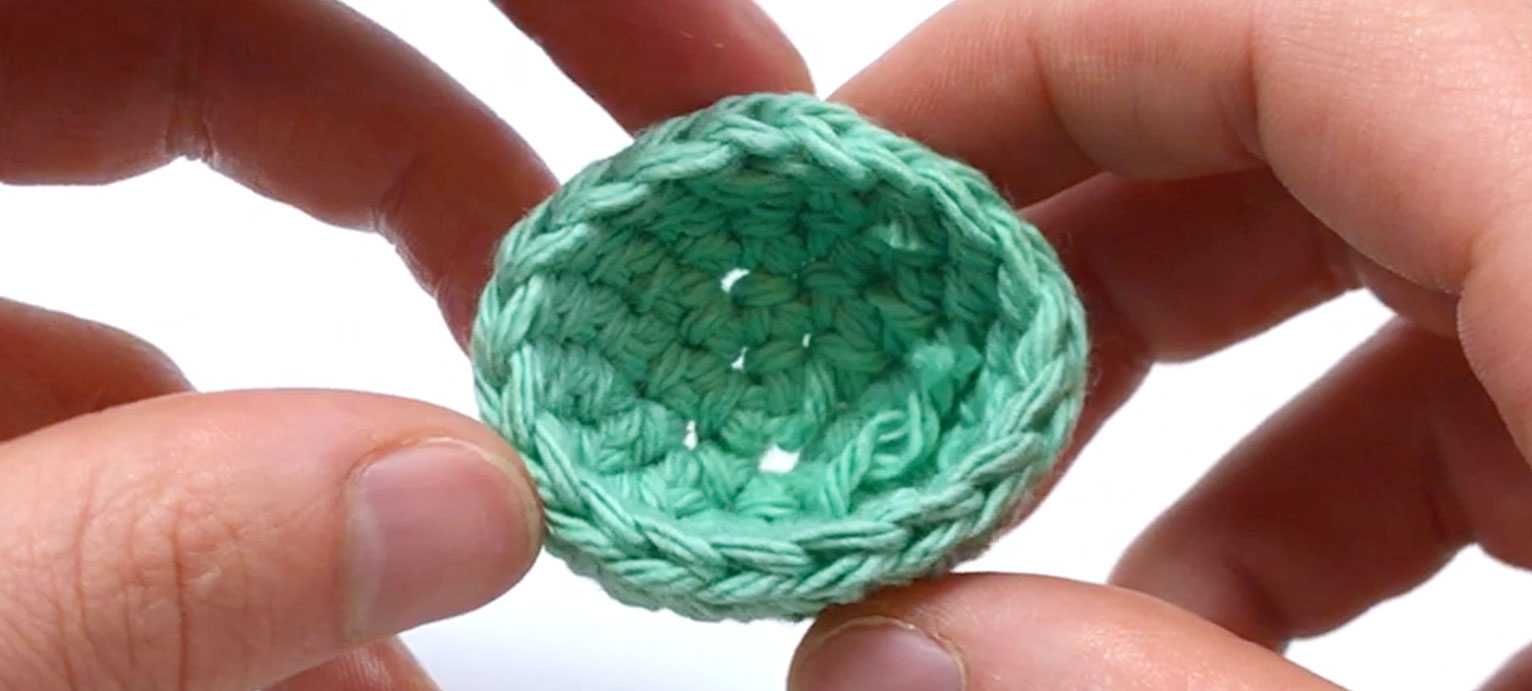
We’ll also be going over a technique to hide ends while working in the round which mimics the tops of stitches.
We’ll also be going over a technique to hide ends while working in the round which mimics the tops of stitches.
Note:
These boxes are checkboxes
Hiding Ends
Sewing in loose tail ends on a flat piece is simple. Usually in patterns this is written as “hide ends” or “hide tail ends”.
Thread the tail onto a darning needle and poke it through the middle of the adjacent stitches.
When you feel like you’ve gone into enough stitches so that it undo itself (I recommend at least 3 stitches), you cut the remaining tail really close to the piece and it should be hidden pretty well.
'The Hidden End'
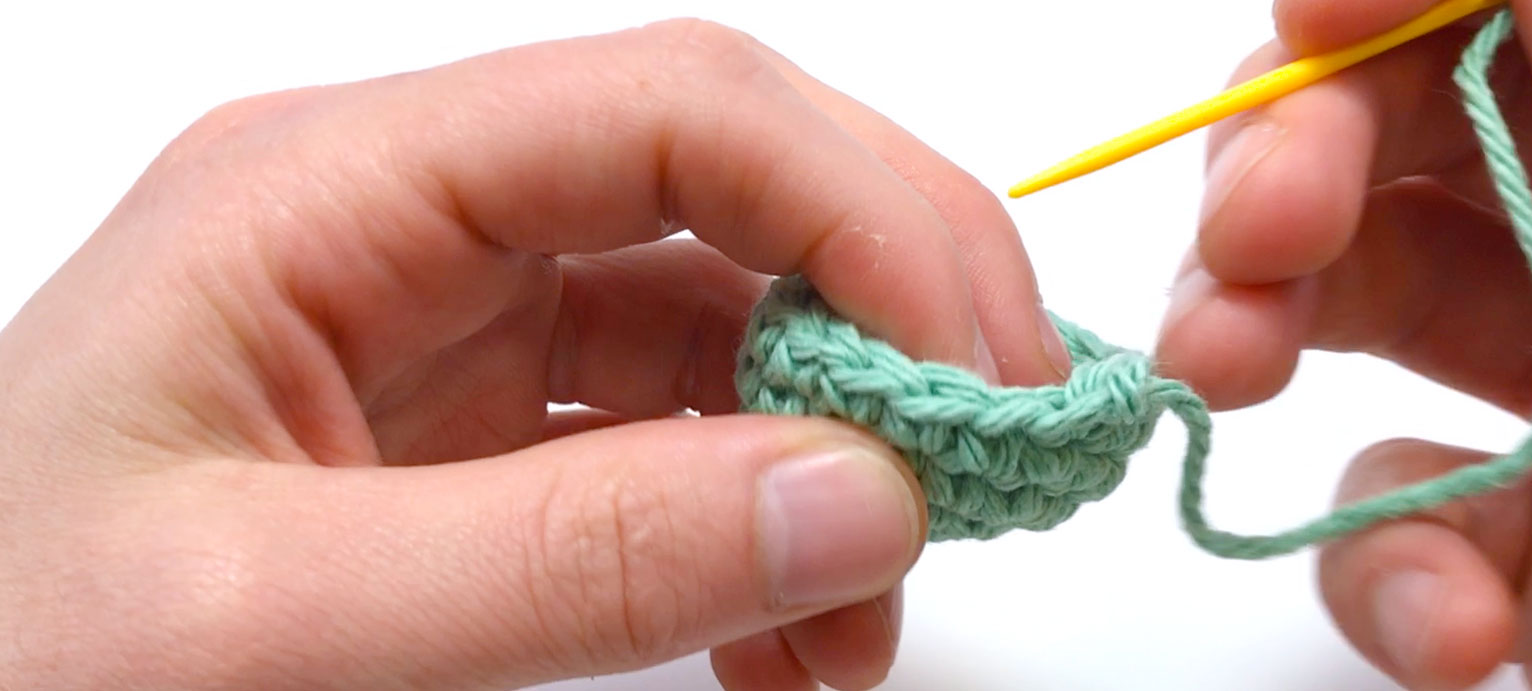
The second technique I call the “Hidden End” and it is mostly for working in the round and works by mimicking the tops of stitches before sewing them into the piece to fully hide them.
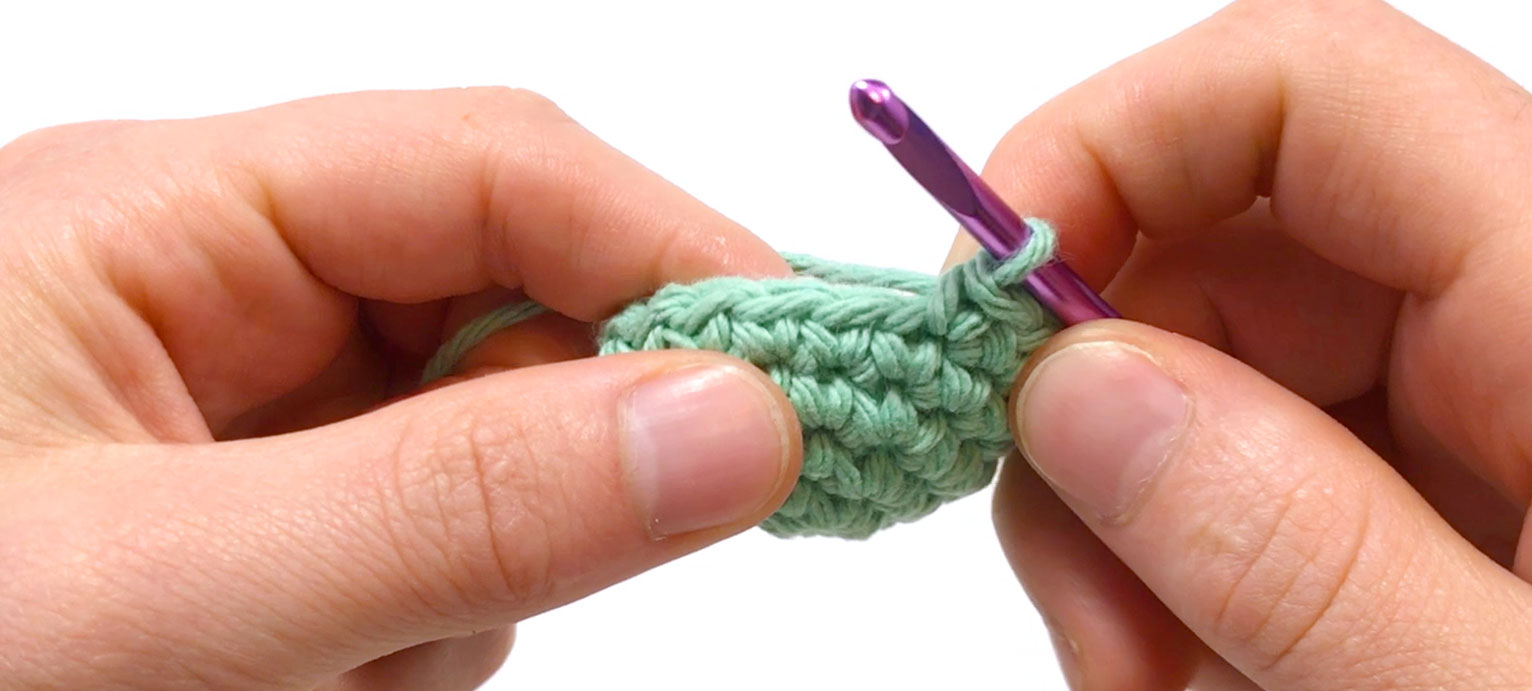
Slip Stitch (Sl.st) into the next stitch, cut the yarn and pull through.
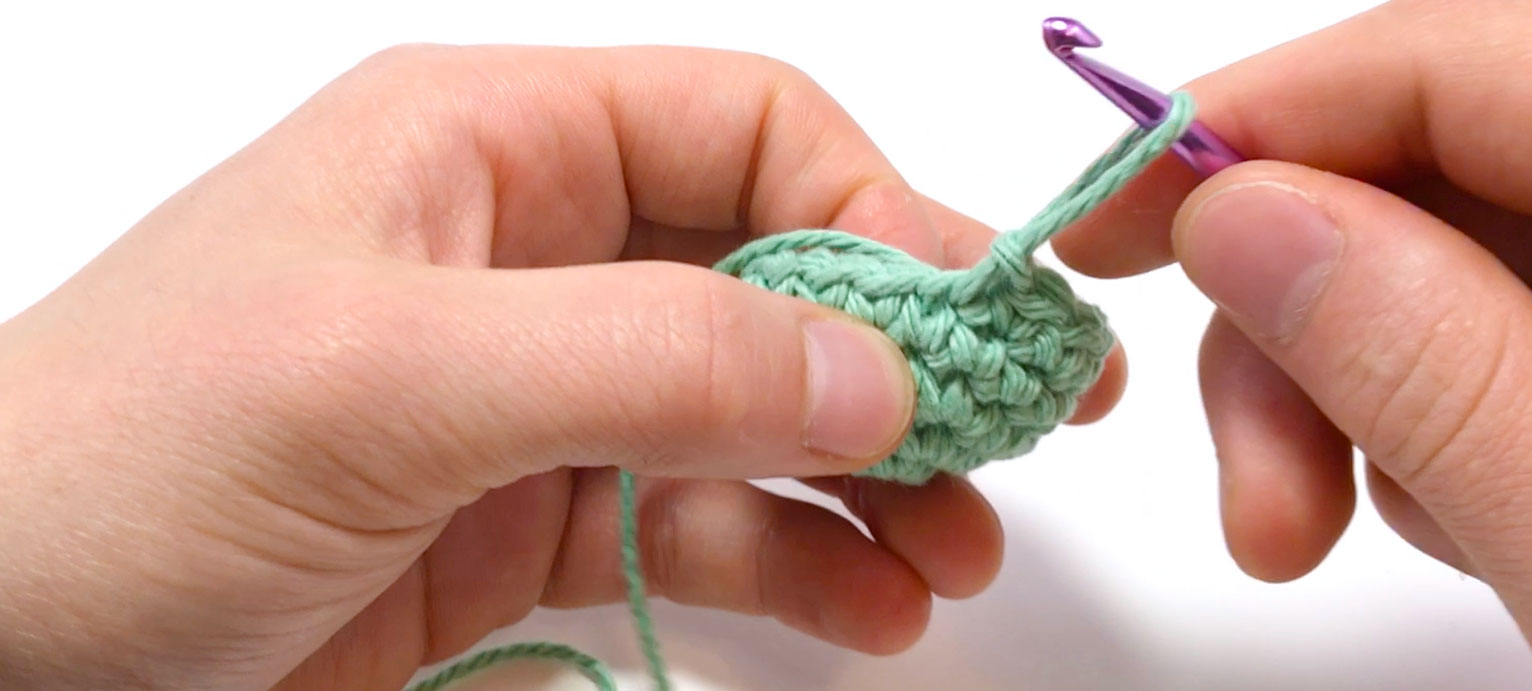
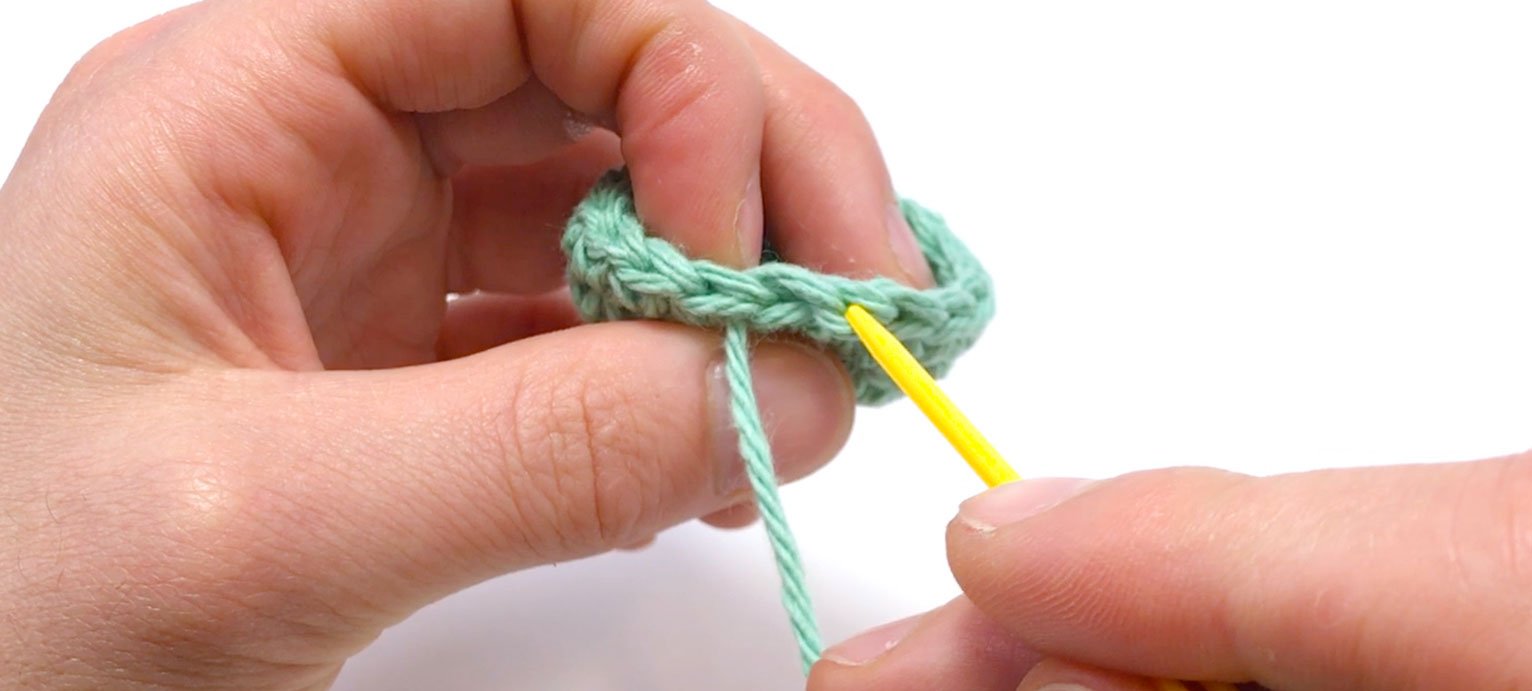
Thread the tail onto a needle and go into the back of the next stitch over.
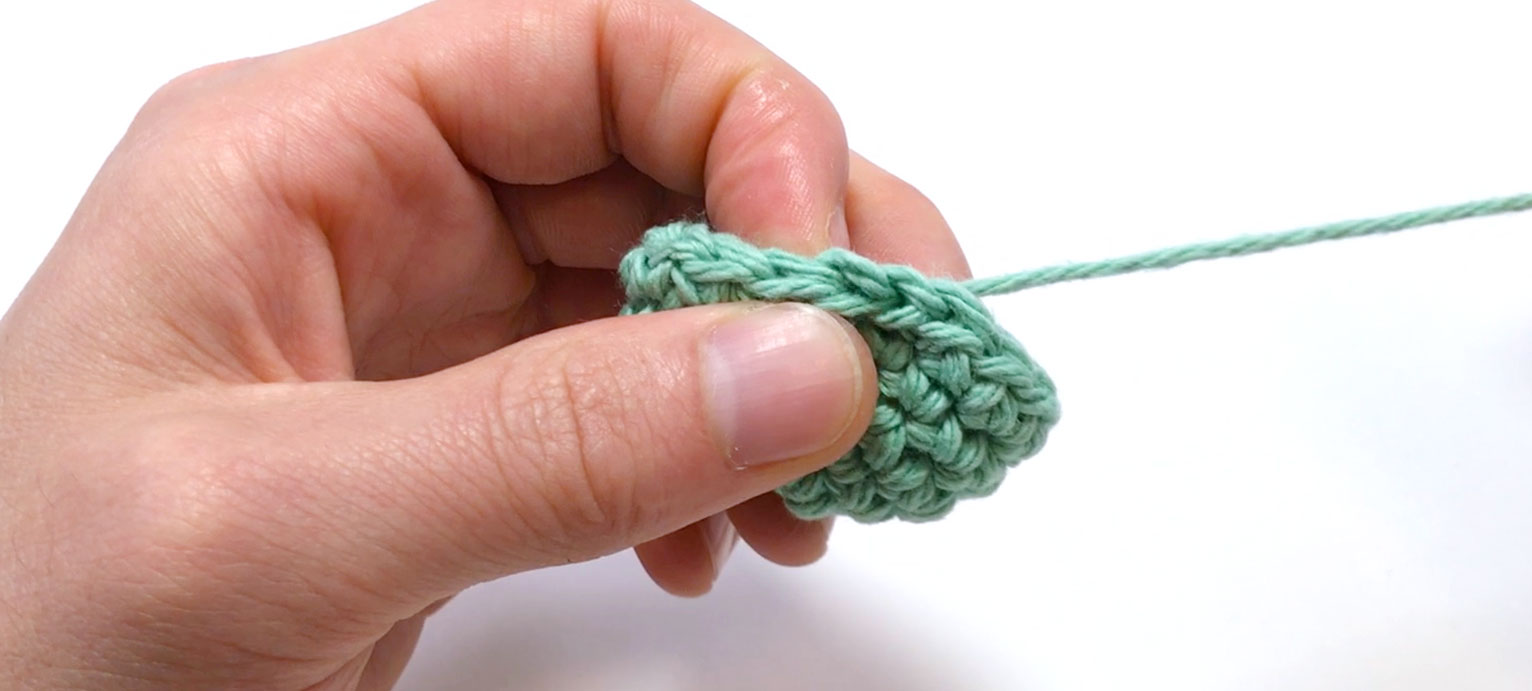
Then go back down through the center of the slip stitch you just made.
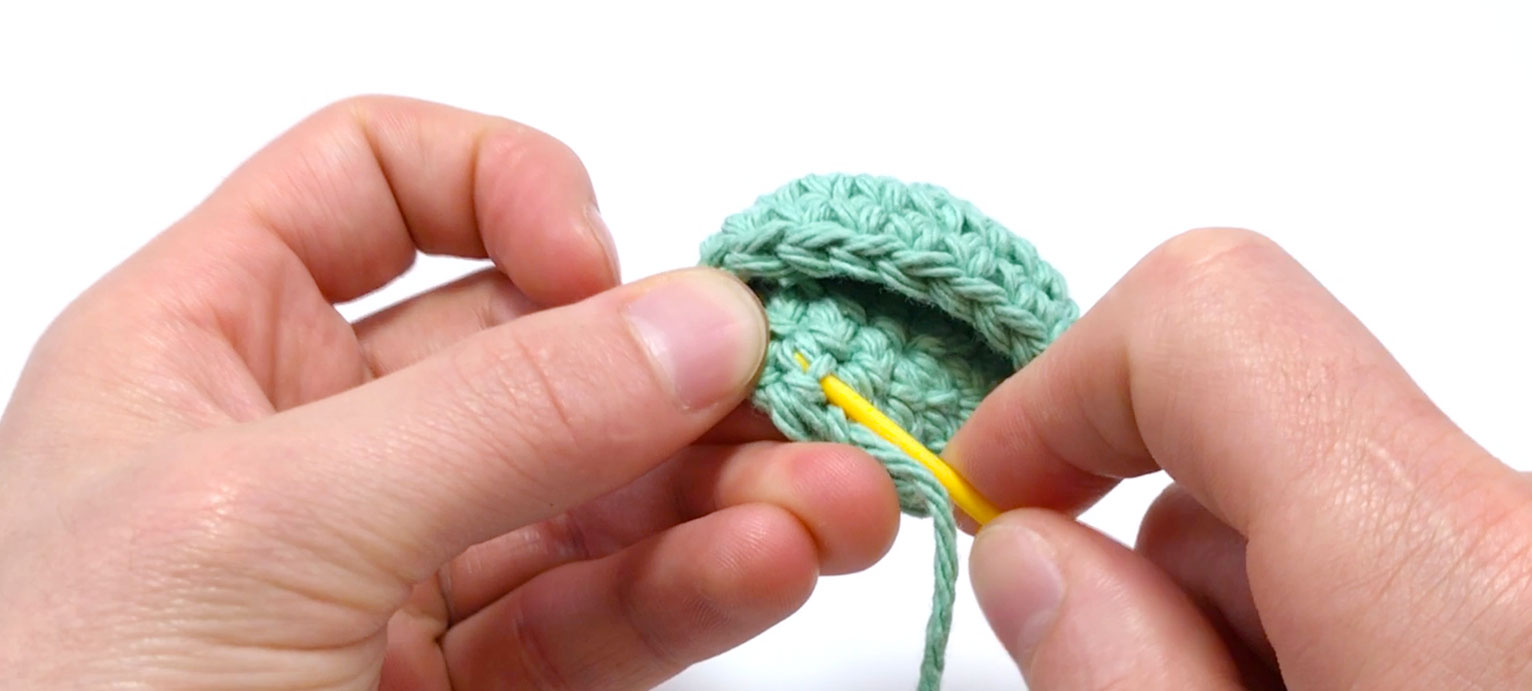
Now sew the tail end into the piece like before by going into the backs of the adjacent stitches.
This makes a nice simple ending that matches the rest of the stitches and will help hide the end. It can also be pretty useful for sewing pieces together.
Ooop! To go to the online version of this pattern you’ll need to activate your account! Make sure to use the code on the back of the card to be granted permanent access to these patterns and 1 month free of membership too!
*You can always download the PDF version and access the video tutorial without an account! Activate your account here.