
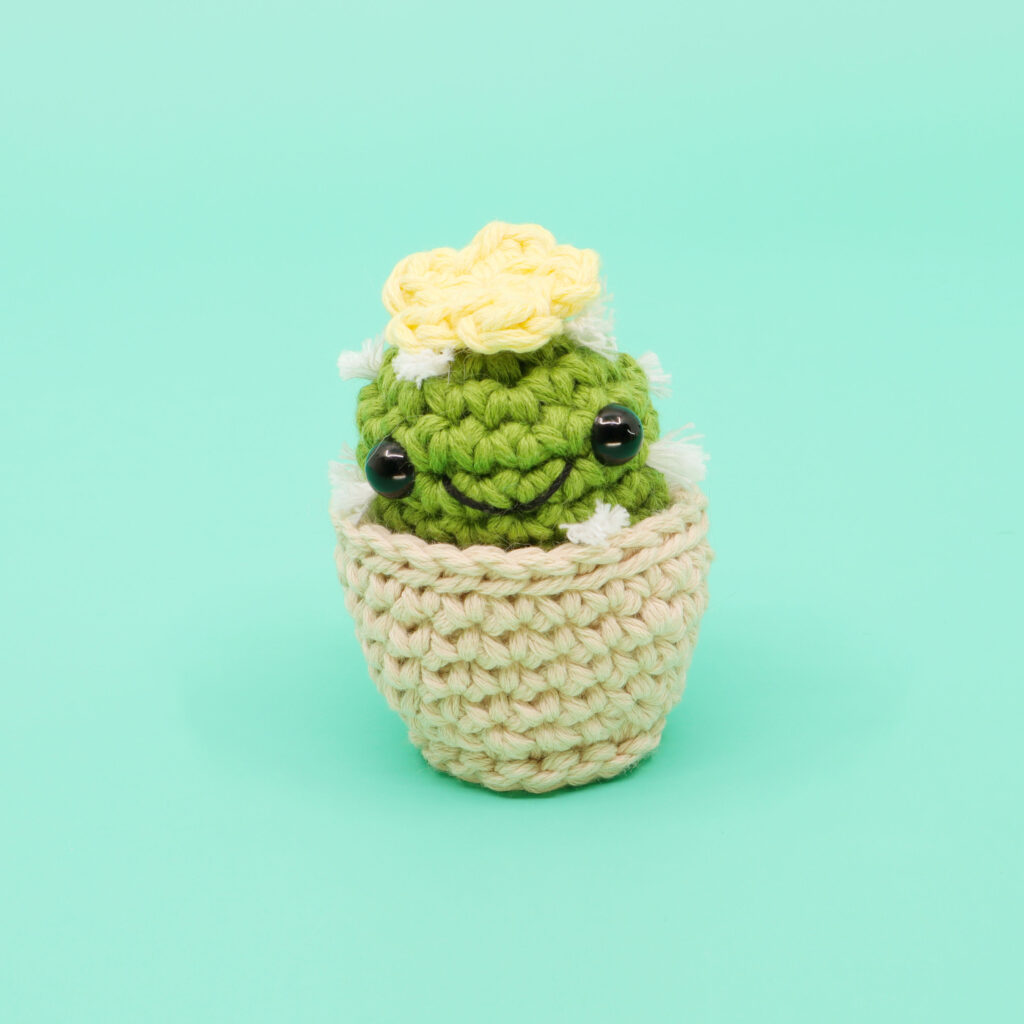
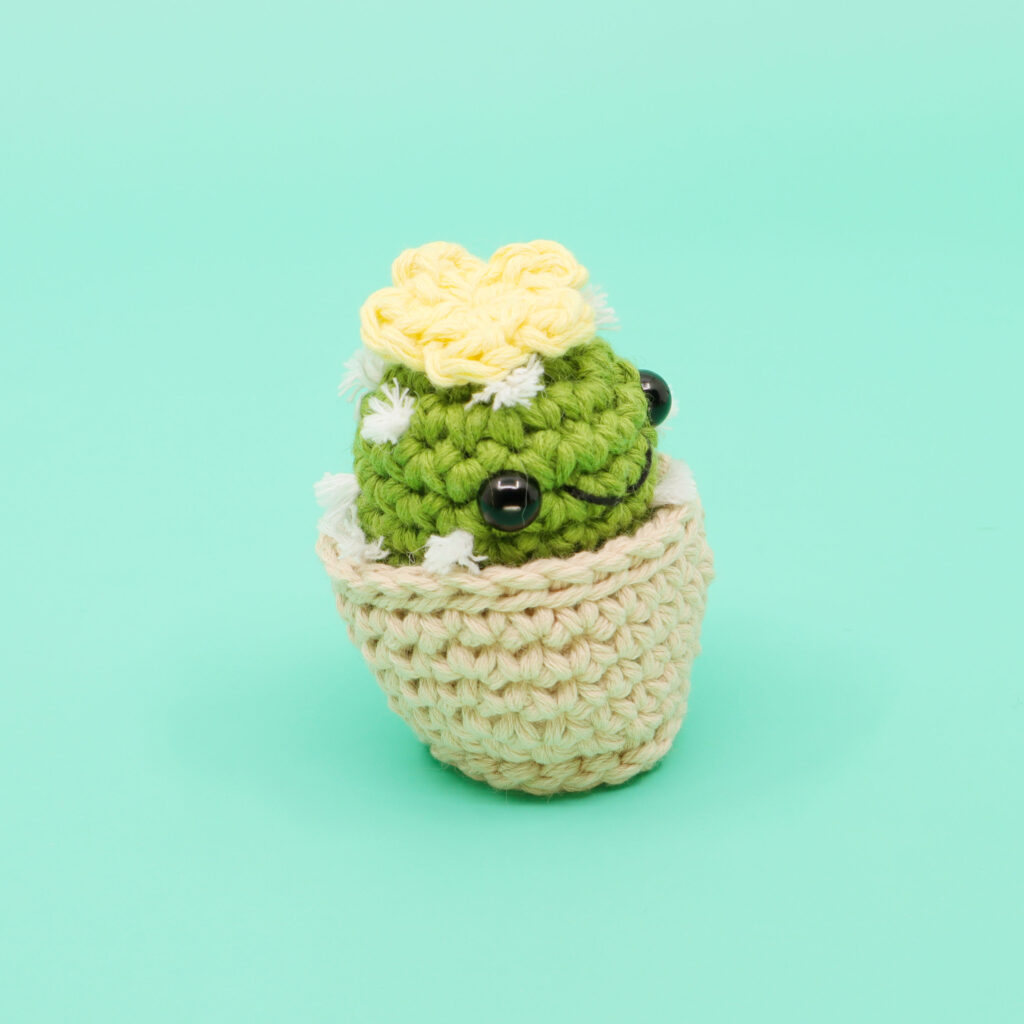
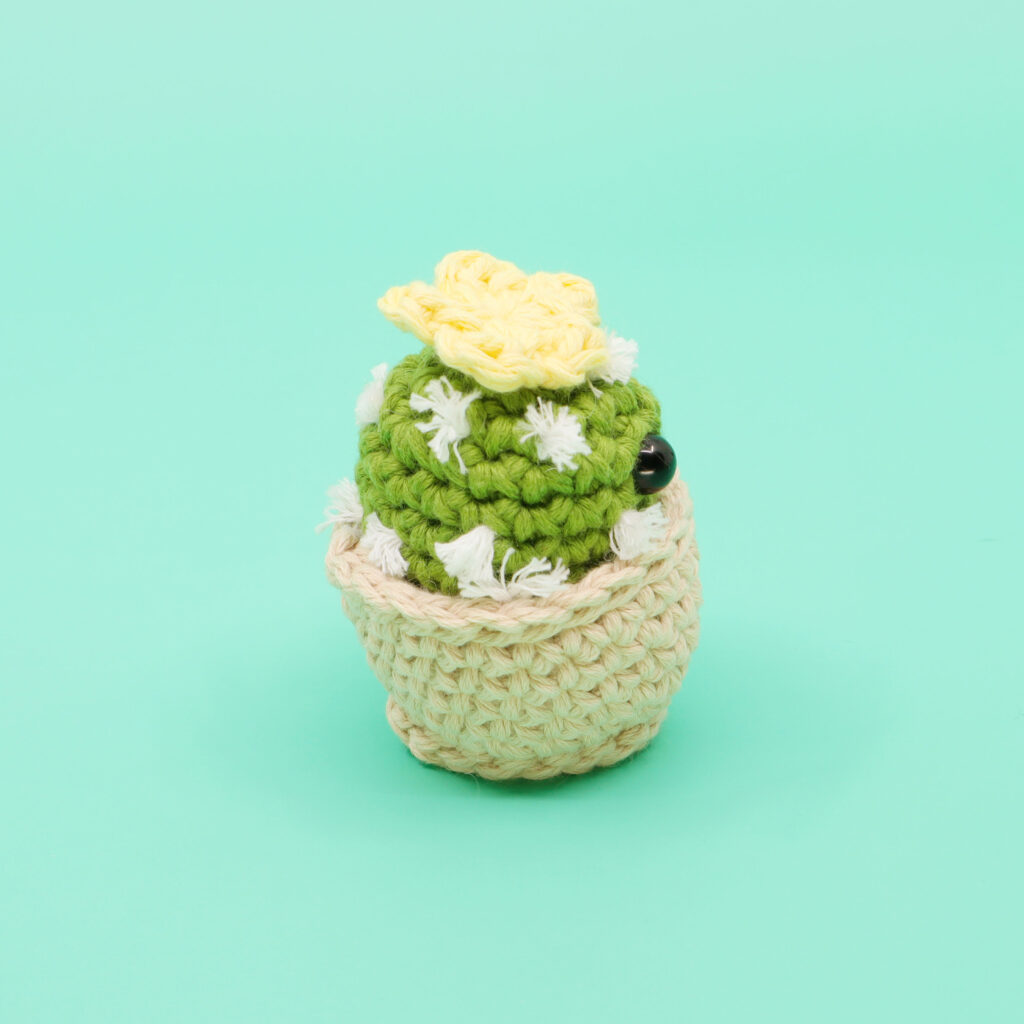
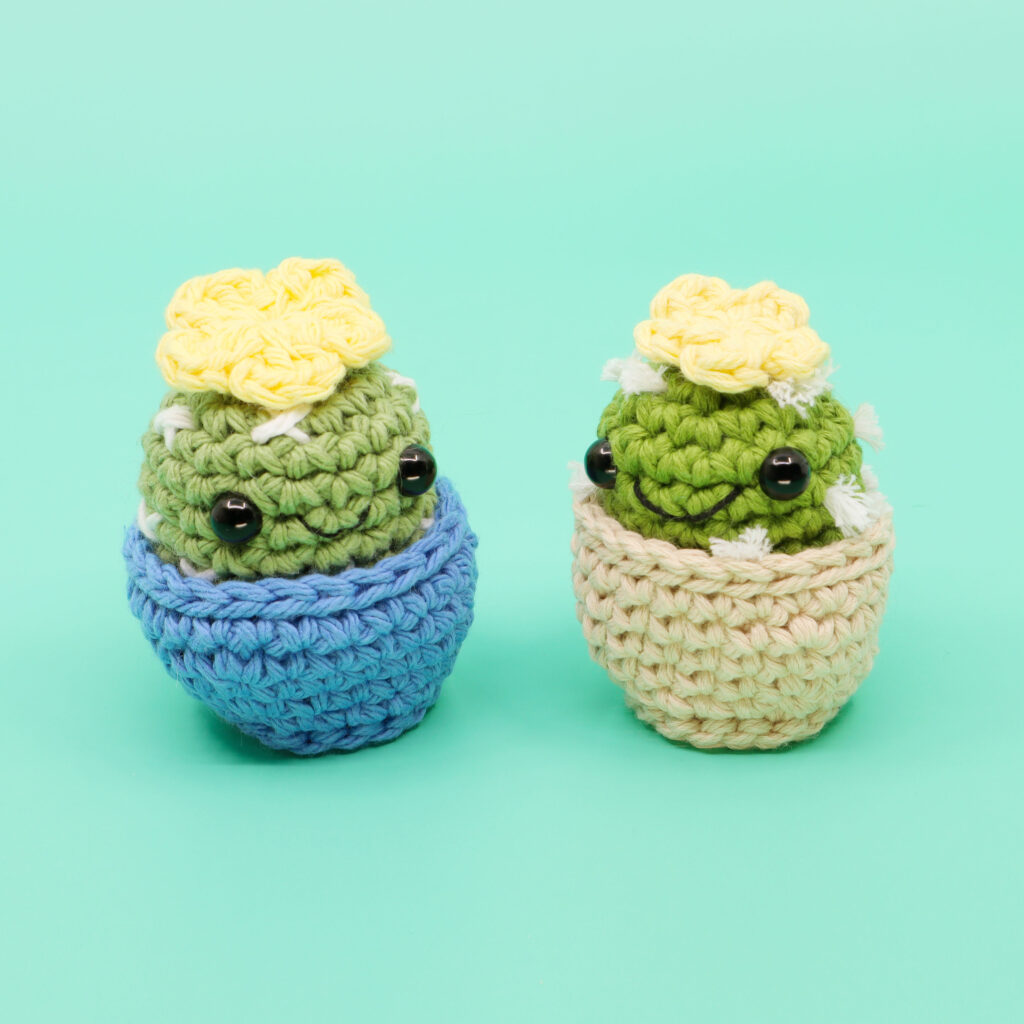
Betty the Beginner Cactus Amigurumi

Beginner

Louie's Loops
Designed by


What you'll create


Video tutorials
Main Video
Lefty
What you'll learn
What you'll need

Cotton Yarn
Weight

Colors

Crochet Hook
G6 / 4.00 mm

Safety Bead (x2)
8mm
Black Thread (Face)

Stuffing

Darning Needle
Abbreviations used
ch
Chain Stitch
st
Stitch
slst
Slip Stitch
sc
Single Crochet
inc
Increase
invdec
Invisible Decrease
FLO/BLO
Front / Back Loops Only
dc
Double Crochet
bo
Bobble Stitch (4-dc bobble)
Useful information
Gauge
5 Rnds and 4 sts per 1”
Size
Finished piece is about 5 inches long
Worked
In the Round


Pattern steps

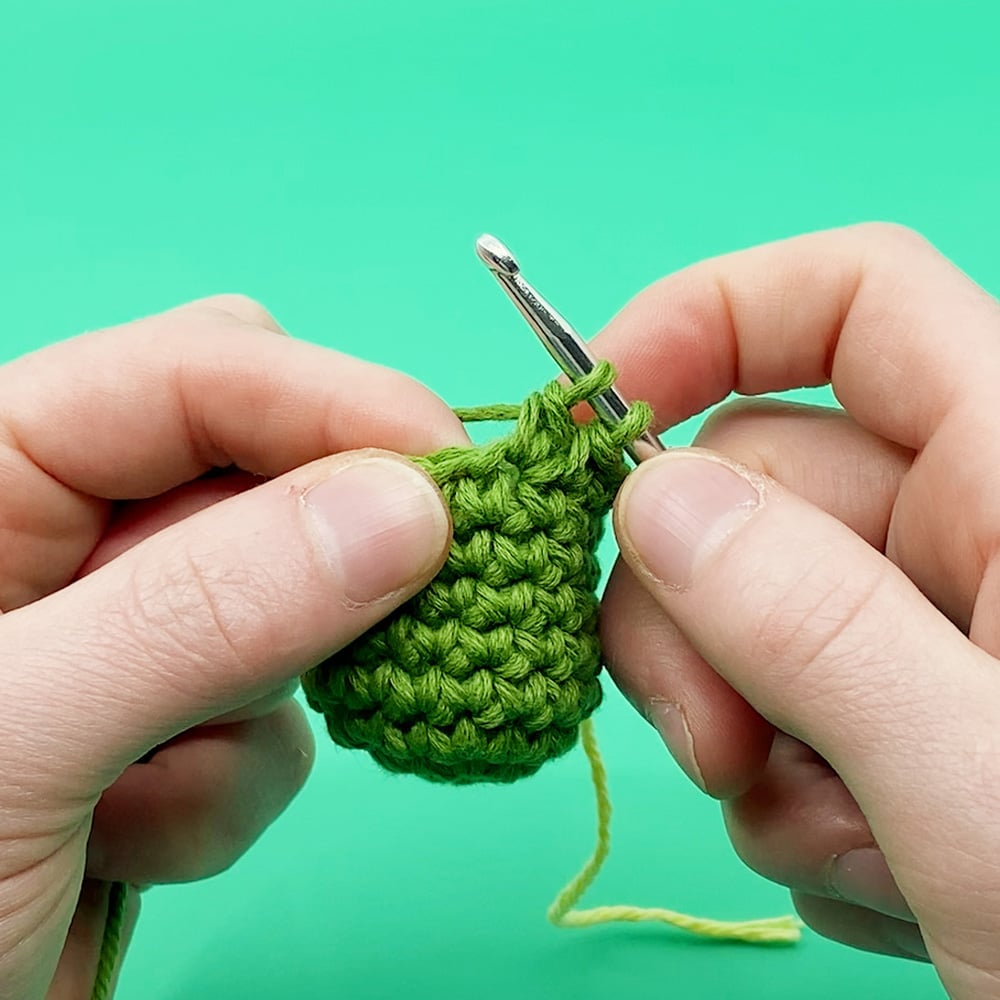
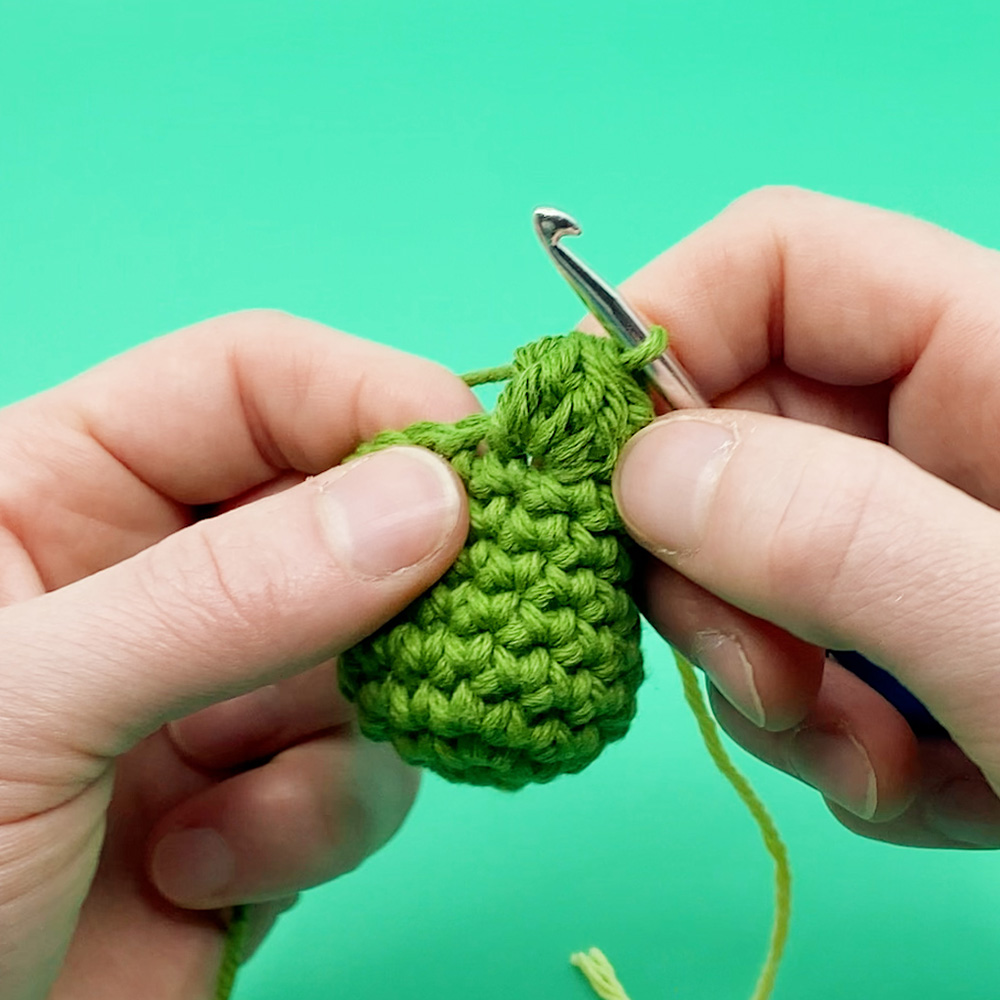
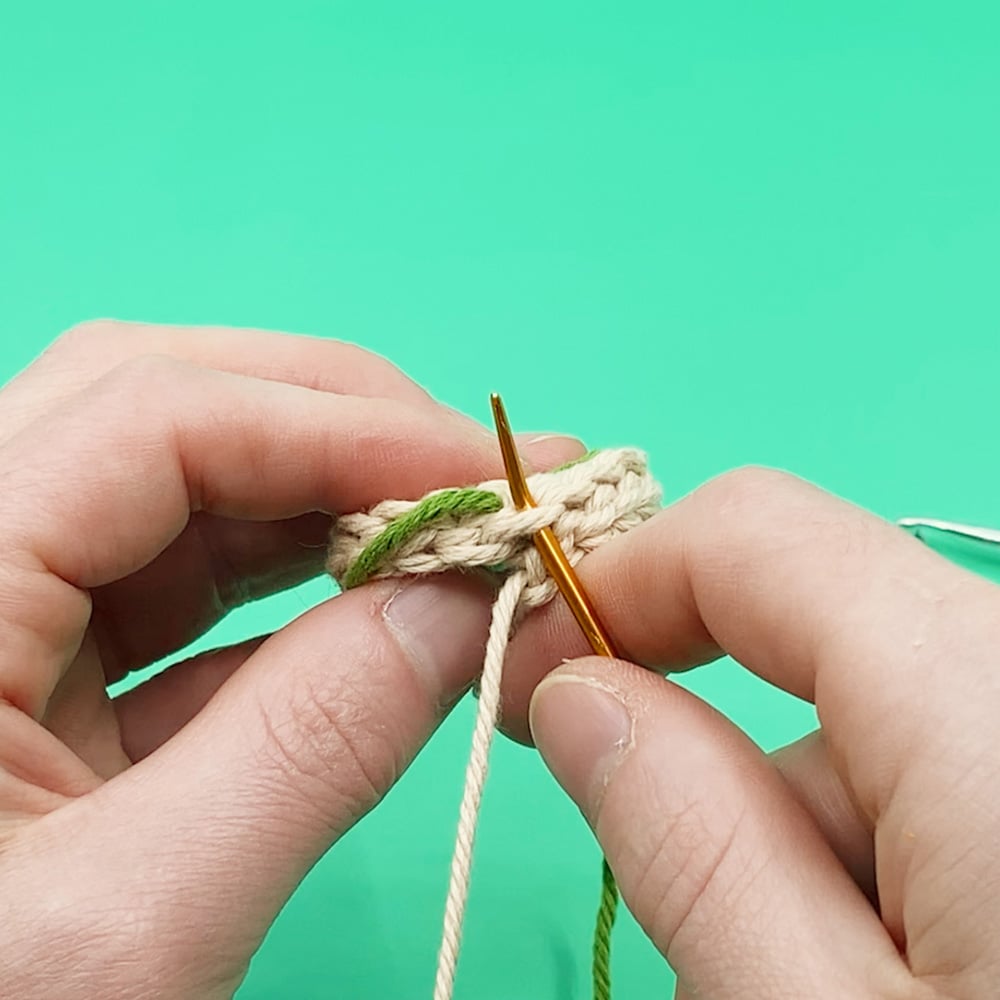
01
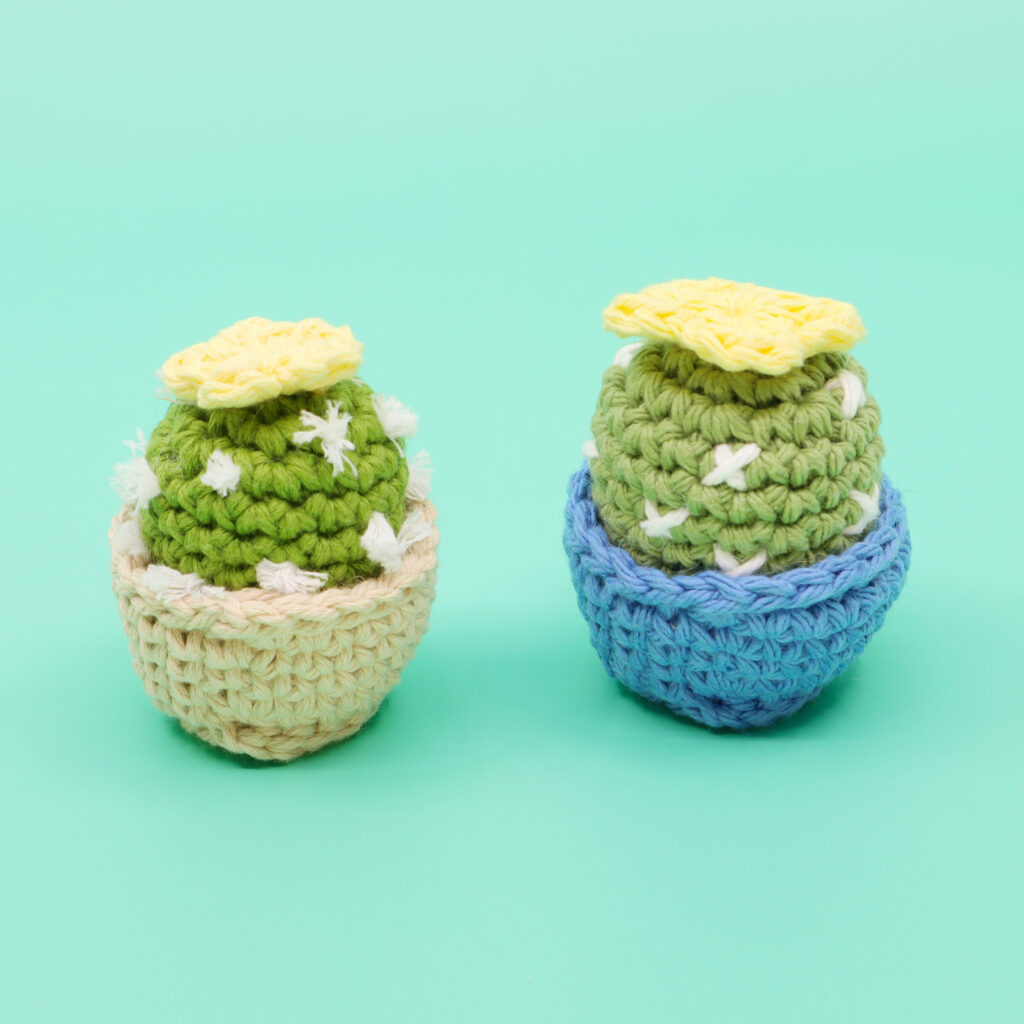
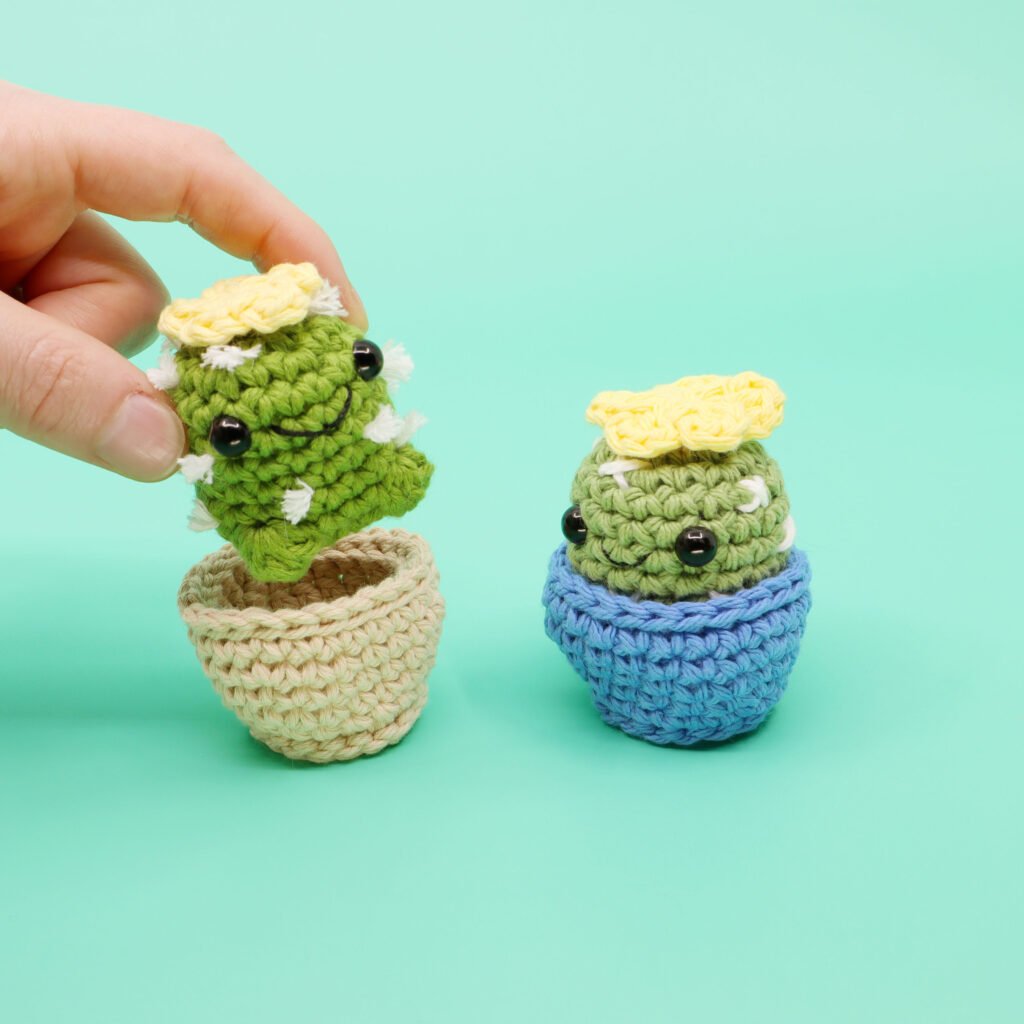
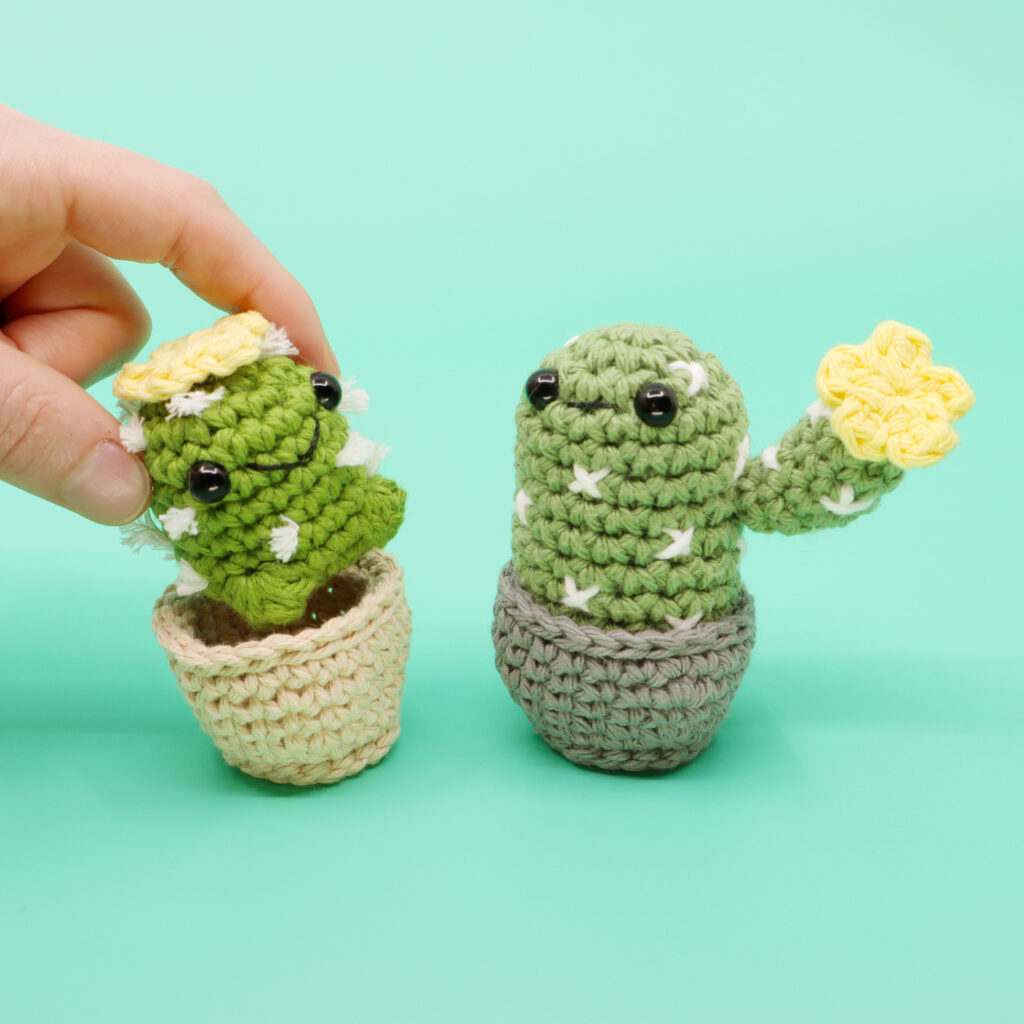
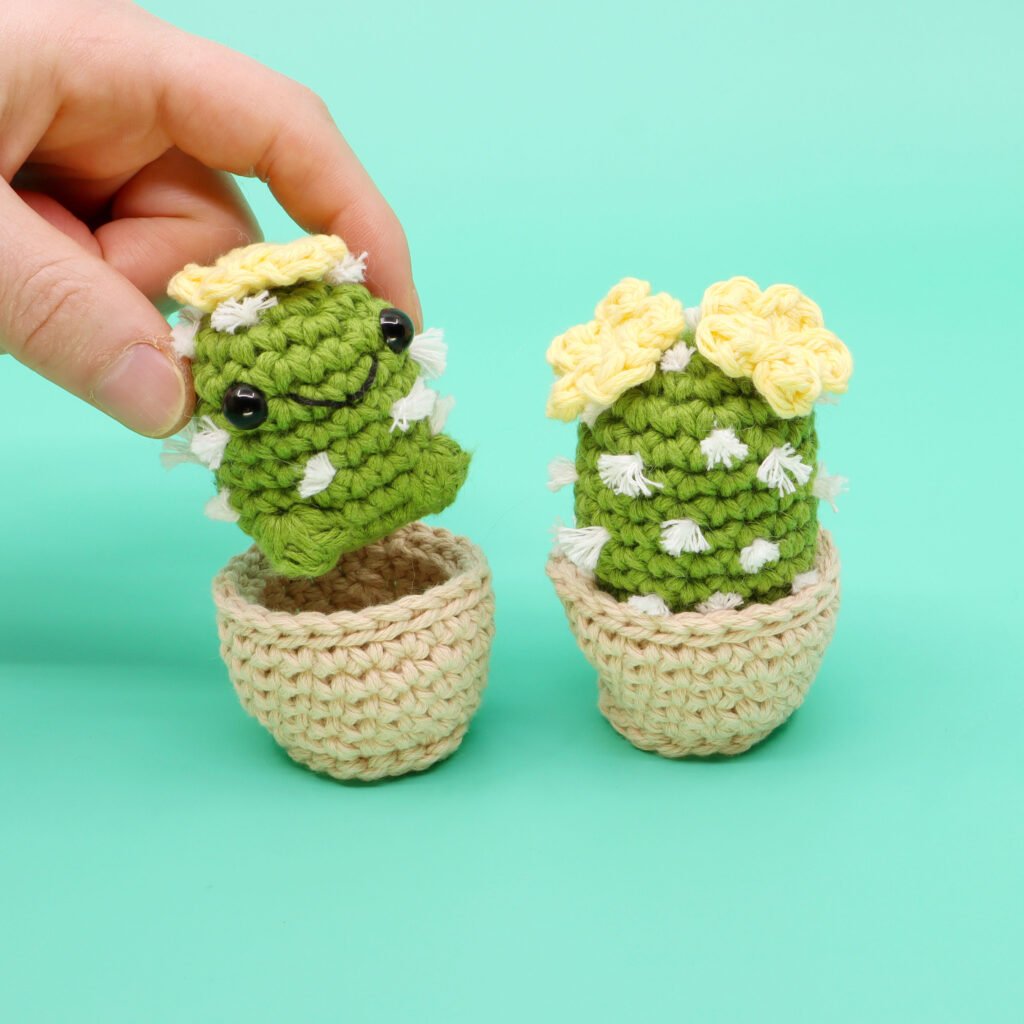
Mini Cactus Body
8:22
[All in Green]
Magic loop
Rnd 1: sc 6 into the magic loop (6)
Rnd 2: inc in each (12)
Rnd 3: [sc 1, inc 1] 6 times (18)
The following Rnds are meant to give height to your cactus. You can repeat them as many times as you'd like, but I suggest at least 5 rounds to have your cactus taller than your pot.
Rnds 4-8+: sc in each st (18 x 5+)
See next section (Adding Feet) for how to use Bobble Stitches in the last Rnd of single crochet stitches to add optional secret feet to your cactuses body!
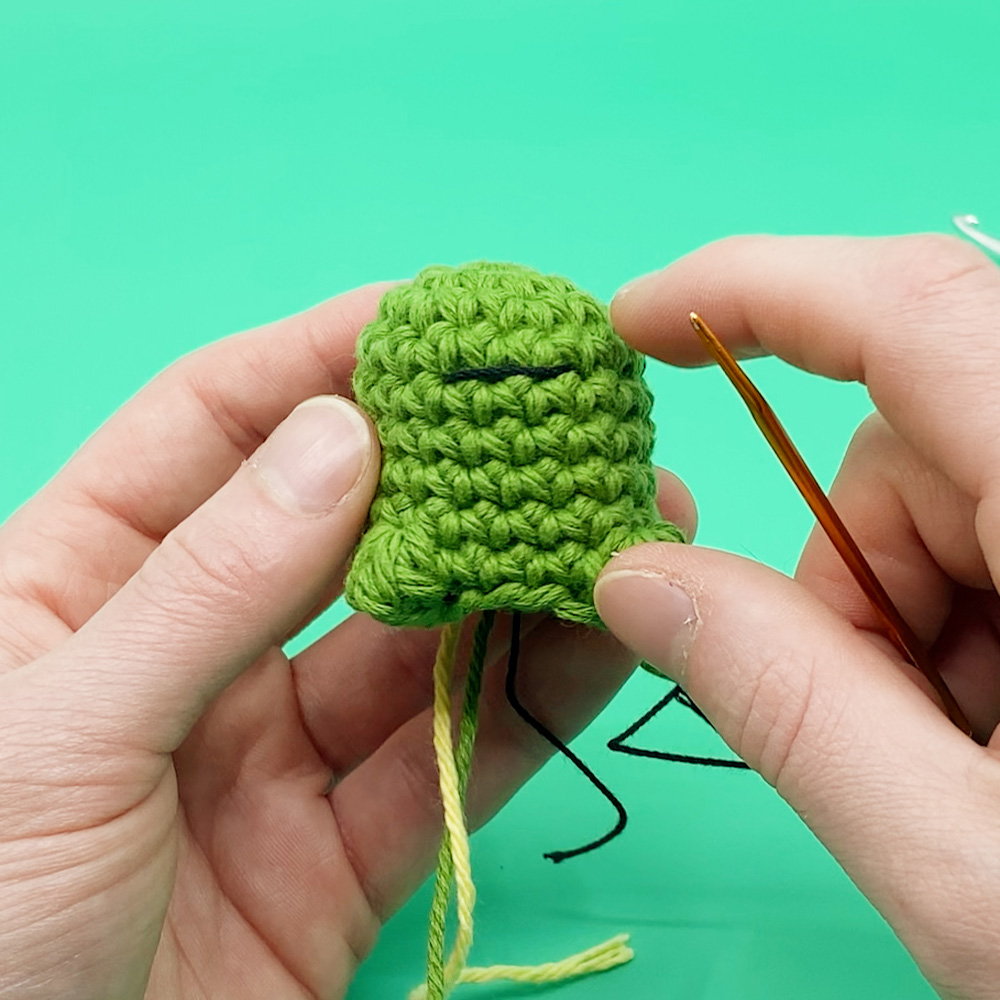
Add face if desired (See Section 3).
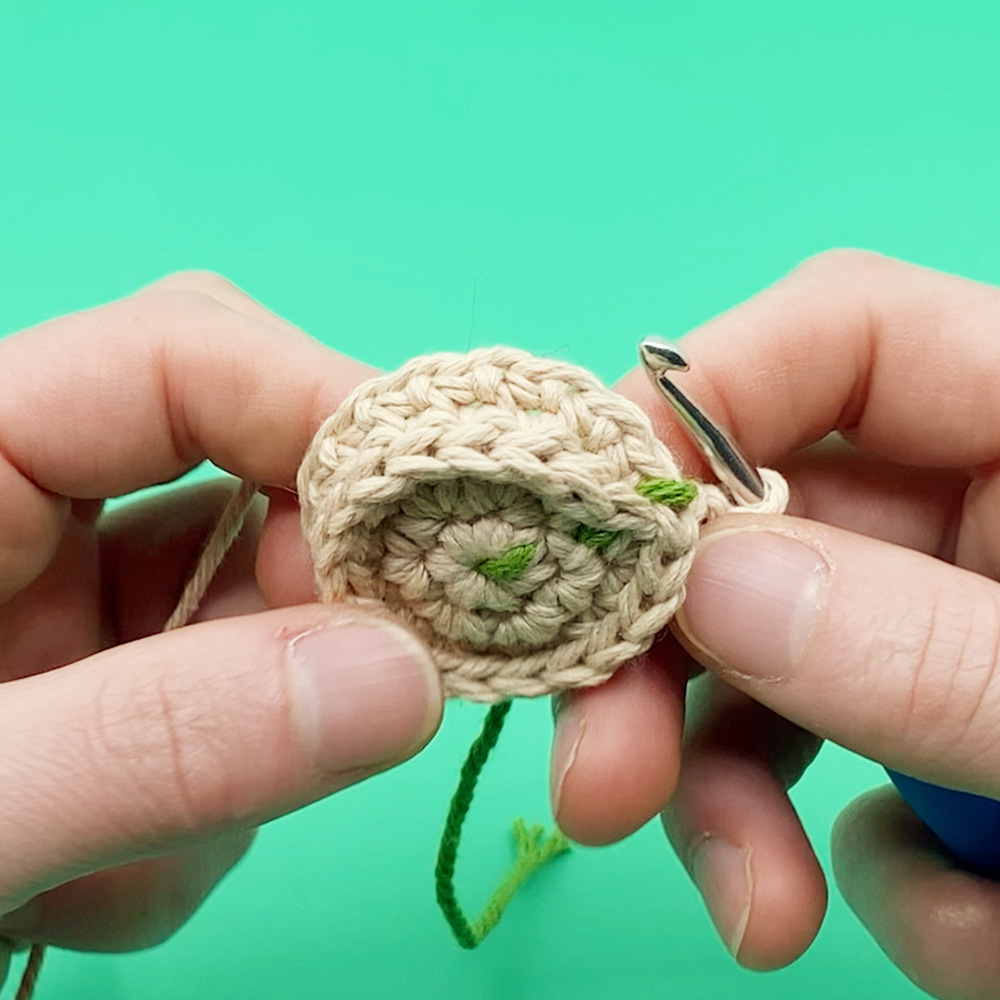
Rnd 9: [sc 1, invdec 1] 6 times (12)
Rnd 10: invdec in each (6)
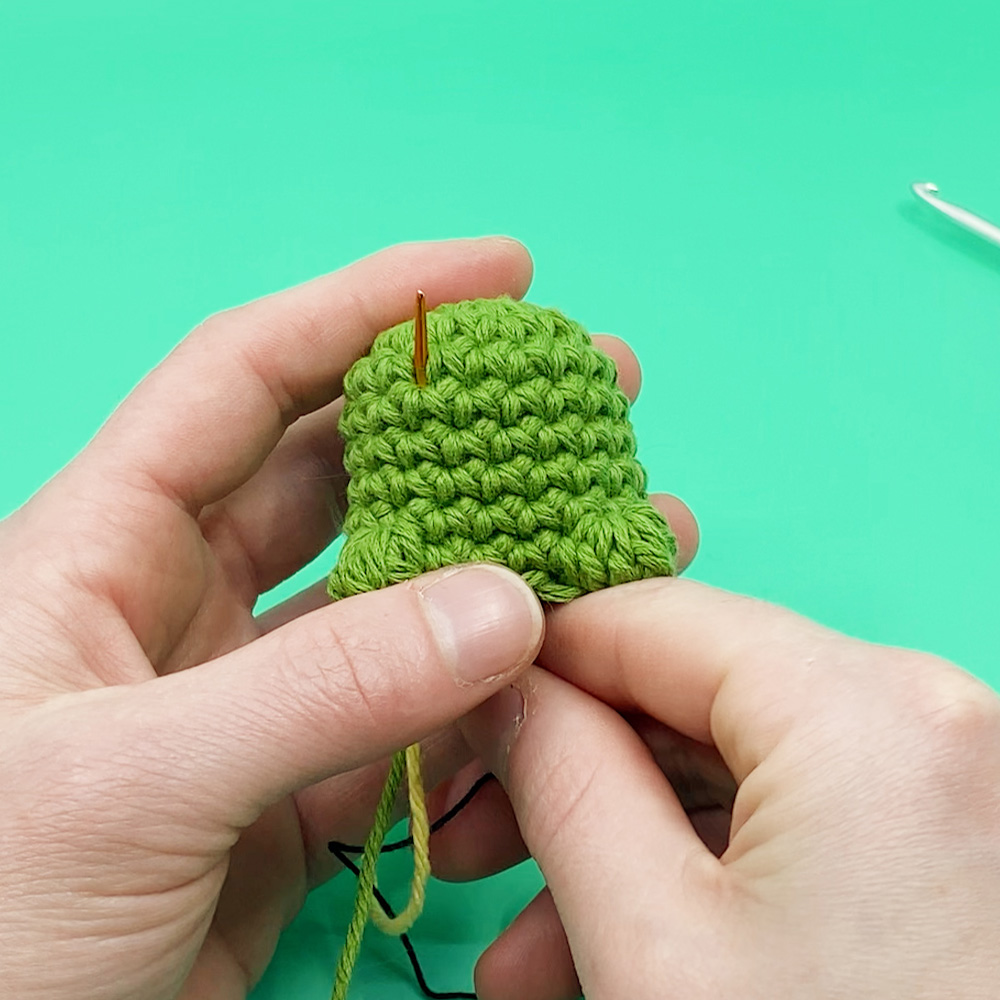
Cut the yarn, leaving enough to sew closed.
Stuff fully, and sew closed.
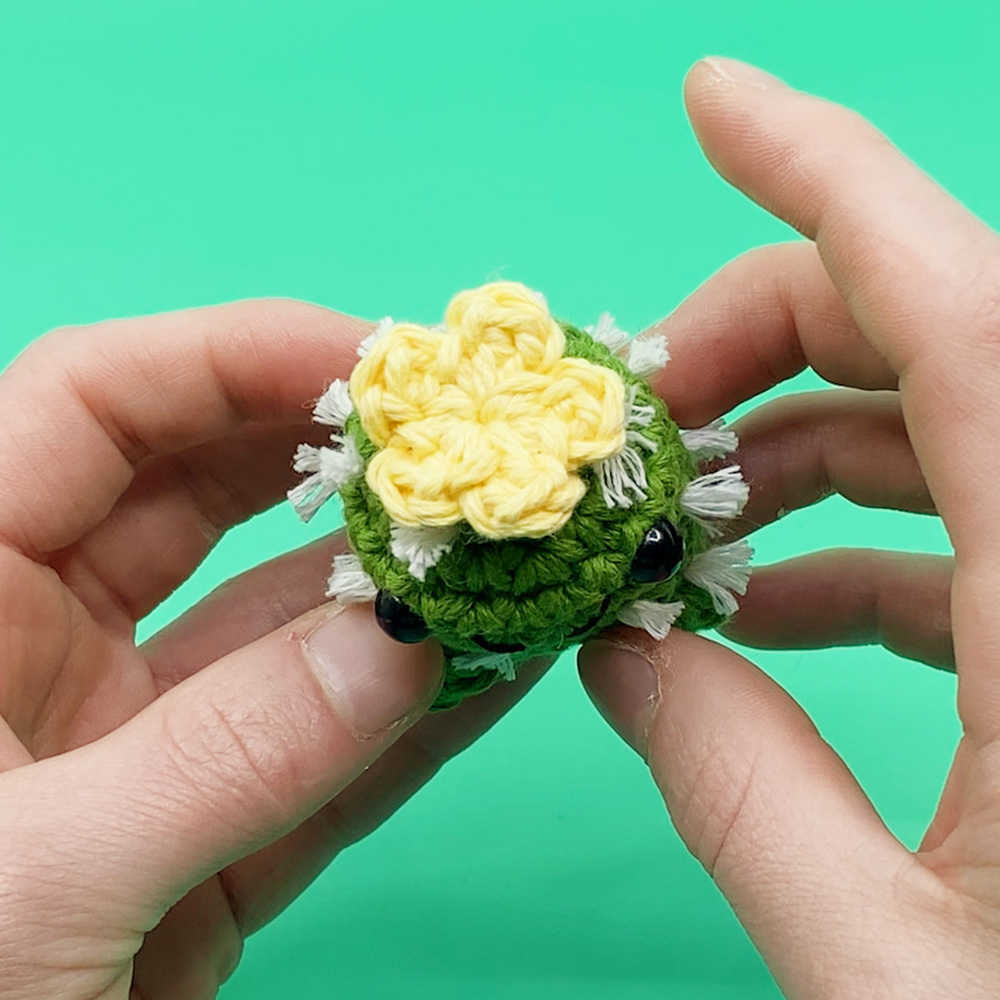
Sew on any added sections or flowers.
(Suggested: Mini Flower)
Add spikes (See Section 4).
Embroider on a butt for good luck.
02
Adding Feet
39:24
To add feet to my cactuses I suggest using 2 Bobble Stitches (aka "bo") in the last round of single crochet stitches separated by a few single crochets. This should be done in the round right before decreasing (invdec) so that they’re at the bottom of your cactus.
For this pattern, replace Rnd 8 with...
Rnd 8: sc 6, bo, sc 4, bo, sc 6 (18)
Bonus Video Tutorial: www.ClubCrochet.com/BOBBLE
How to Crochet a Bobble Stitch (aka "bo")
(39:24)
Step 1: Yarn over and insert hook into the stitch.

Step 2: Yarn over again and pull through.
Step 3: Yarn over a 3rd time and pull through only 2 loops.

Step 4: Repeat steps 1 – 3 four times total for a classic bobble stitch.
Step 5: Yarn over and pull through all the loops on the hook
Pro tip: Use more of a scooping motion when pulling through to more easily finish the stitch.
03
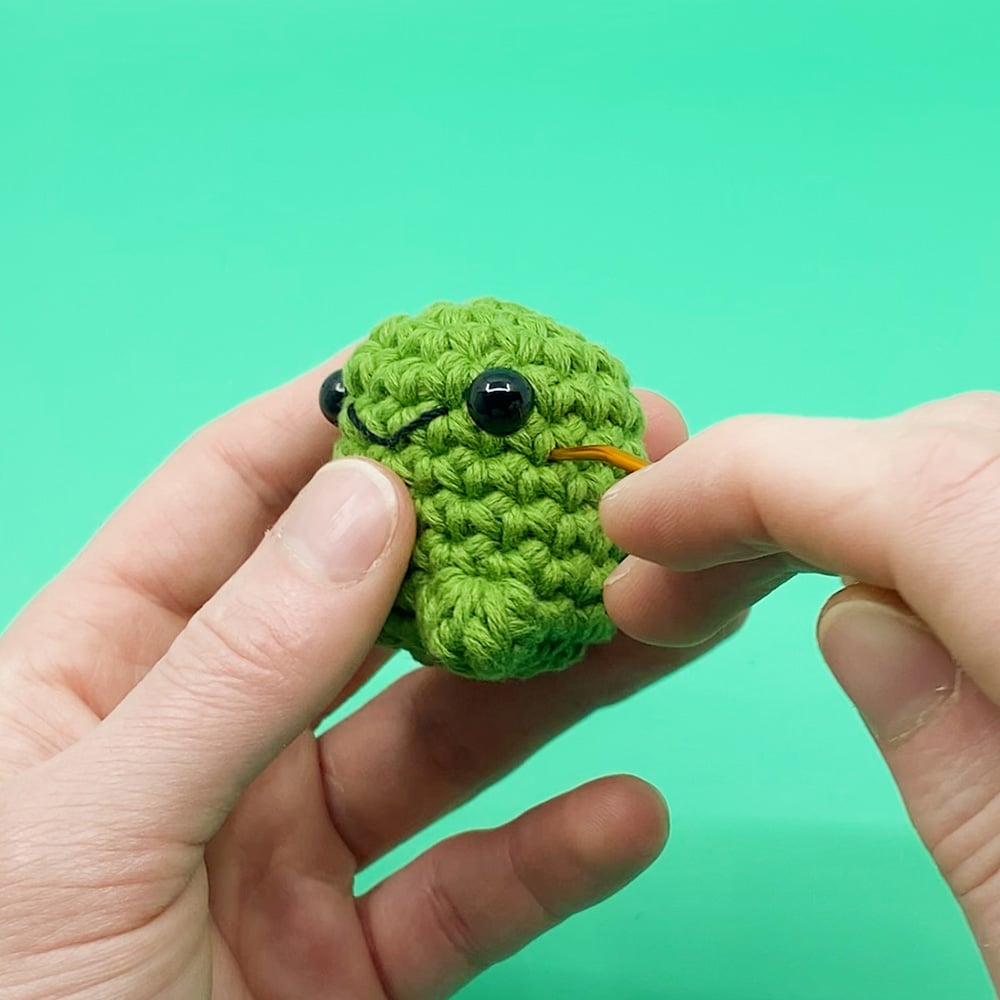
Adding Faces
46:29
To add a face, I like to start with the mouth, then add eyes using safety eyes on either end of the edges of the mouth 1 stitch away.
Simple Smile
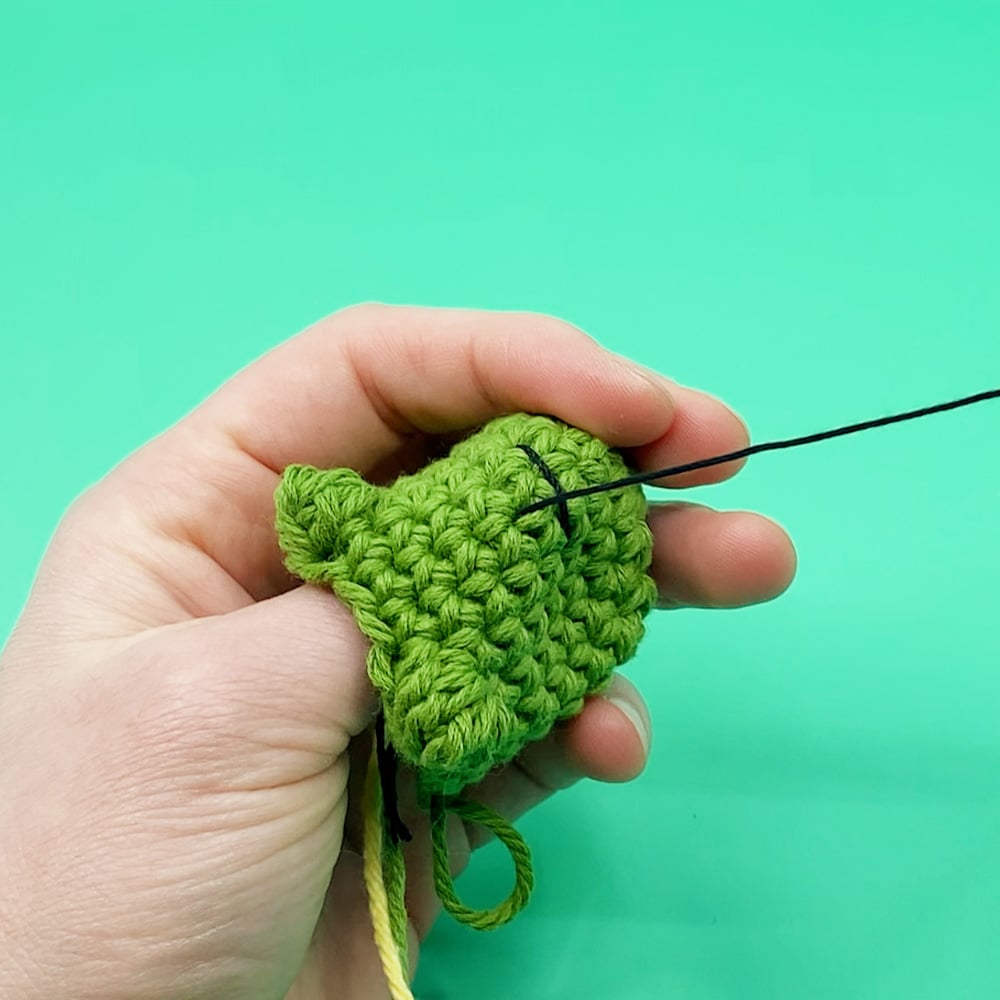
1. Using Black thread, insert the needle from the inside of the body and exiting where you want a smile to begin. If you made feet for your cactus, try to make the smile centered with the feet.
2. Pull to the opposite corner of where you want the smile to end, and insert your needle back into the body. This will create a straight line.
3. Insert your needle to exit the body where you want the bottom of the smile to be. Go around the straight line and insert back into the body through the same stitch you last exited.
4. Double knot the two ends on the inside of the body and cut close.
1
2
3

4

Done!
04
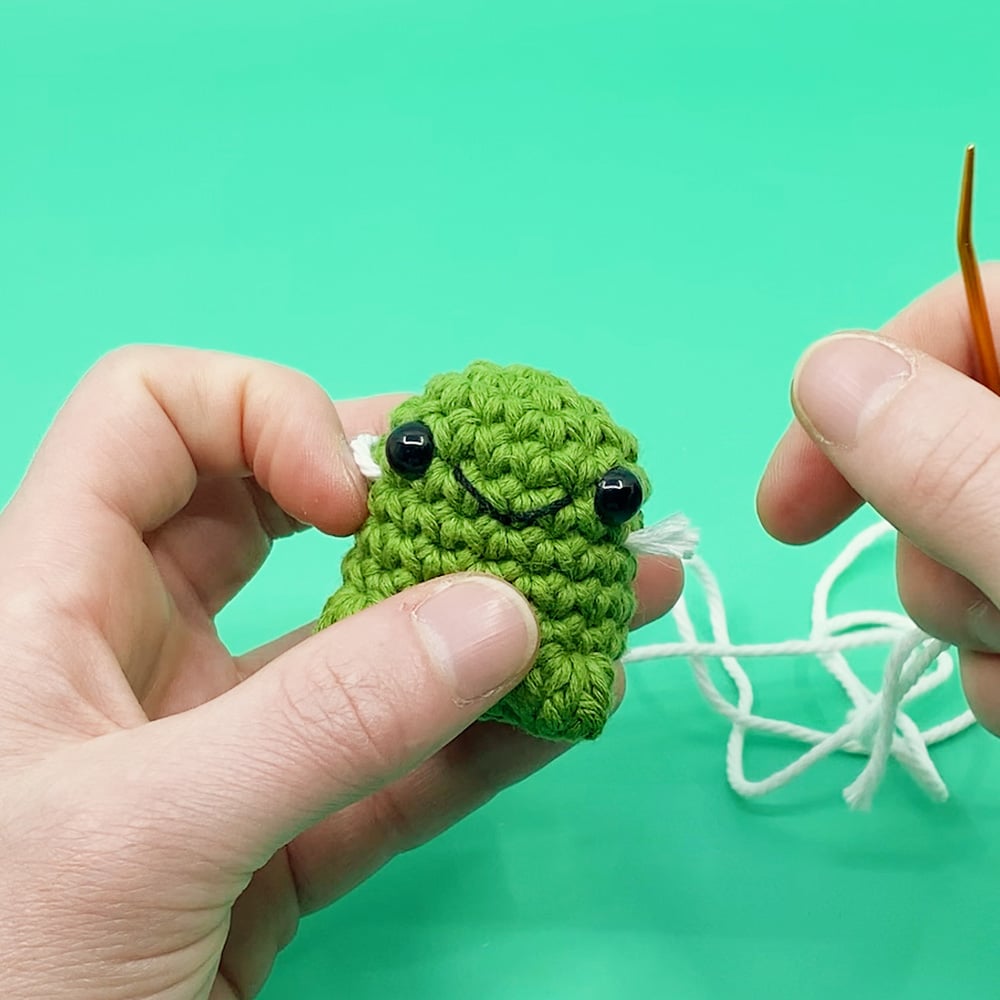
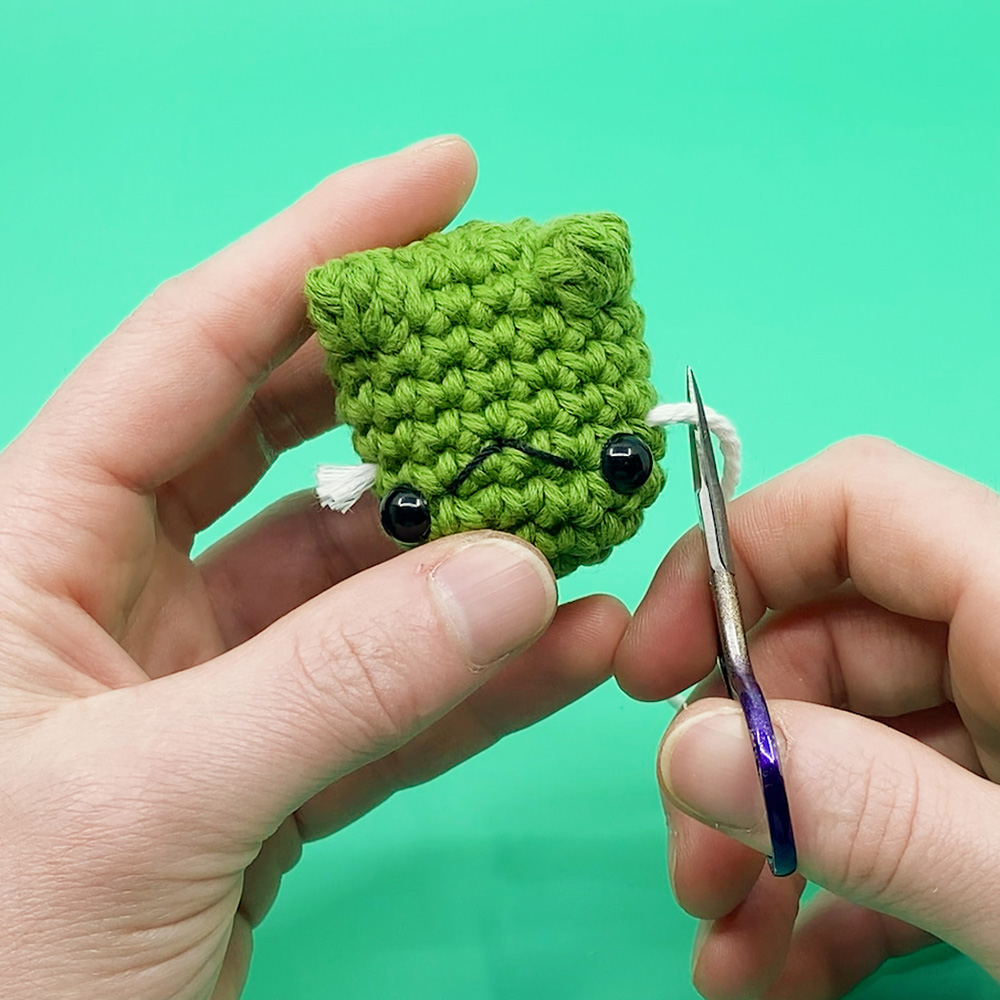
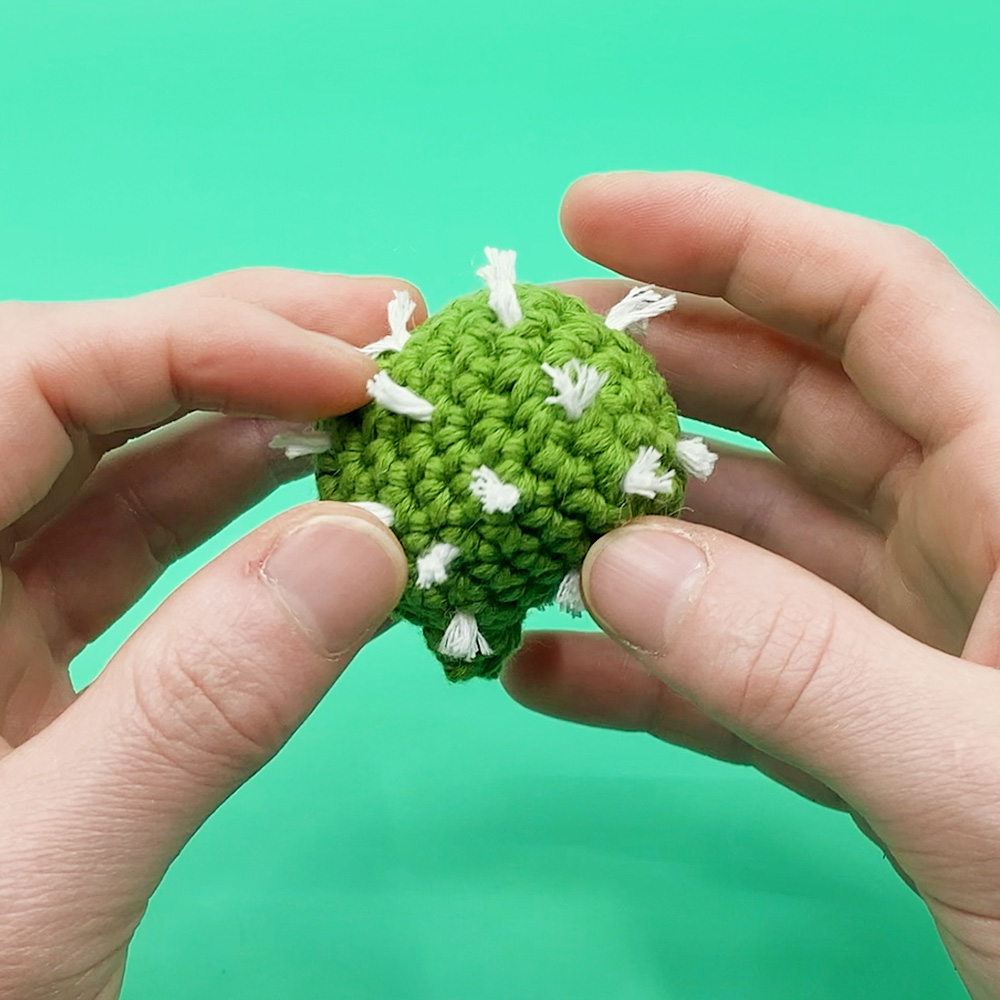
Loose Yarn Spikes
1:08:59
This technique is by far the quickest and easiest of the methods for spikes, however it is the least secure and over time, if handled often, you may find your spikes being pulled out or lost on the inside of your cactus.
Therefore, this is not a pet or child friendly option for spikes if you plan on giving your cactus to a child, or using it as a pet toy, since the spikes can be easily removed and therefore can be a choking hazard.
For this method, thread a long strand of yarn in White, Black, or an alternative Green onto your needle. Begin on the body wherever you want your first spike to be, and insert into the stitch. I personally like using the center of stitches by going between the V in each stitch, this gives the yarn a slightly better hold.
Exit the body from the opposite side or an adjacent stitch. Wherever you want your next spike to be. Pull the yarn through almost entirely, leaving a short end on the outside of your piece from where you initially inserted the needle.
Cut the yarn short from where you exited leaving a similar length for the cut end as the initial tail end was.
Continue this method working all the way around your body to cover the cactus entirely. You can try gluing these ends in to prevent them from pulling out by using a dab of tacky glue for each spike, but be wary, this can leave a messy outside if done improperly.
05
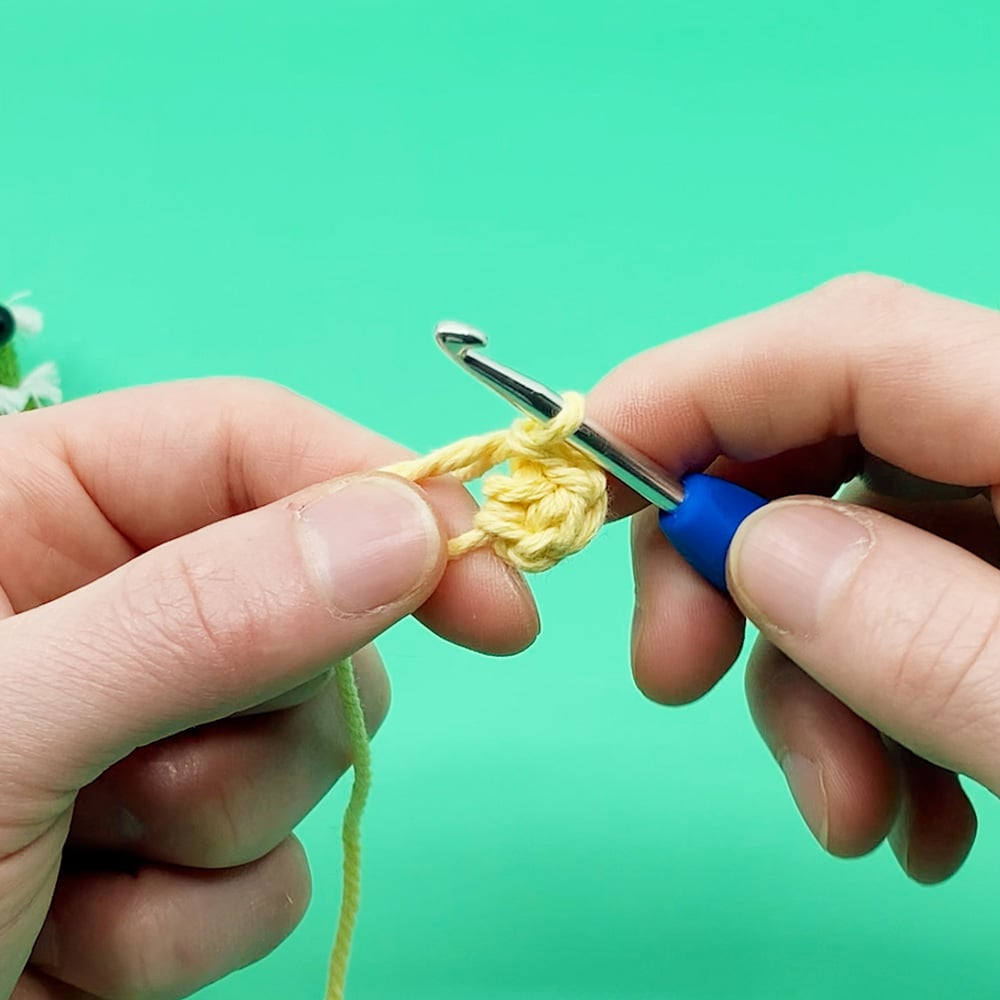
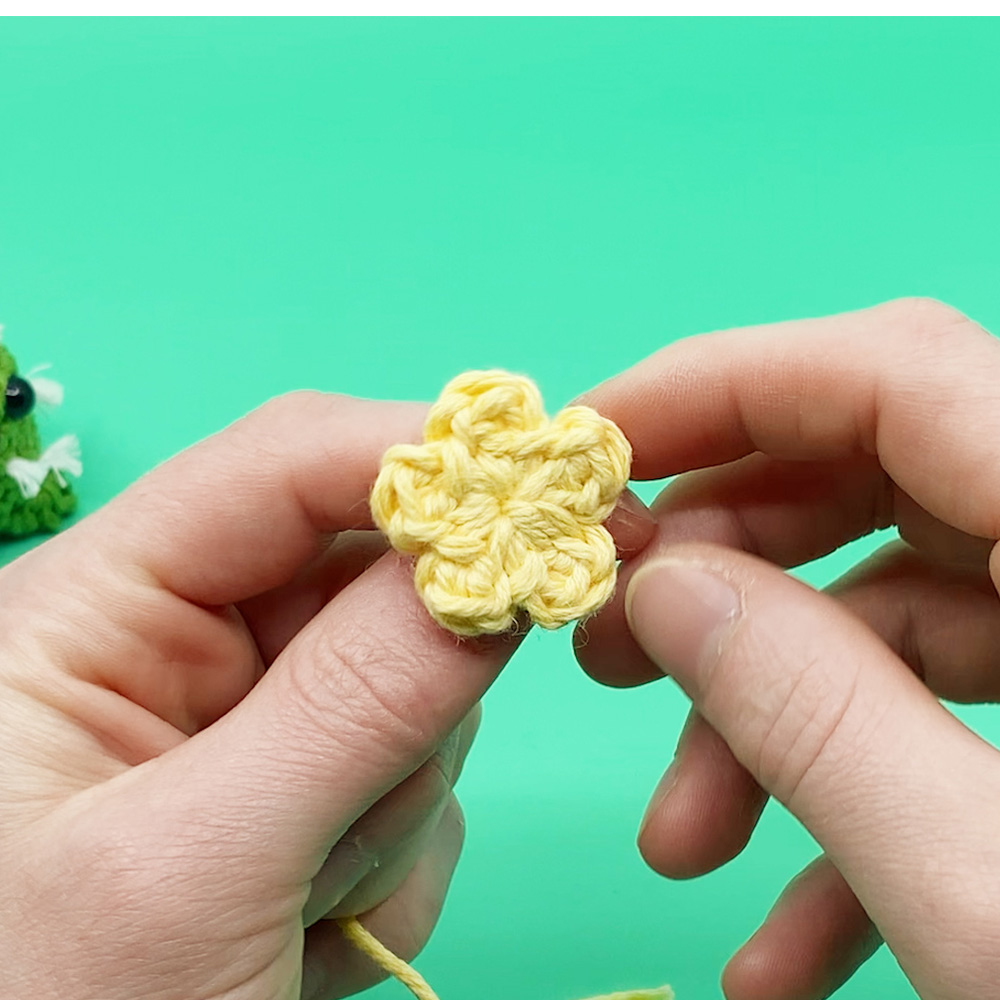
Mini Flower
1:14:10
[All in Petal Color]
Magic loop
Rnd 1: [ch 2, dc 1, ch 1, slst 1] 5 times in the magic loop (5 petals)
Rnd 1: [ch 2, dc 1, ch 1, slst 1] 5 times in the magic loop (5 petals)
Cut the yarn and pull through leaving enough to sew onto the cactus. Pull this end through the center of the flower so both tail ends are on the same side.
Use the two tail ends to sew onto the cactus.
06
Small Pot
1:21:49
This pot is designed to fit crocheted pieces with 18 stitches in diameter (ie. Mini Cactus Body)
[All in Beige or Pot Color]
Magic loop
Rnd 1: sc 6 into the magic loop (6)
Rnd 2: inc in each (12)
Rnd 3: [sc 1, inc 1] 6 times (18)
FLO / BLO = Front or Back Loop Only
Slst = Slip Stitch
Rnd 4: Working in the FLO, slst in each (18)
Rnd 5: ch 1, working in the unused BLO from Rnd 3, sc in each st (18)
Rnd 6: [sc 5, inc 1] 3 times (21)
Rnd 7: sc in each (21)
Rnd 8: [sc 6, inc 1] 3 times (24)
Rnd 9: sc in each (24)
Repeat Rnd 9 for added height if desired.
Rnd 10: Working in the FLO, slst in each (24)
Cut the yarn, pull through, and hide the end in the first slst made in Rnd 10.

Other patterns to try


Community posts
Community Showcase
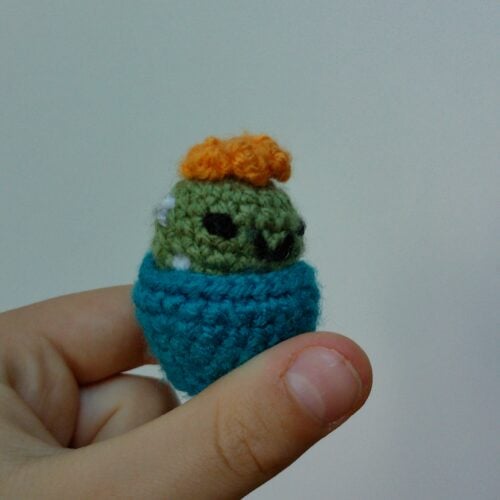
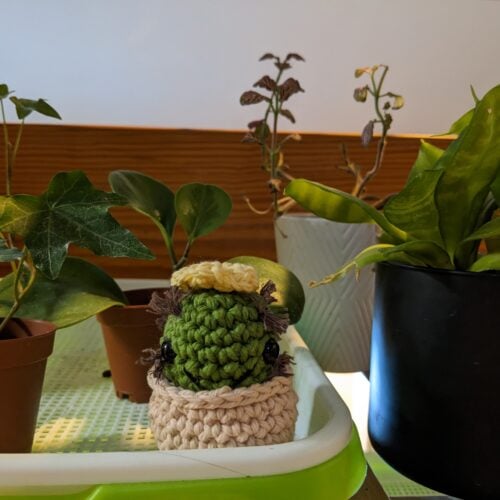
Betty the Beginner Cactus
Submitted by aliasdannyboy
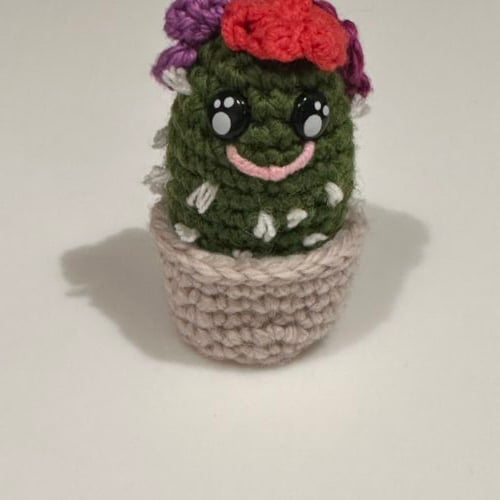
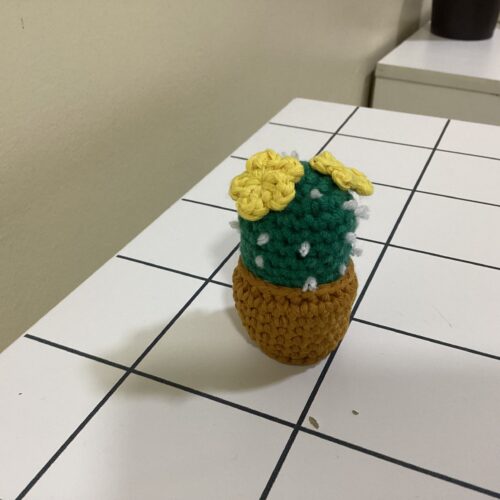
Cactus
Submitted by Kirsty
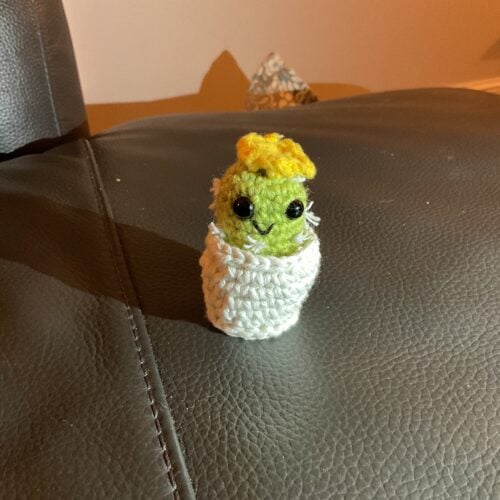
Betty the Bitty Cactus
Submitted by jesse-schafer
Betty the Cactus ?
Submitted by Soha
Itty bitty cactus
Submitted by kobkob


can you make a free pattern for the Narwhal please?
I absolutely love your website. It’s so easy and fun to use. Well done .
Can you make a hermit crab pattern please?
There’s two round one’s in step 5 (the mini flower). Just a heads up. Great pattern!