The Bobble Stitch

Beginner

Louie's Loops
Designed by


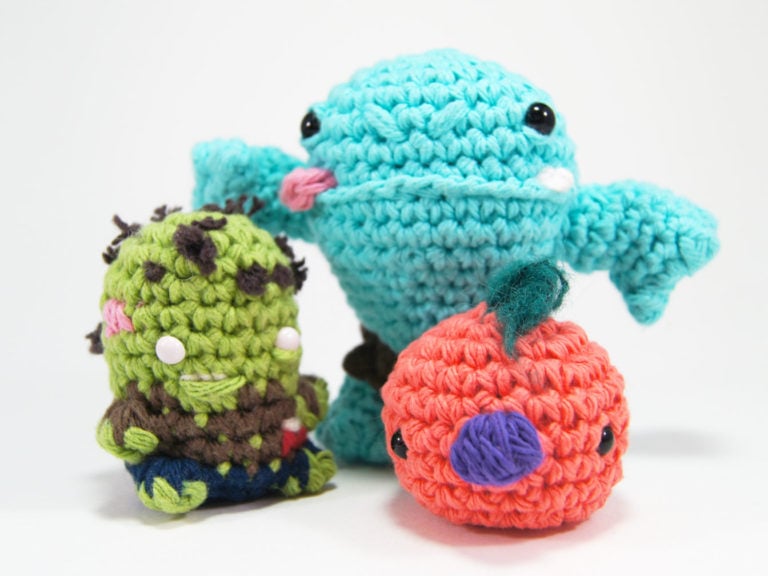
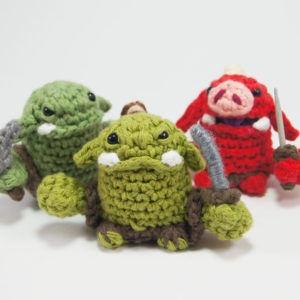
What you'll create


Video tutorials
Main Video
What you'll learn
What you'll need

Cotton Yarn
Weight

Colors
Abbreviations used
mbo
Mini Bobble Stitch
bo
Bobble Stitch (4-dc bobble)
bbo
Bulky Bobble Stitch
Pattern steps

01
Intro
Bobble Stitches (often abbreviated as “bo”) are actually one of my most used stitches in crocheting. That might sound surprising, but in Amigurumi, stitches adding height like a double and triple crochets just end up leaving big holes to let out the stuffing. Where as a well placed bobble stitch can be used to features like noses, toes, and and even limbs without having to make them separately and sew them on.
I use bobble stitches mostly to add features to my amigurumi, but they can also be used in blankets, or hats, really anywhere that you want to add just a little bit more texture to your project.
In this tutorial not only will I teach you how to make a bobble stitch, but I’ll also teach you a unique way to make color changes in a bobble stitch and how I use them for my projects.
Bobble stitches can be a bit confusing to get the hang of, but once you do they’re a lot of fun. They’re kind of like a bunch of double crochets smooshed together in the same stitch. Most people abbreviate bobble stitches as “bo”, but there’s not really a set abbreviation.
There are also a few different sizes you can make bobble stitches by adding or removing steps to the stitch. I personally have different abbreviations for each size bobble stitch in my patterns since I often use more than one type of bobble in a single pattern.
02
How to Crochet the Bobble Stitch
1:41
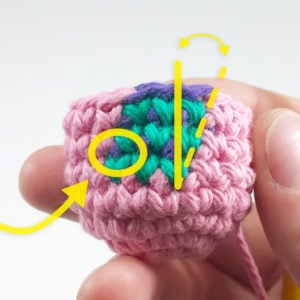
Now let’s look at how each one of these parts of a stitch performs after working a few Rnds of stitches. I’m making the tops of these 3 stitches shades of purple and the bottoms of the stitches (the V and back loops) different shades of green. I’ll continue to make the same color changes in the exact same spots in the next round to look at how the stitches change positions and what they look like.

Step 1: Yarn over and insert hook into the stitch
Step 2: Yarn over again and pull through
Step 3: Yarn over a 3rd time and pull through 2 loops
Step 4: Repeat steps 1 – 3 four times total for a classic bobble stitch.

Here’s where the different sizes are made, you can do just 3 repeats instead of 4 for a mini bobble and 5 repeats for a bulky bobble.
We’re making a classic bobble stitch though, so once you’ve got your repeats made you should have 5 loops on the hook… (4 for mbo and 6 for bbo)
Step 5: Yarn over and pull through all the loops on the hook

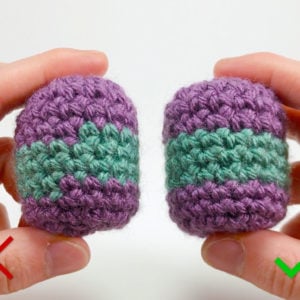
You should try to keep bobble stitches at least 1 stitch apart from each other because it keeps them looking neat and not twisting around or leaving large holes in the separation between bobble stitches.
03
Color Changes in a Bobble Stitch
3:06
Now here’s the thing, you can make color changes within a single bobble stitch. I use this usually to make sleeves and arm detail in my tiny Pod Puppets, but it can also be used to make things like little berries!
Steps 1, 2, and 3 can all be done with different colors. When you see a color change for a bobble stitch written down in one of my patterns it will look something like this:
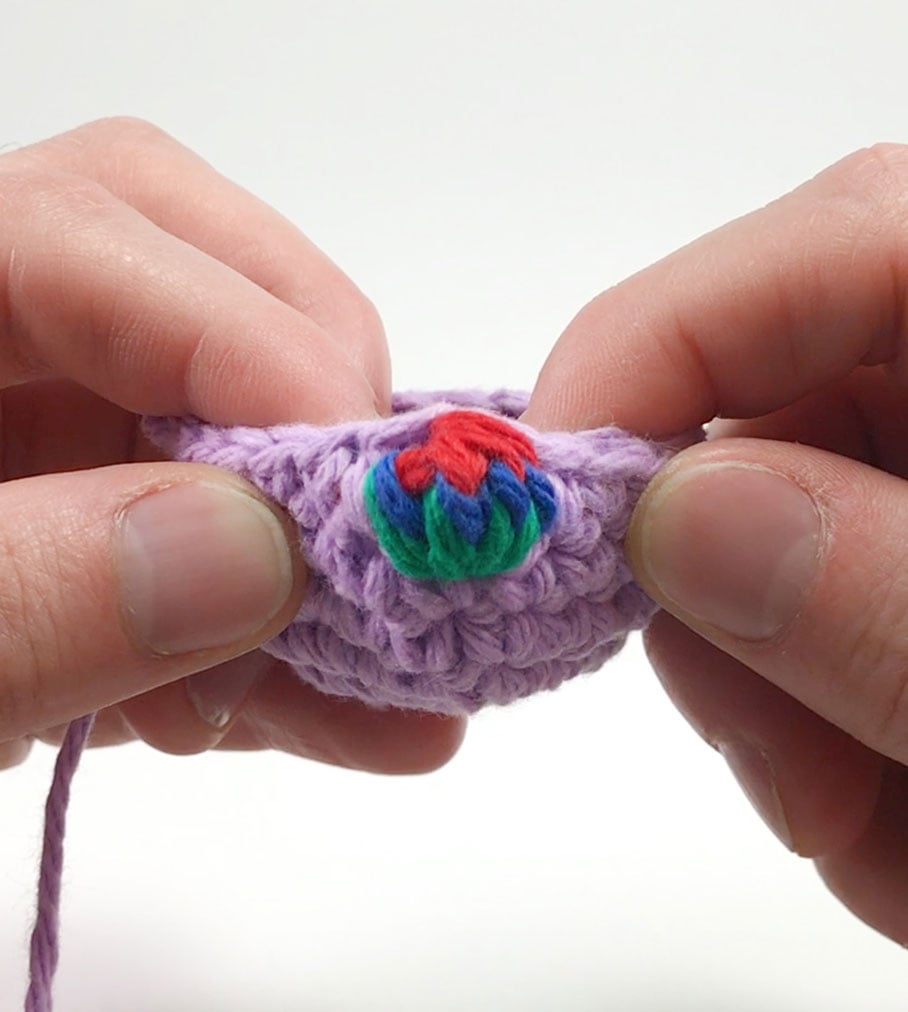
[1 G/B/R (bo)]
The number tells you how many you’re making, the letters are abbreviations for colors (Green, Blue, and Red), and the “bo” tells you it’s a classic bobble stitch.
I write it like this because that’s how it looks when it’s completed, Green then Blue then Red, but it’s not actually made that way. In reality it’s made like this…
Steps 1 - 3

Step 1

Step 2

Step 3
Step 1: Yarn over first with Blue, and insert hook into stitch
Step 2: Yarn over with Green and pull through
Step 3: Yarn over with Red and pull through 2 loops
Then repeating steps 1 – 3 four times total, and finishing up by pulling through with the next color in the pattern.
Usually for arms and legs in my projects I use a classic bobble stitch, meaning repeating steps 1 – 3 four times total. Sometimes I use the mini bobble stitch when I’m making something like a thumb or there are a lot of bobble stitches in one round, but a bulky bobble stitch is just a bit too big and I rarely use it.
Other patterns to try


Community posts
Community Showcase
Crocheted this pattern? Be the first to show off your project by submitting a photo!


I understand how to do a bobble st but my problem is I’m seeing part of the color change before & after the color change. Please show how to do a BO with only 1 color change! Thanks! You’re the best!
Hey Lynne! I just updated this to fix up some of the images and add GIFs that might help. I could help show you that in detail during a live crochet along if you’d like! They are currently on Friday’s starting at 1pm PST right here: http://www.clubcrochet.com/live