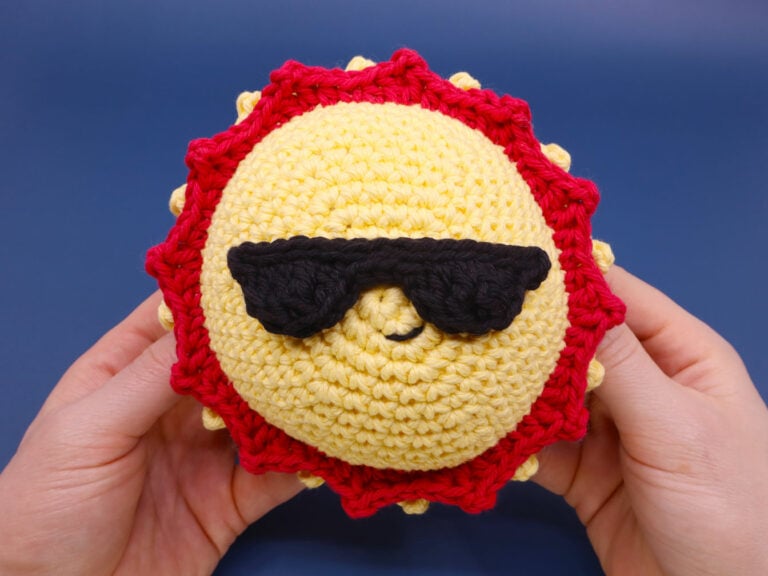
Sun with Sunglasses Amigurumi

Beginner difficulty

Beginner

2 hours

PDF

Video

Lefty

In this beginner friendly amigurumi pattern we’ll be learning how to crochet by making a giant plushy sun! This adorable ball of burning gas is made all in one piece with no sewing and includes bonus sunglasses for a bonus challenge.

Louie's Loops

Designed by

Video tutorials

Main Video

Lefty Video

What you'll learn

What you'll need

Cotton Yarn

Weight

Colors

Yellow
Red
Black
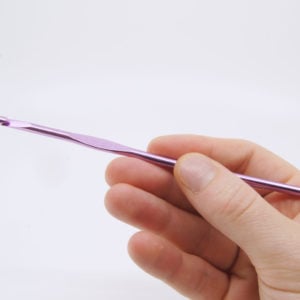
Crochet Hook Size G6 / 4.00mm

Crochet Hook

G6 / 4.00 mm

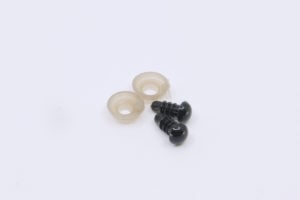
Safety Bead (x2)

8mm

Stuffing
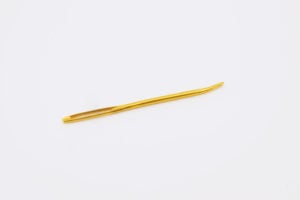
Darning Needle
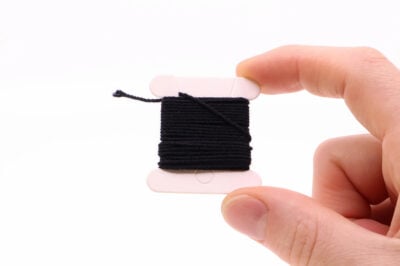
Black Thread

Abbreviations used

ch

Chain Stitch

st

Stitch

slst

Slip Stitch

sc

Single Crochet

inc

Increase

dec

Decrease (Sharp)

invdec

Invisible Decrease

FLO/BLO

Front / Back Loops Only

dc

Double Crochet

hdc

Half-Double Crochet

tr

Tripple (Trebble) Crochet

mbo

Mini Bobble Stitch

sc2tog

Single Crochet 2 Together

mp

Mini Picot

yo

Yarn Over

{ }

Worked in same stitch

Useful information

Gauge

5 Rnds and 4 sts per 1”

Finished Size

about 5 inches wide

Worked

In the Round (without turning)

- Season 5 -

New Themed Crochet Kit Bundles with all the materials to make 8 different projects, and a built in Club Crochet Membership!

Pattern steps

Use checkboxes to track progress Click to reset
2:45
Time codes match to the main video

01 Front

[All in Yellow] Magic loop

Rnd 1: sc 6 into the magic loop (6)

Rnd 2: inc in each (12)

Rnd 3: [sc 1, inc] 6 times (18)

Rnd 4: [sc 2, inc] 6 times (24)

Rnd 5: [sc 3, inc] 6 times (30)

Rnd 6: sc in each (30)

Rnd 7: [sc 4, inc] 6 times (36)

Rnd 8: sc in each (36)

Rnd 9: [sc 5, inc] 6 times (42)

Rnd 10: sc in each (42)

Rnd 11: [sc 6, inc] 6 times (48)

Rnd 12: sc in each (48)

Rnd 13: BLO sc in each (48)

Rnd 14: sc in each (48)

Rnd 15: BLO sc in each (48)

02 Adding a Face

To add a face I like to start with the mouth, then add eyes using safety eyes on either end of the edges of the mouth 1 stitch away. I personally like adding my face centered on the front in Rnd 1 or 2.

Simple Smile:

1. Using Black thread insert the needle from the inside of the body and exiting where you want a smile to begin.

2. Pull to the opposite corner of where you want the smile to end, and insert your needle back into the body. This will create a straight line.

3. Insert your needle to exit the body where you want the bottom of the smile to be. Go around the straight line and insert back into the body through the same stitch you last exited.

4. Double knot the two ends on the inside of the body and cut close.

Alternative Mouth: To make an alternative face like a cat mouth or chubby face, see the bonus video linked below.

www.ClubCrochet.com/MOUTH

03 Back

Continuing from the Front in Yellow

Rnd 16: sc in each (48)

Rnd 17: [sc 6, invdec 1] 6 times (42)

Rnd 18: sc in each (42)

Rnd 19: [sc 5, invdec 1] 6 times (36)

Rnd 20: sc in each (36)

Rnd 21: [sc 4, invdec 1] 6 times (30)

Rnd 22: sc in each (30)

Rnd 23: [sc 3, invdec 1] 6 times (24)

Stuff mostly.

Rnd 24: [sc 2, invdec 1] 6 times (18)

Rnd 25: [sc 1, invdec 1] 6 times (12)

Stuff fully.

Rnd 26: invdec in each (6)

Cut the yarn and pull through. Sew closed and hide the end into the piece.

Continue to the Corona.

04 Corona

hdc = Half-Double Crochet
dc = Double Crochet
{} = Worked in the same stitch
mp = Mini Picot (ch 2, slst into the back bump of the first ch made)

Starting in Red, make a slip knot. Pull the loop through the first unused FLO from Rnd 13.

Ch 1 and start the following repeat in the same FLO you just pulled through.

*[sc 1, hdc 1, {dc 1, mp, dc 1}, hdc 1] Repeat 12 times total around the sun (60 +12 mp)

Slst 1 into the first sc made, cut the yarn leaving a short end and hide using the hidden end method.

Weave the tail end down and into the body in the closest st, and come out from an adjacent stitch. Leave this tail end for knotting.

With the other tail end insert into the body and come out from the same adjacent stitch. Pull tight to hide the ends into the body. Double knot, cut close, and stuff back into the body to hide.

Continuing in Yellow for a second layer, make a slip knot. Pull through the third st in the unused FLO from Rnd 15 to offset the points.

Ch 1 and repeat from * above in Yellow starting in the same FLO you just worked into. When you get to the end, continue into the first few skipped FLO from the start of the Rnd to finish up the repeat.

To keep the 2 layers more together, work each sc from the repeat into the back of the adjacent st on the previous layer. (See video at 00:00 for detailed instructions)

05 Sunglasses

[All in Black] Ch 17

Starting in the 2nd ch from the hook, working in the back bumps, slst in each ch across (16)

When you get to the end, turn 180º. Working into the top loop of the ch back across,

slst 2, [ch 1, dc 1, tr 2, dc 1, ch 1], slst 4, [ch 1, dc 1, tr 2, dc 1, ch 1], slst 2 (20 including chs)

Cut the yarn, pull through and hide the end into the first slst made. Use the two tail ends to sew onto the face.

Other patterns to try

Community posts

Community Showcase
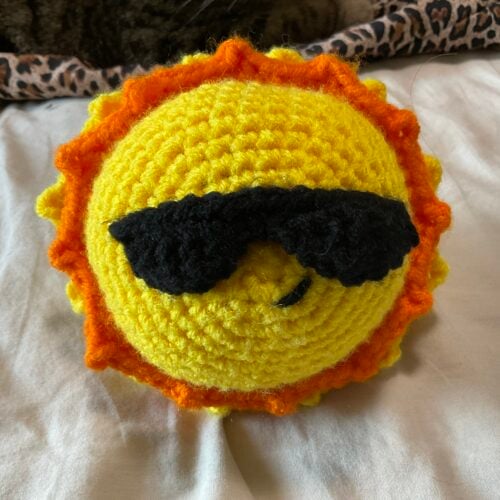
Sun-glasses

Submitted by siddharth

Sun with Sunglasses

Submitted by Nicole Maxwell

You need an account to submit your photo.
Add a comment