
Stars and Moons Amigurumi

Medium
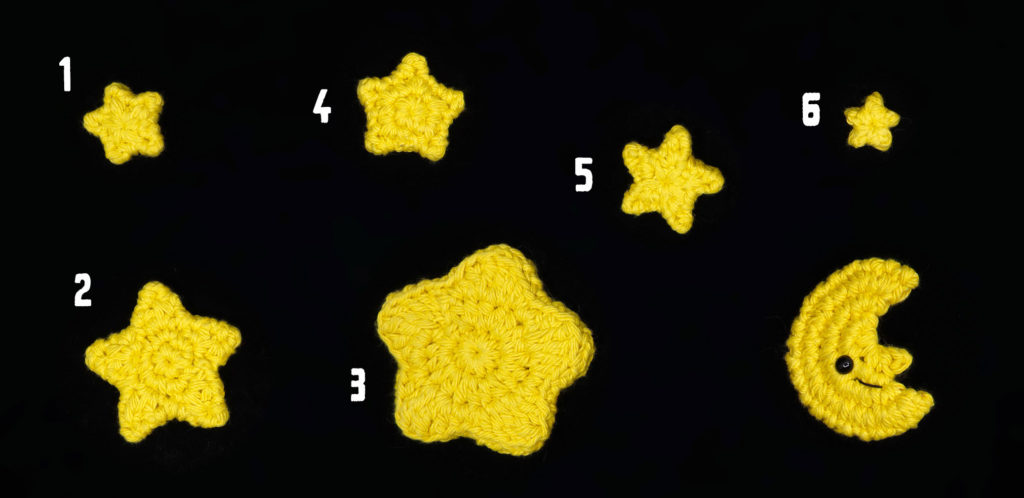
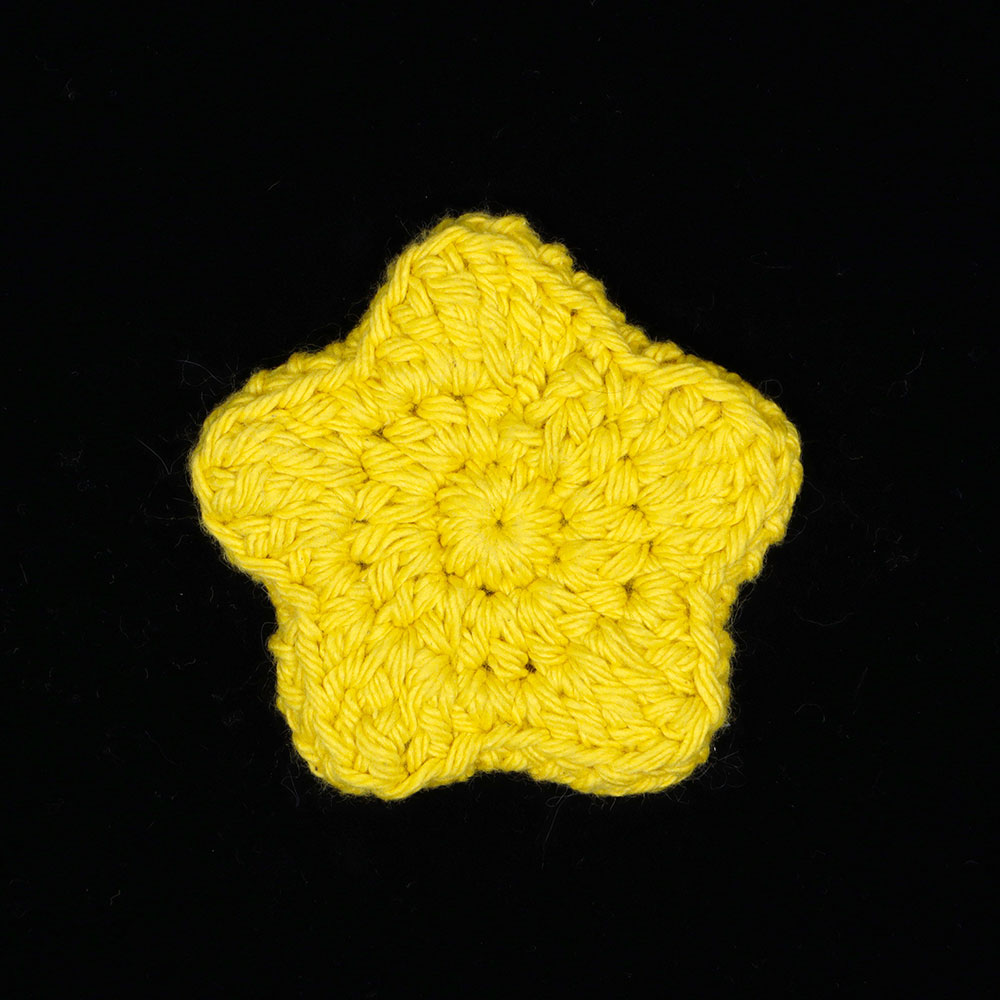
In this lesson we’ll be crocheting stars in different shapes and sizes and an amigurumi moon! This tutorial series will teach you how to crochet 6 stars in alternating sizes and shapes, how to sew them together to create toys, and even how to make a smiling moon amigurumi!

Louie's Loops
Designed by


What you'll create


What you'll learn
What you'll need

Cotton Yarn
Weight

Colors
Yellow (Main Color)

Crochet Hook
G6 / 4.00 mm

Stuffing

Darning Needle
Abbreviations used
ch
Chain Stitch
st
Stitch
slst
Slip Stitch
sc
Single Crochet
inc
Increase
FLO/BLO
Front / Back Loops Only
dc
Double Crochet
hdc
Half-Double Crochet
tr
Tripple (Trebble) Crochet
mp
Mini Picot
Useful information
Gauge
5 Rnds and 4 sts per 1”
Worked
In the Round
Pattern steps
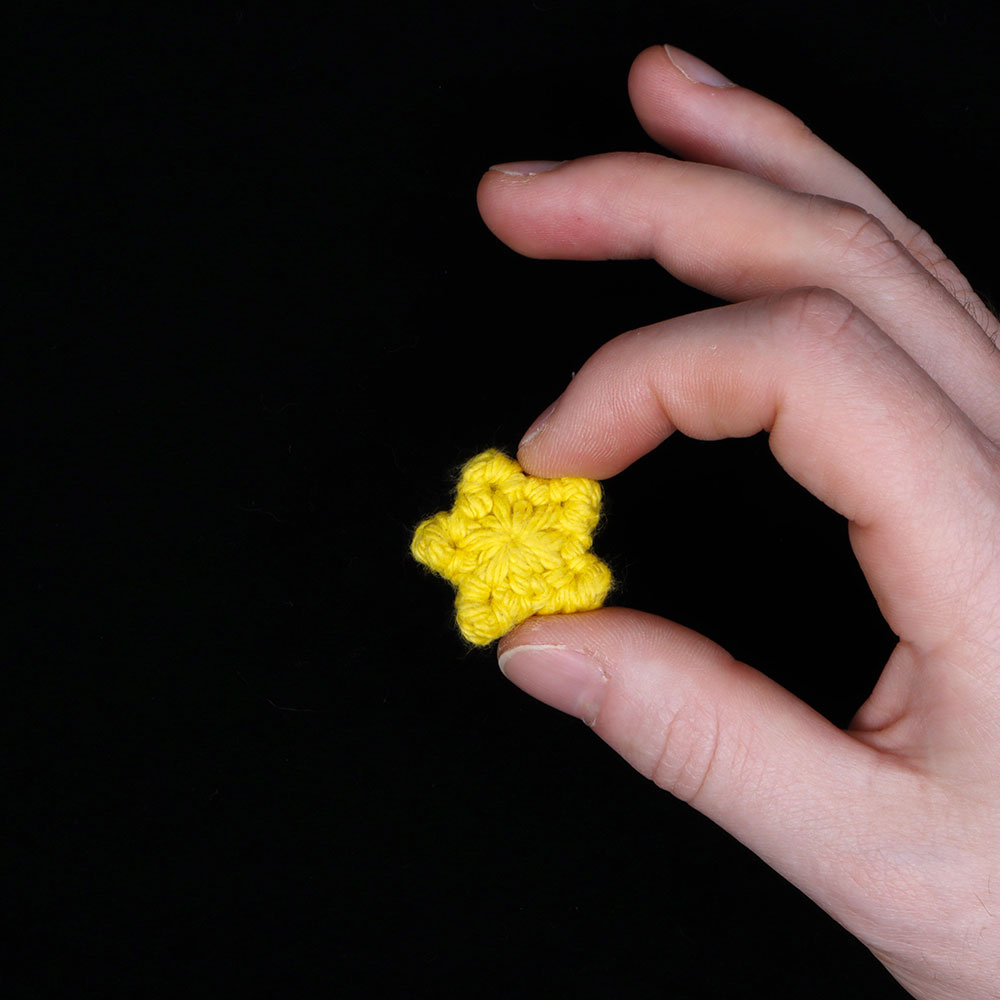
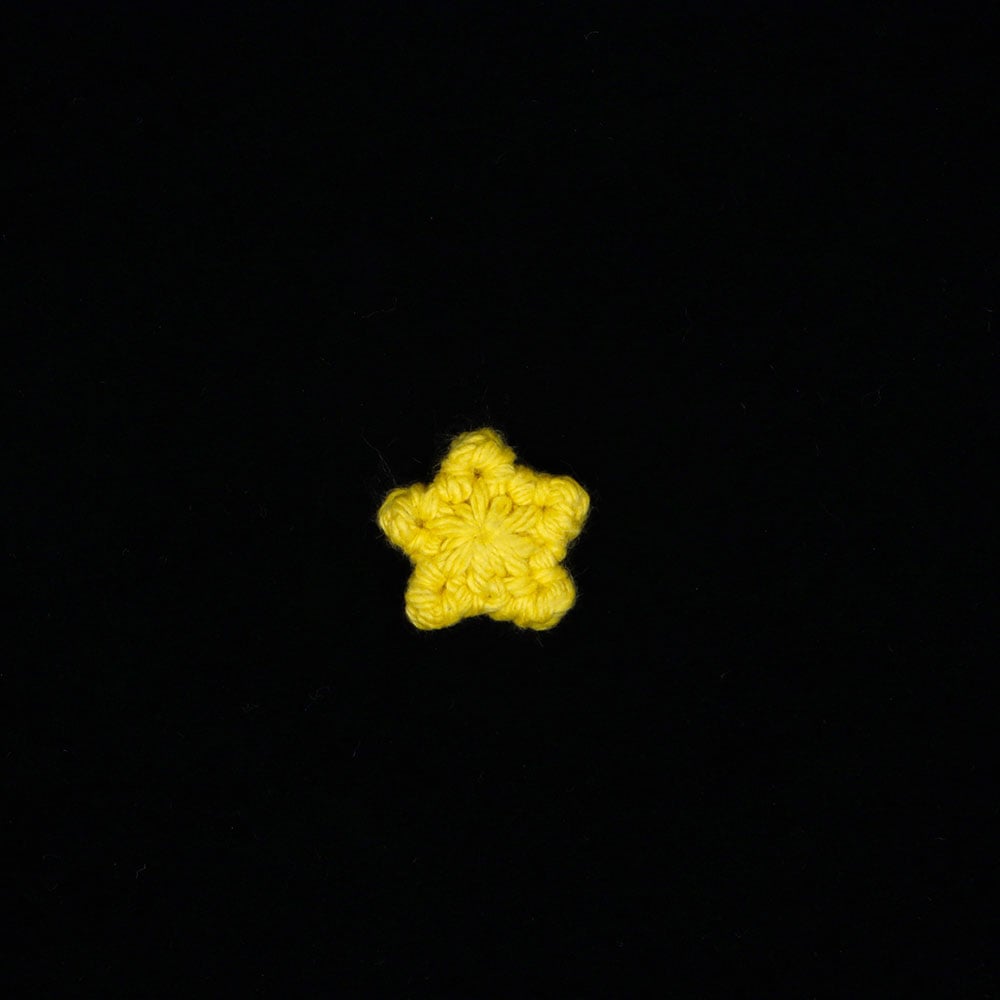
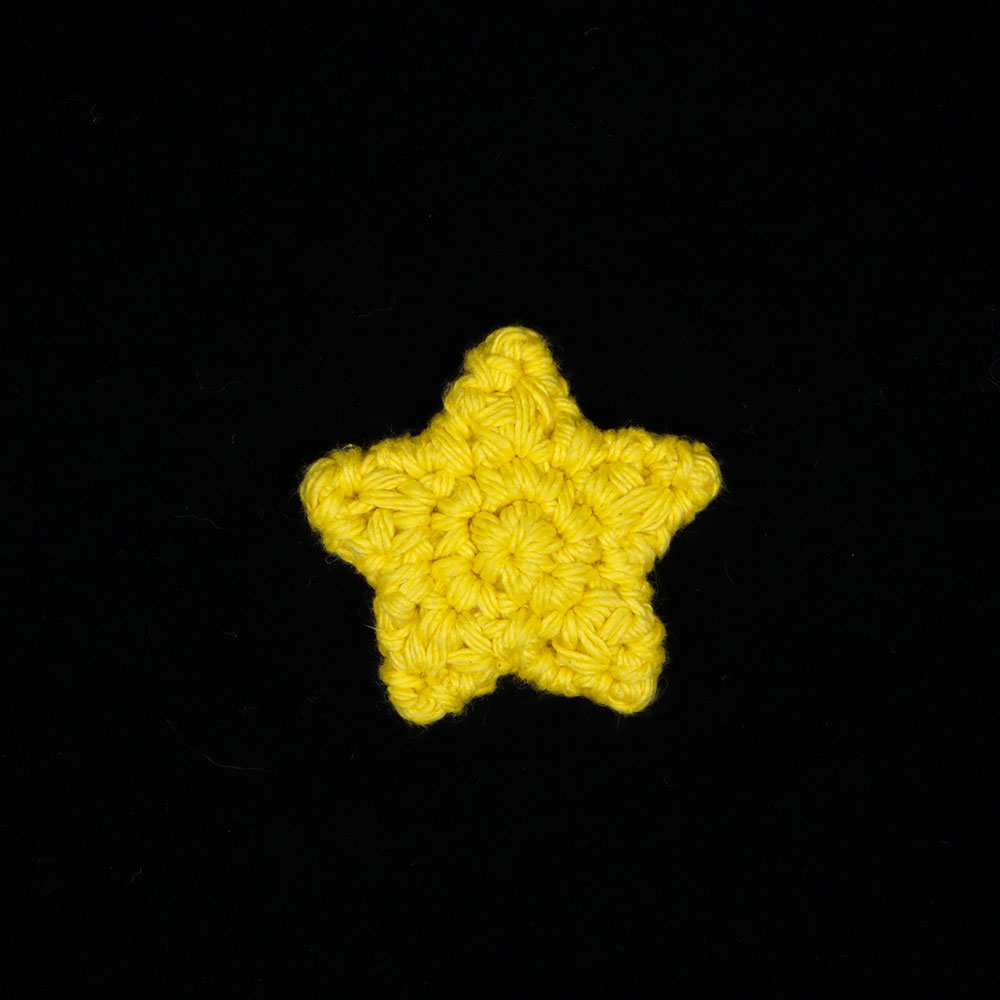
01 Star 1
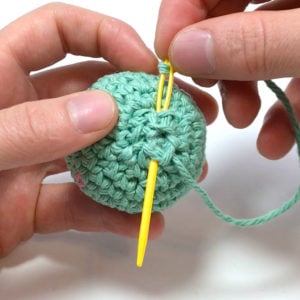
Magic loop
Other patterns to try


Community posts
Community Showcase
Crocheted this pattern? Be the first to show off your project by submitting a photo!
You need an account to submit your photo.


I made the moon without turning every row and it worked out fine, so I think that is meant to be there.
I also purchased this pattern and the link to the video does not work what so ever. Please fix.
I searched the site and found this to purchase for $0, so was able to download it that way. Please fix the “Download PDF” button for others.
Also, the written pattern for the moon neglects to mention you need to turn each row (pattern says round but should say row); this may confuse some so it should be corrected.
link to download isn’t working.