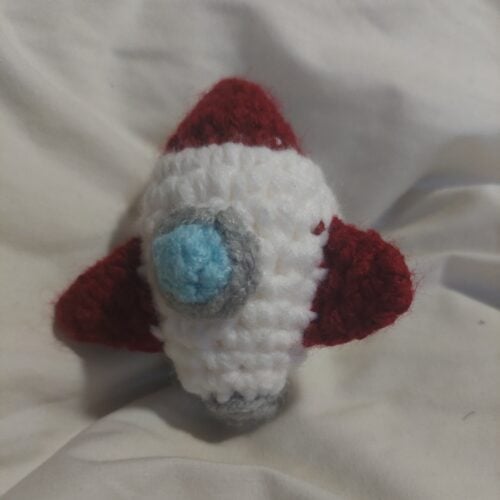
Rocket Space Ship Amigurumi

Medium
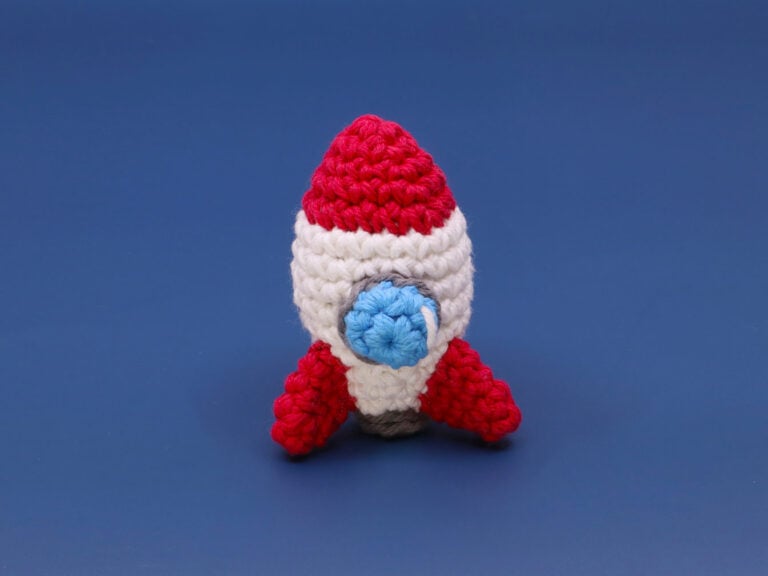
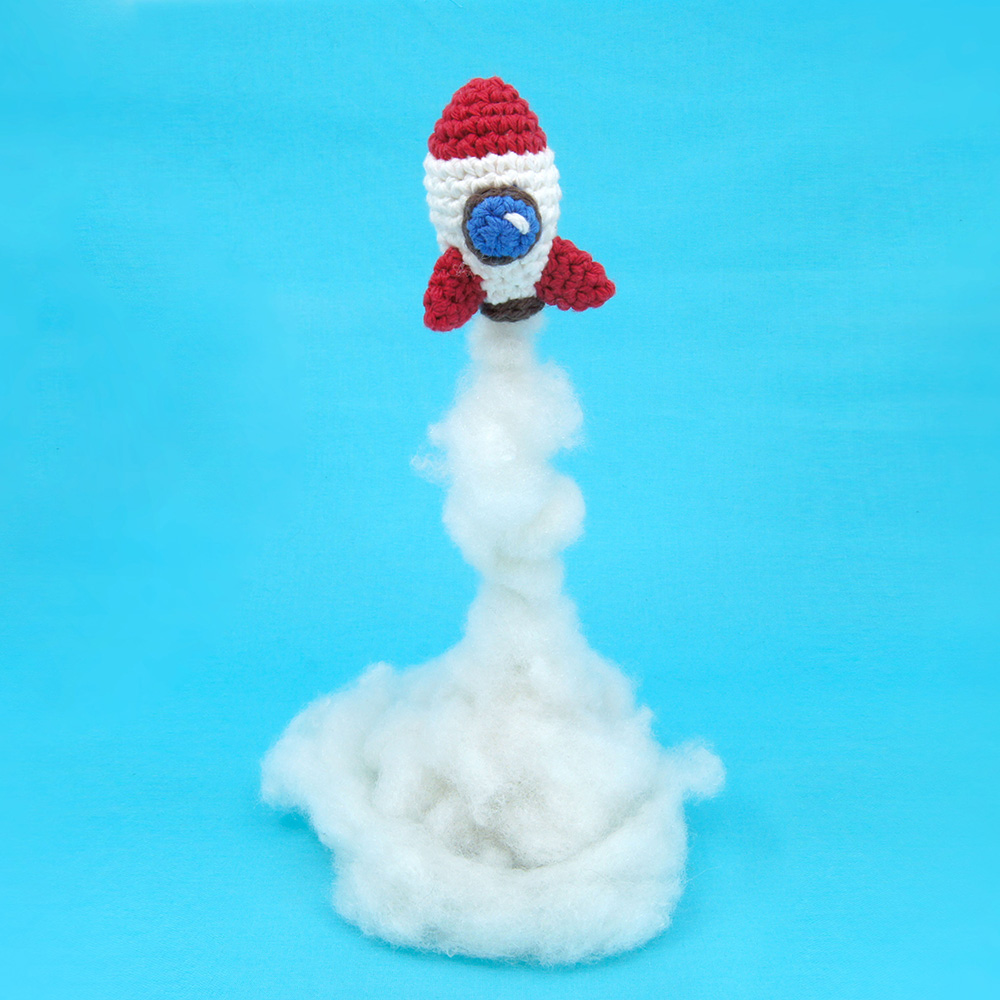
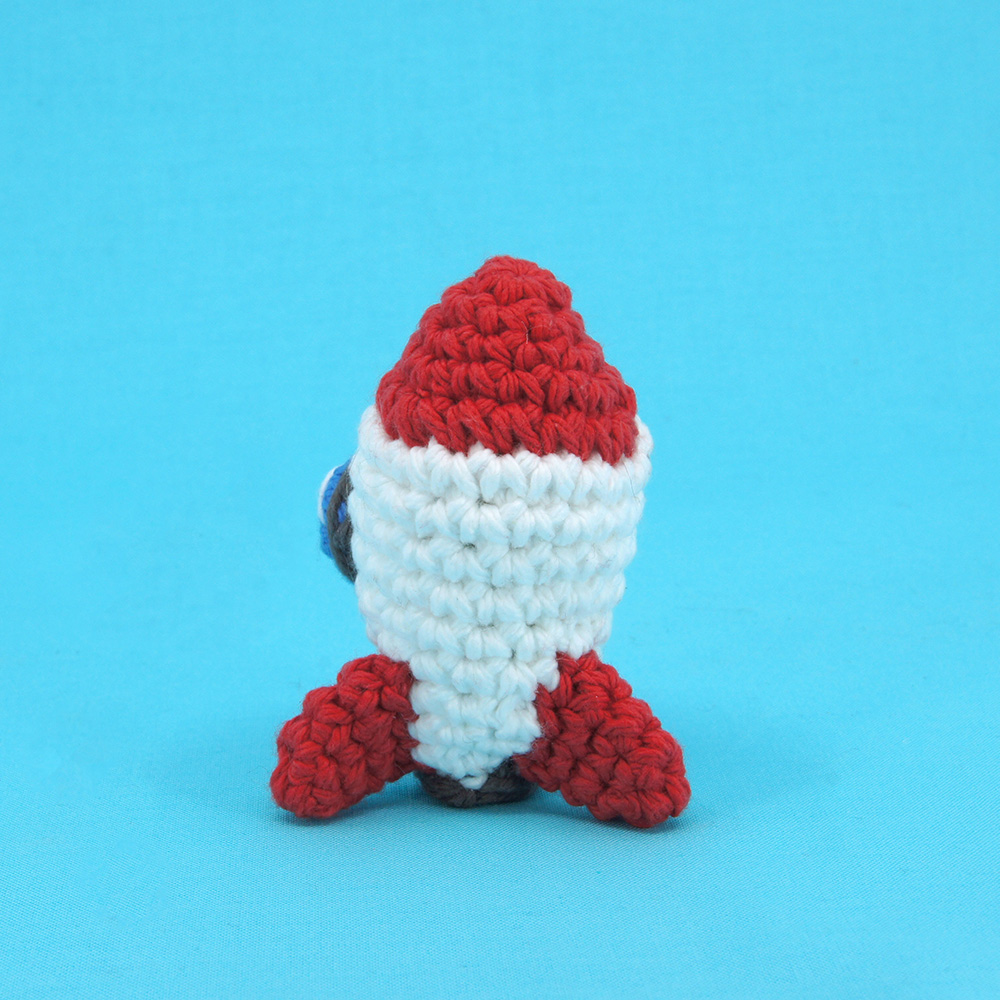
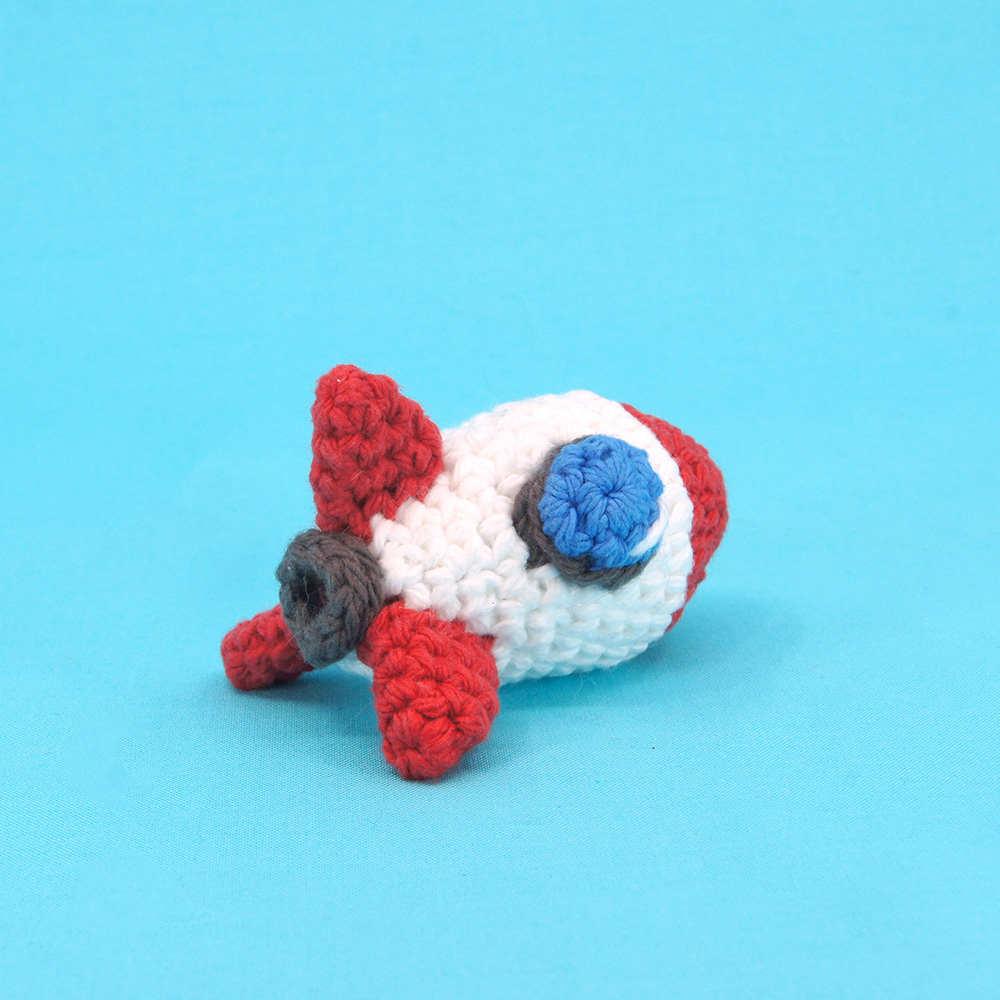
In this lesson we’ll be crocheting a rocket space ship amigurumi! We’ll also learn how to make a stand for our rocket that lights up to look like it’s launching to space!

Louie's Loops
Designed by


What you'll create


What you'll learn
What you'll need

Cotton Yarn
Weight

Colors
Red (Fins and Tip)
White (Main Color)
Grey (Base Color)
Blue (Windows)

Crochet Hook
G6 / 4.00 mm

Stuffing

Darning Needle

String Lights (Optional)

Wire (Optional)
2 feet
Abbreviations used
ch
Chain Stitch
st
Stitch
slst
Slip Stitch
sc
Single Crochet
inc
Increase
invdec
Invisible Decrease
FLO/BLO
Front / Back Loops Only
bo
Bobble Stitch (4-dc bobble)
Useful information
Gauge
5 Rnds and 4 sts per 1”
Finished piece is about 4” long
Worked
In the Round unless otherwise stated
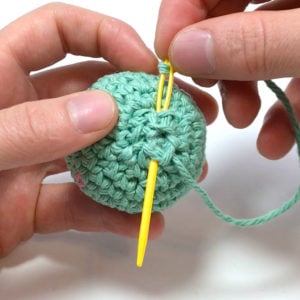
Useful Tutorials

Pattern steps
01 Fins
[All in Red]
Magic loop leaving a long end
Rnd 1: sc 4 in the magic loop (4)
Other patterns to try


Community posts
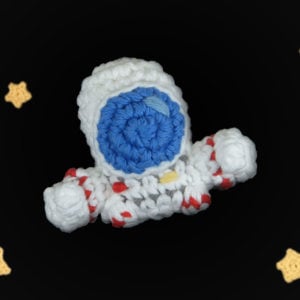
Community Showcase
Ship for my son
Submitted by @kalenhyrule
You need an account to submit your photo.


Thank you for this pattern and the really great video instructions. I made it for a friend who’s super into space as a way to commemorate the recent Artemis launch and he LOVED it! And now it’s on display on his desk!
I preordered the Space Crafts season and am so psyched! This is my first season kit ordering from you. I can’t wait for it to arrive and get working on it. I’ve been a space nut since I was 6 years old!
There is a small typo in part three of the pattern. At around four, it is written twice. Overall, awesome pattern! I am loving my kits! (I just got pro membership for Christmas, this is my third box!)
Good eye! Thank you. Fixing it now!