Snowy Plover Amigurumi Pattern

Medium
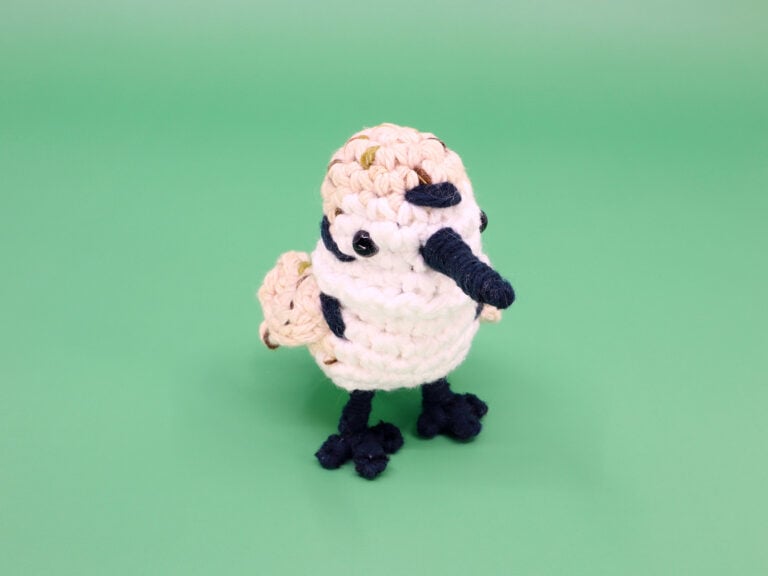
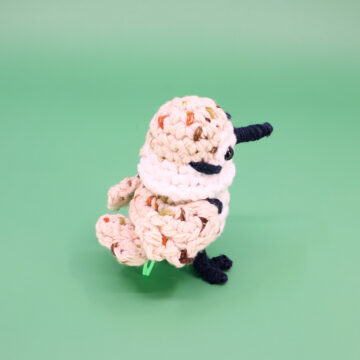
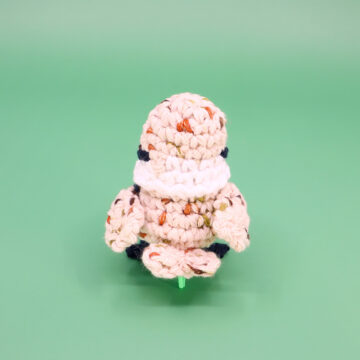
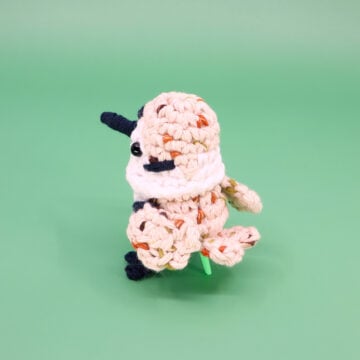
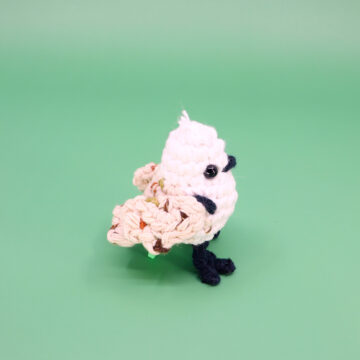
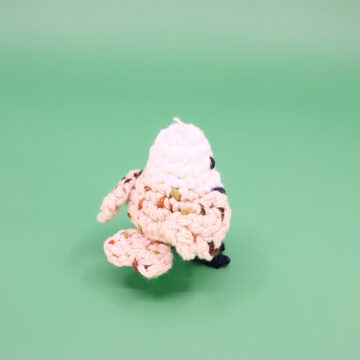
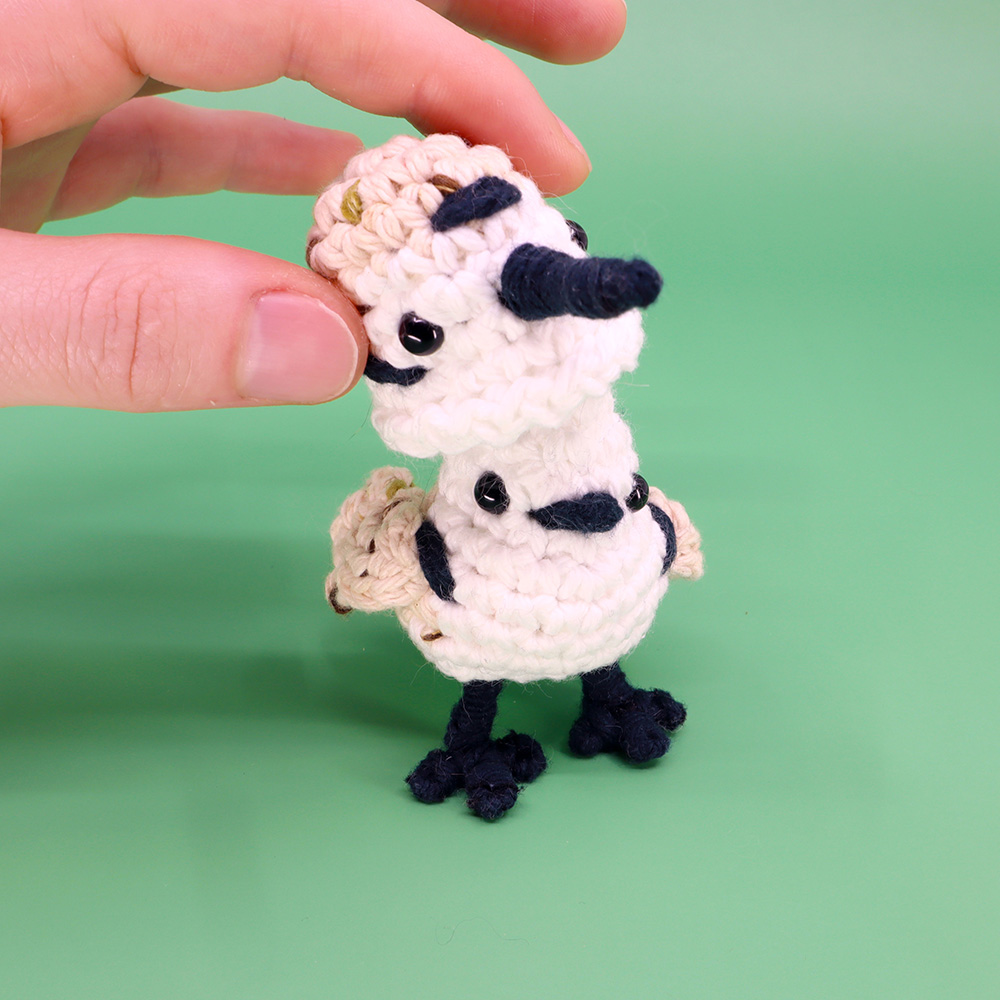
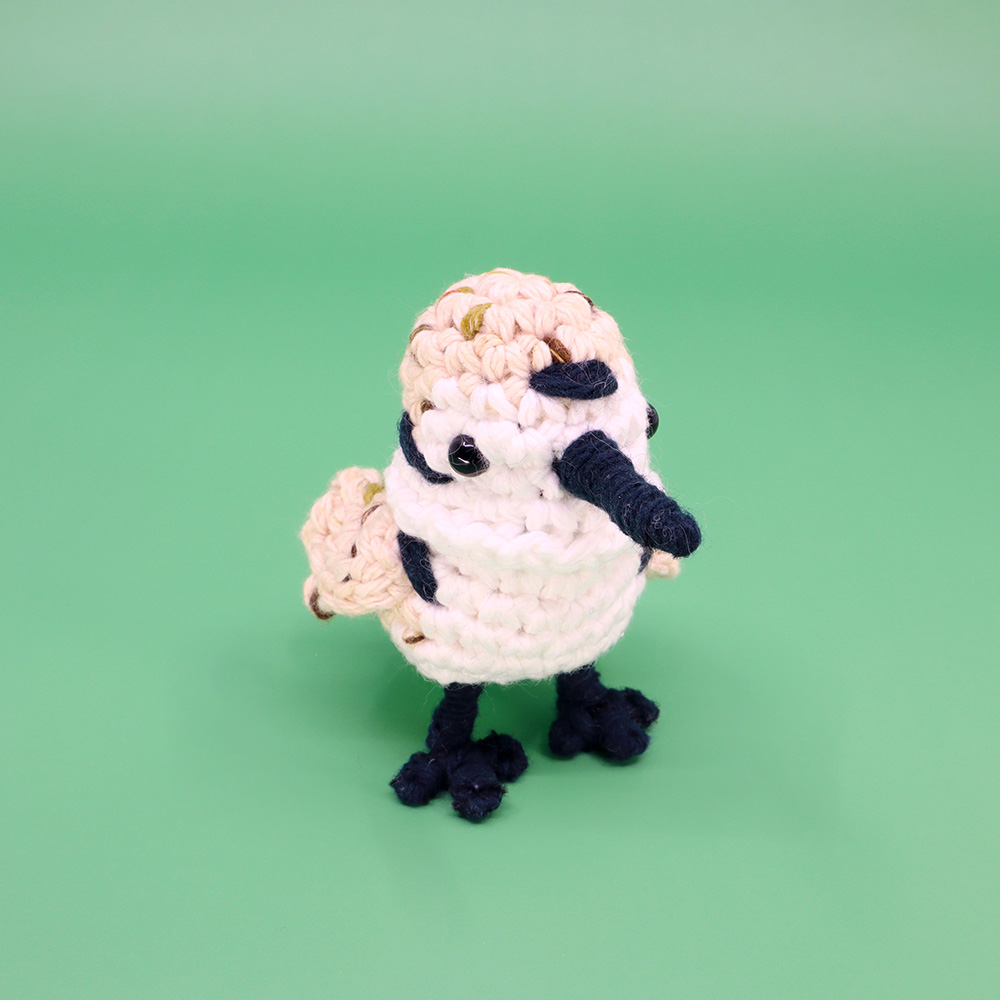
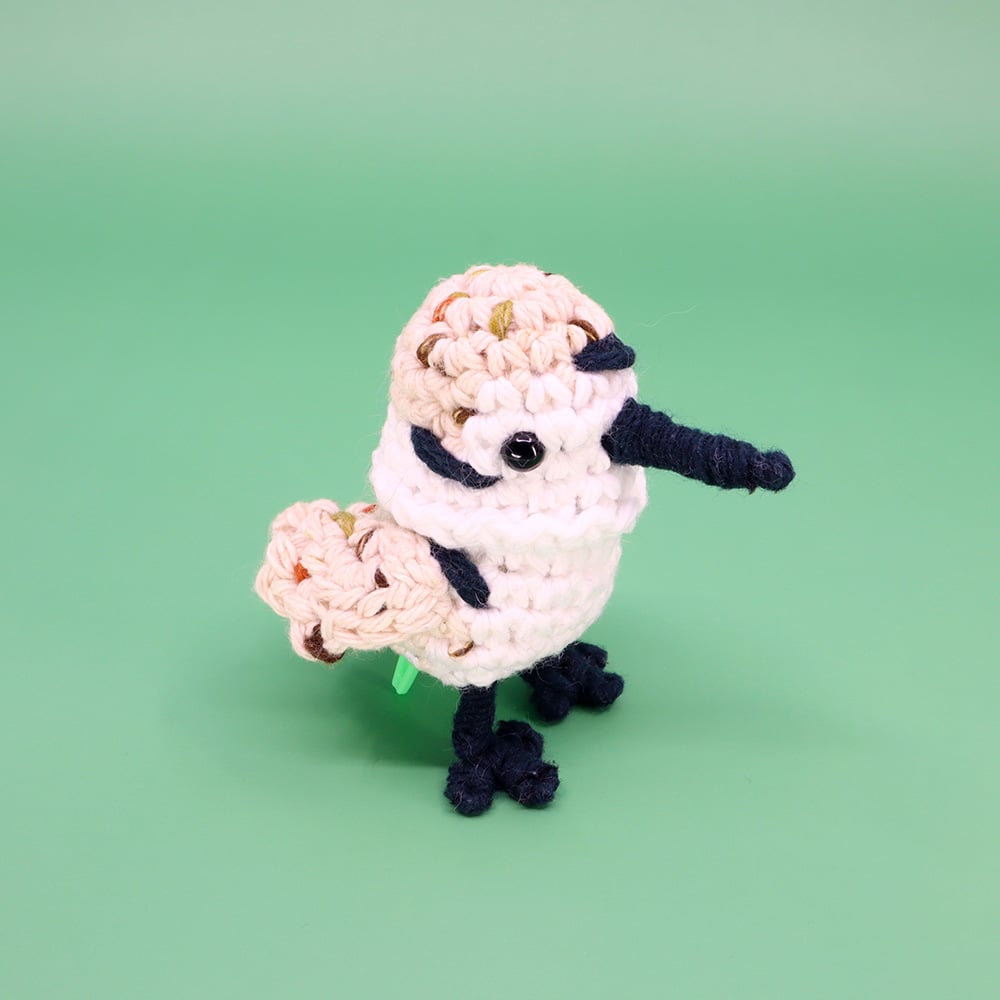
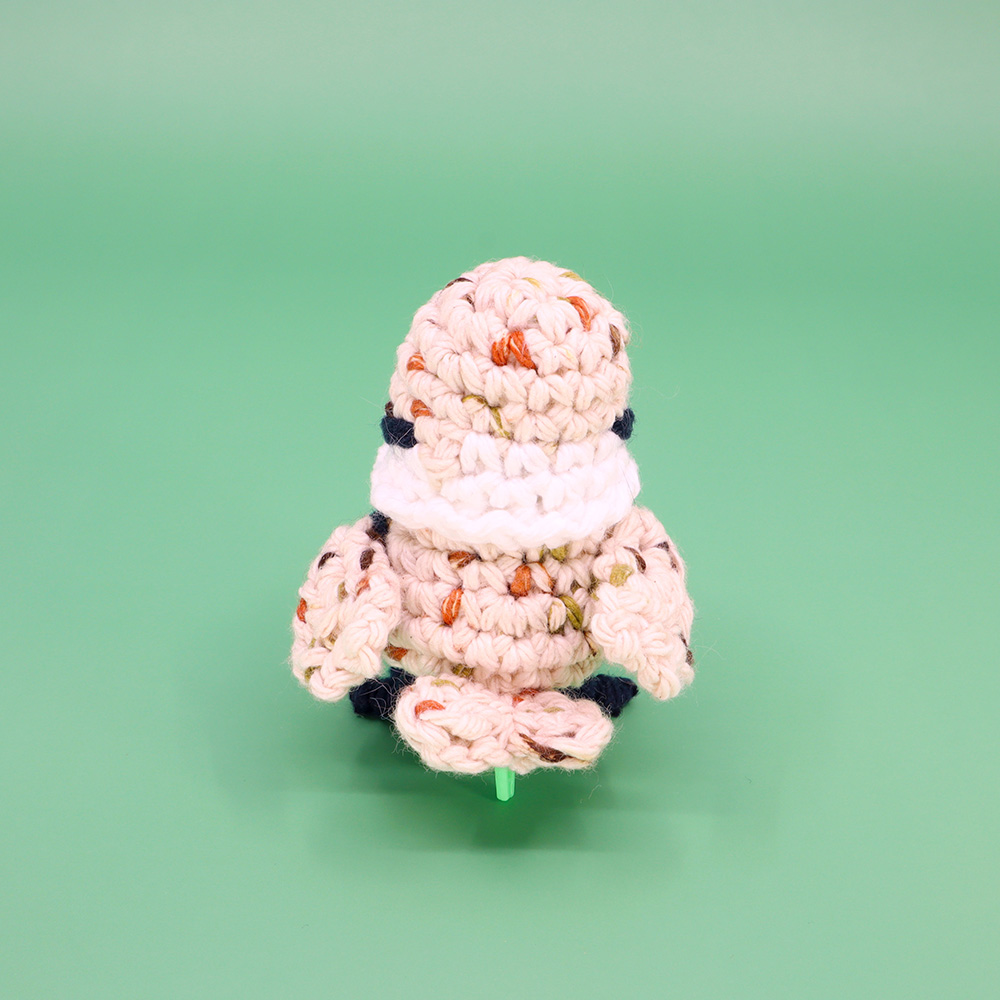
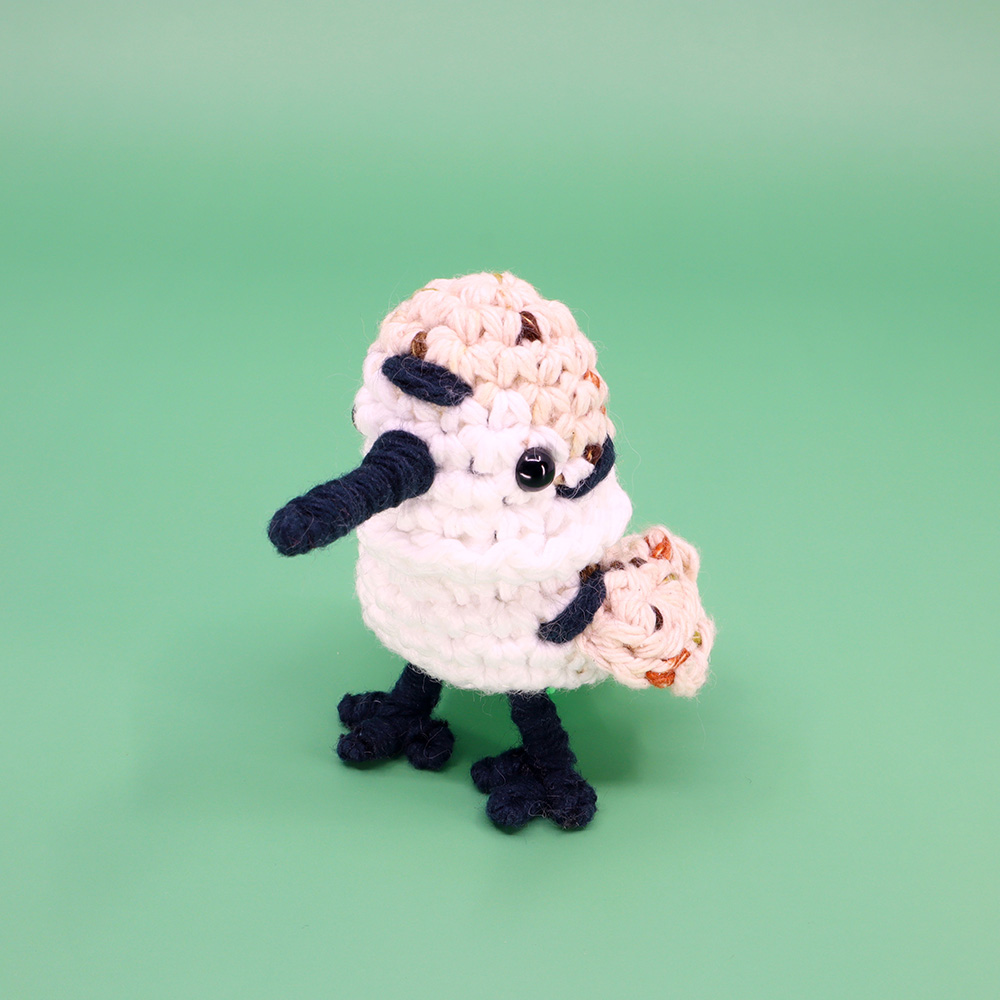
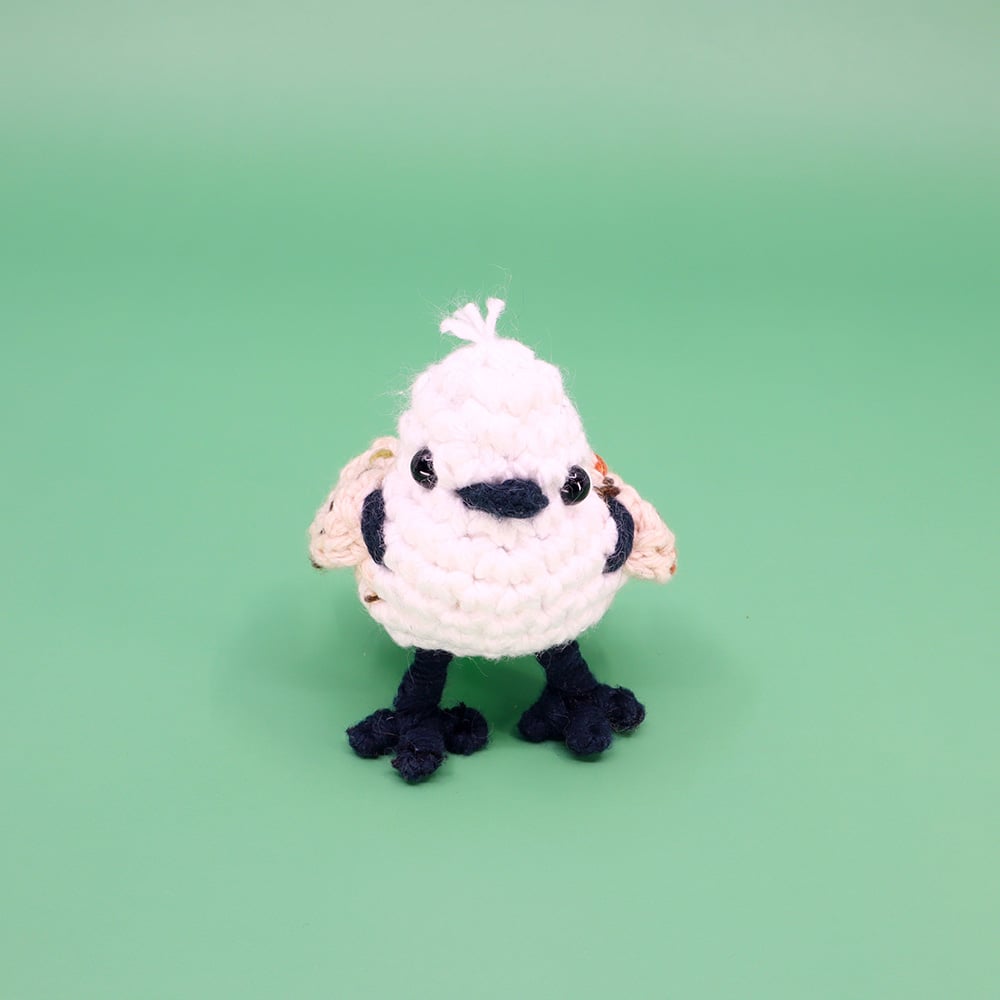
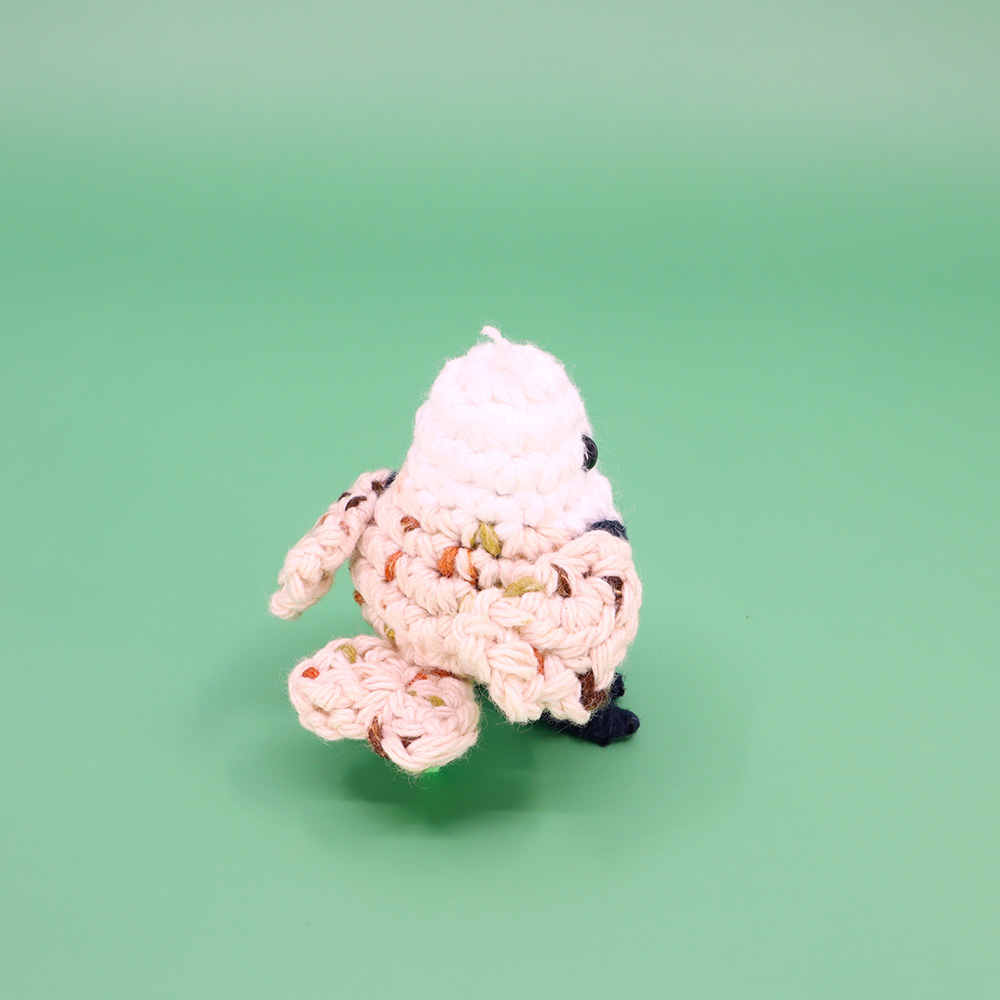
In this amigurumi crochet pattern, we’ll be crocheting a Snowy Plover! These charming birds are only found in the Americas, although they are closely related to other plovers that can be found worldwide.

Louie's Loops
Designed by


What you'll create


What you'll learn
What you'll need
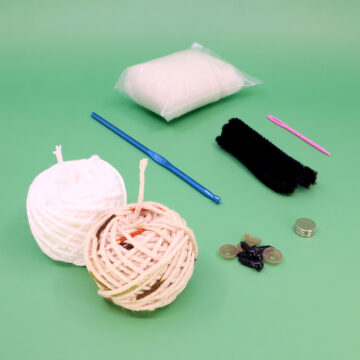
Cotton Yarn
Weight

Colors
Sonoma Beige
Black
White

Crochet Hook
G6 / 4.00 mm

Safety Bead (x4)
6 mm

Mini Magnets (x3)
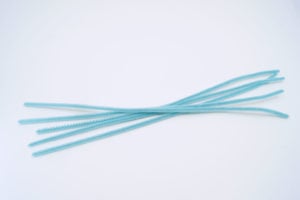
Pipe Cleaners (x2)

Stuffing

Darning Needle
Abbreviations used
ch
Chain Stitch
st
Stitch
slst
Slip Stitch
sc
Single Crochet
inc
Increase
invdec
Invisible Decrease
FLO/BLO
Front / Back Loops Only
dc
Double Crochet
hdc
Half-Double Crochet
mp
Mini Picot
Useful information
Gauge
5 Rnds and 4 sts per 1”
Size
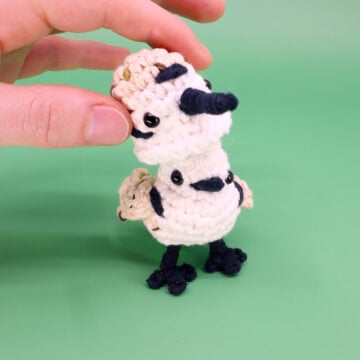
Finished piece is about 1 to 2 inches tall
Worked
In the Round (unless otherwise stated)
Useful Tutorials
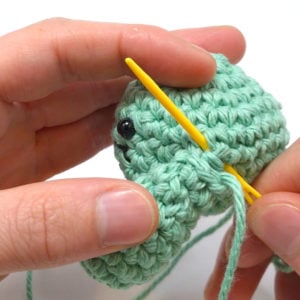

Pattern steps
01 Wings
Make 1 Right and 1 Left
[All in Sonoma Beige]
Magic loop
Rnd 1: sc 3 in the magic loop (3)
Other patterns to try


Community posts
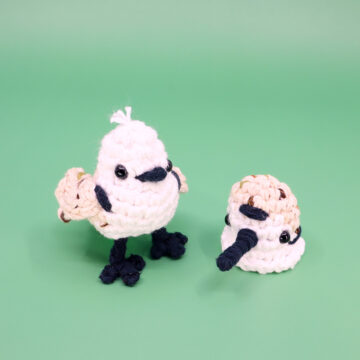
Community Showcase
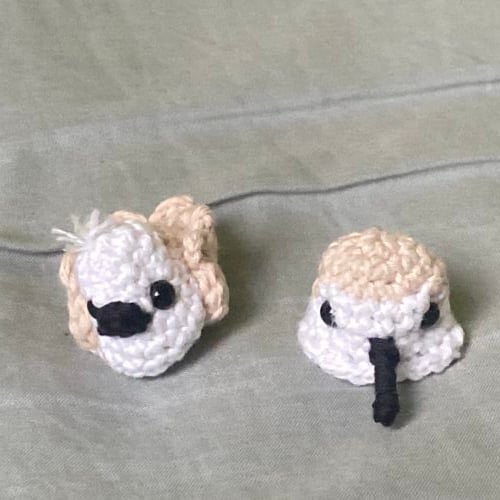
Snowy plover birb
Submitted by albert-the-pug
You need an account to submit your photo.


I very love all tour patterns thank you very much for them
hmmm, the pattern link is broken.
I’m going to guess that you don’t understand the difference between the download link and whatever you are referencing because I just checked again and the download link gives a 404 error, do you even understand what that means? I would guess no! So, instead of calling someone a liar, maybe verify what you are talking about before spewing that BS!
The download should be fixed now. There was a rare issue for some users when trying to download. Please reach out via email if the issue continues. Thanks!
It is fixed, thank you so much!
How come this isn’t in the birb themed patterns?
Thanks for noticing! I’ll add it in!
Hi! I really like this pattern, but I want to make the head atached and I didn’t quite understand how to do it, I think it would be nice if you did a video on it or smth!
Okay I’ll work on one. I explain a bit better in the video I believe.
I really love this Snowy Plover! I made one and it’s super cute!
Thank you so much! I love your thumbnail!