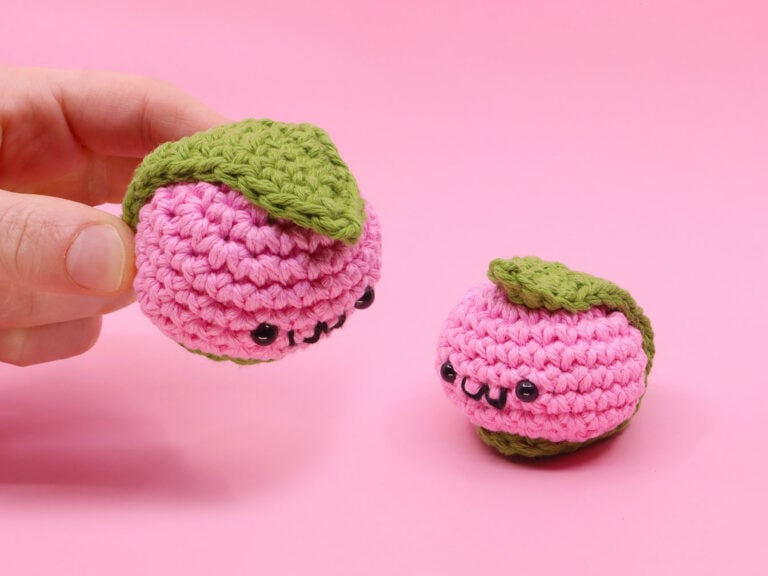
Sakura Mochi Amigurumi

Beginner
This amigurumi pattern is inspired by sakura mochi, a Japanese treat made of glutinous rice that is coloured pink and filled with a sweet red bean paste. It is often wrapped in a salt-pickled leaf from a sakura tree.


What you'll create


What you'll learn
What you'll need

Cotton Yarn
Weight

Colors
Pink
Green

Darning Needle

Safety Bead
6 mm

Black Thread

Stuffing

Crochet Hook
G6 / 4.00 mm
Abbreviations used
ch
Chain Stitch
st
Stitch
slst
Slip Stitch
sc
Single Crochet
inc
Increase
invdec
Invisible Decrease
FLO/BLO
Front / Back Loops Only
dc
Double Crochet
hdc
Half-Double Crochet
Useful information
Gauge
5 Rnds and 4 sts per 1”
Finished Size
about 3 inches tall
Worked in the Round
(without turning)


Pattern steps
01 Mochi Body
[All in Pink] Magic loop
Rnd 1: sc 6 into the magic loop (6)
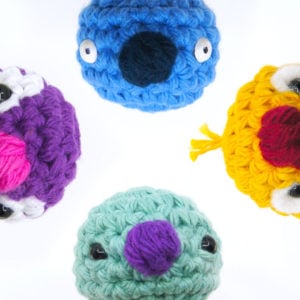
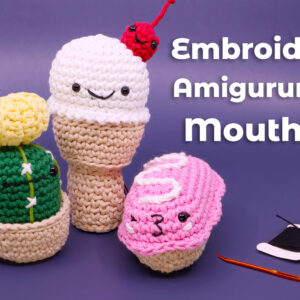
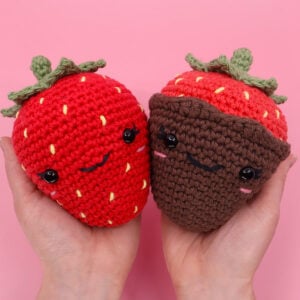
Other patterns to try


Community posts
Community Showcase
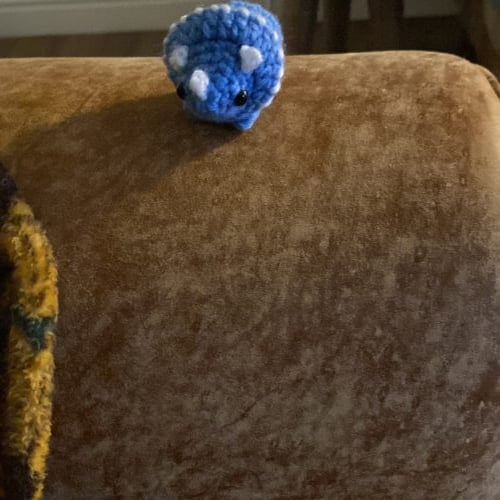
Dino
Submitted by janet_duffin
You need an account to submit your photo.


It looks very cute
*will
Love it I whill make a bunch of them