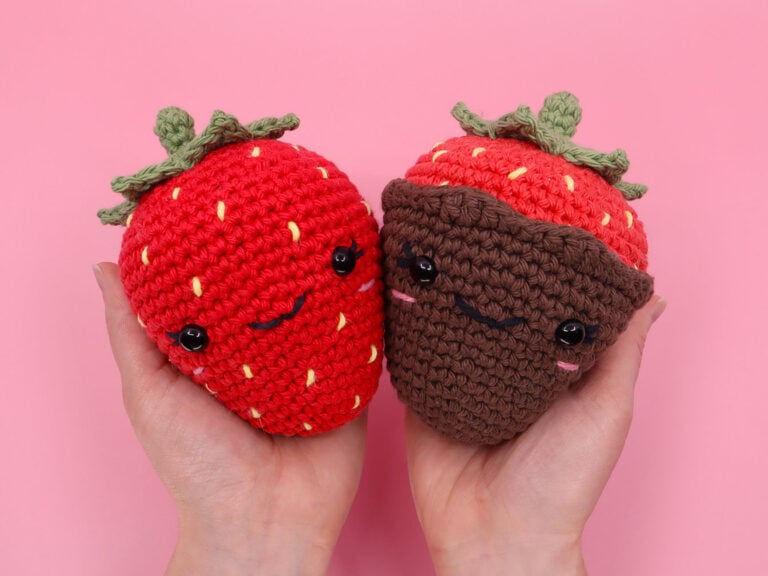
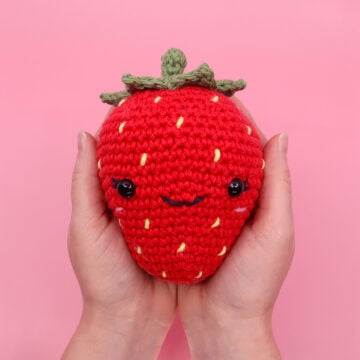
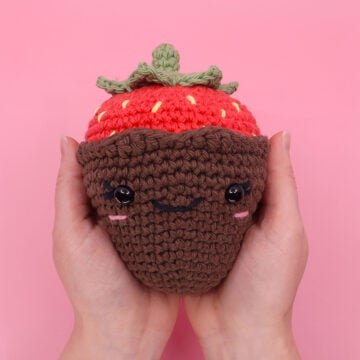
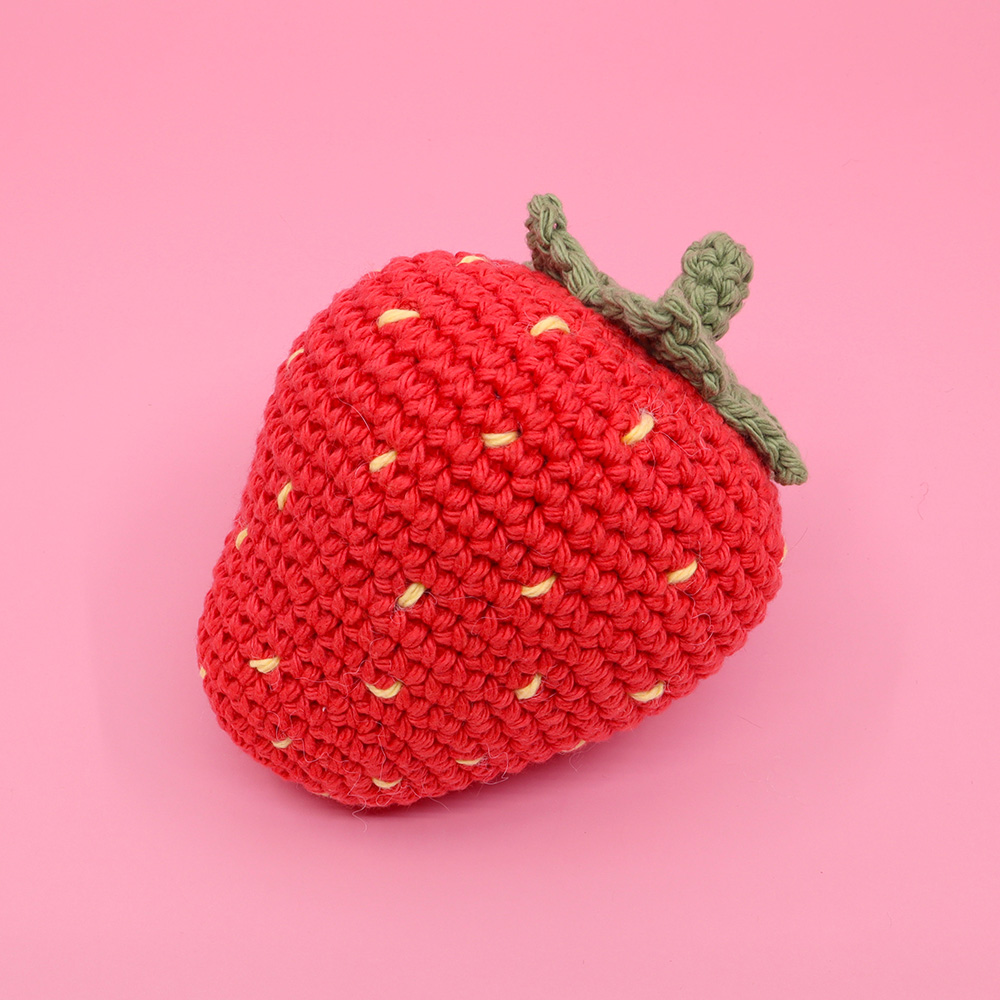
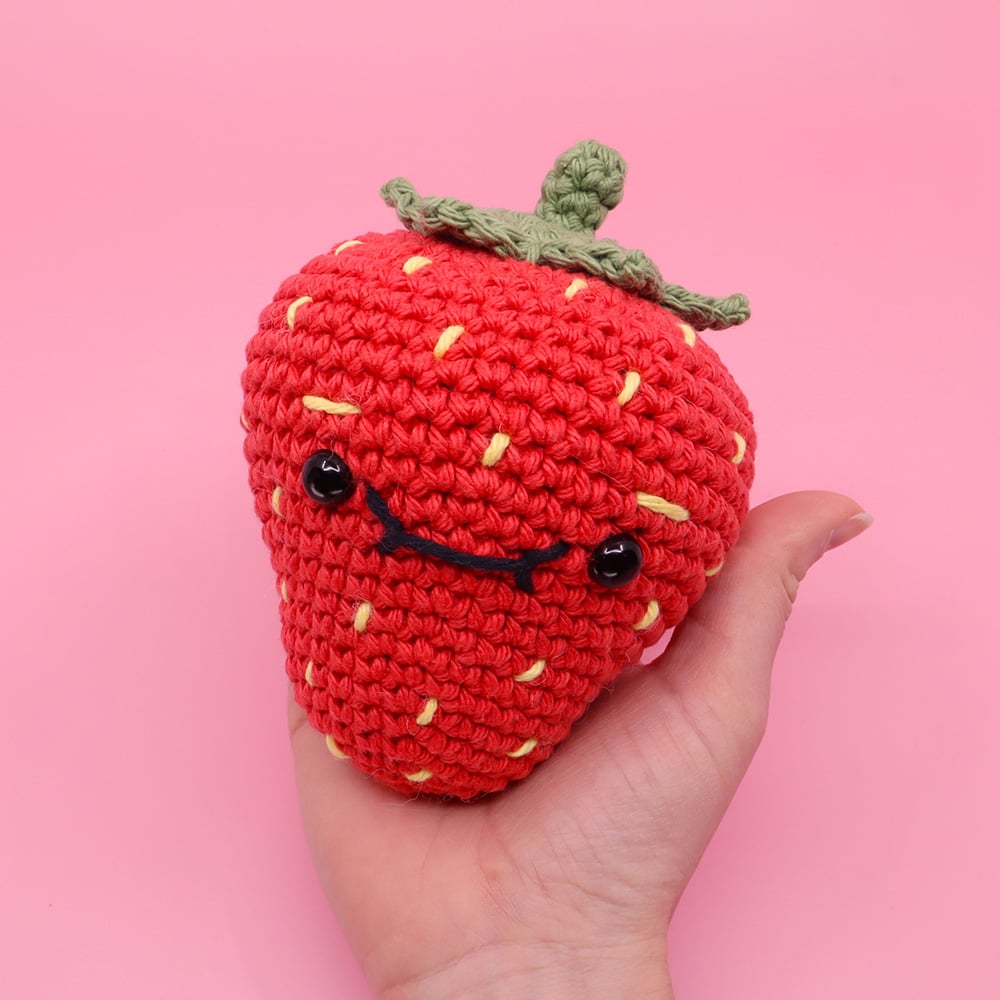
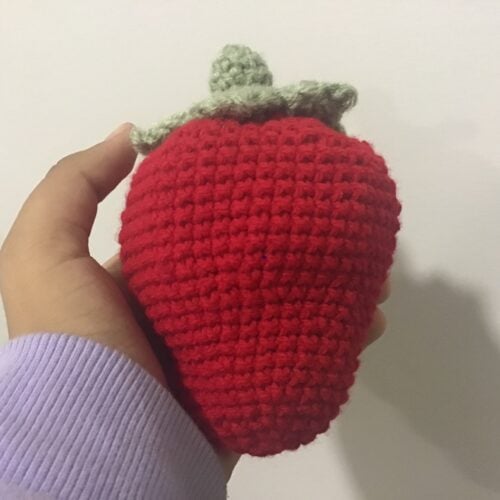
Giant Strawberry Amigurumi

Beginner
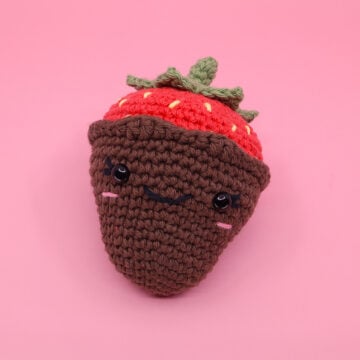
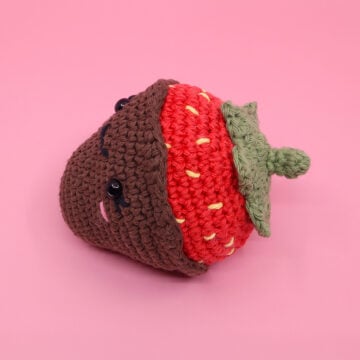
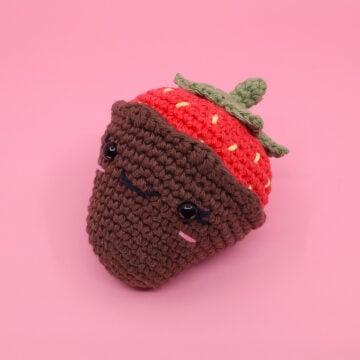
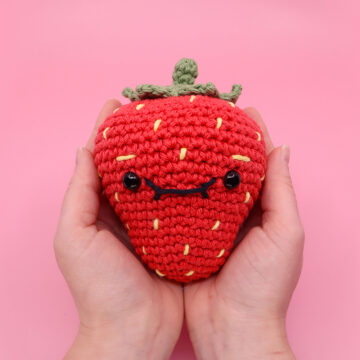
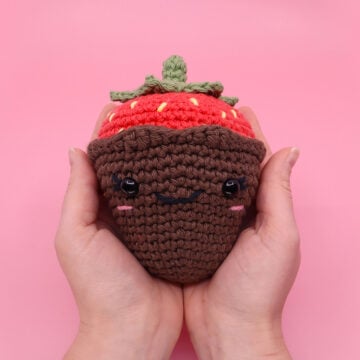
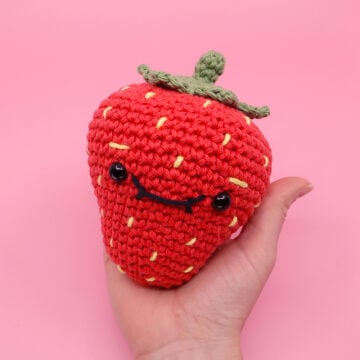
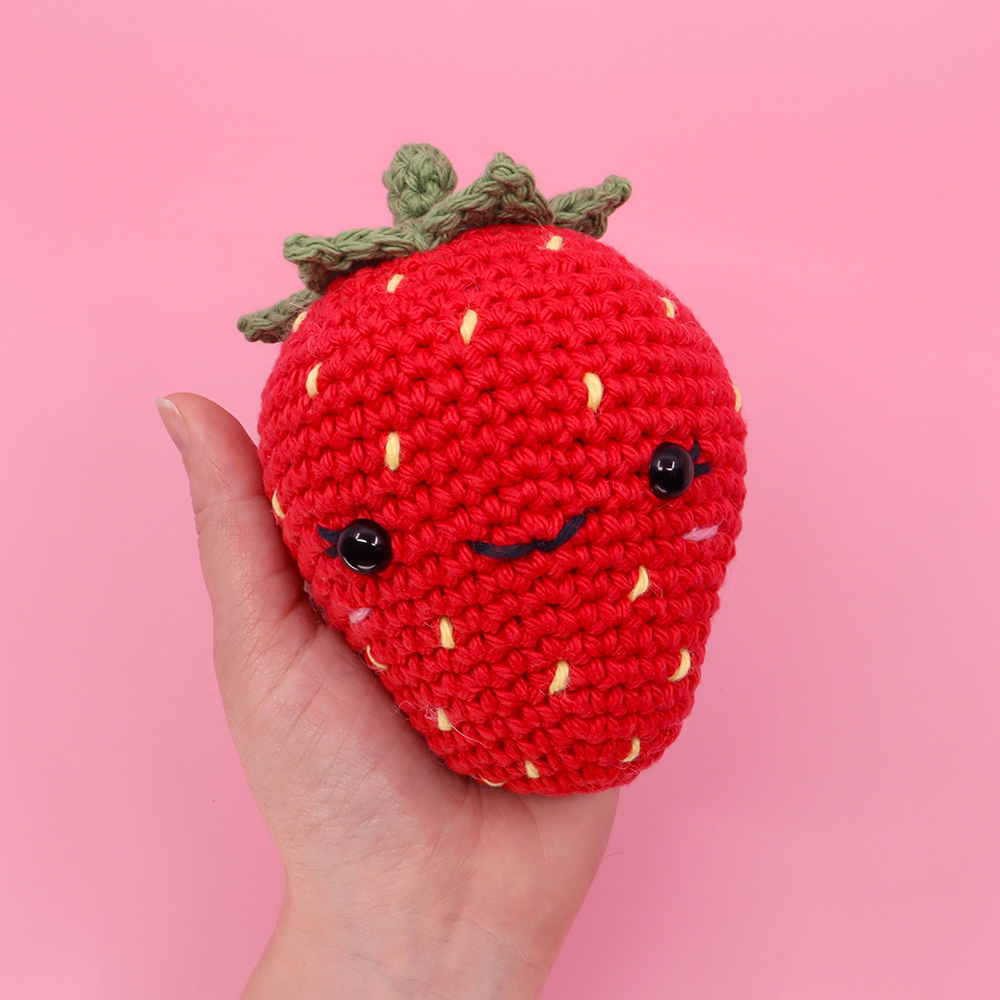
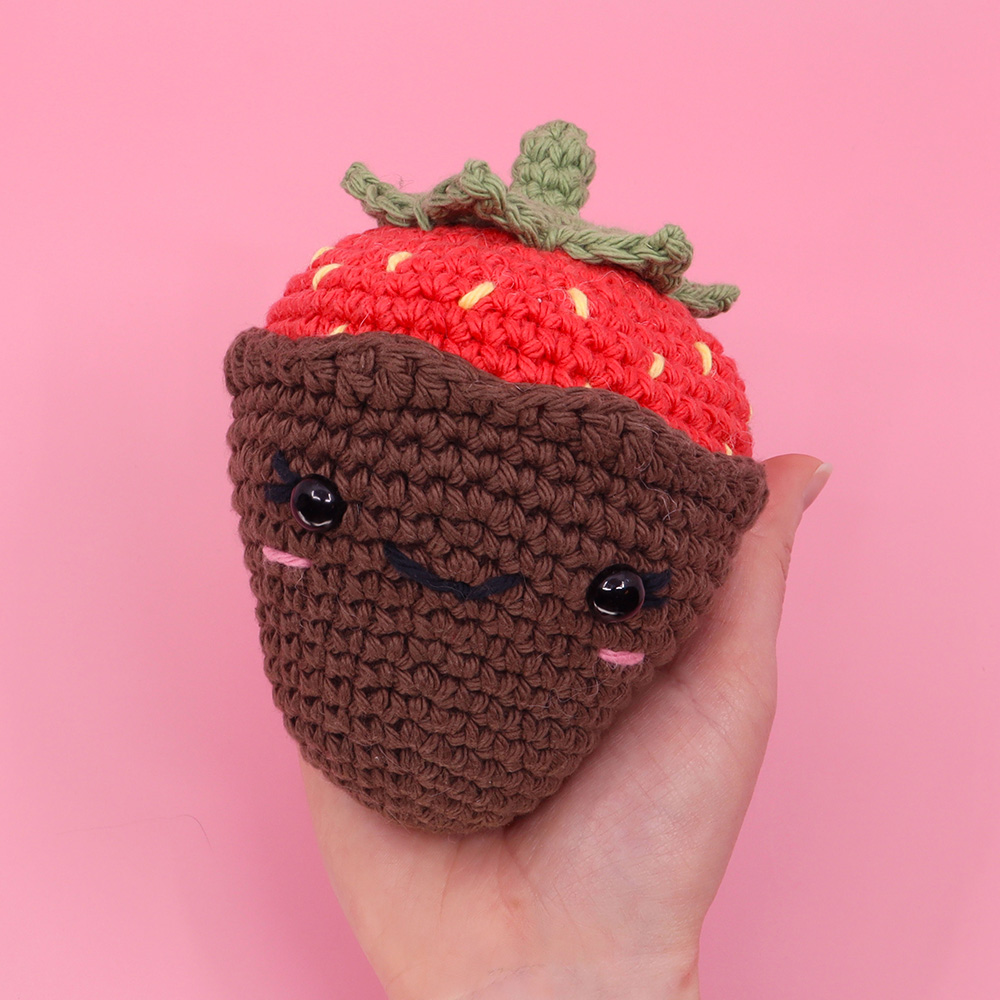
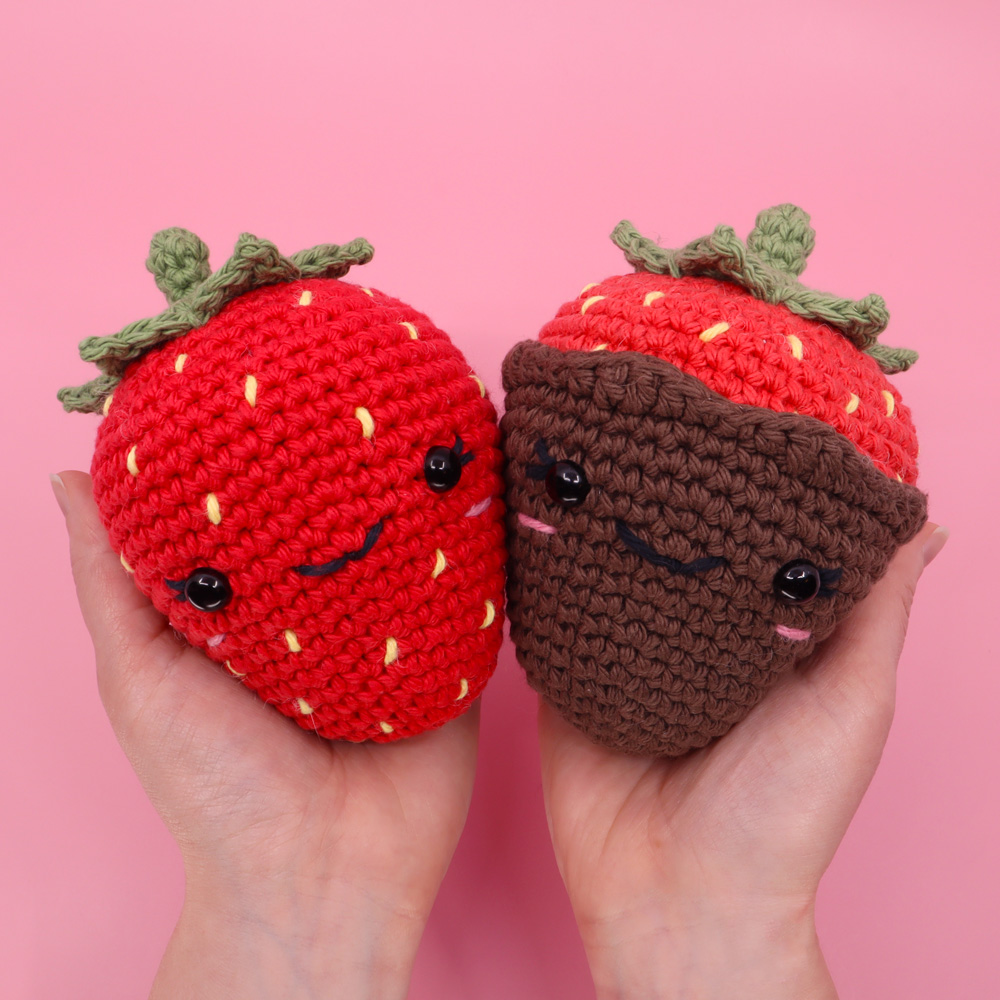
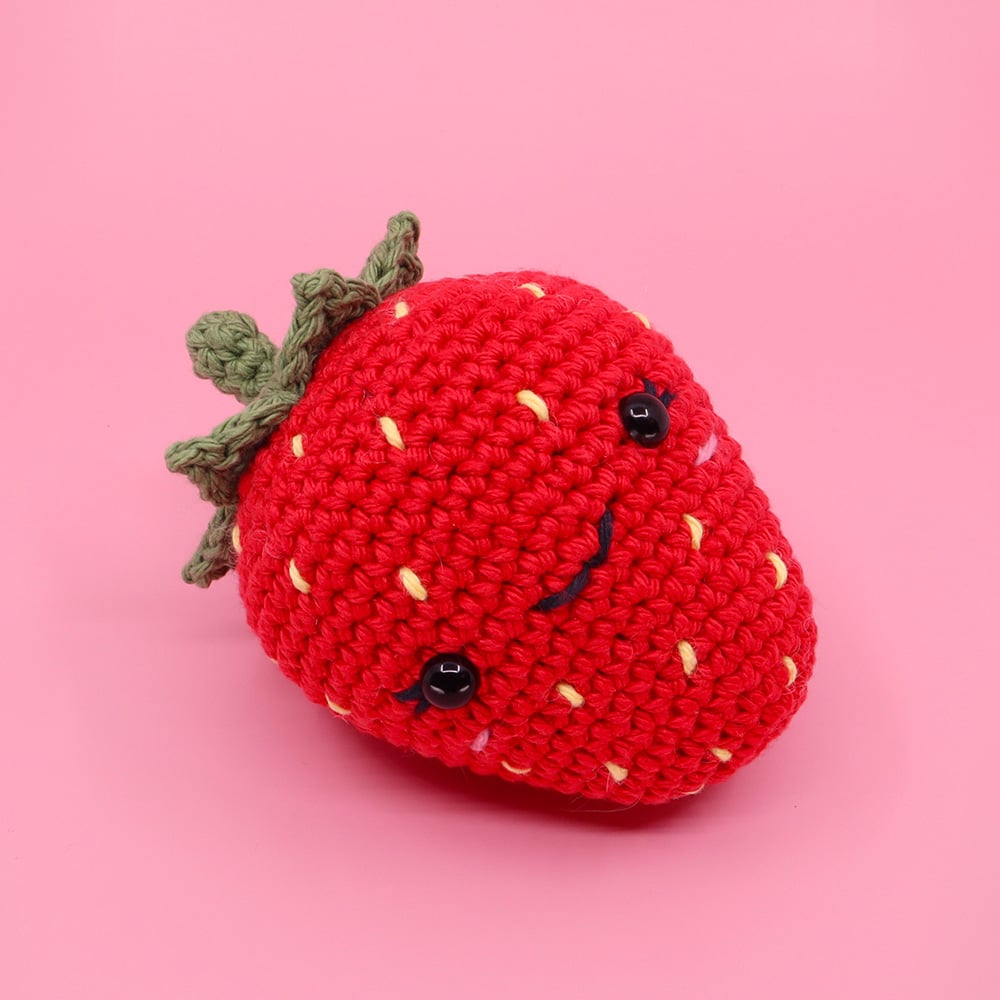
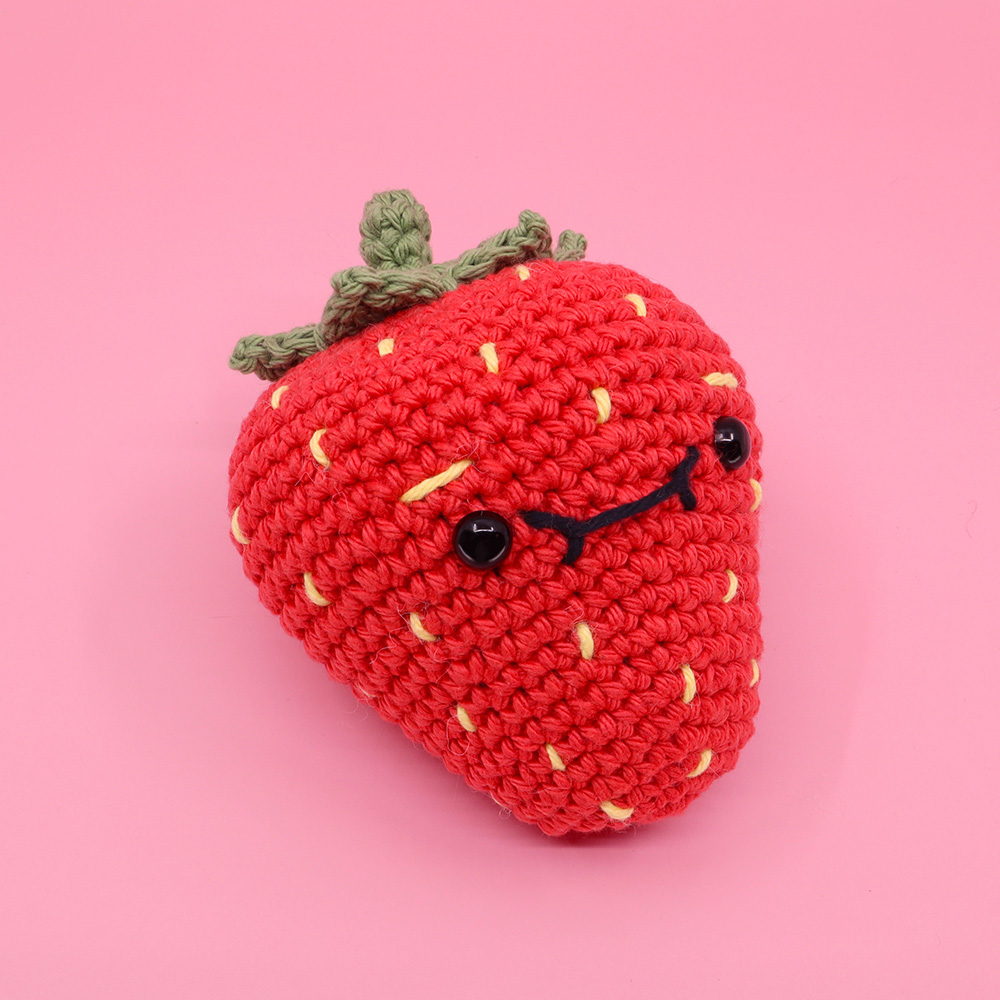
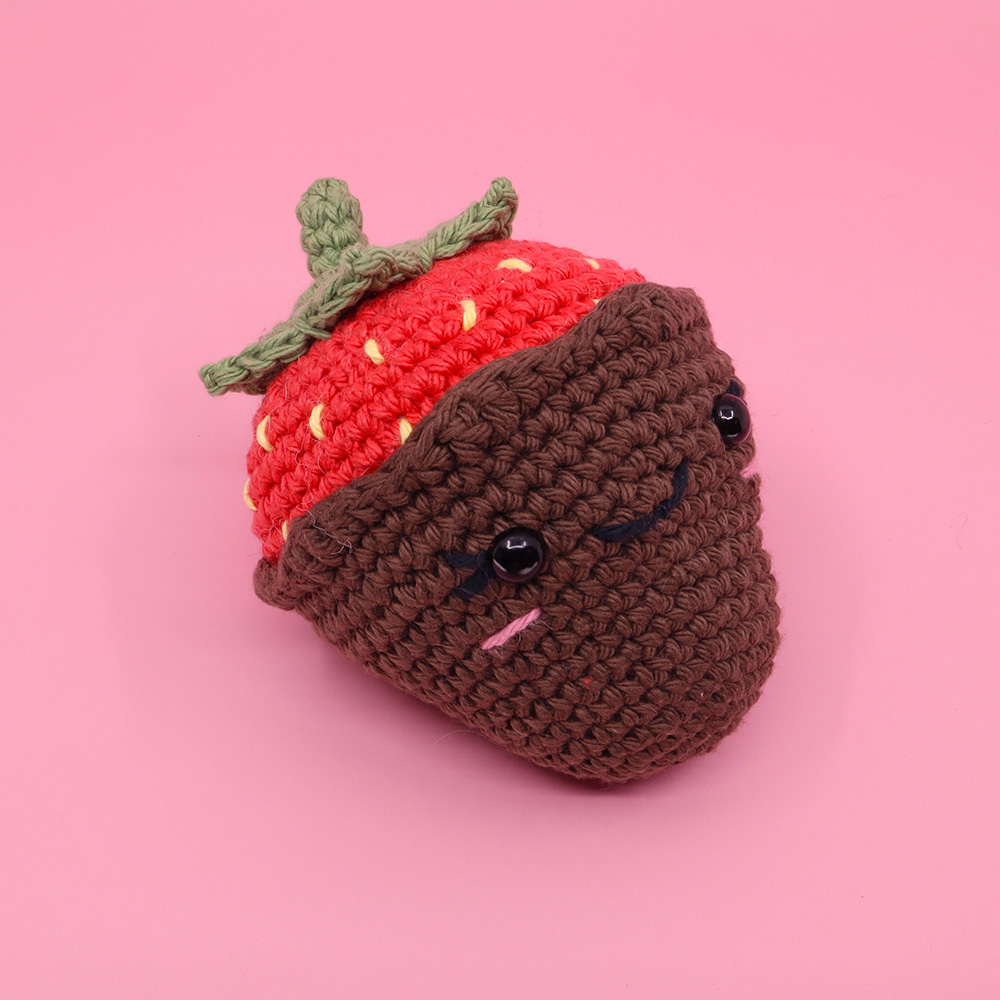
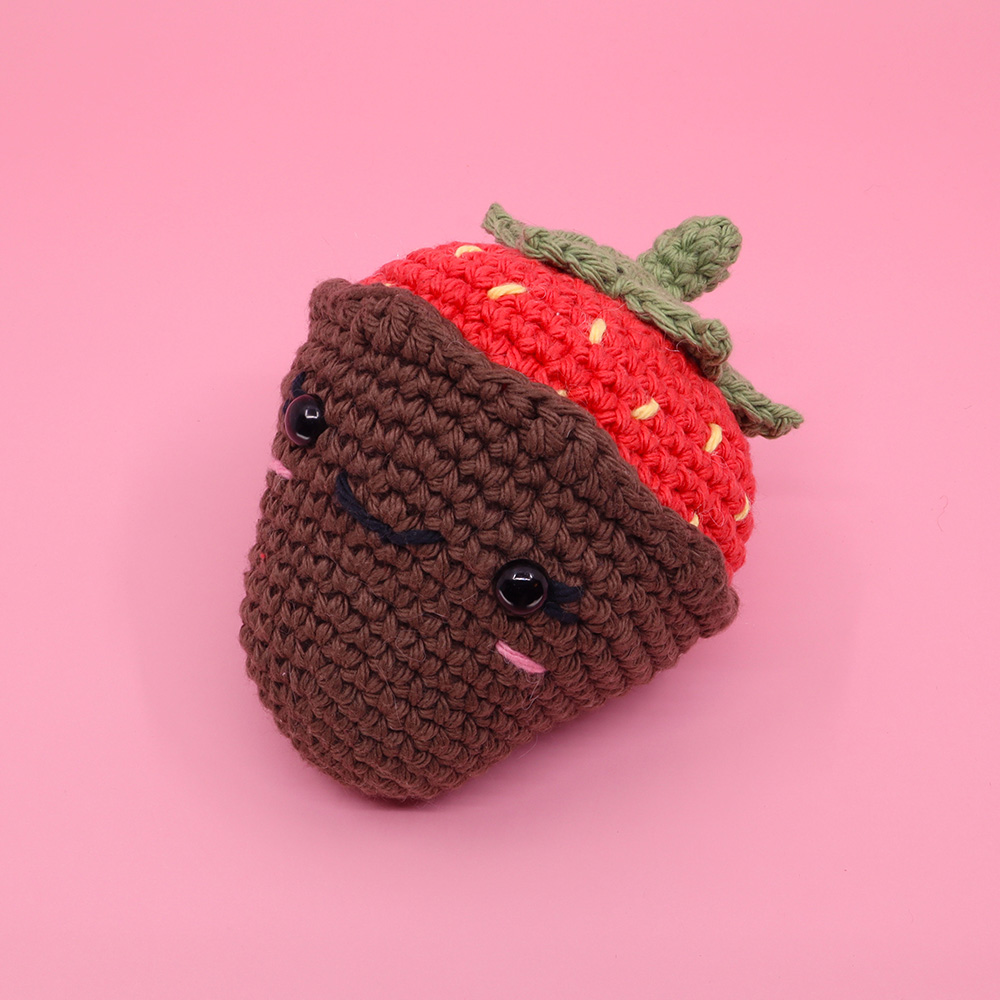
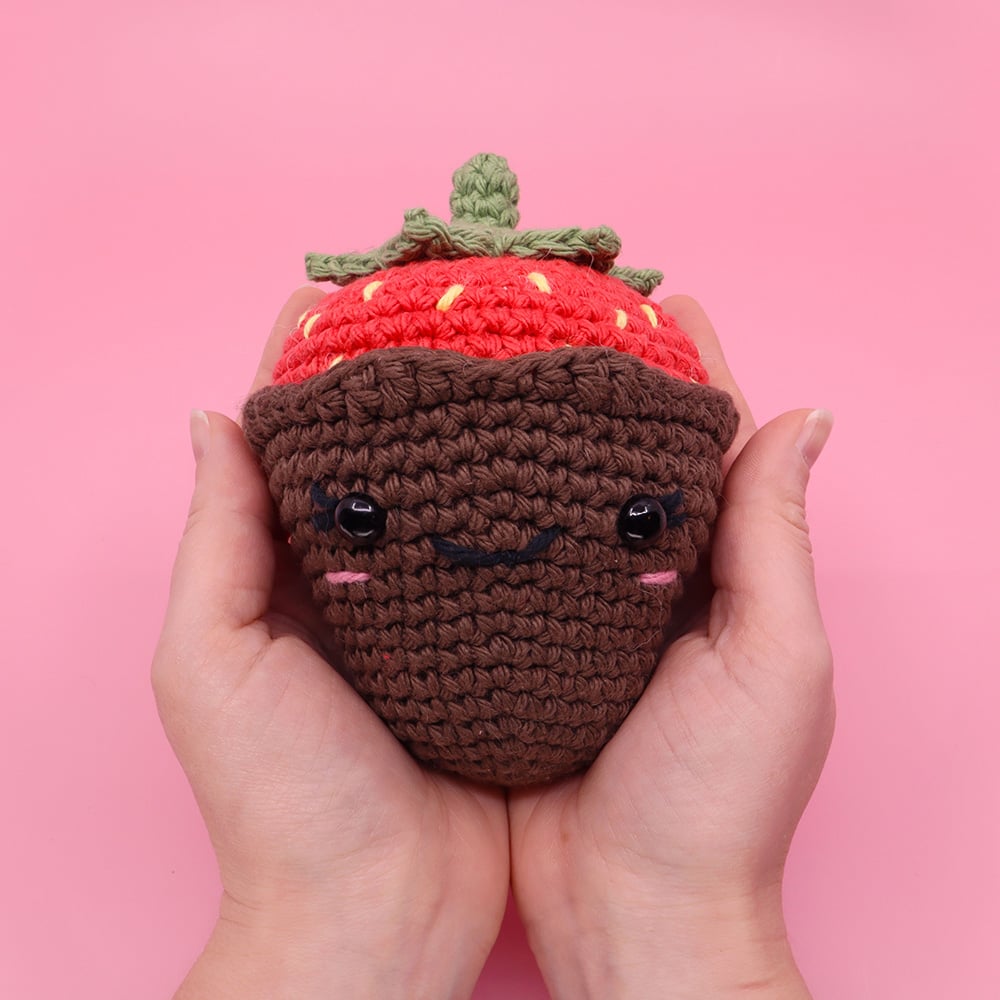
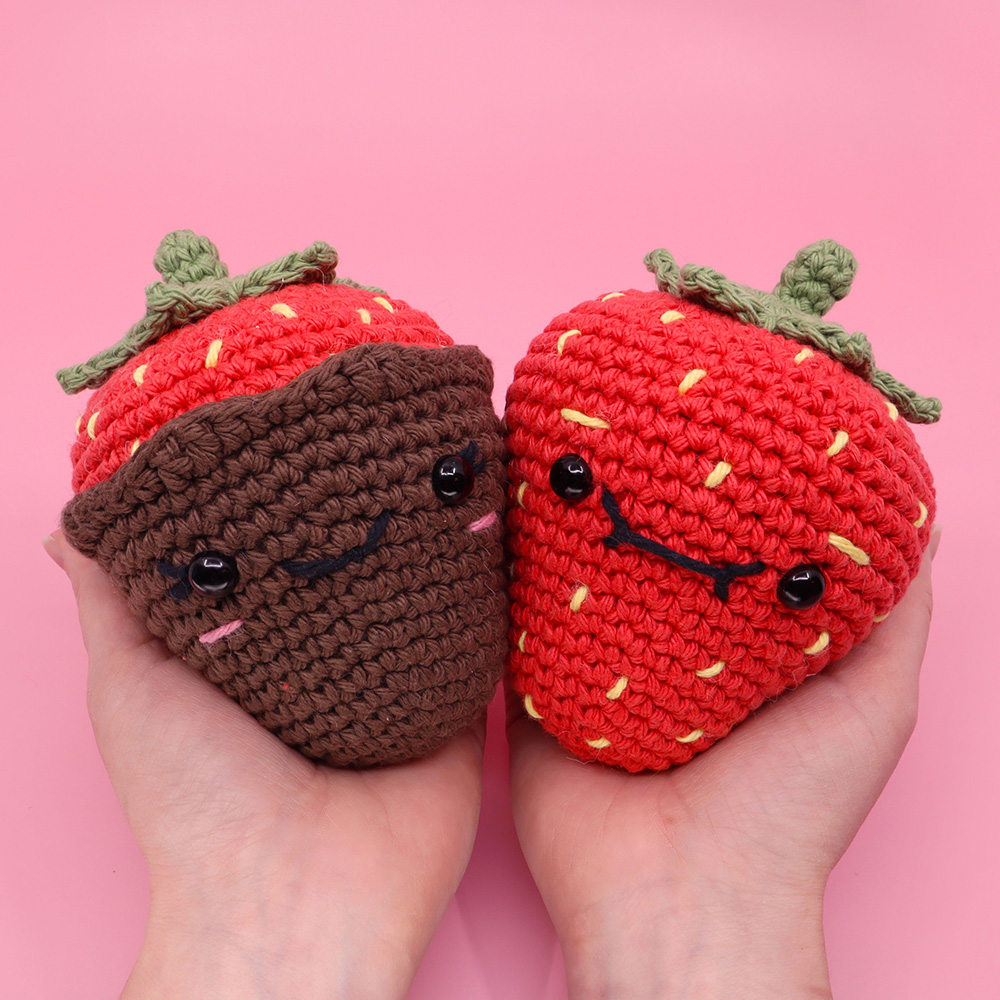
In this beginner crochet tutorial we’ll be learning how to crochet a giant amigurumi strawberry! Learn how to make a regular or chocolate covered version with this free pattern by DrewbiesZoo!

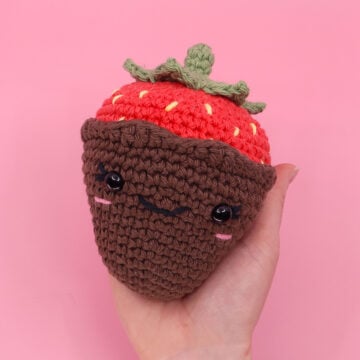
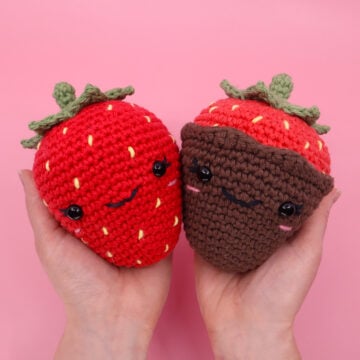
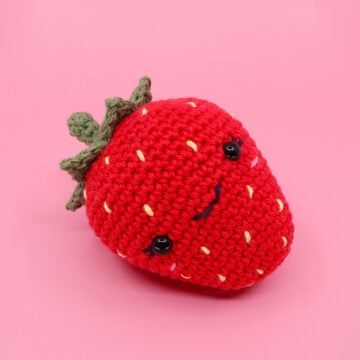
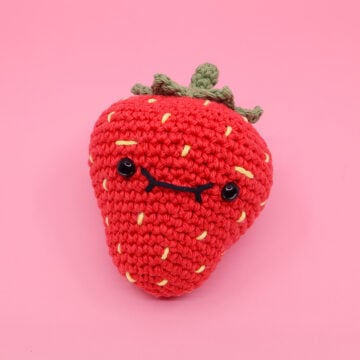
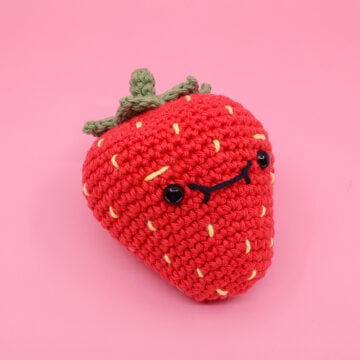
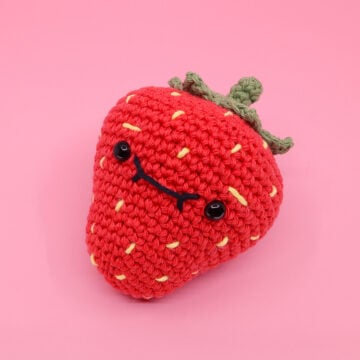

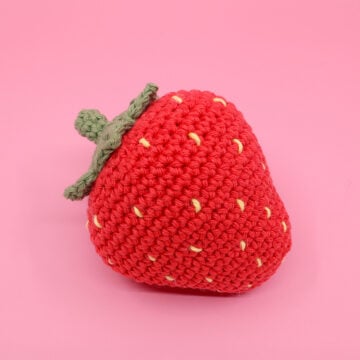

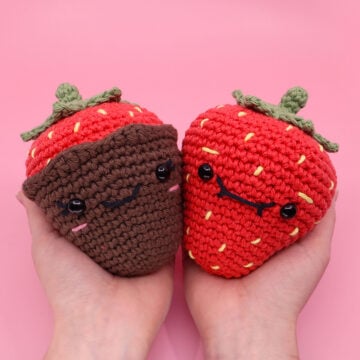
What you'll create


What you'll learn
01 Strawberry
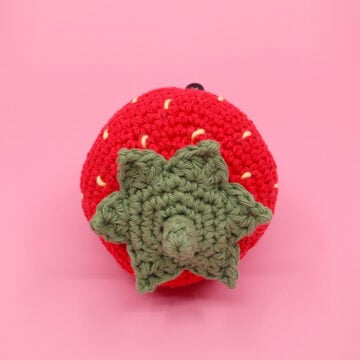
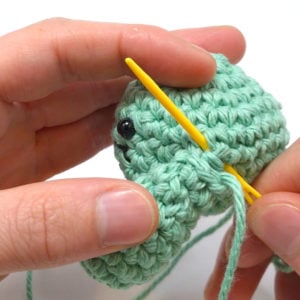
02 Calyx
What you'll need
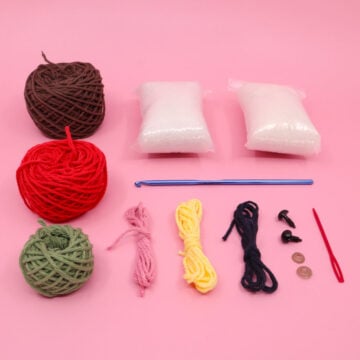
Cotton Yarn
Weight

Colors
Green
Red
Brown (*optional)
Yellow
Black
Pink (*optional)

Safety Bead (x2)
10 mm

Stuffing

Darning Needle
Abbreviations used
ch
Chain Stitch
st
Stitch
slst
Slip Stitch
sc
Single Crochet
inc
Increase
invdec
Invisible Decrease
FLO/BLO
Front / Back Loops Only
dc
Double Crochet
hdc
Half-Double Crochet
p
Picot
Useful information
Gauge
5 Rnds and 4 sts per 1”
Size
Finished piece is about 5” tall
Worked
In the Round (unless otherwise stated)
Useful Tutorials

Pattern steps
01 Strawberry
[Starting in Brown or Red]
Magic loop
Rnd 1: sc 6 in the magic loop (6)
Other patterns to try


Community posts
Community Showcase
A cute strawberry ?
Submitted by atiny1024
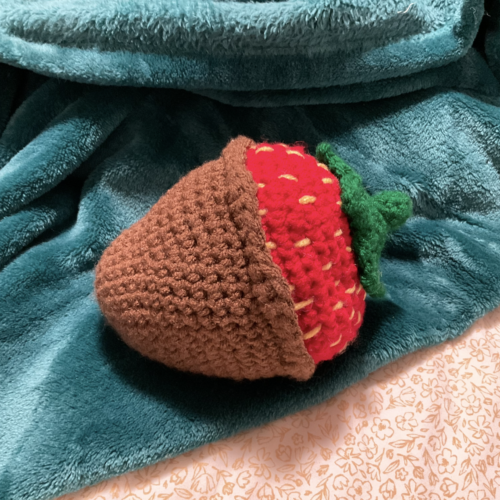
Chocolate Covered Strawberry
Submitted by Nicole Maxwell

Strawberry
Submitted by Cacst0n
You need an account to submit your photo.


This pattern is not what is in the picture and it’s painfully obvious when you compare. There should be trebles in the calyx and there are none in the pattern. Don’t give this site your money.
Love this ! How would I go about making it slightly larger ?
I just finished making this same pattern with blanket yarn, which is weight 6 (Super Bulky) and I used an 8 mm hook. I would say it’s roughly the size of a medium squishmallow (12 in.).