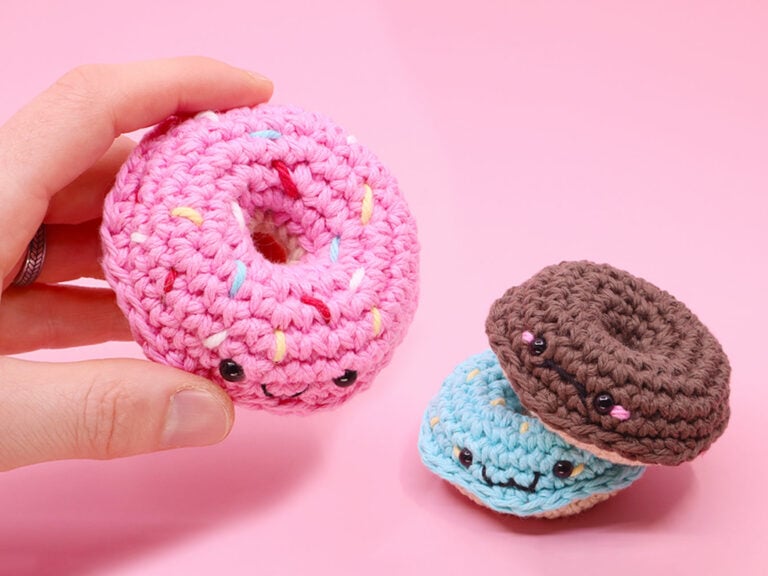
Classic Donut Amigurumi

Easy
In this amigurumi crochet pattern we’ll be making the cutest little classic donuts, with no sewing at all! This doughnut pattern is shockingly easy to make, even with the drippy frosting edges! Including a full length video tutorial going through detailed instructions so you never miss a stitch.

Louie's Loops
Designed by


What you'll create


What you'll learn
What you'll need

Cotton Yarn
Weight

Colors
Cyan (Frosting Color)
Beige (Cake Color)
Any Color (Sprinkles)

Crochet Hook
G6 / 4.00 mm

Black Thread or Yarn (Optional)

Safety Bead
6 mm

Stuffing

Darning Needle
Abbreviations used
ch
Chain Stitch
st
Stitch
slst
Slip Stitch
sc
Single Crochet
inc
Increase
invdec
Invisible Decrease
FLO/BLO
Front / Back Loops Only
hdc
Half-Double Crochet
Useful information
Gauge
5 Rnds and 4 sts per 1”
Finished Size
about 3.5 inches in diameter
Worked
In the Round (without turning)


Pattern steps
01 Frosting Top
[Starting in Frosting Color]
Make a slip knot, ch 12, slst into the first chain to make a big ring.
Rnd 1: ch 1, sc 12 around, starting in the next ch, and ending in the top loop of the slst, work around the tail end to hide it in (12)
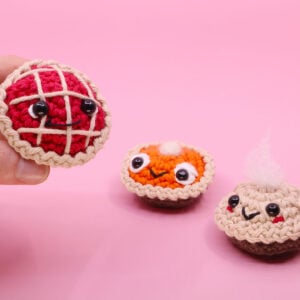
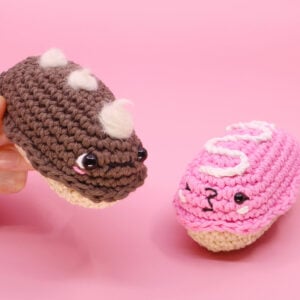
Other patterns to try


Community posts
Community Showcase
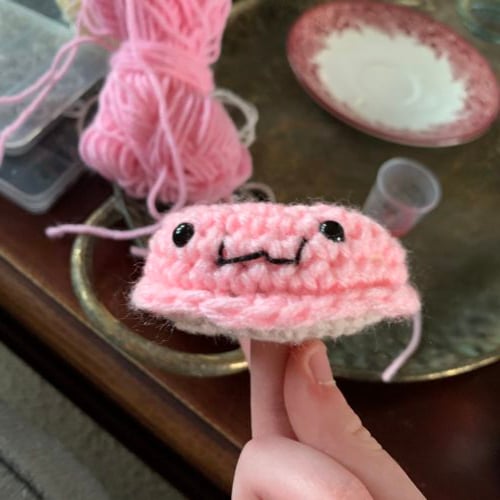
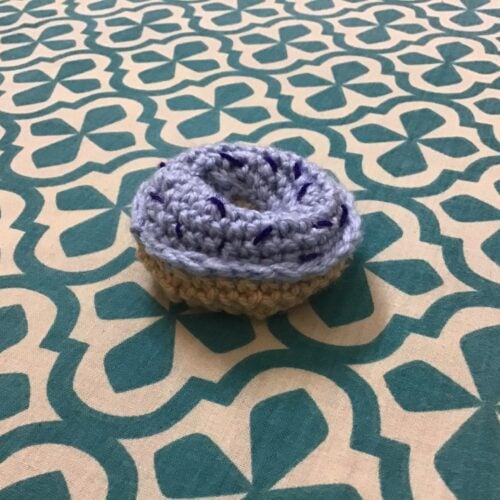
Louie’s fav donut (pink)
Submitted by thegoodstuff
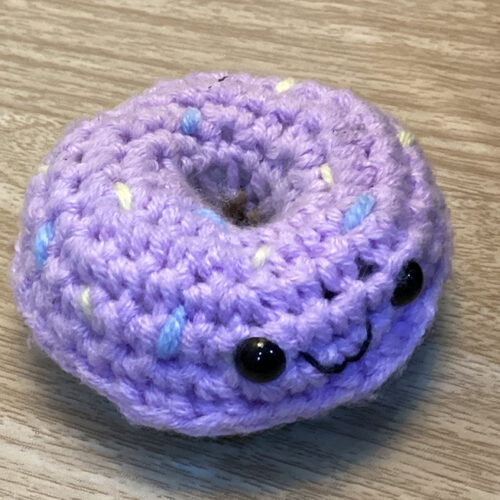
Cute amigurumi donut
Submitted by atiny1024
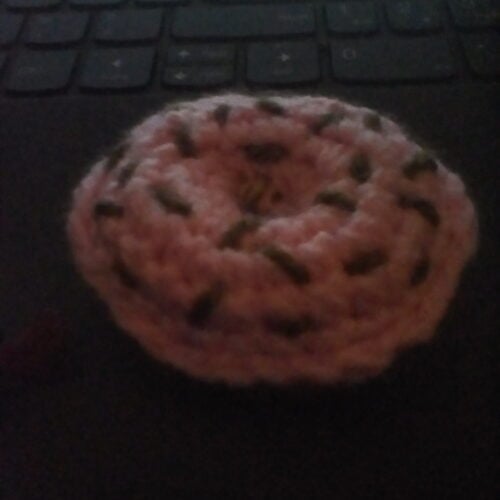
Donut
Submitted by fox-girl
Donutella Cake
Submitted by Soha
You need an account to submit your photo.


I loved this pattern! For me it was pretty easy but I have been crocheting for a while now. It was fun and interesting, and kept me motivated to finish it. And of course, the end result was just the cutest thing ever!