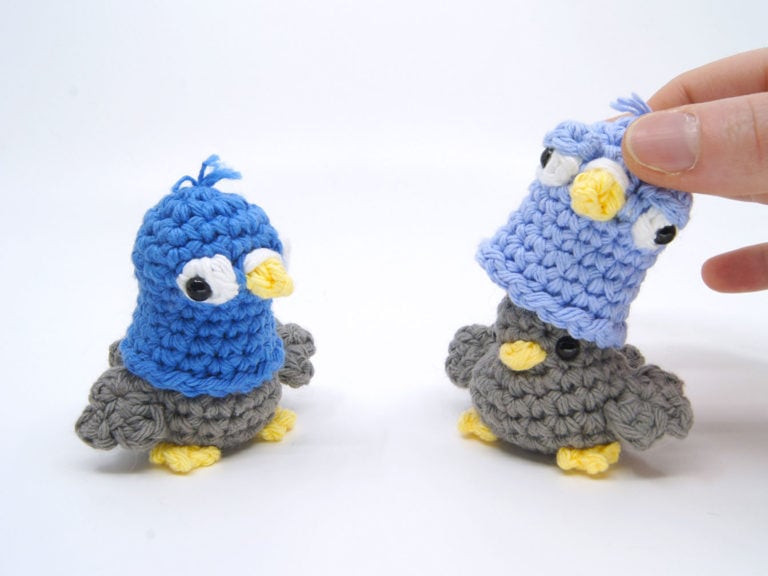
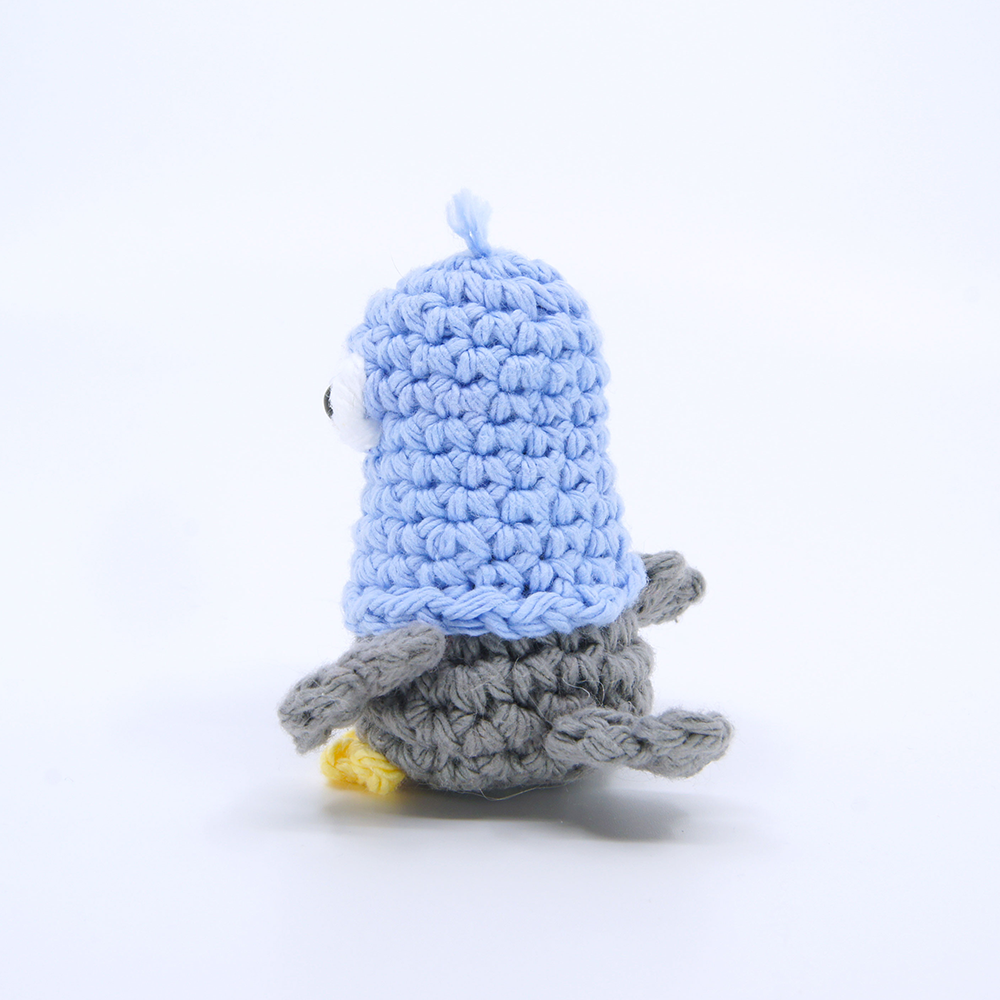
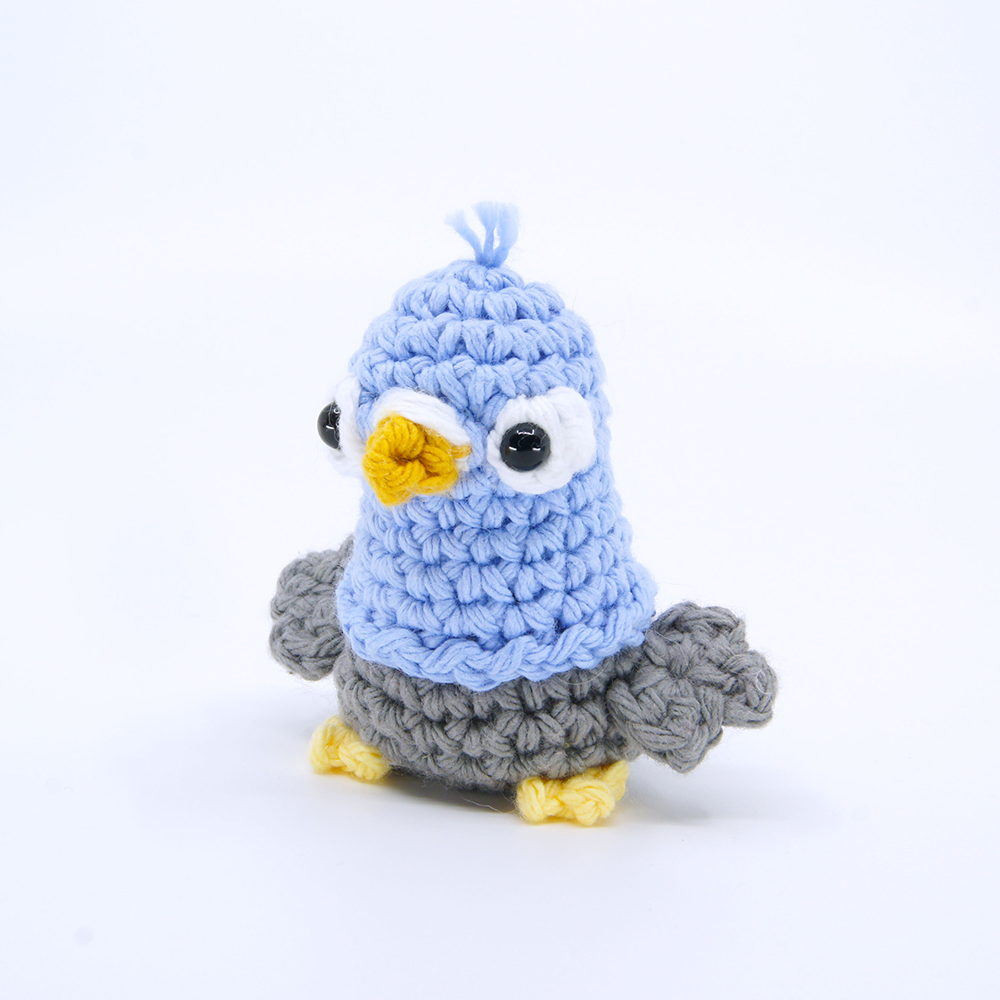
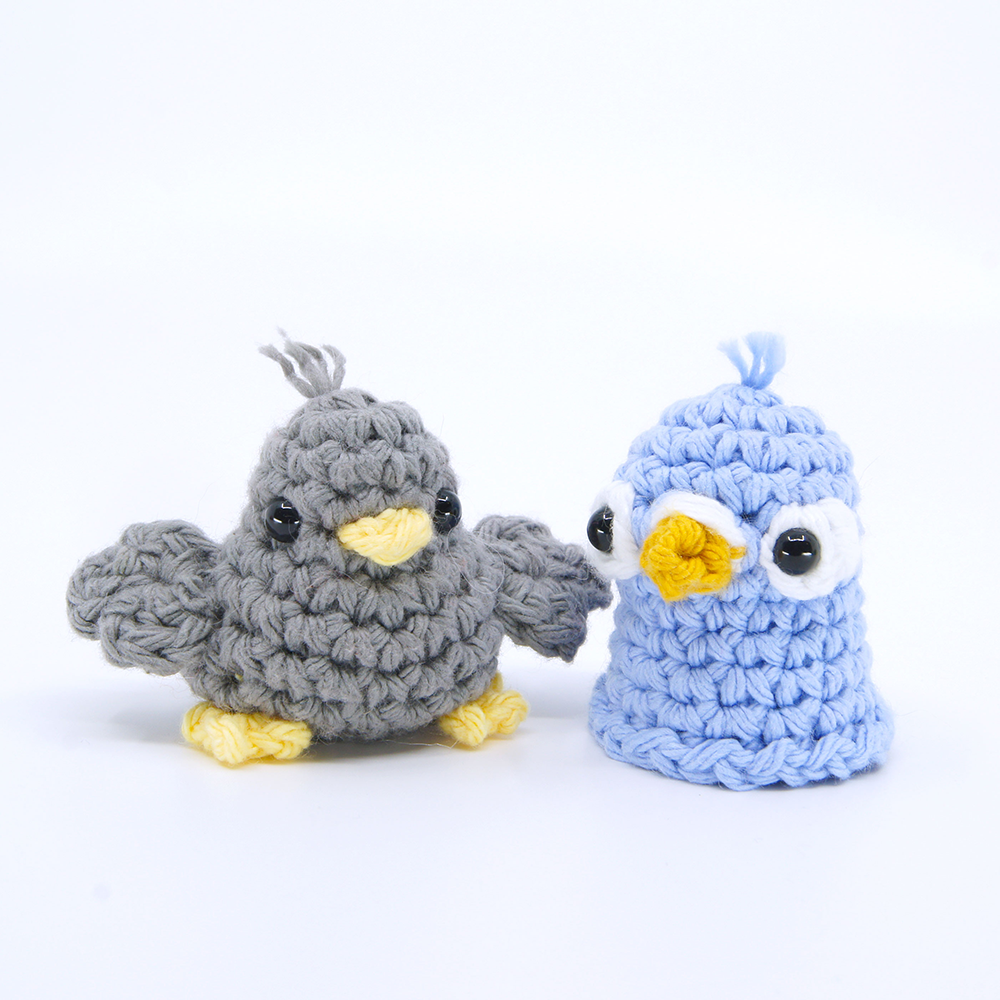
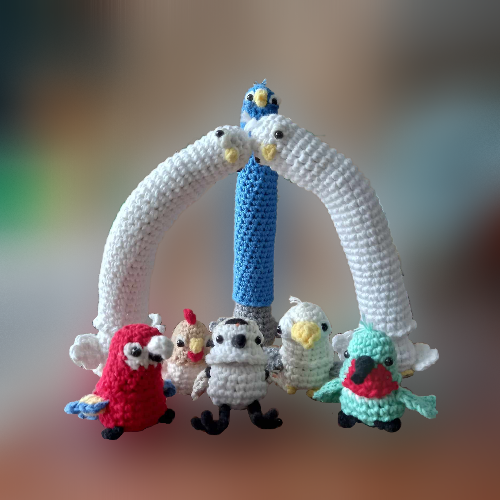
Pigeon Birb Amigurumi

Medium

Louie's Loops
Designed by

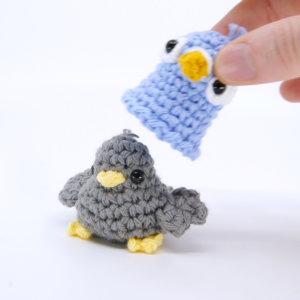
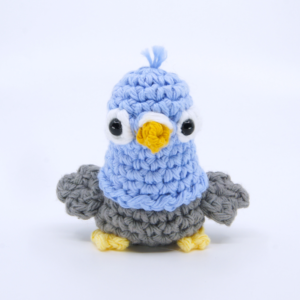
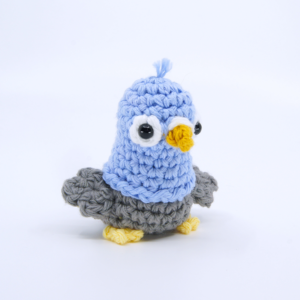
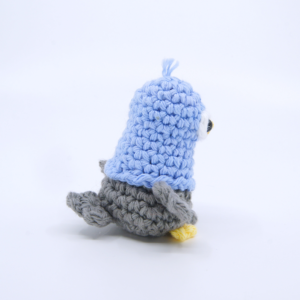

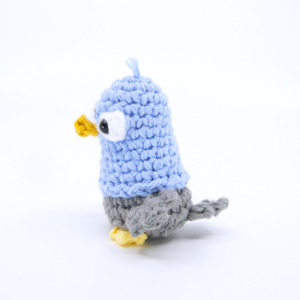


What you'll create


What you'll learn
What you'll need
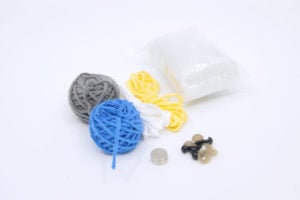
Cotton Yarn
Weight

Colors

Crochet Hook
G6 / 4.00 mm

Safety Bead (x4)
6 mm

Stuffing

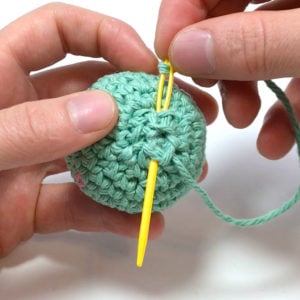
Darning Needle
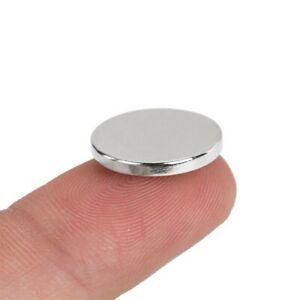
Small Magnet
Abbreviations used
ch
Chain Stitch
st
Stitch
slst
Slip Stitch
sc
Single Crochet
inc
Increase
dec
Decrease (Sharp)
invdec
Invisible Decrease
FLO/BLO
Front / Back Loops Only
dc
Double Crochet
hdc
Half-Double Crochet
mbo
Mini Bobble Stitch
sbo
Spiky Bobble Stitch
Useful information
Gauge
5 Rnds and 4 sts per 1”
Finished piece is about 3” tall
Worked
In the Round (Body, Head)
Flat (Wings, Tail, Feet)
Useful Tutorials
Pattern steps
01 Wings/Tail
[All in Grey]
Magic loop (leaving a long end)
Row 1: Working into the magic loop, sc 1, hdc1, dc 1, ch 1, slst 1, ch 2, dc 1, ch 1, slst 1, ch 2, dc 1, hdc 1, sc 1 (7 not including chs and slsts)
Other patterns to try
Community posts
Community Showcase
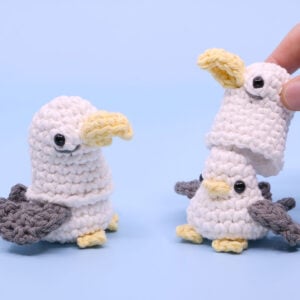
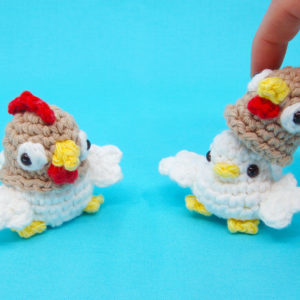
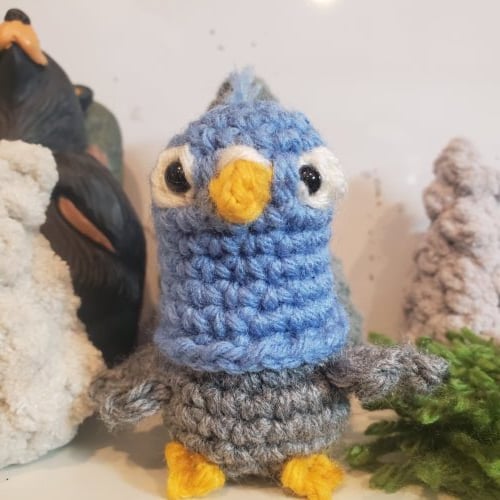
Pigeon Birb
Submitted by kirsty_holcombe
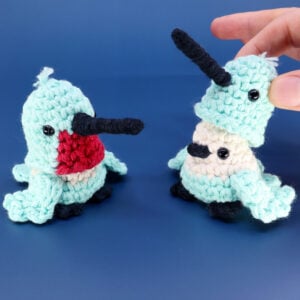
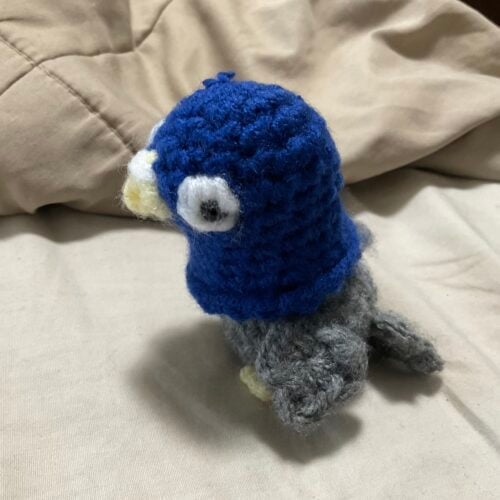
Lil petey
Submitted by rita-medvedskiy
Pigeon Birb
Submitted by Nicole Maxwell
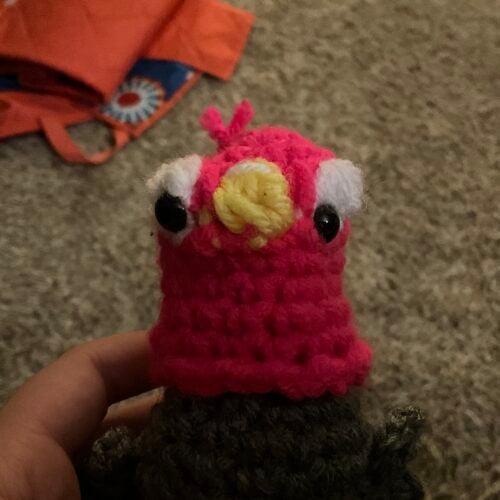
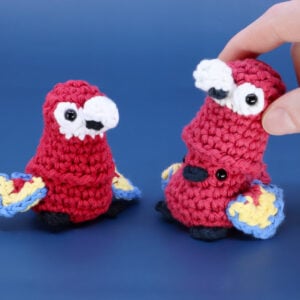
Pomegranate the pigeon birb
Submitted by ranyah_wittstruck
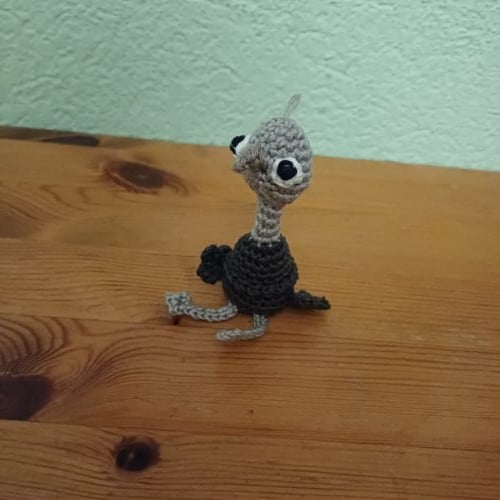
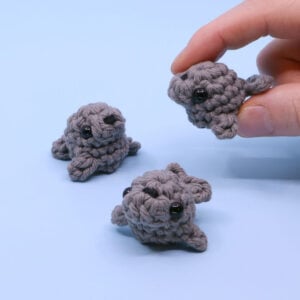
Ostrich
Submitted by lotta_daniel
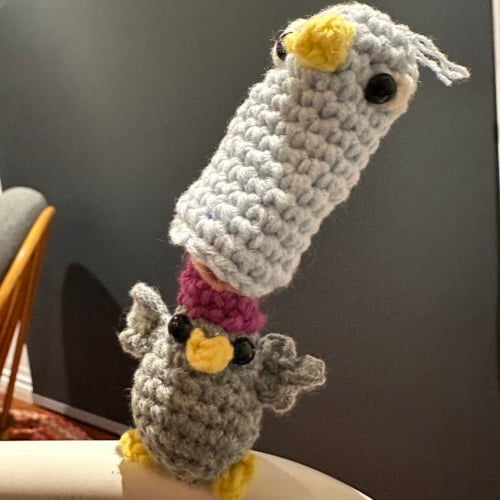
Birb Fam
Submitted by alden_go


Can I sell these?? I will give credit of couse!
I agree with this question. Would be great to get an answer.
Louie i really like this pattern!!! i made it 4 my grandma and she really liked it!!! i made the looooong one and the party hat lol SO cute you should make ostrich 🙂
Did you add multiple magnets in the body? The materials say 1-3, but the instructions imply one. Does adding multiple make it stronger? Thank you for these awesome tutorials, I already made the chicken bird and a bunch of your other patterns. One of my favorites was Florence the flamingo!
Yes! I like to add 3 mini magnets, but it depends on how strong of magnets you have. Make sure to test it out before sewing closed!
Can you please make a video showing how to make regular eyes? it’s not very clear from the video how to make them.
Under abbreviations, you may want to add mbo for mini bobble stitch. This was a fun one to do!
Great input! Thank you! Added!
sooo cute! my yarn will be coming soon, and it has all the colors needed 4 this pattern! will definitely make this soon! thanks sooo much, louie!
Your Welcome!!
Your time code for adding the face on the Birb is incorrect. I think ?
Great catch! Fixed it. Thank you!!