
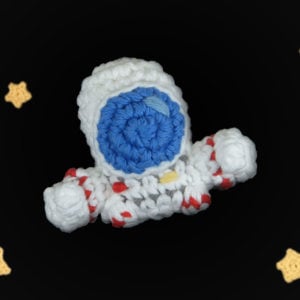
Christmas Ornament Amigurumi

Beginner

Louie's Loops
Designed by


What you'll create


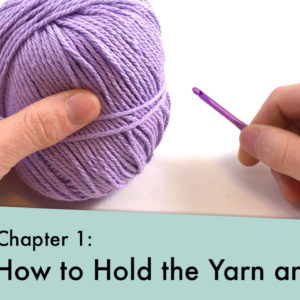
Video tutorials
Main Video
Lefty
What you'll learn
01 Ornament
02 Adding a Face
What you'll need

Cotton Yarn
Weight

Colors

Crochet Hook
G6 / 4.00 mm

Safety Bead (x2)
6 mm

Stuffing

Darning Needle
Abbreviations used
ch
Chain Stitch
st
Stitch
slst
Slip Stitch
sc
Single Crochet
inc
Increase
invdec
Invisible Decrease
FLO/BLO
Front / Back Loops Only
yo
Yarn Over
Useful information
Gauge
5 Rnds and 4 sts per 1”
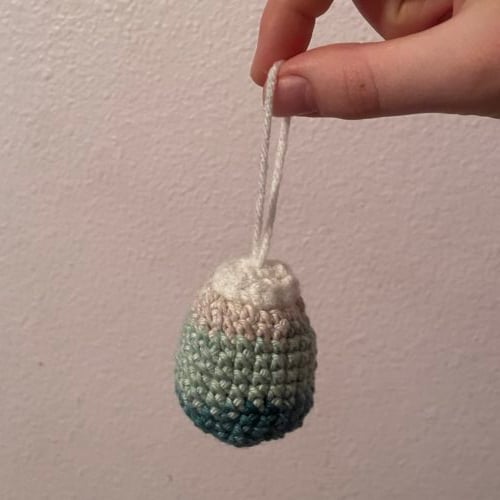
Finished Size
about 3 inches tall
Worked
In the Round (without turning)
Useful Tutorials


Pattern steps

01
Ornament
07:34
[Starting in Top Color] Magic Loop leaving a long tail end
Rnd 1: sc 6 into the magic loop (6)
In Rnd 2, work around the tail end for the first 6 sts. Then pull the tail end loop through the center, but not all the way. Create a loop as long as you'd like the hanger to be. Work around the rest of the tail end that is left on the inside for the remaining sts in Rnd 2.
Rnd 2: inc in each (12)
Rnd 3: slst 1, ch 1, Working in the BLO, sc in each, slst in first sc made to connect (12)
Advanced Technique
To make a slightly sharper edge try this advanced technique! Instead of just working in the BLO for Rnd 3, try working in the BLO and the horizontal bar from the stitch under as well. This should give your edge a bit more stability and a sharper edge, but is not necessary.


Cut the yarn and pull through. Pull a loop of Main Color in the FLO of the same st as the last slst. Start Rnd 4 in the next FLO and finish in the FLO of the last slst made in Top Color. Work around your tail ends to hide them in.
Rnd 4: working in the FLO, [sc 1, inc 1] 6 times (18)
Rnd 5: [sc 5, inc 1] 3 times (21)
Rnd 6: [sc 6, inc 1] 3 times (24)
Rnds 7 - 10: sc in each (24 x 4)
Rnd 11: [sc 6, invdec 1] 3 times (21)
Rnd 12: [sc 5, invdec 1] 3 times (18)
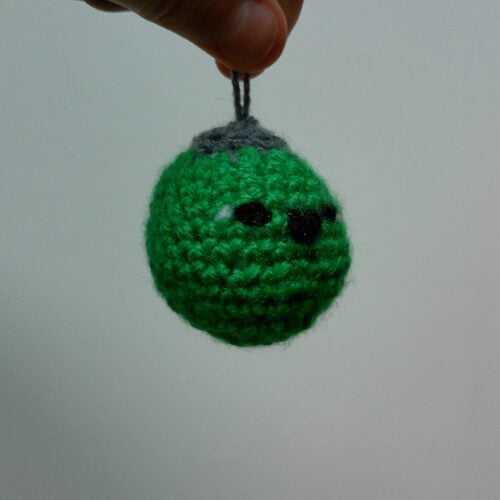
Add a face. I like putting eyes in Rnd 8, sts 9 and 13, with a smile between (see next section).
Rnd 13: [sc 1, invdec 1] 6 times (12)
Rnd 14: invdec in each (6)
Stuff fully and sew closed.
02
Adding a Face
46:30
To add a face I like to start with the mouth, then add eyes using safety eyes on either end of the edges of the mouth 1 stitch away. I personally like adding my face centered on the ornament in Rnd 8.
Simple Smile
1. Using Black thread insert the needle from the inside of the body and exiting where you want a smile to begin.
2. Pull to the opposite corner of where you want the smile to end, and insert your needle back into the body. This will create a straight line.
3. Insert your needle to exit the body where you want the bottom of the smile to be. Go around the straight line and insert back into the body through the same stitch you last exited.
4. Double knot the two ends on the inside of the body and cut close.

1

2

3

4
Other patterns to try


Community posts
Community Showcase
Christmas tree ornament
Submitted by aliasdannyboy
Submitted by coreyv

Christmas ornament
Submitted by tangerine_allen


Elephant