
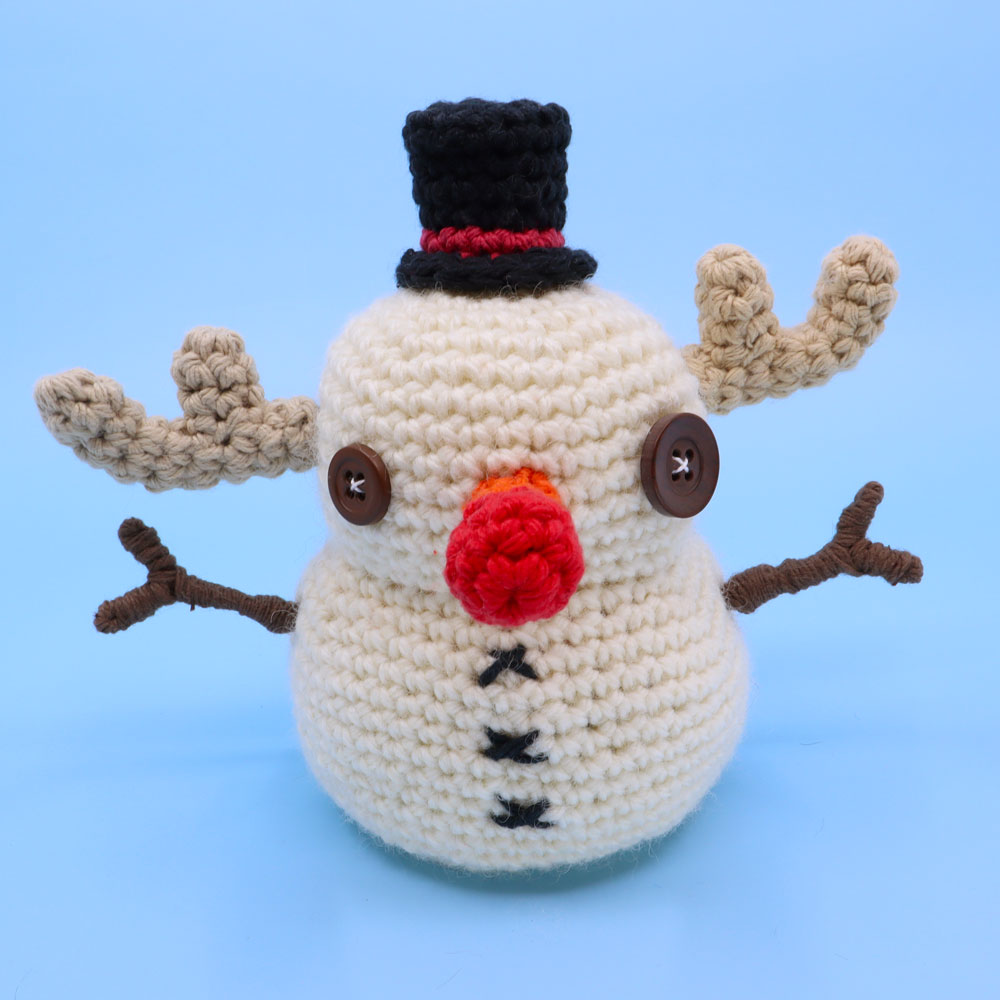
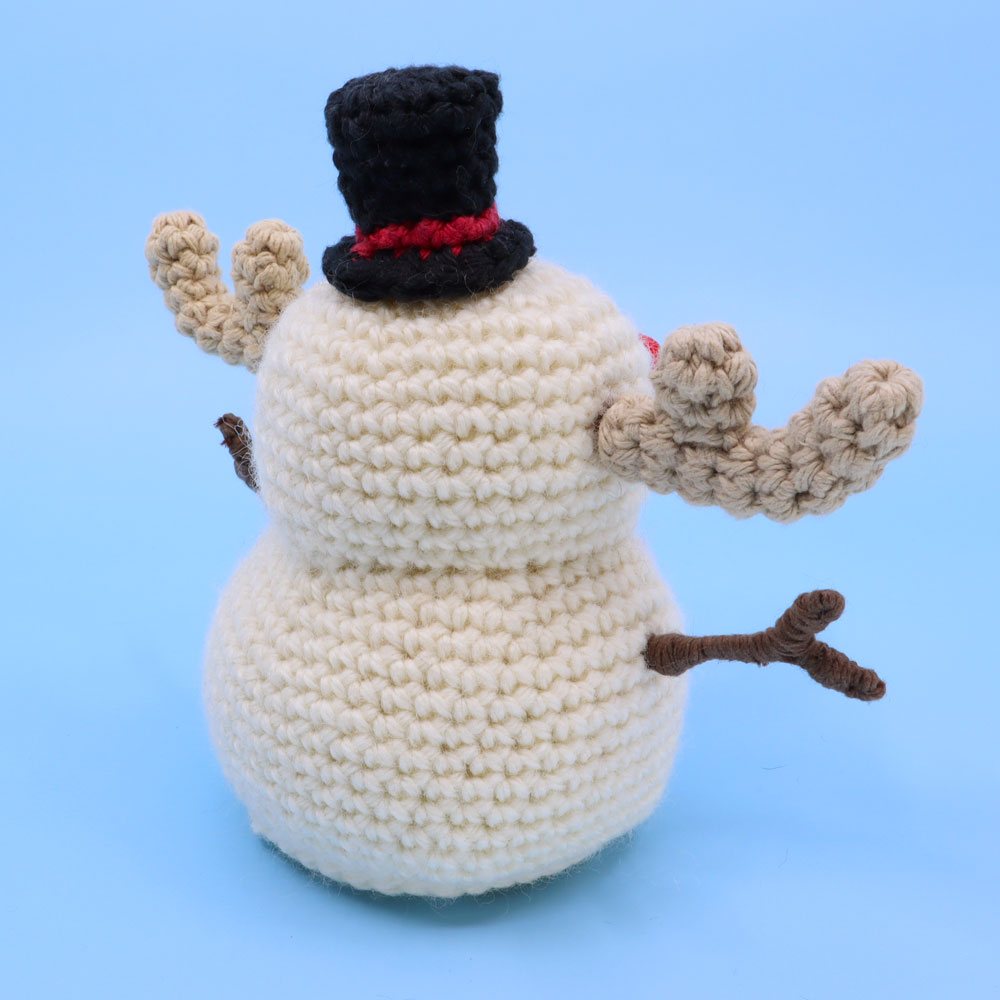
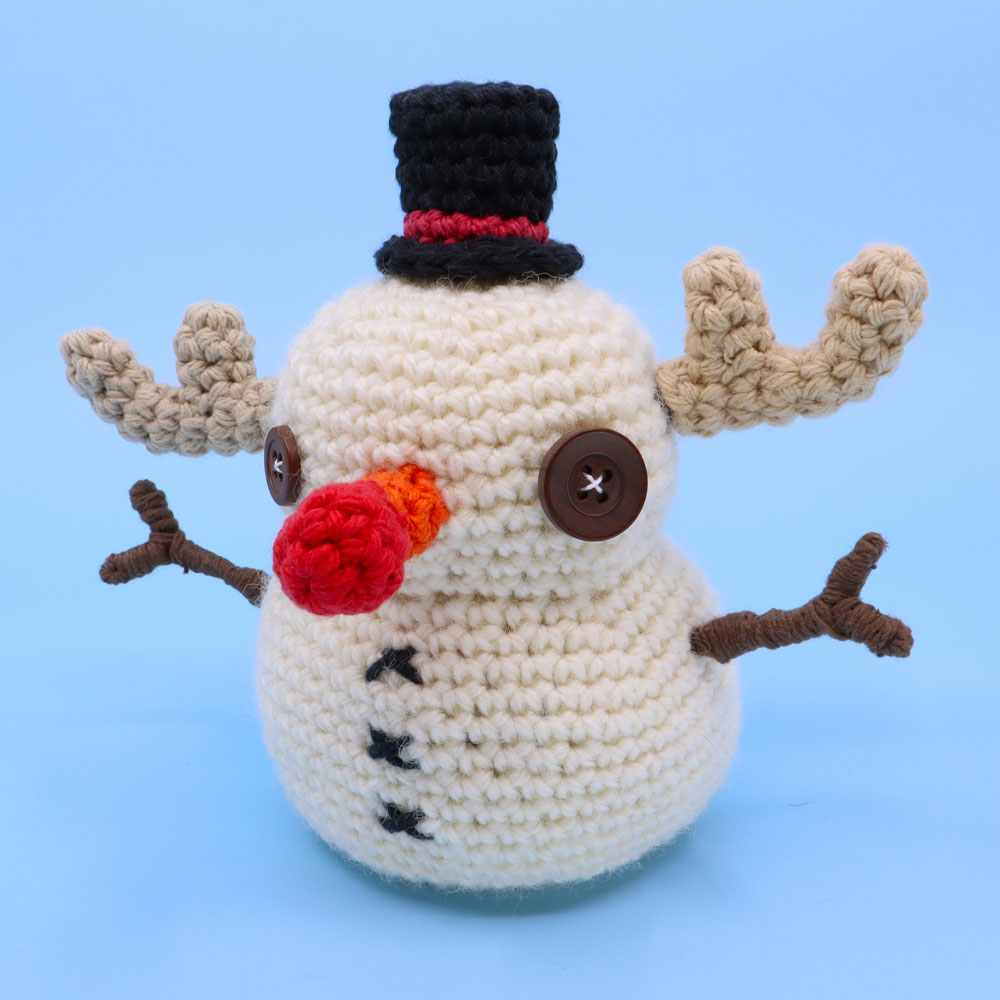
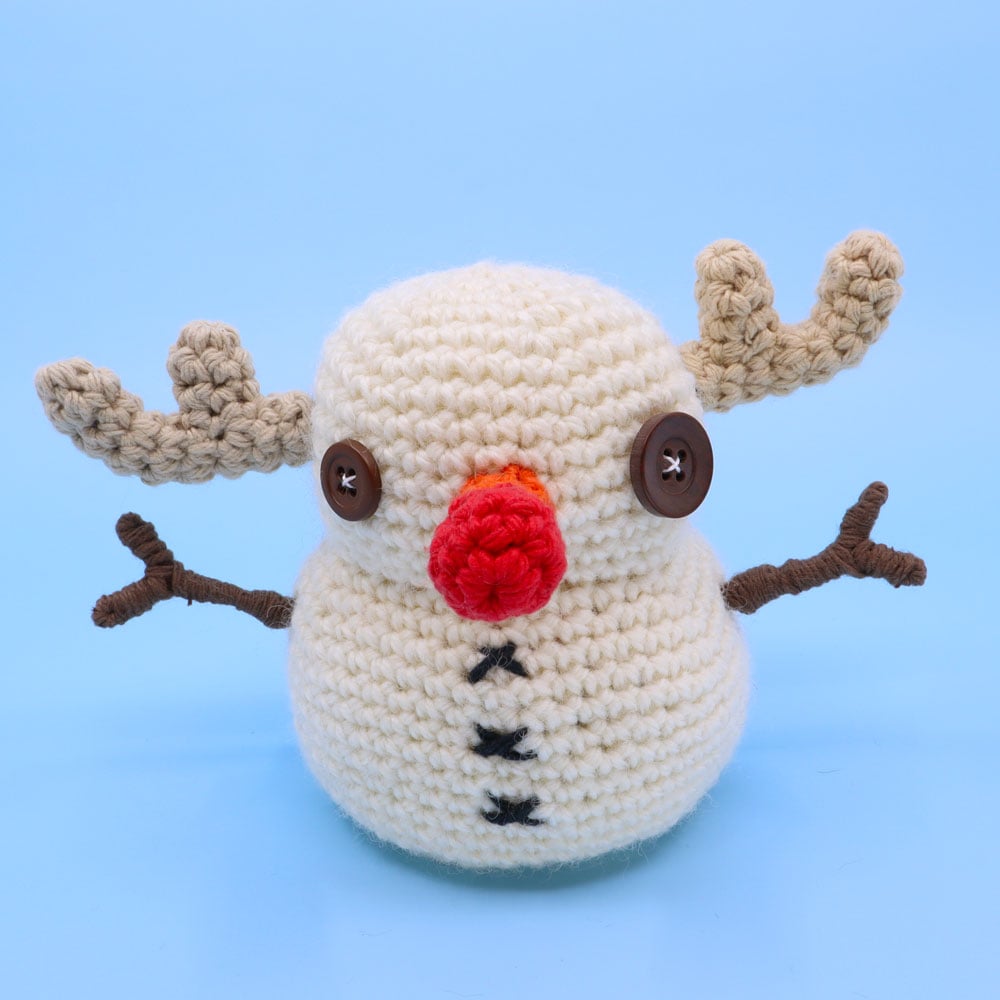
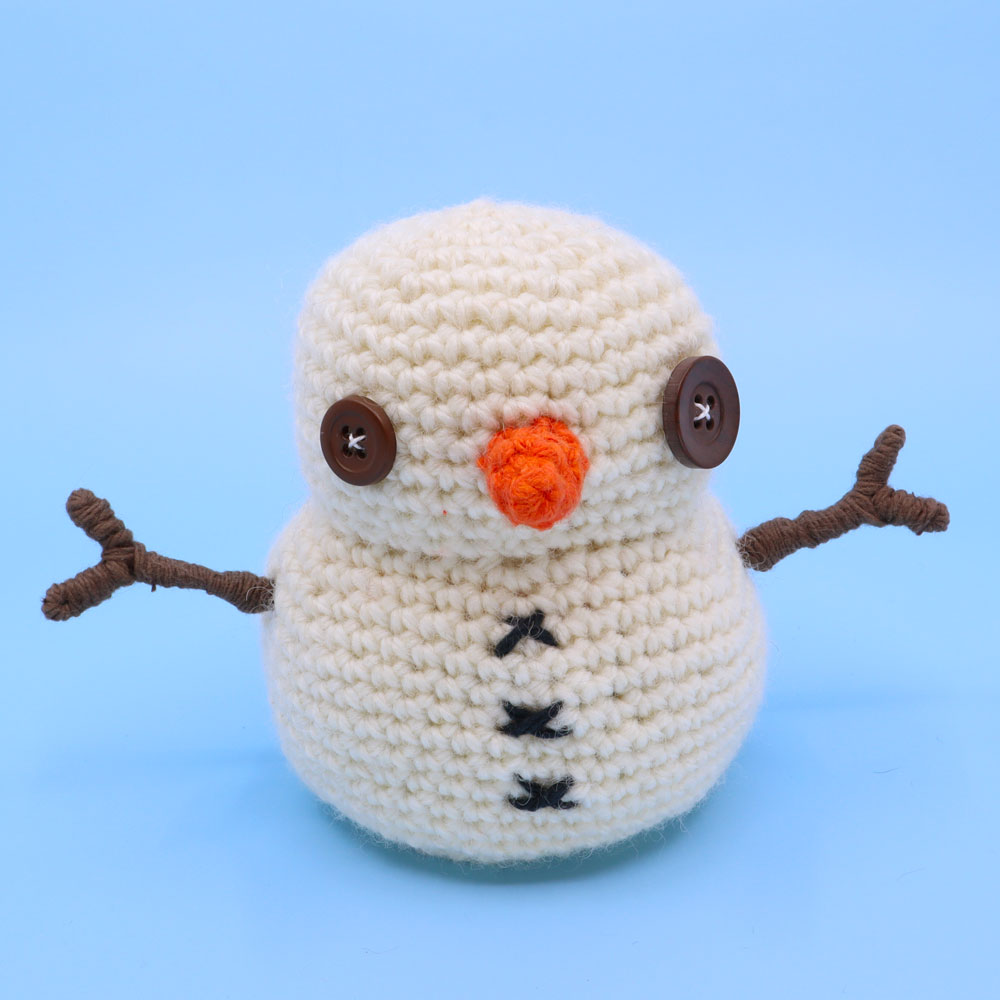
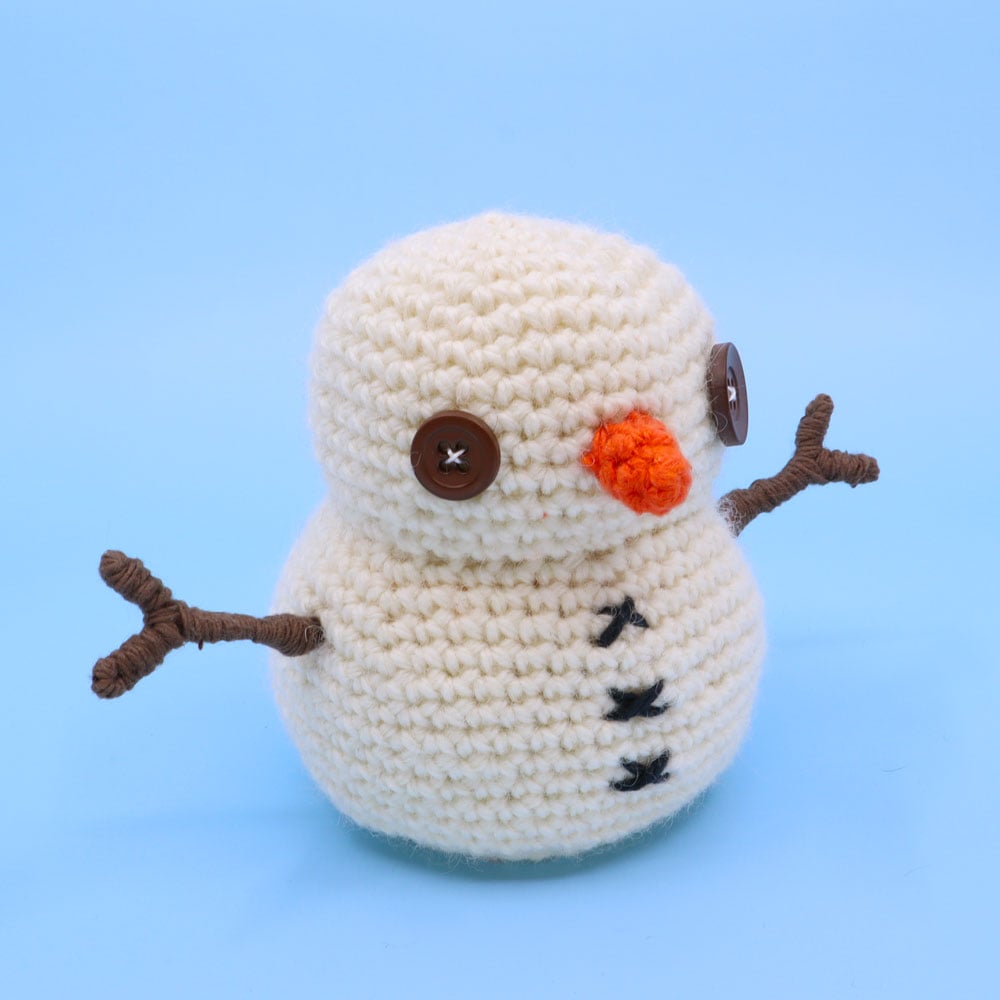
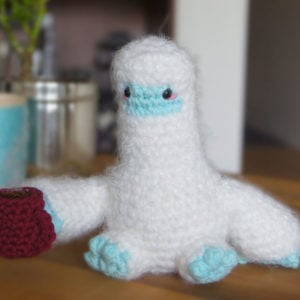
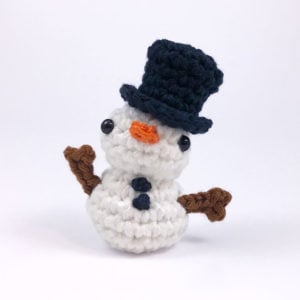
Wilburrr the Adjustable Snowman Amigurumi

Medium

Louie's Loops
Designed by


What you'll create


What you'll learn
What you'll need

Cotton Yarn
Weight

Colors

Crochet Hook
G6 / 4.00 mm

Buttons (.5"-1") (x2)
Pipe Cleaners

Stuffing

Darning Needle
Abbreviations used
ch
Chain Stitch
st
Stitch
slst
Slip Stitch
sc
Single Crochet
inc
Increase
dec
Decrease (Sharp)
invdec
Invisible Decrease
FLO/BLO
Front / Back Loops Only
dc
Double Crochet
hdc
Half-Double Crochet
Useful information
Gauge
5 Rnds and 4 sts per 1”
Size
Finished piece is about 4” tall
Worked
In the Round (unless otherwise stated)
Useful Tutorials
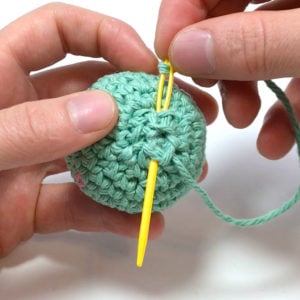
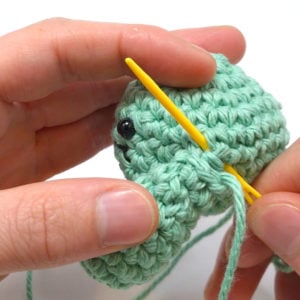
Pattern steps
01 Body
Important Info
The base body pattern for this snowman is designed to be made in whatever size you want, from tiny snowminis, to giant snowmonsters, with minimal sewing by making the head and body attached.
Follow along using these notes to help understand when and where to do increases and decreases, and use the pattern below either directly to make Wilburr, or as a guideline to design your own snowman.
[All in White]
Magic loop
Other patterns to try


Community posts
Community Showcase
Crocheted this pattern? Be the first to show off your project by submitting a photo!


For round 14 you have it listed as [sc 4, inc 1] 6 times (36) instead it should be [sc 4, invdec 1] 6 times (36), so that you know.
with the end count for the round being 30 not 36