Mini Bow

Beginner

Louie's Loops
Designed by


What you'll create

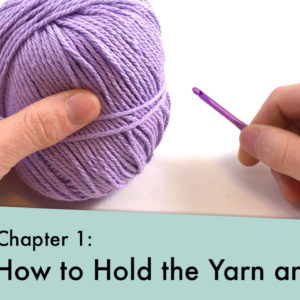
Video tutorials
Main Video
What you'll learn
What you'll need

Cotton Yarn
Weight

Colors

Crochet Hook
G6 / 4.00 mm

Darning Needle
Abbreviations used
ch
Chain Stitch
st
Stitch
sc
Single Crochet
Useful information


Pattern steps

01
The Base
00:32
First we’ll be making a simple flat base.
To start, Chain 9

The ‘Steps’ for this project are called ‘Rows’. We’ll explain this in a future project, but just know for now that Row 1 = Step 1.
Row 1: Skip the first chain.Single crochet in each chain across. (8 times total)

Stop just before you pull through the last single crochet. We’ll be doing a new technique to hide in this tail and save us time in the end.
Instead of pulling through the last loop to finish this stitch, yarn over with the tail end and pull it all the way through.


Now put the crochet hook back into the two loops (you might need to tweak the loops over the hook with your nail for this).


Row 2: Turn and chain 1. Skip the chain, single crochet in each stitch across. (8 times total)

Be sure to work around that tail end.

You only need to go over it for a few single crochet stitches.

Row 3: Turn and chain 1. Skip the chain, single crochet in each stitch across. (8 times total)


Row 4: Turn and chain 1. Skip the chain, single crochet in each stitch across. (8 times total)

Cut the yarn, chain 1, and pull all the way through the last loop to make a knot.


Thread the tail on a needle and hide the end into the stitches from Row 4 (3 stitches should do).


Finish the base by cutting the tails close to the stitches to fully hide them in.


02
The Center
4:12
Now we’ll be making the center tie for the bow:
Make a slip knot, chain 3, cut the yarn and pull through.


03
Putting it Together
4:34
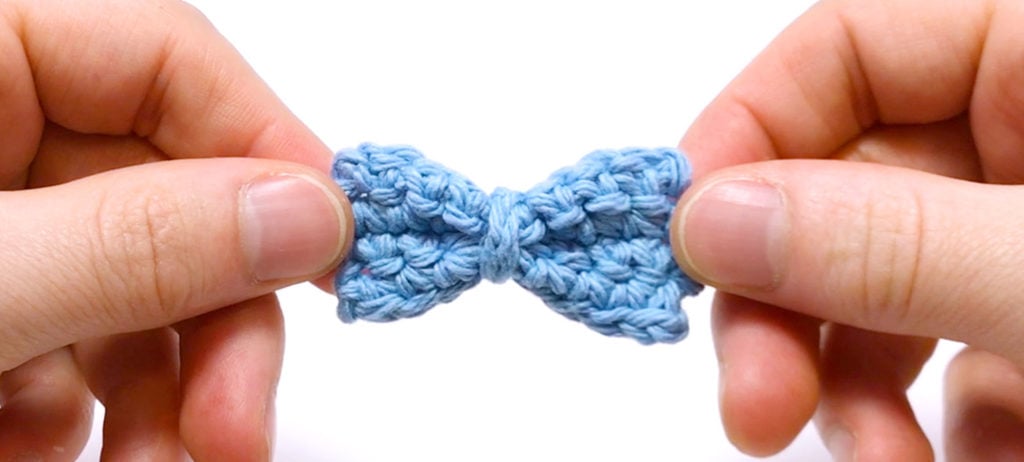
Finally to put it all together.
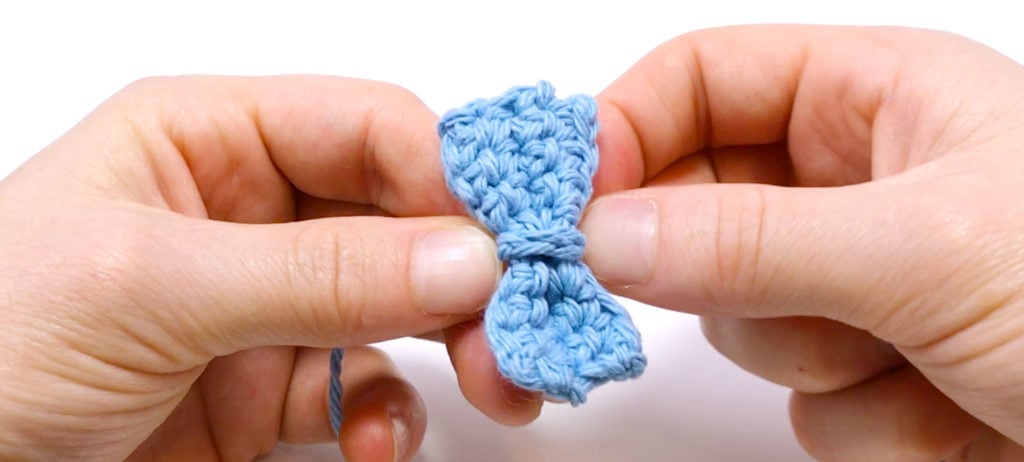
Pinch the main section together tightly to keep its shape.


Place the 3 chains you just made over the main section and double knot in the back with the two tail ends.

Cut the knot close. This is the back so it doesn’t matter if it isn’t hidden well.

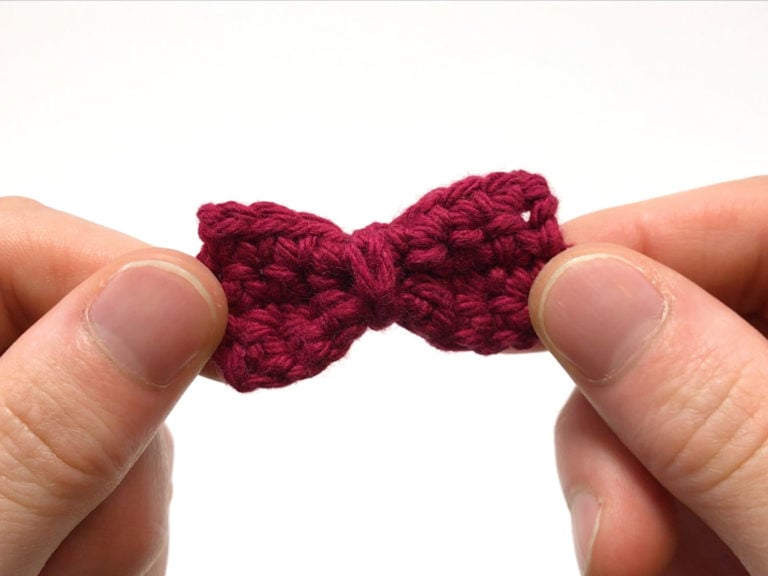
Back
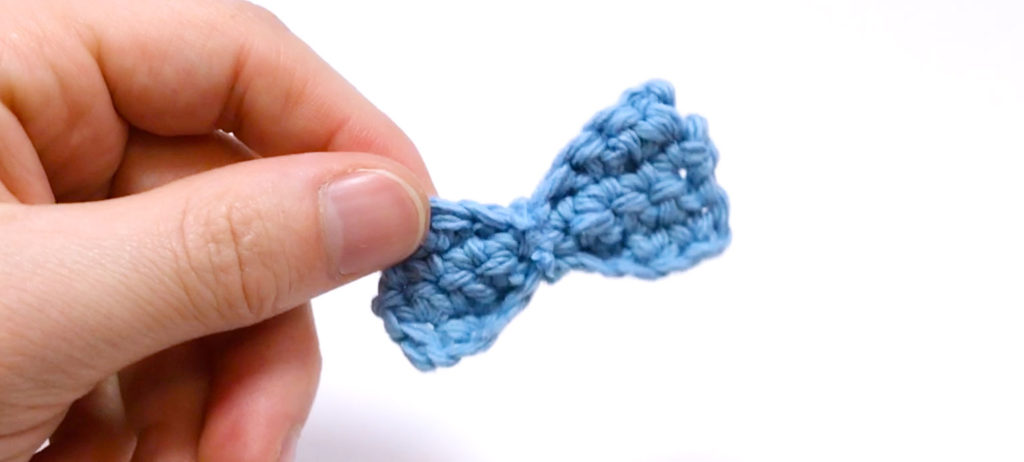
Now you have a miniature bow! Perfect for a last minute addition to someones hair or garment.
Finished!
Other patterns to try


Community posts
Community Showcase
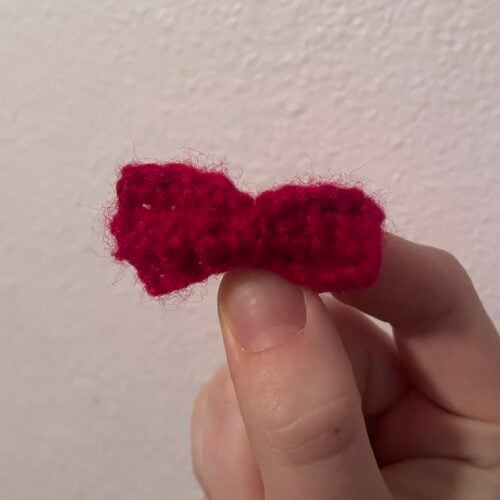
Red bow
Submitted by coreyv
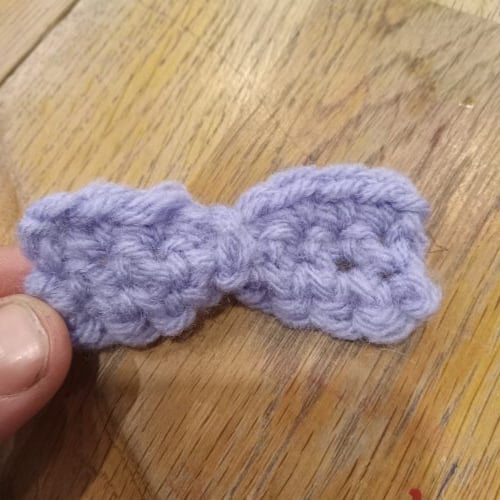
Little bow
Submitted by Craftaholic31


thank you very much!
so nice, small and so clear project!
you are amazing!
Done Using it for my Ferret
Done! so easy. It is for a amigurumi cactus 🙂
Yes, many uses for these, even to embellish a gist with, or attach to an elastic hair tie for a pop of color