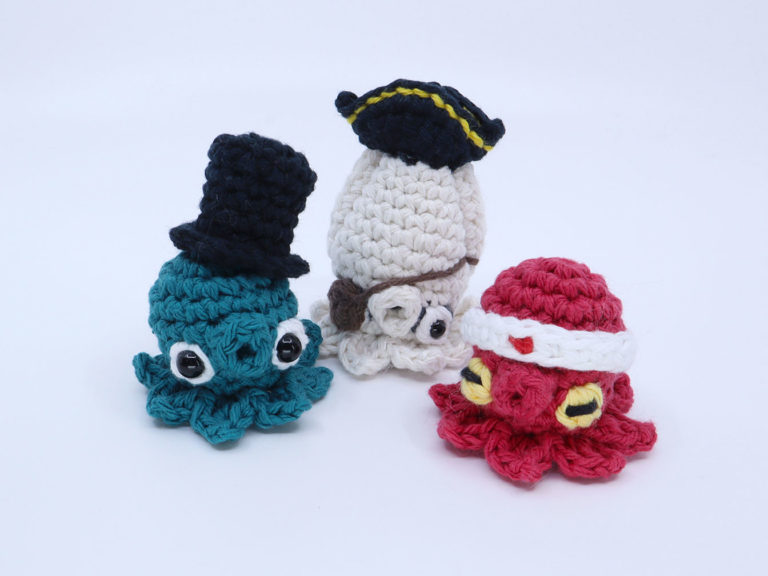
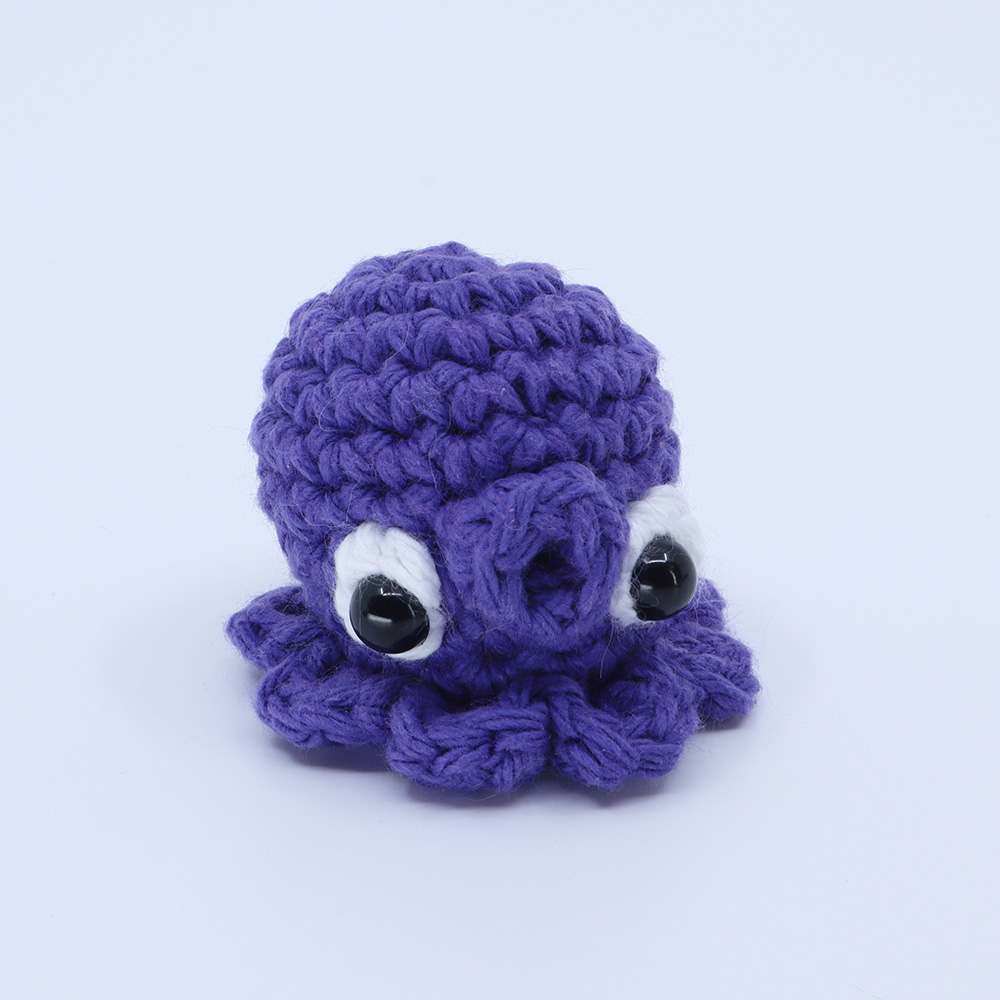
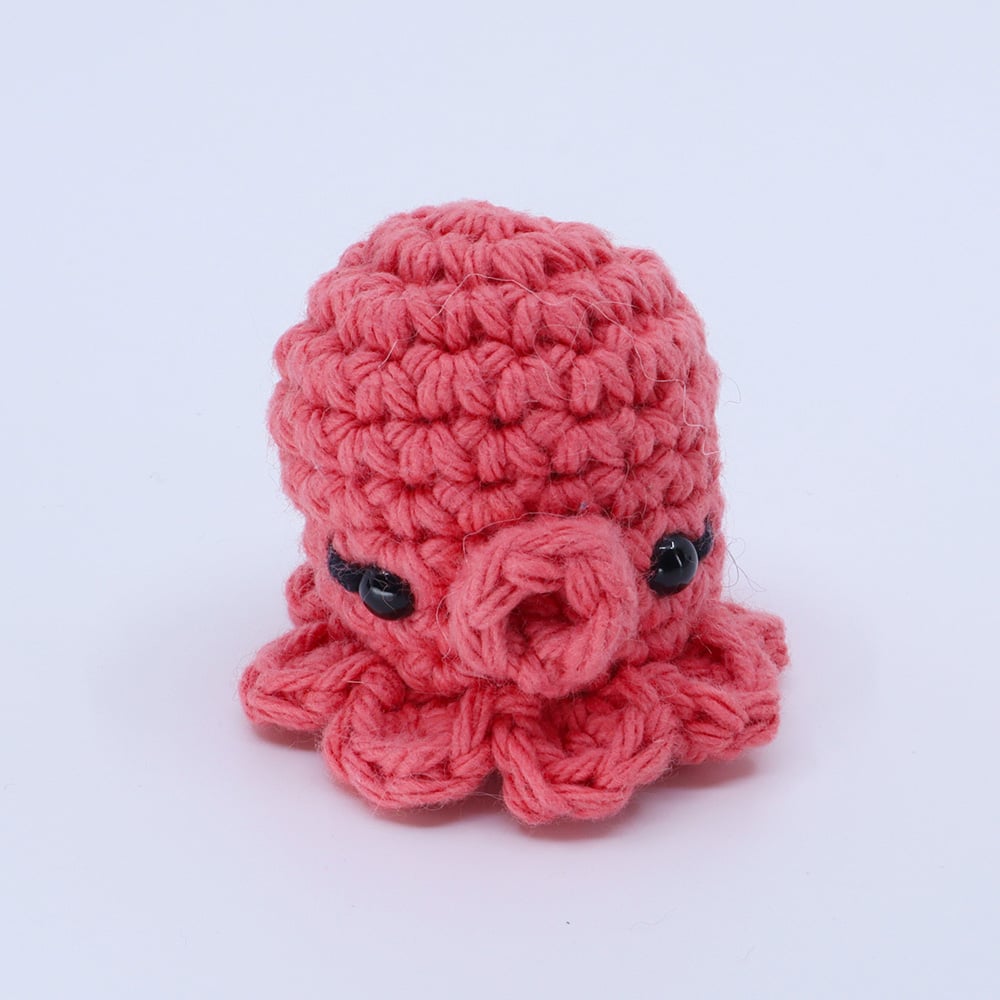
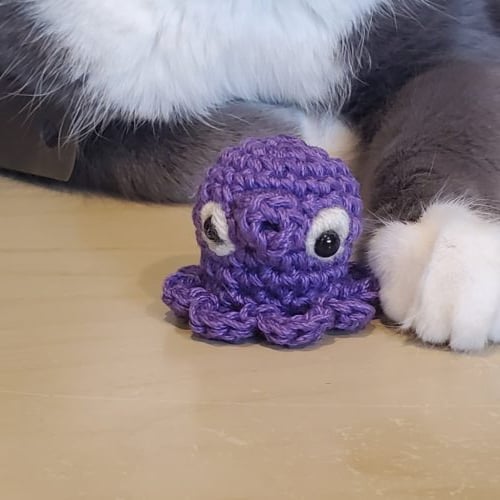
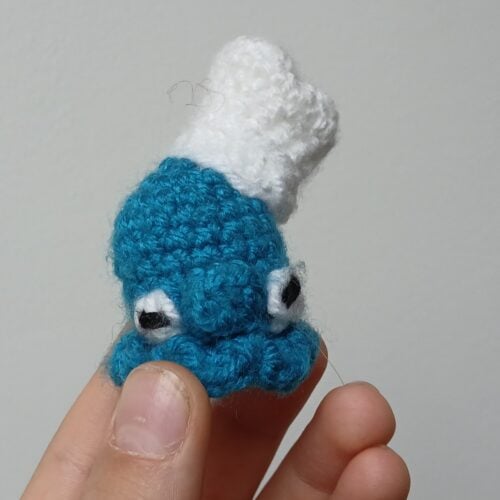
Octopus Amigurumi

Easy

Louie's Loops
Designed by


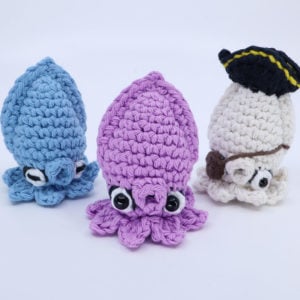
What you'll create


Video tutorials
Main Video
What you'll learn
What you'll need

Cotton Yarn
Weight

Colors

Crochet Hook
G6 / 4.00 mm

Safety Bead (x2)
6 mm

Stuffing

Darning Needle
Abbreviations used
ch
Chain Stitch
st
Stitch
slst
Slip Stitch
sc
Single Crochet
inc
Increase
dec
Decrease (Sharp)
invdec
Invisible Decrease
FLO/BLO
Front / Back Loops Only
dc
Double Crochet
mbo
Mini Bobble Stitch
mp
Mini Picot
Useful information
Gauge
5 Rnds and 4 sts per 1”
Finished piece is about 3” tall
Worked
In the Round unless otherwise stated
Useful Tutorials
Pattern steps

01
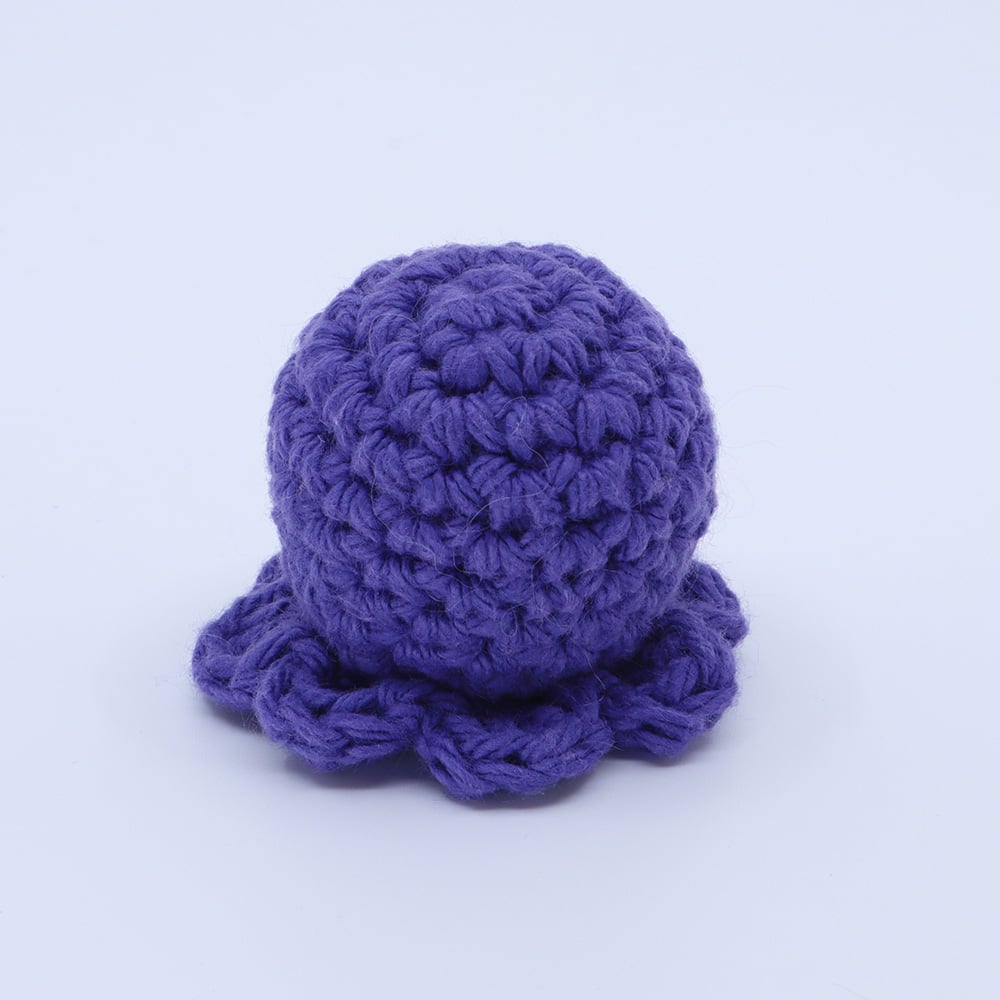
Body
5:00
[All in Main Color]
Magic loop
Rnd 1: sc 6 in the magic loop (6)
Rnd 2: inc in each st (12)
Rnd 3: [sc, inc] repeat 6 times (18)
Rnd 4: sc in each st (18)
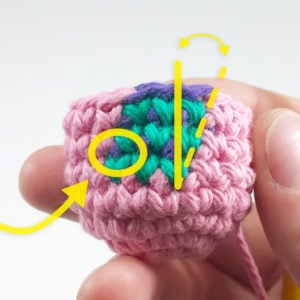
Your octopus' face as a whole can go anywhere between Rnds 5 – 8, but be sure it begins 2 stitches after the first invdec in Rnd 7 so that the face lines up perfectly centered.
Here are the exact placements of starting the face for each Rnd:
Rnds 5 – 6: start after stitch 10
Rnds 7 – 8: start after stitch 9
The face can be written like this:
eye, sc 2, mouth, sc 1, eye, continue in the Rnd.
For beginners your ‘eyes‘ can just be additional single crochet stitches (sc) and you can simply use safety eyes in the stitches. For a more advanced crocheters you can incorporate mini bobble stitches (mbo) in place of the sc stitch to make your eyes more 3D and cartoon-like. See video for detailed instructions.
Rnd 5: sc in each st (18)
Rnd 6: sc in each st (18)
Rnd 7: sc 7, invdec 1, sc 7, invdec 1 (16)
Rnd 8: sc in each st (16)
Rnd 9: sc in each st (16)
Continue to adding the tentacles and finishing your octopus.
02
Mouth
32:36
Let’s discuss how to do the mouth with no mini bobble stitch eyes included. This is suggested for beginners. For complete beginners I would suggest skipping the mouth and eyes all together.
Starting after the stitches in the Rnds listed on page 2…
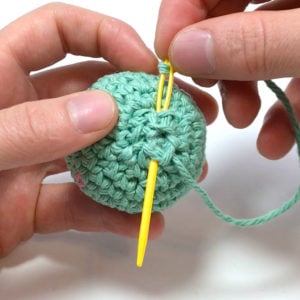
Step 1: working into the body sts, slst 6 times in a loop, going up the 3 Rnds and back down to the Rnd you began on to create a loop of slsts. (see diagram for slst placements below)
Step 2: slst into the first slst made in step 1, turn, ch 1, and sc into both loops of each slst made around including the one you first worked into in this step (6).
Step 3: Slst in first sc made in Step 2, ch 1, Continue into the next sc in the Rnd.


03
Eyes
57:49
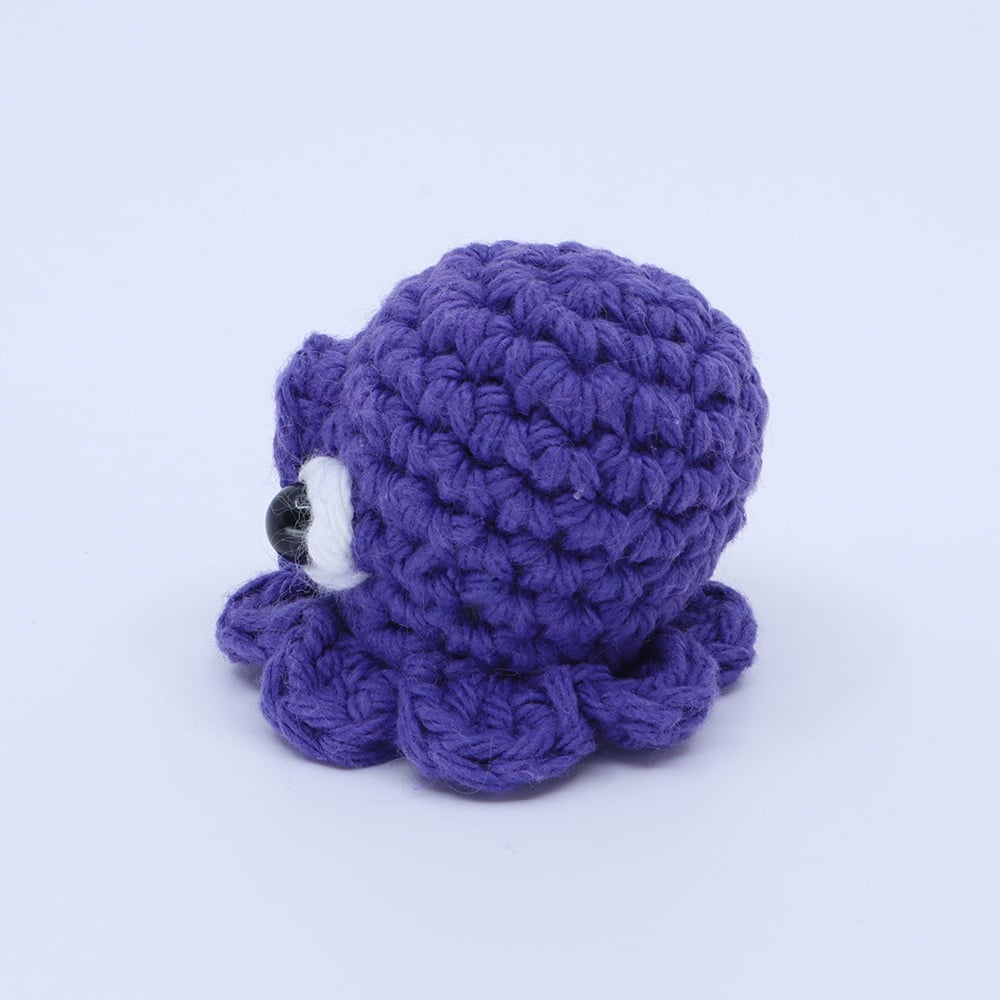
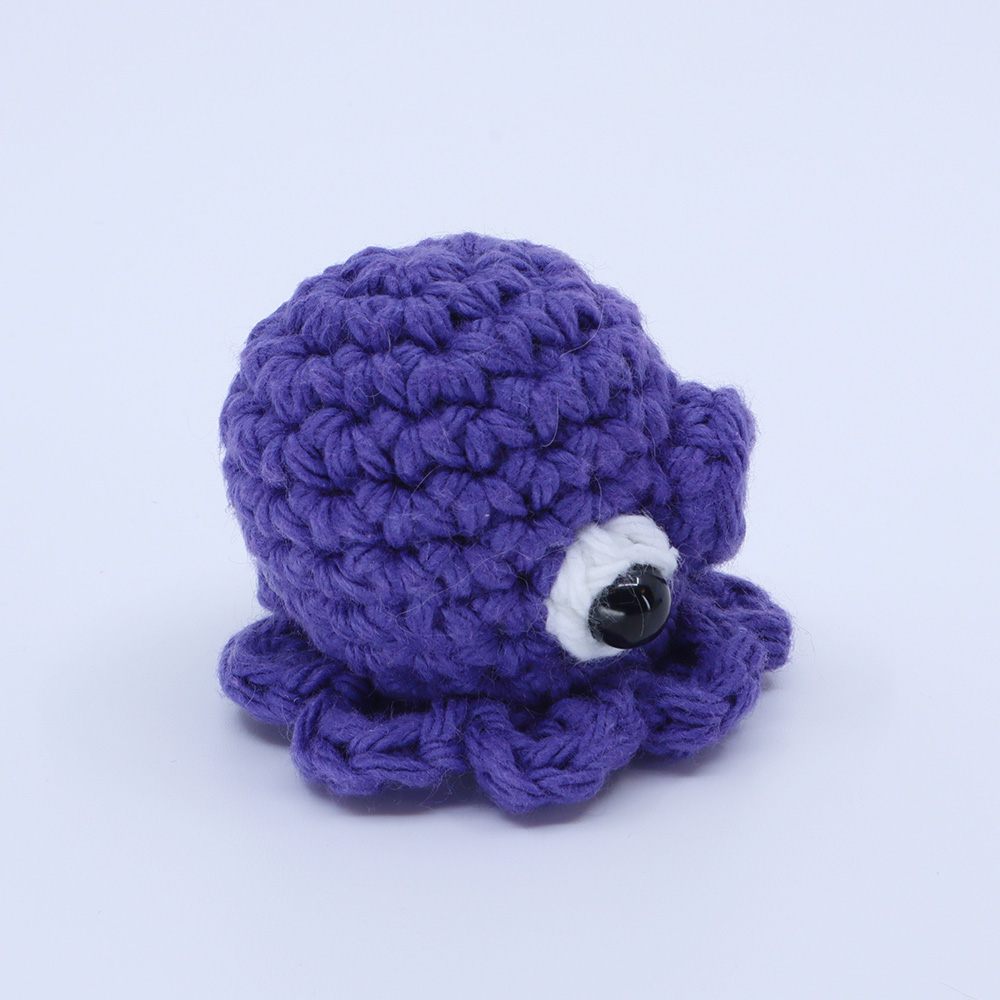
Safety eyes only
Bobble stitches and safety eyes
Bobble stitches and thread
You can simply use safety eyes if you’d like for an easy and effective option for the eyes. These can be placed in the stitches listed on part 1 on either side of the face.
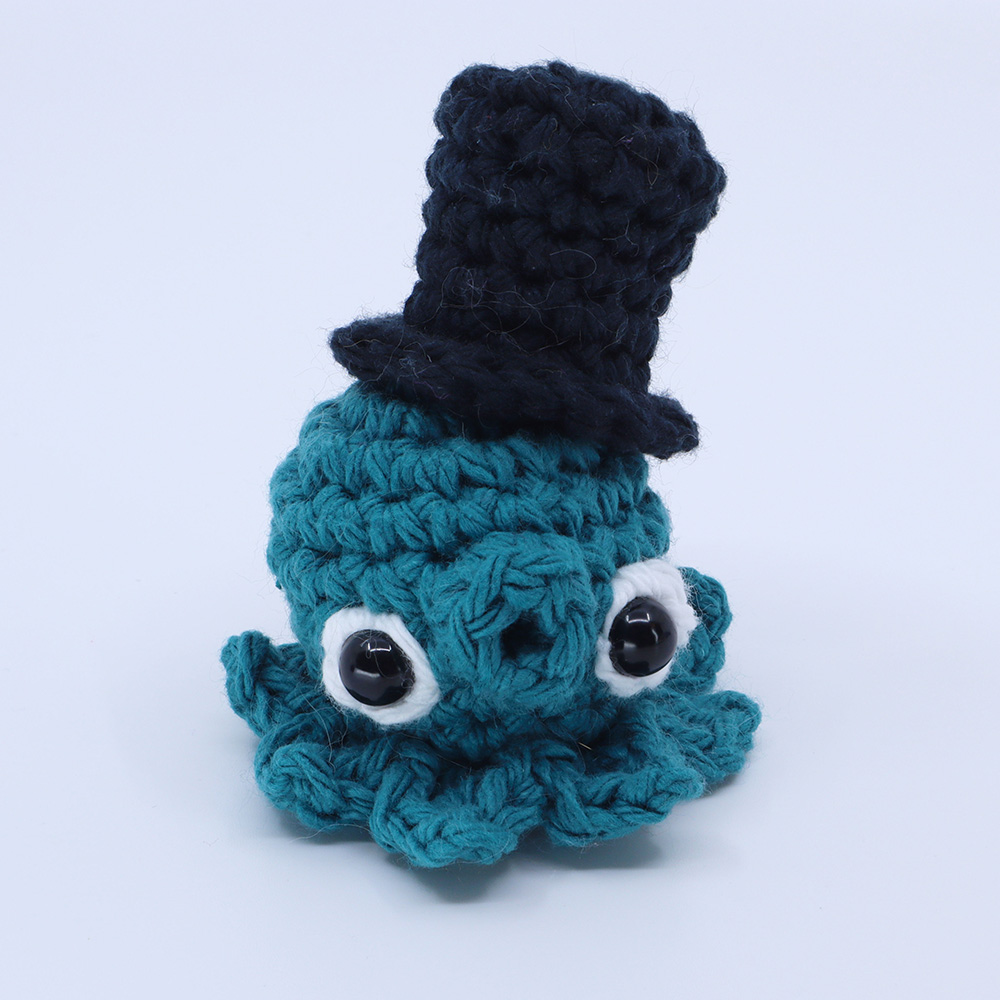
Alternatively, to add more cartoonish eyes to your piece consider using mini bobble stitches (mbo) in place. To do so you will need to first work around your new color for your eyes, White, before starting the face. Then using White make a mbo, then change back to the Main Color for the mouth and stitches between eyes, then return to White for your second mbo.

Using White, yarn over, insert into the stitch, yarn over again and pull through, yarn over a 3rd time and pull through 2 loops.

Repeat Step 1 two more times working into the same stitch so that there are 4 loops left on the hook.

Change back to your Main Color, yarn over and draw through all the loops on the hook to finish the stitch.
04
Tentacles and Finishing
48:38
Continuing from Rnd 9 of the body…
{} = worked into the same stitch
Rnd 10: working into the FLO, [slst 1, {ch 1, dc 3, slst 1}] repeat 8 times (48)
Pro Tip: For more pointed tentacles try adding a mini picot (mp) between the first 2 dc and the last dc of each tentacle. For example…
[slst 1, {ch 1, dc 2, mp, dc 1, slst 1}] repeat 8 times
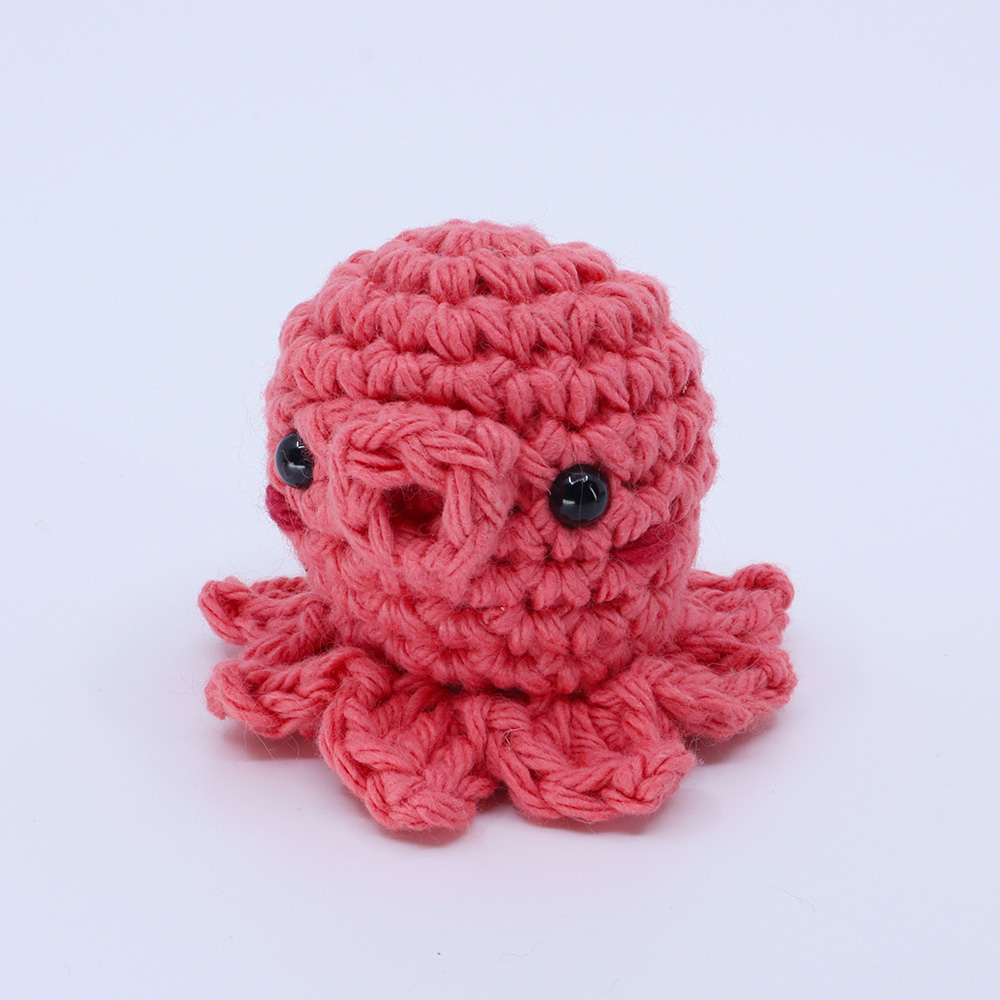
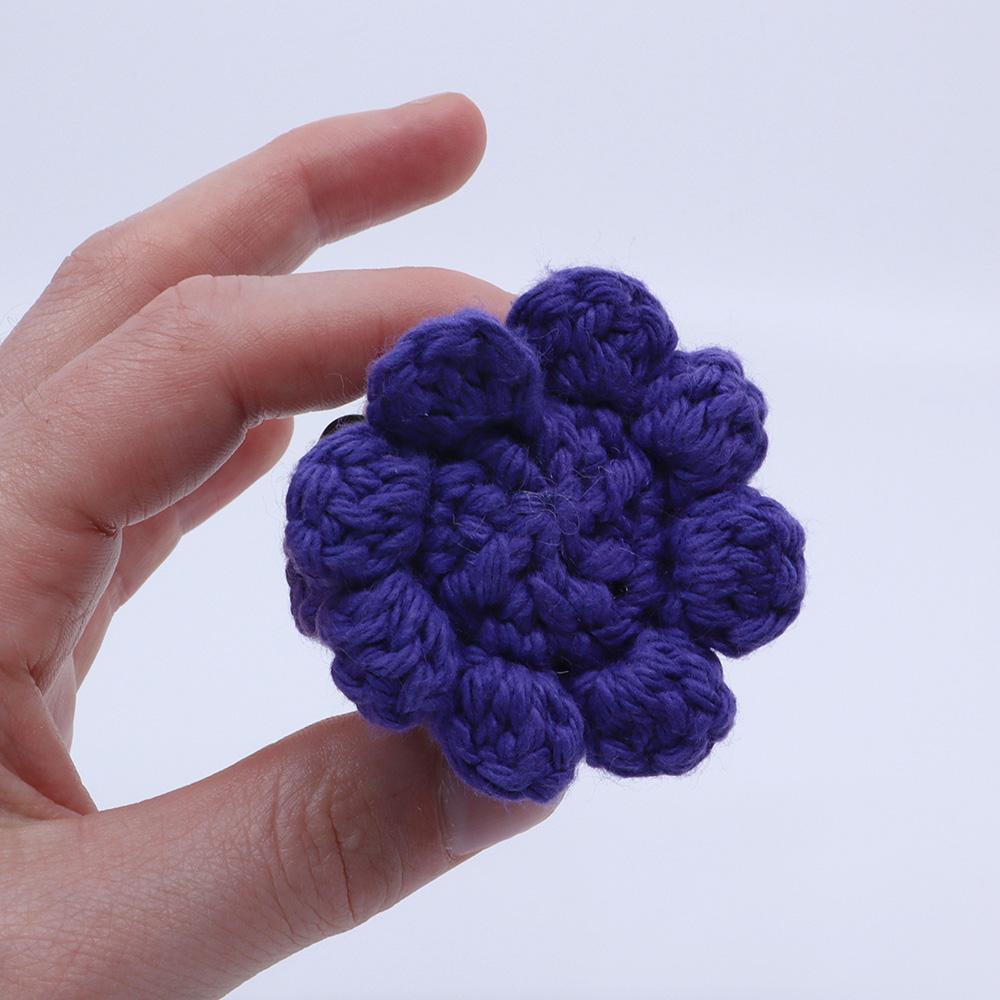
Rounded tentacles
Pointy tentacles
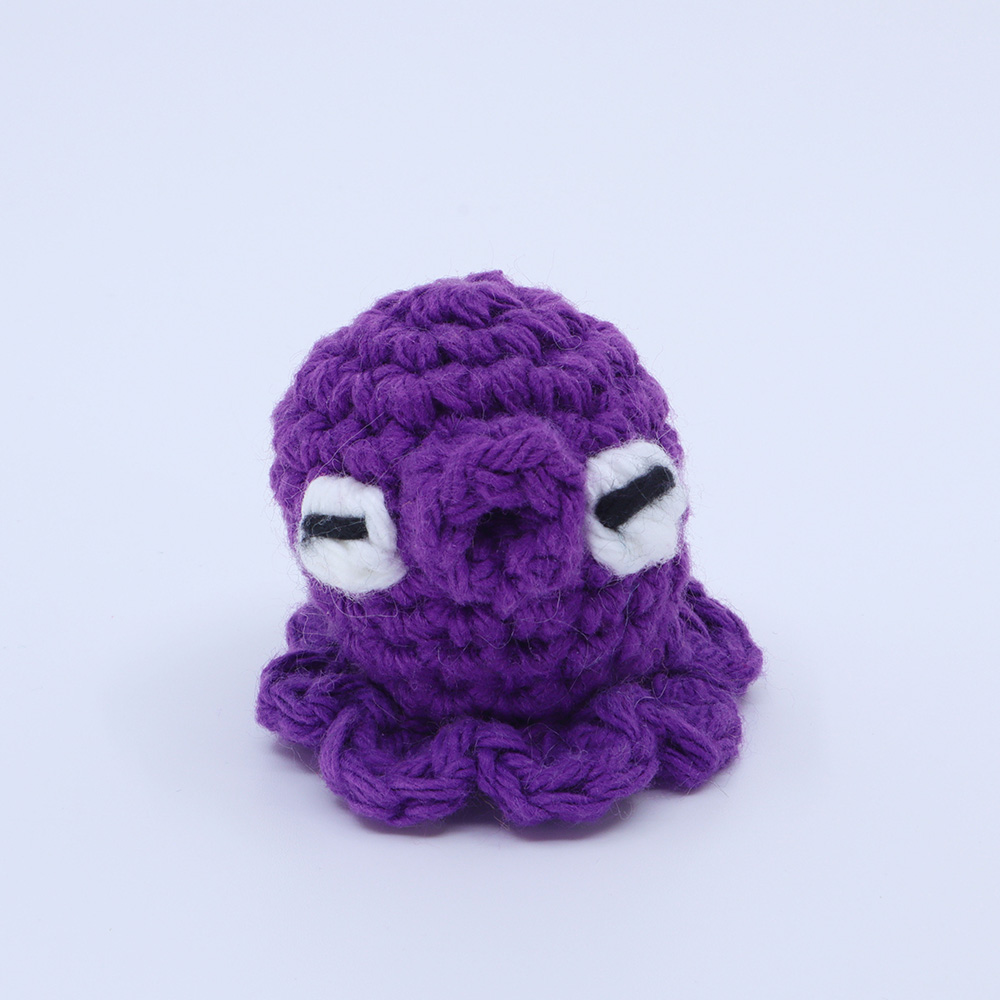
Add the eyes 2 sts away from the mouth on either side or into the mbo stitches. I also like to use just black lines for the eyes sometimes too!
Rnd 11: working into the BLO from Rnd 9, [sc 2, dec 1] repeat 4 times (12)
Rnd 12: dec in each st (6)
Cut the yarn and pull through, stuff fully, and sew closed.
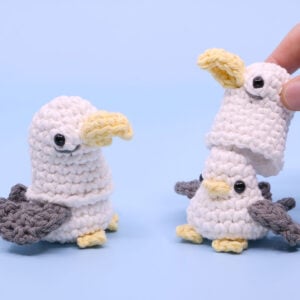
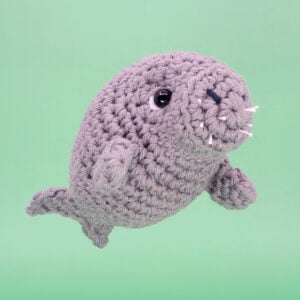
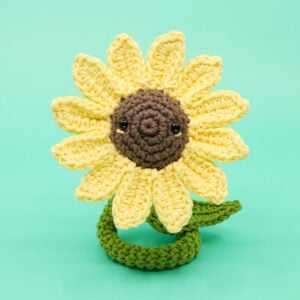
Other patterns to try


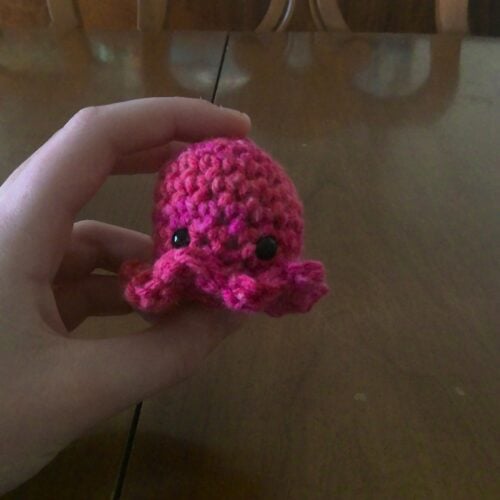
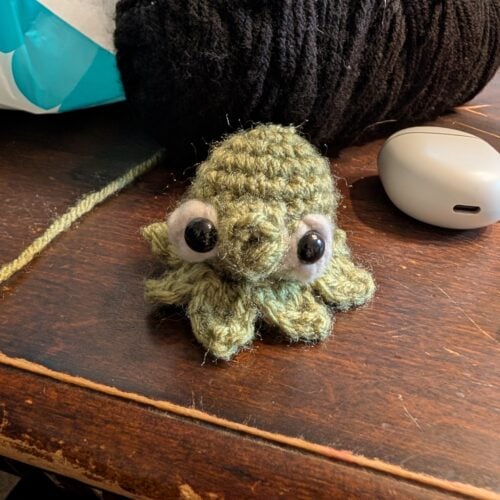
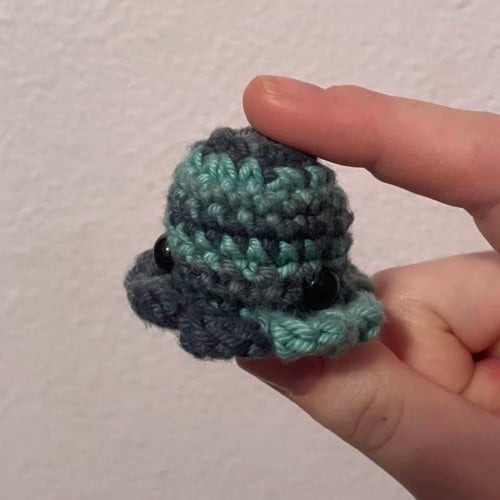
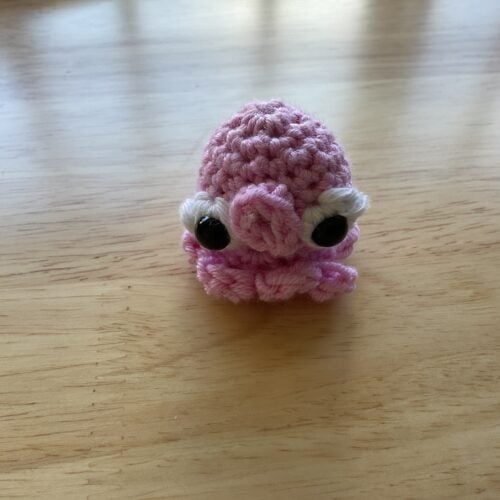
Community posts
Community Showcase
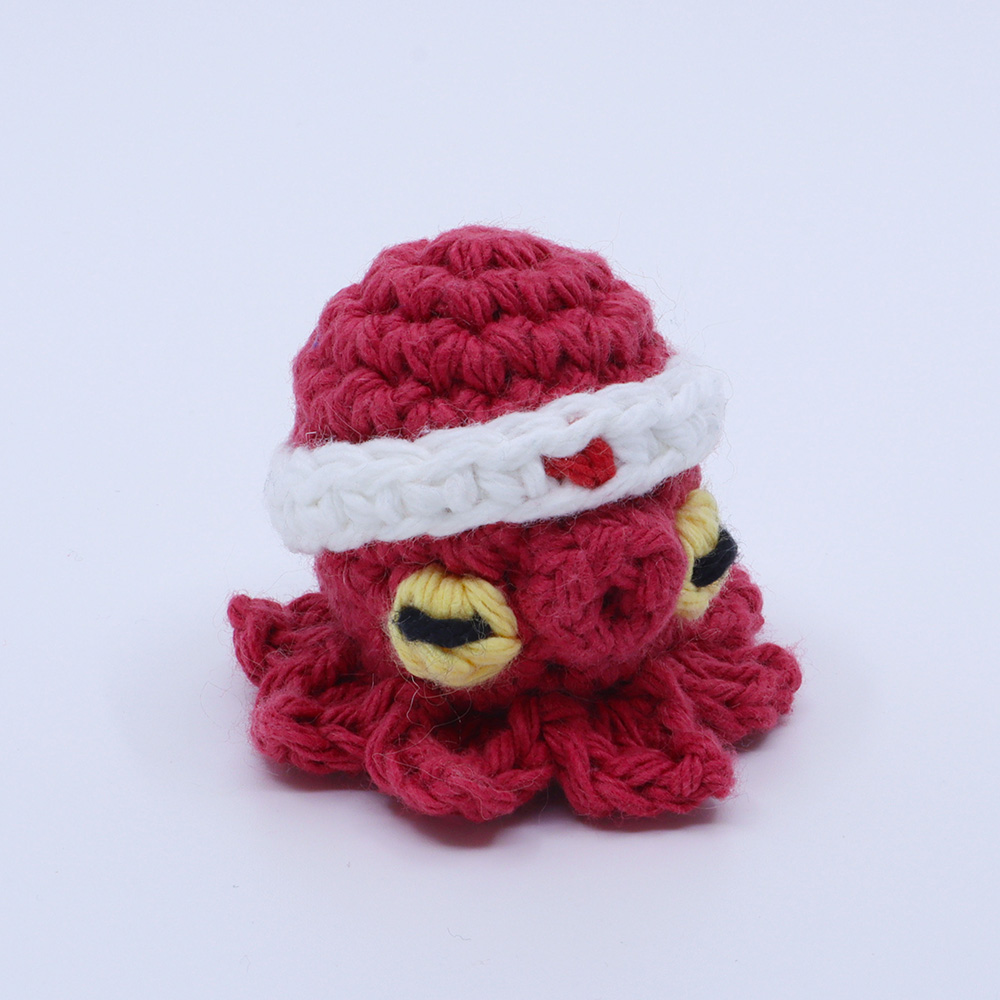
his name shall be Bubble the 4th
Submitted by thegoodstuff
Submitted by rita-medvedskiy
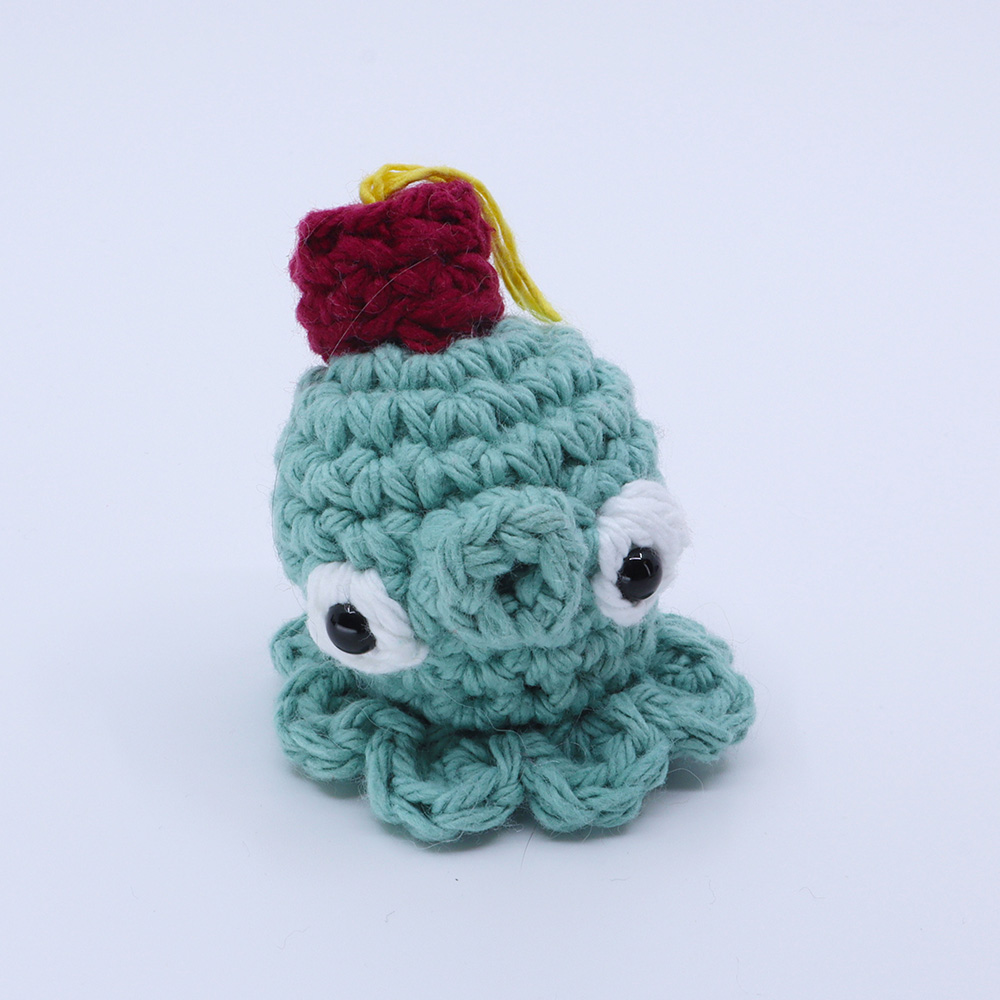
funky lil octo
Submitted by christmas0310
Lil dude
Submitted by coreyv
Octopus With Weird Mouth
Submitted by kobkob
I am Sushi, I didn't mean it...
Submitted by aliasdannyboy


Hey Louie, did you ever end up doing the head band tutorial for the octopus? I see a lot of comments asking for it, but no video. If there isn’t one yet could you please do a quick variation for it. We would be so appreciative
How did you make the head Band I whould like to make one for my squid
Also how could you go about putting polka dots like a spotted octopus?
You could embroider them or do something like a french knot