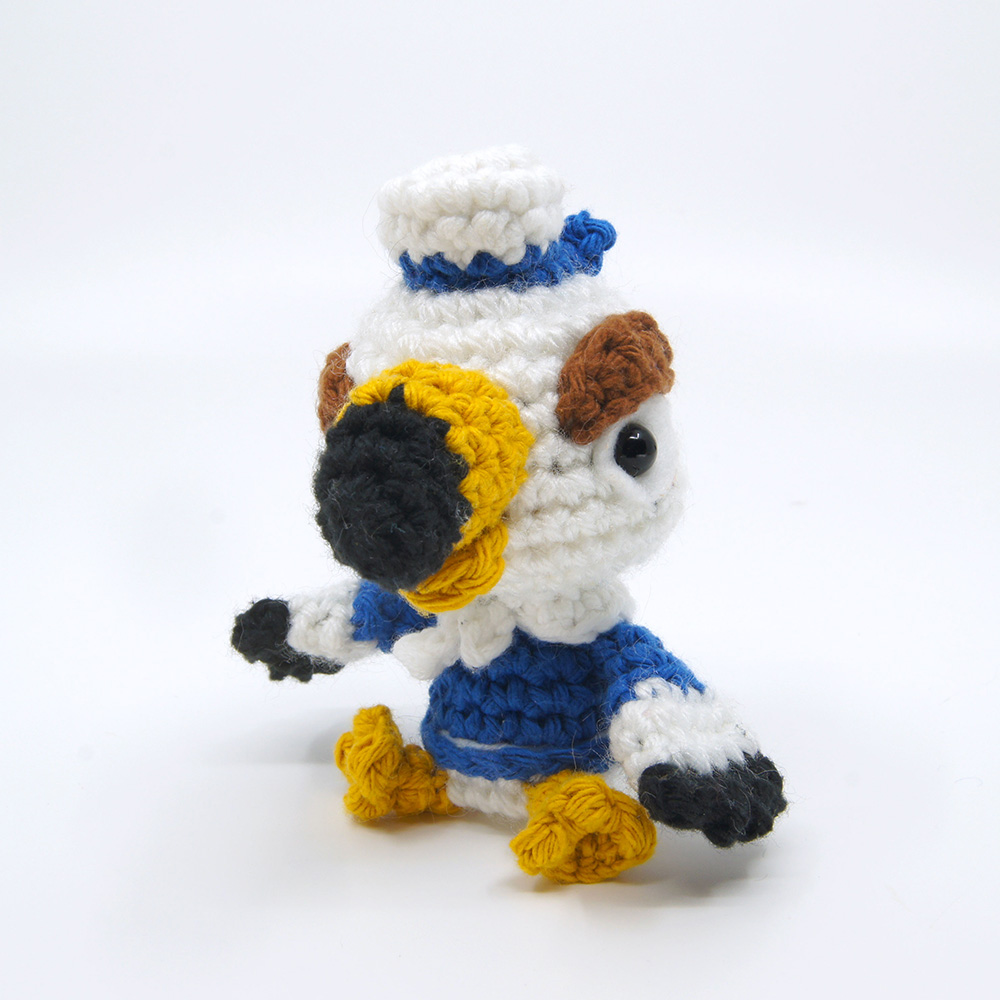
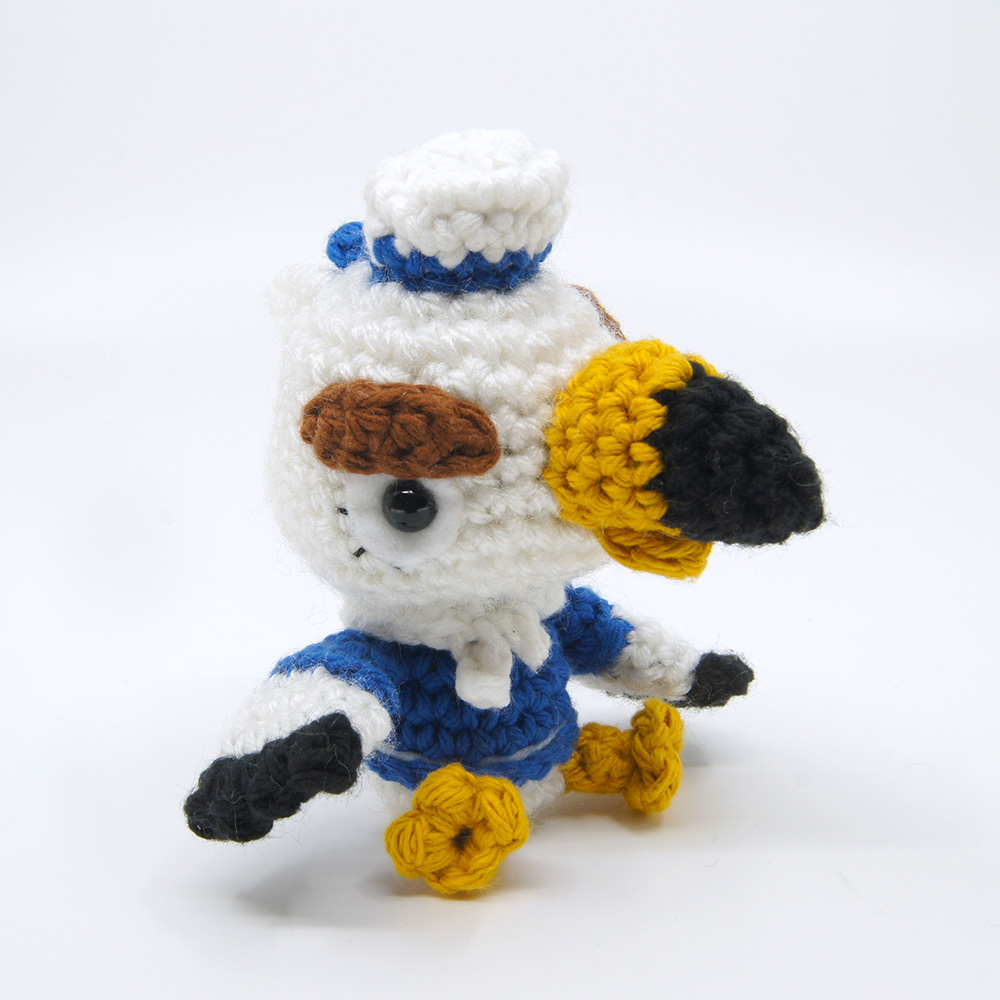
Gulliver the Seagull Amigurumi

Medium
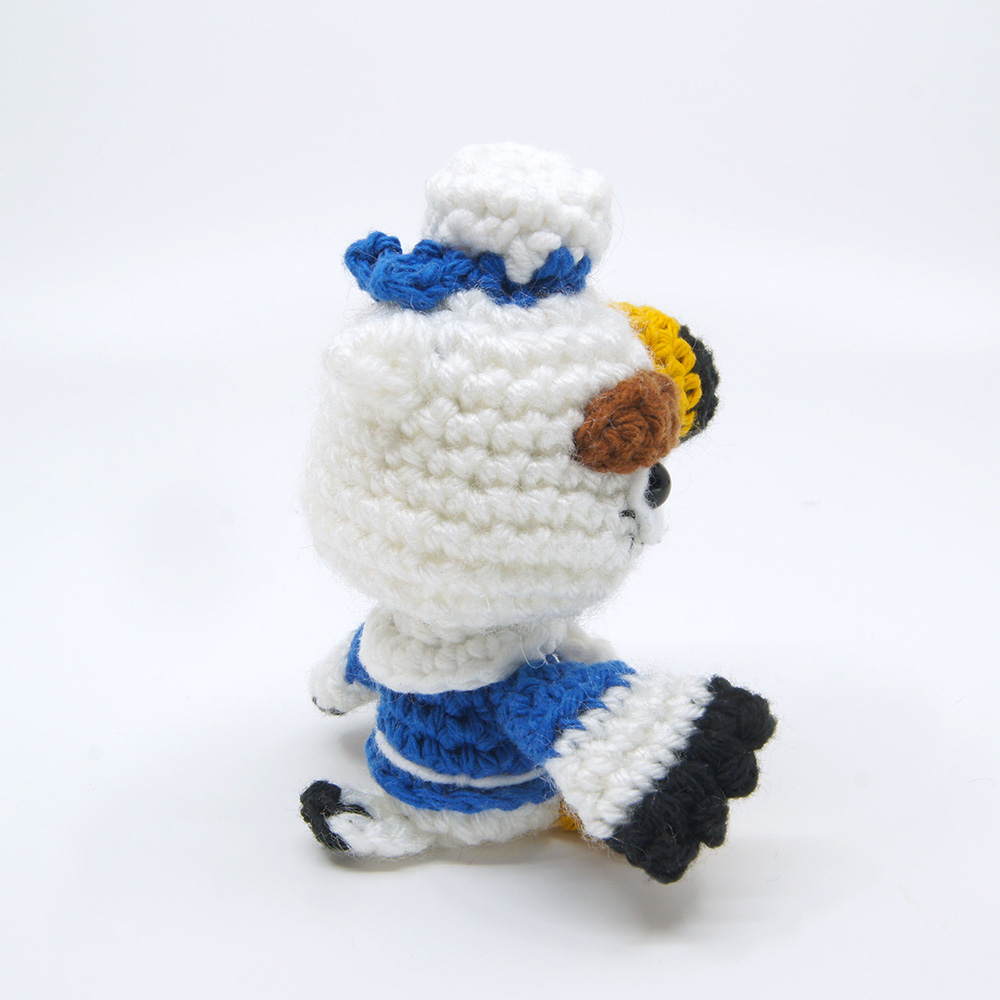
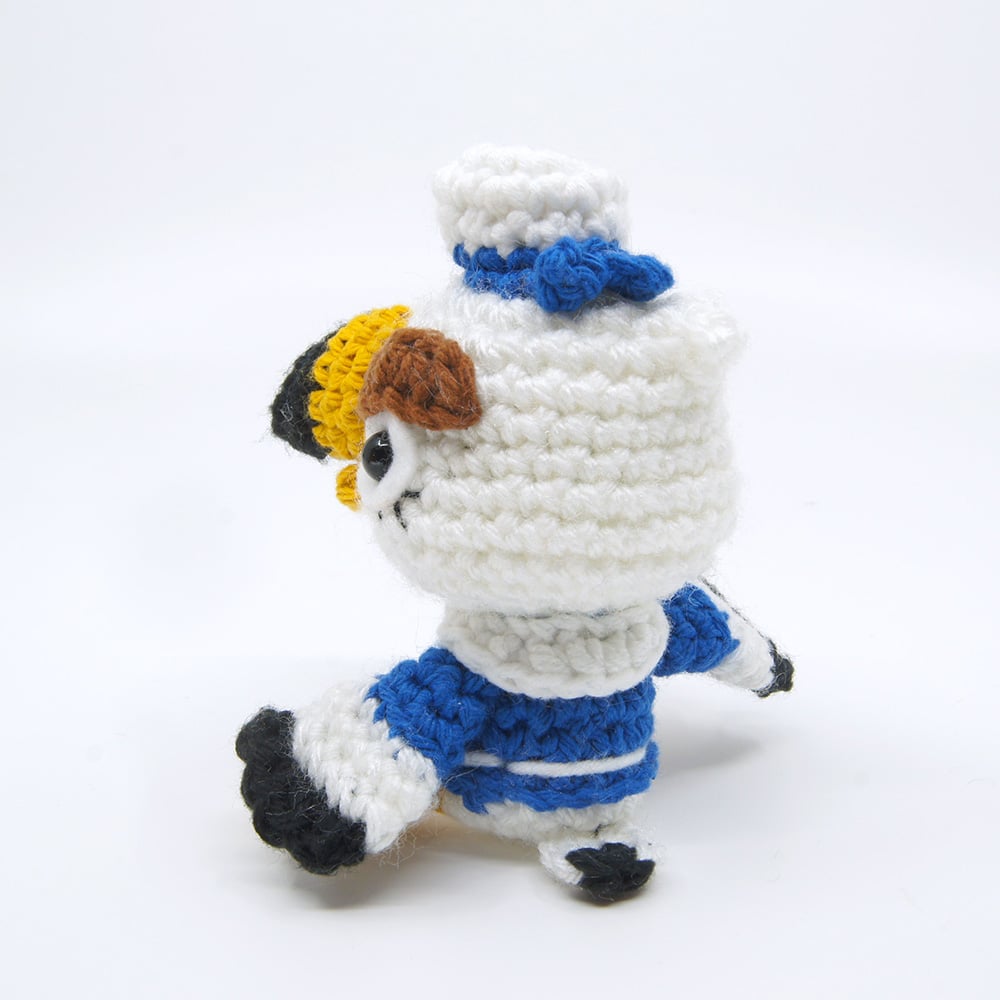
In this lesson we’ll be crocheting a Gulliver the Seagull (from Animal Crossing) Amigurumi! You can crochet him sitting, standing, or even sleeping, waiting for a wandering villager to wake him up!


What you'll create
What you'll learn
What you'll need

Cotton Yarn
Weight

Colors
Blue (Clothing)
Brown (Eyebrows)
White (Body)
Black (Beak/Feathers)
Yellow (Beak/Feet)

Crochet Hook
G6 / 4.00 mm

Safety Bead (x2)
6 mm

Stuffing

Darning Needle

White Felt
Black Thread
Abbreviations used
ch
Chain Stitch
st
Stitch
slst
Slip Stitch
sc
Single Crochet
dec
Decrease (Sharp)
invdec
Invisible Decrease
FLO/BLO
Front / Back Loops Only
hdc
Half-Double Crochet
sbo
Spiky Bobble Stitch
Useful information
Gauge
5 Rnds and 4 sts per 1”
Finished piece is about 5” tall
Worked
In the Round unless otherwise stated
Useful Tutorials
Pattern steps
01 Eyebrows
[All in Brown]
Ch 6
Skip the first ch, sc 1, hdc 3, sc 1
Other patterns to try


Community posts
Community Showcase
Crocheted this pattern? Be the first to show off your project by submitting a photo!
You need an account to submit your photo.


