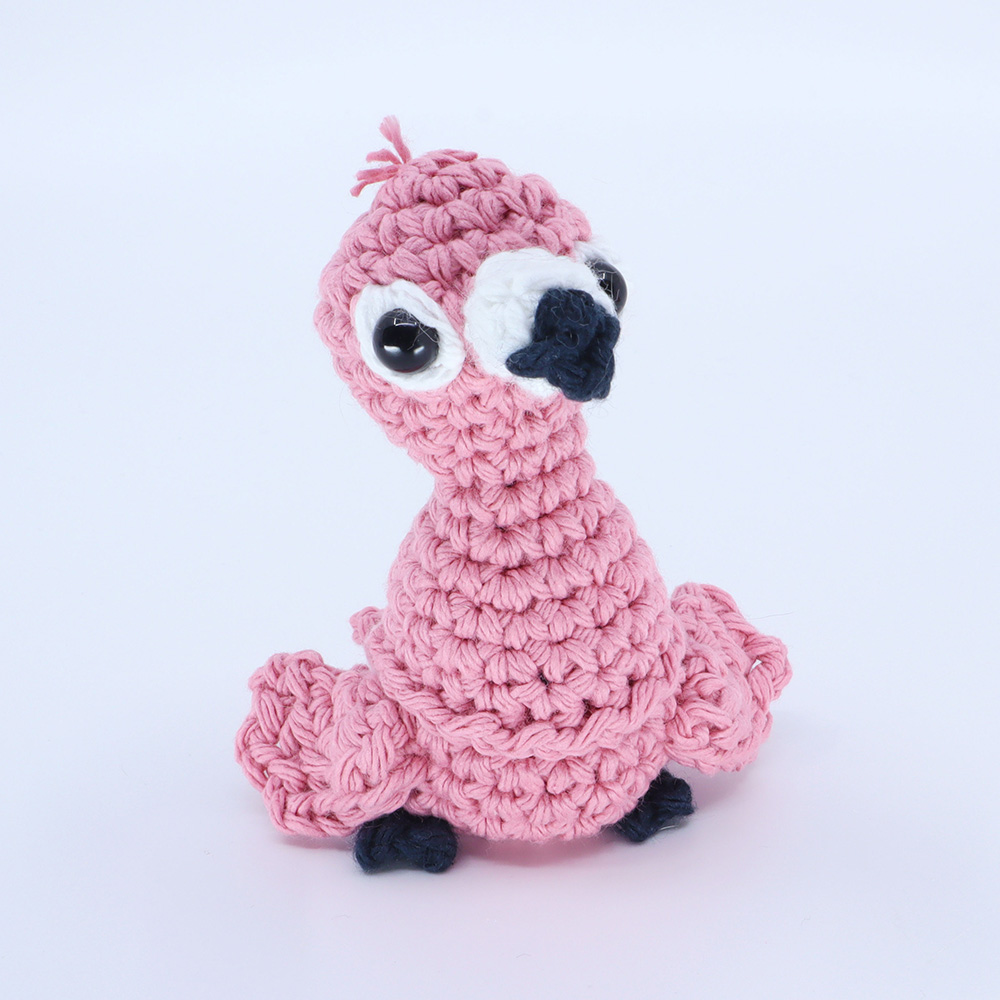
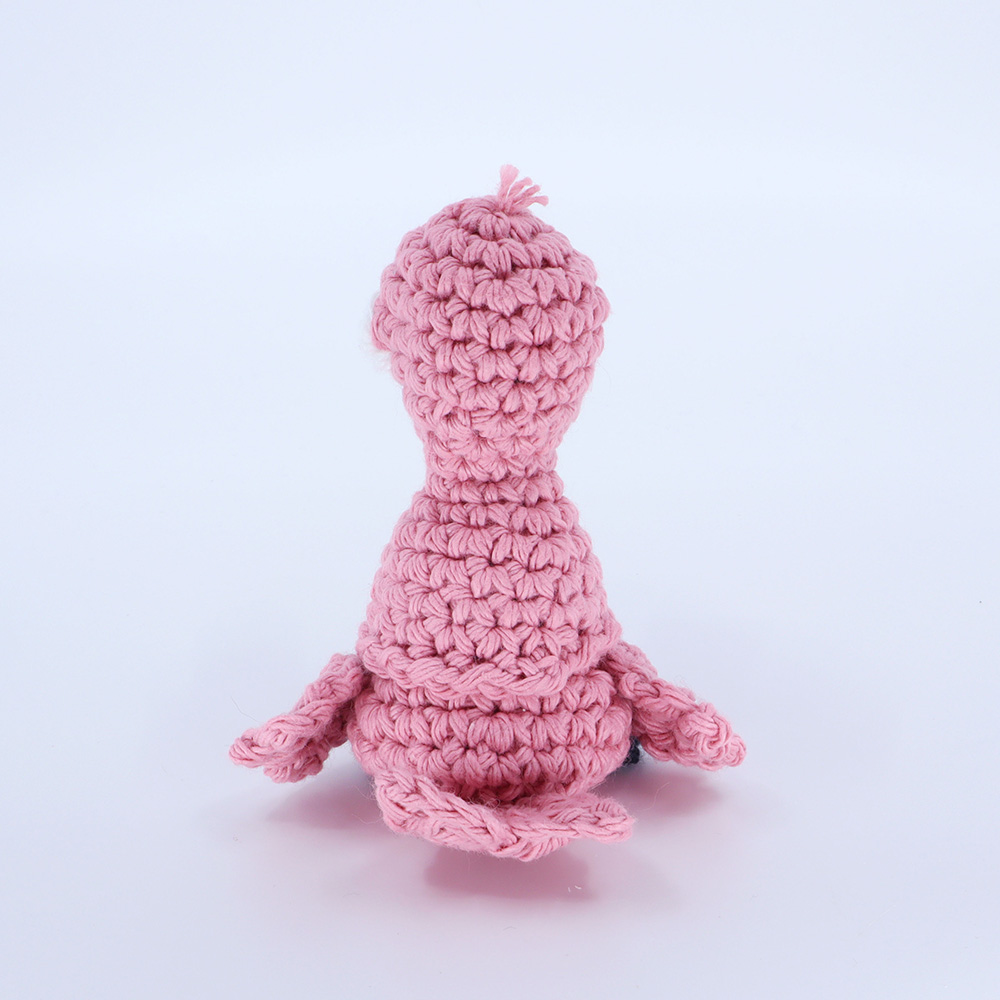
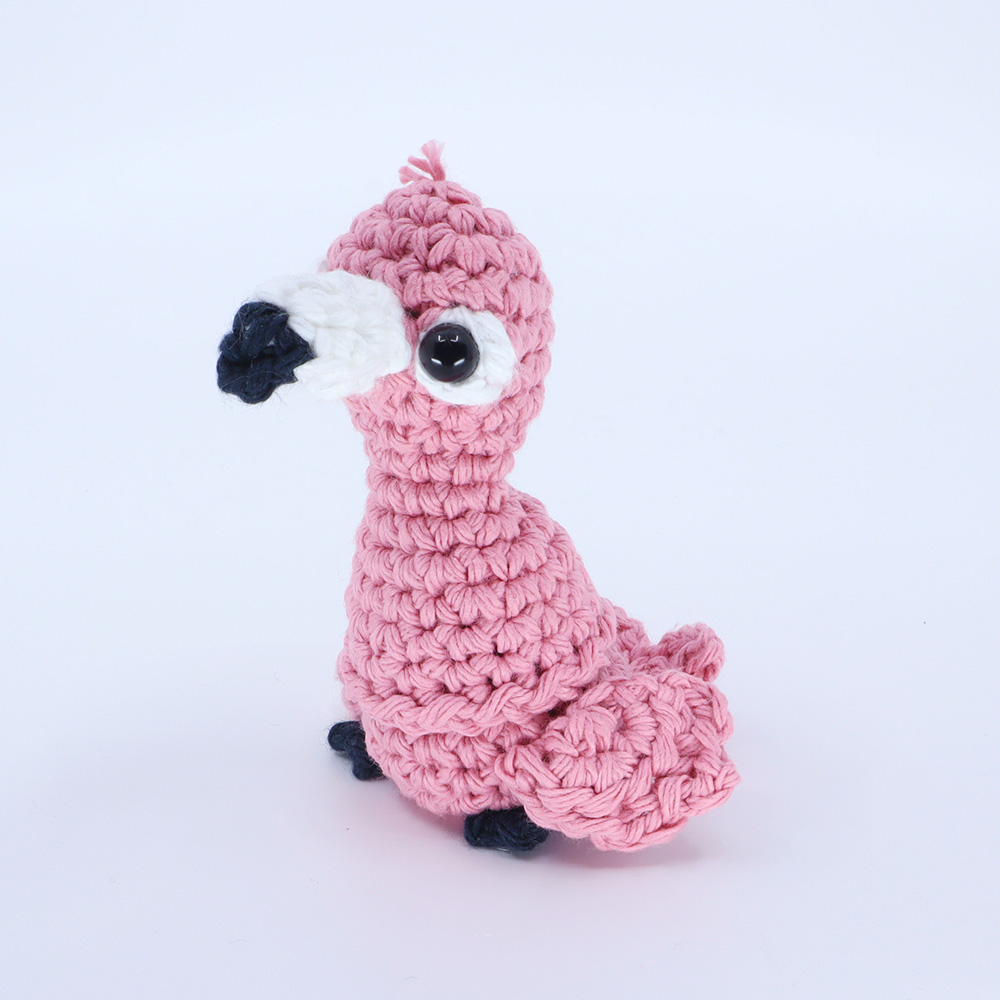
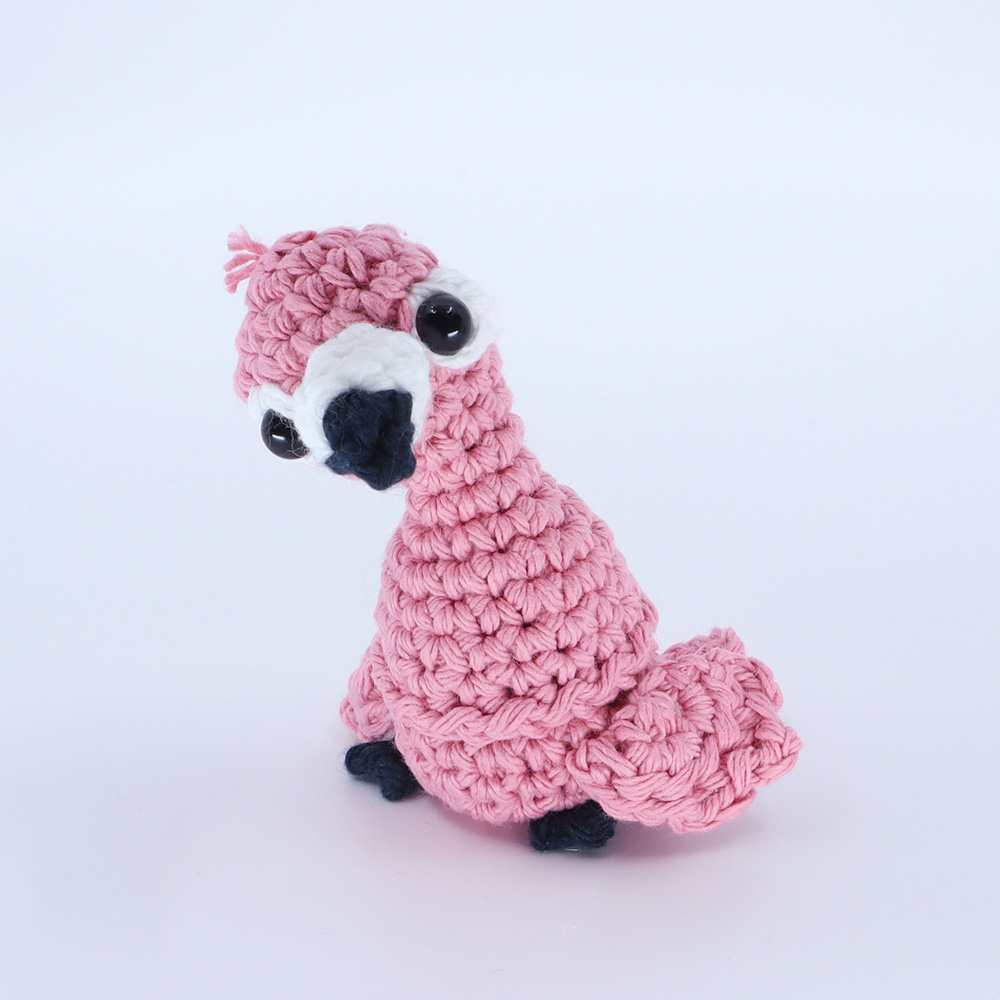
Flamingo Birb Amigurumi

Medium
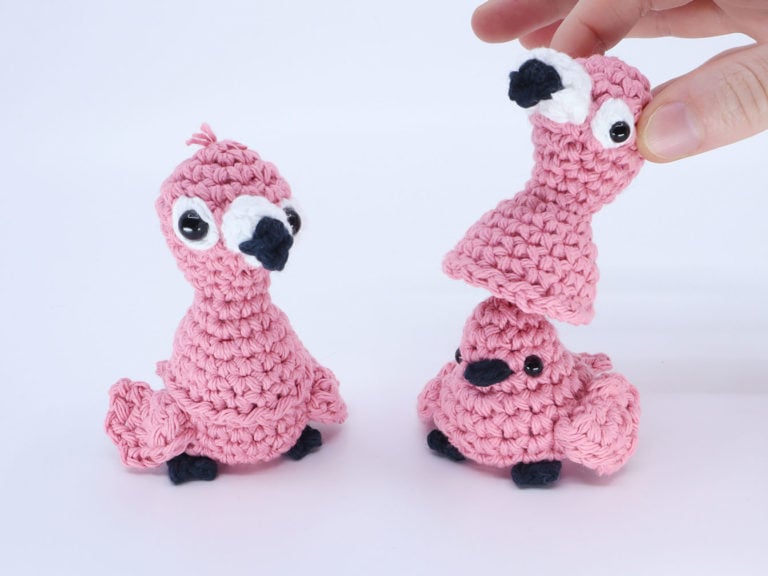
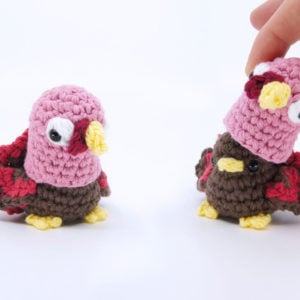
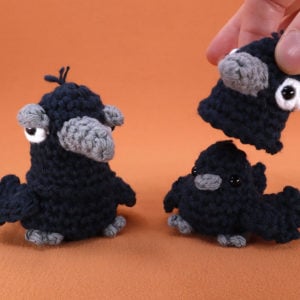
In this lesson we’ll be crocheting arguably the most beautiful birbs, a Flamingo birb! I call these guys ‘Birbs’ because they’re secret agents disguised as different kind of birds! The combination of the beak and the neck make this birb really fun. I hope you enjoy it!

Louie's Loops
Designed by


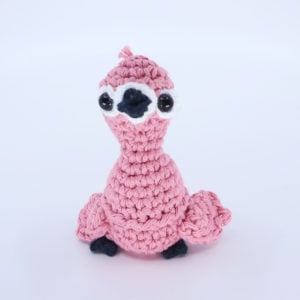
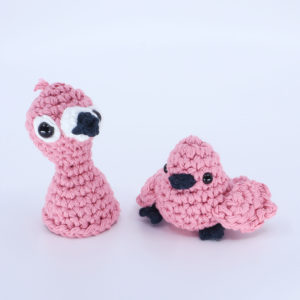


What you'll create


What you'll learn
What you'll need

Cotton Yarn
Weight

Colors
Black (Beak, Feet, and Face)
Pink (Head and Body)
White (Eyes and Beaks)

Crochet Hook
G6 / 4.00 mm

Safety Bead (x4)
6 mm

Stuffing

Darning Needle

Small Magnet
Abbreviations used
ch
Chain Stitch
st
Stitch
slst
Slip Stitch
sc
Single Crochet
inc
Increase
dec
Decrease (Sharp)
invdec
Invisible Decrease
FLO/BLO
Front / Back Loops Only
dc
Double Crochet
hdc
Half-Double Crochet
tr
Tripple (Trebble) Crochet
mbo
Mini Bobble Stitch
sbo
Spiky Bobble Stitch
mp
Mini Picot
Useful information
Gauge
5 Rnds and 4 sts per 1”
Finished piece is about 3” tall
Worked
In the Round: Body and head
Flat: Wings, tail, beaks, and feet
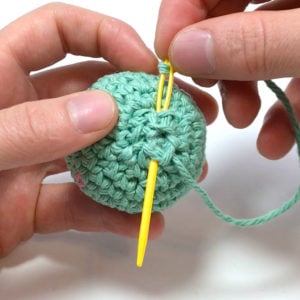
Useful Tutorials
Pattern steps
01 Wings
Make 1 Right and 1 Left
[All in Pink]
Magic loop leaving a long end
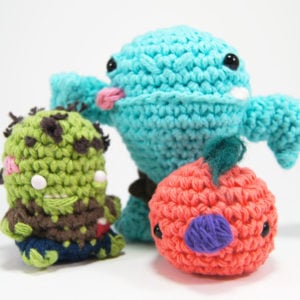
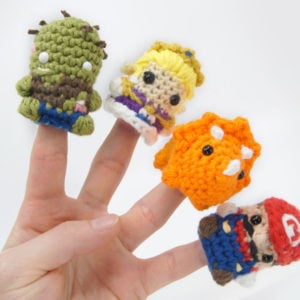
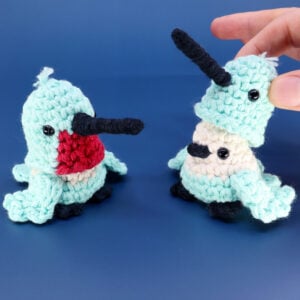
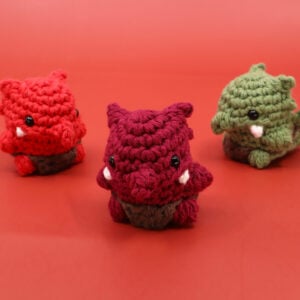
Other patterns to try

Community posts
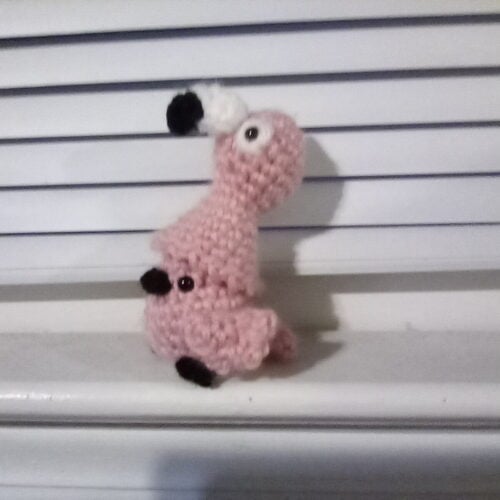
Community Showcase

Flamingo Birb
Submitted by kirsty_holcombe
Florence the flamingo faker
Submitted by octopus723
You need an account to submit your photo.


Hello! I love this pattern! I just wanted to comment that for the wing for me “Row 3L” seemed like an accidental repeat and unnecessary. Anyway, I cut it out of mine and it’s great! I couldn’t find the extra Row 3L in the video
Cómo puedo ver los patrones pero para diestros todos me salen para zurdos
I ❤ it! When are u releasing the hummingbird?