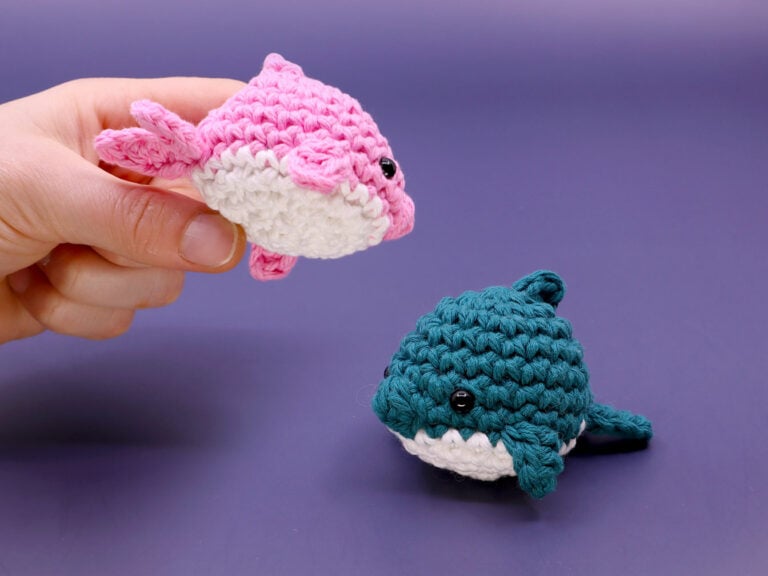
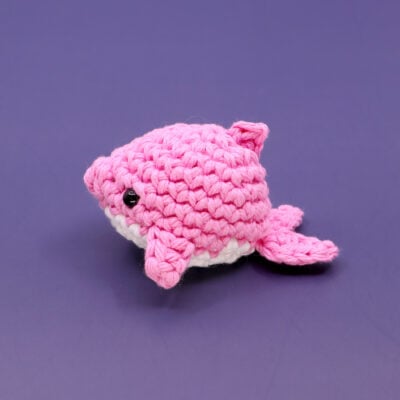
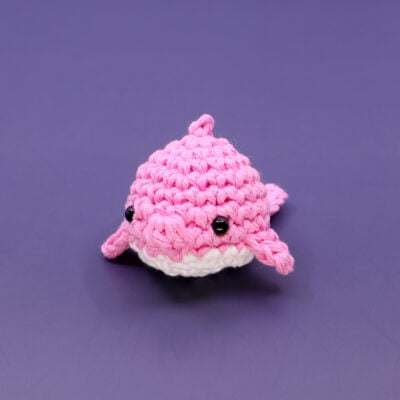
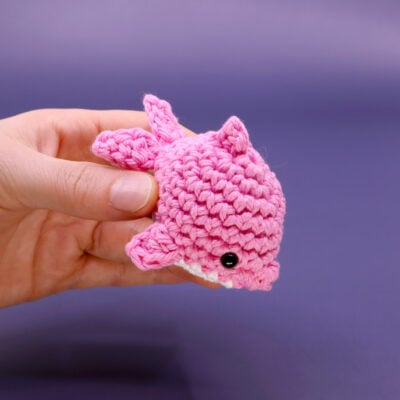
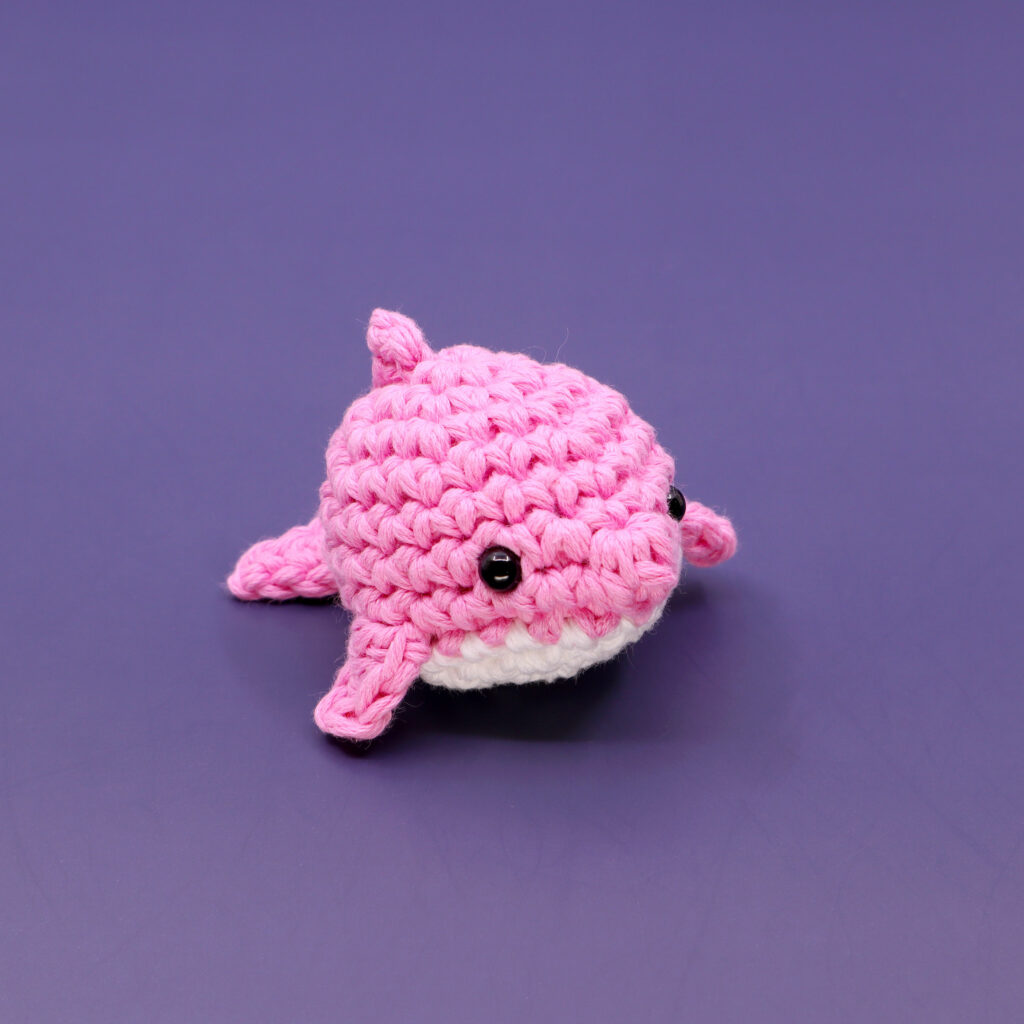
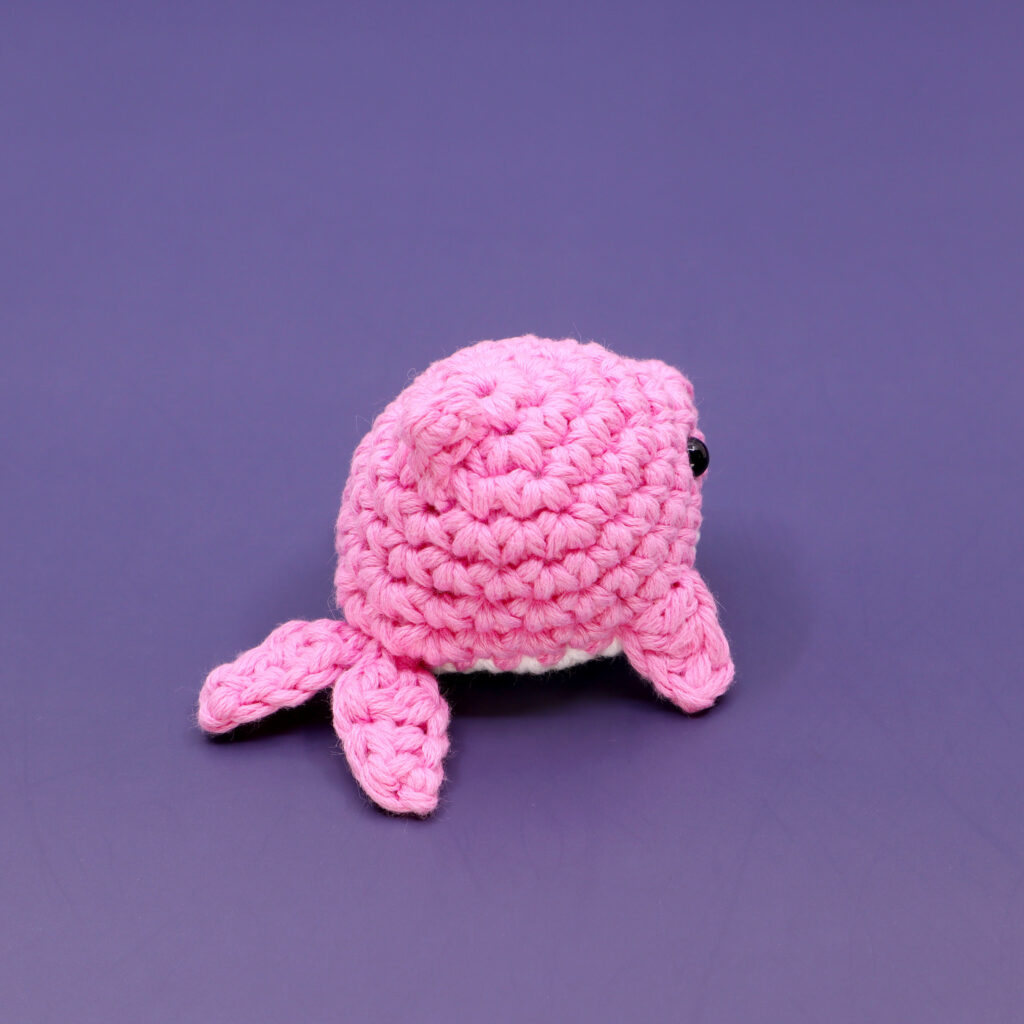
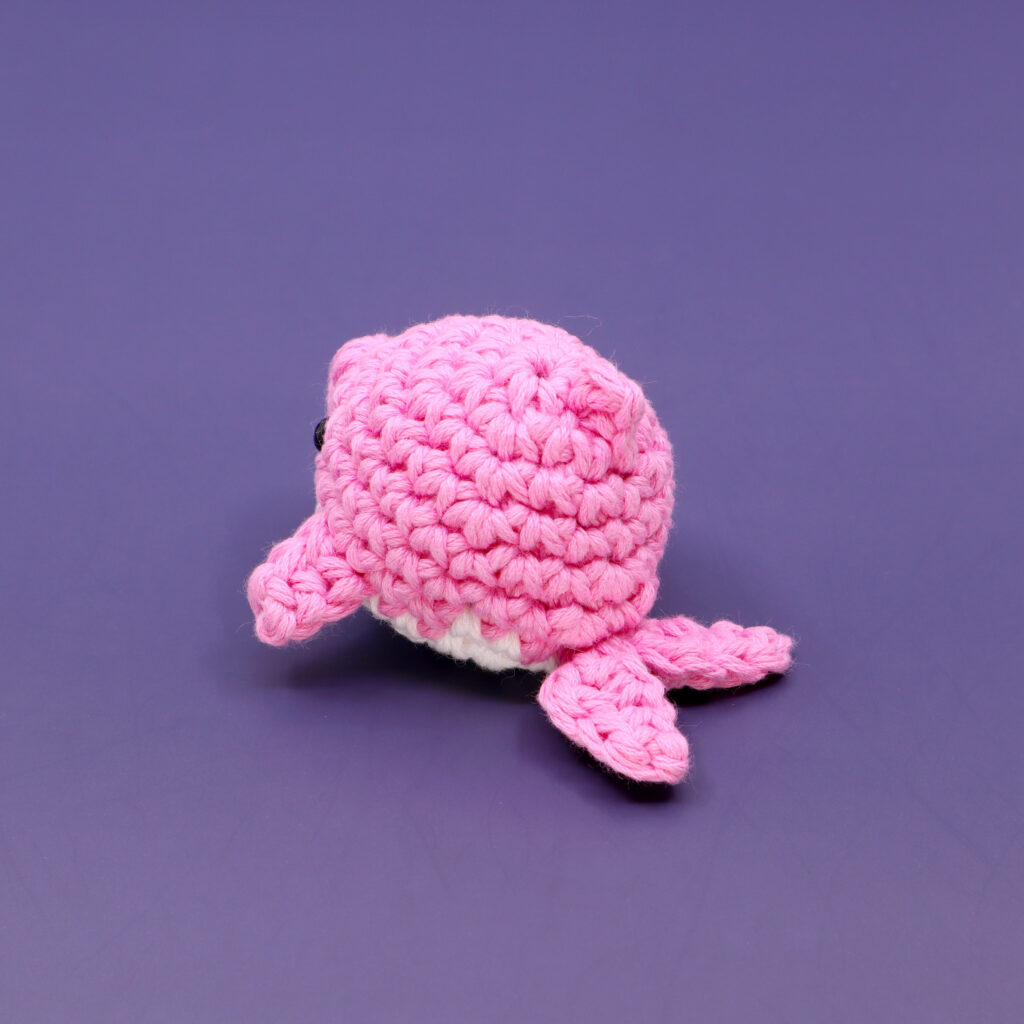
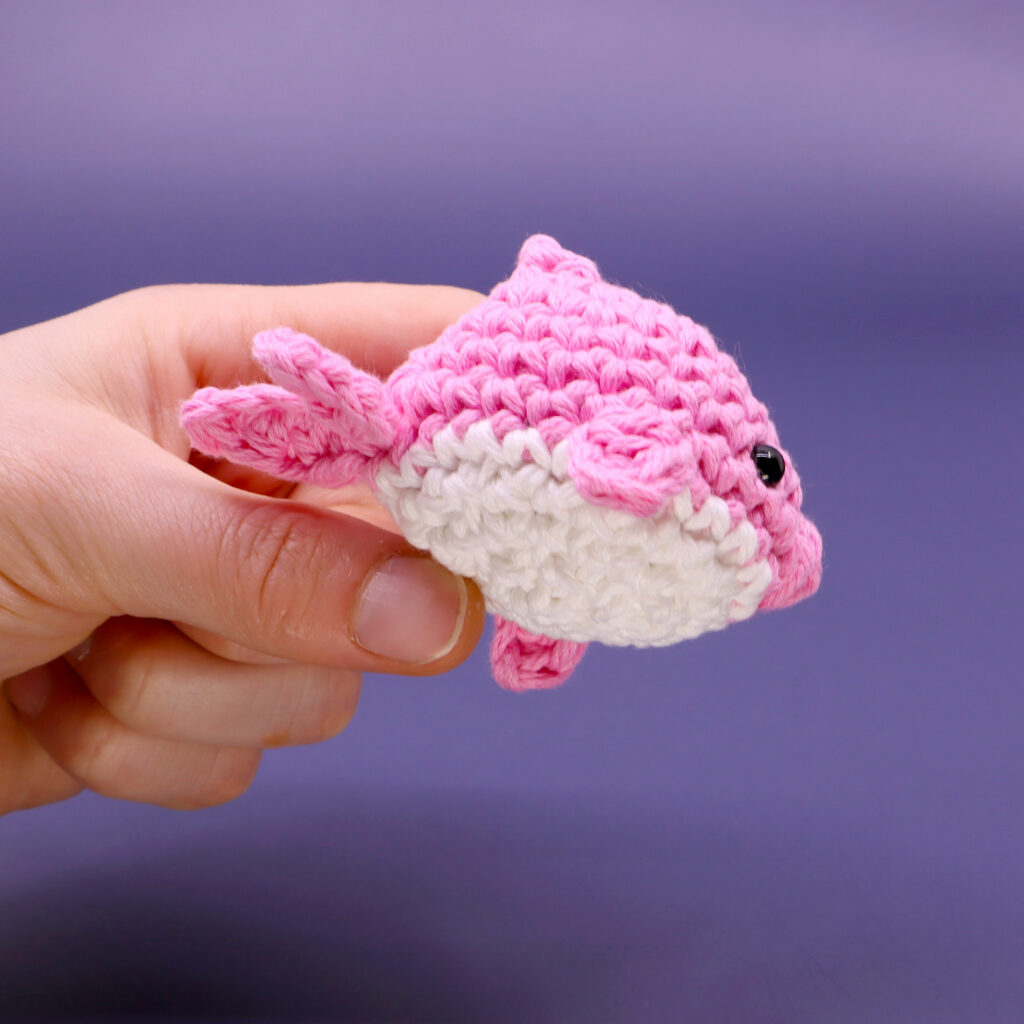
Dolphin Amigurumi

Easy
In this amigurumi crochet pattern we’ll be learning how to crochet a mini dolphin! This amigurumi porpoise pattern is designed with minimal sewing and the use of a new stitch called the Mini Bobble stitch for the nose! This tutorial is designed for beginners with little to no experience, and includes a full length video tutorial so you never miss a stitch!

Louie's Loops
Designed by
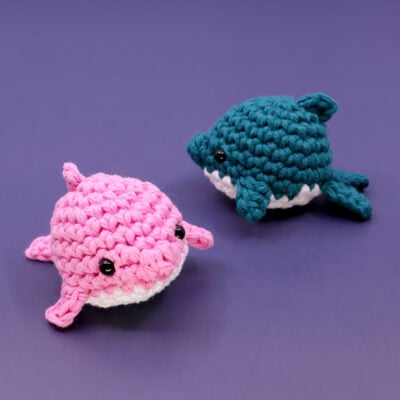

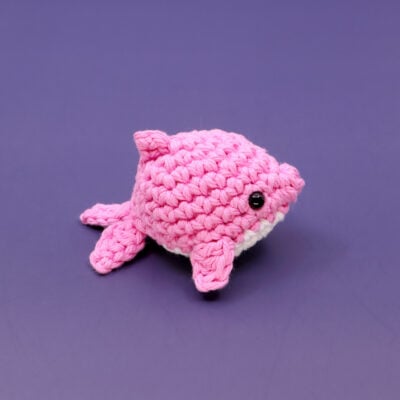

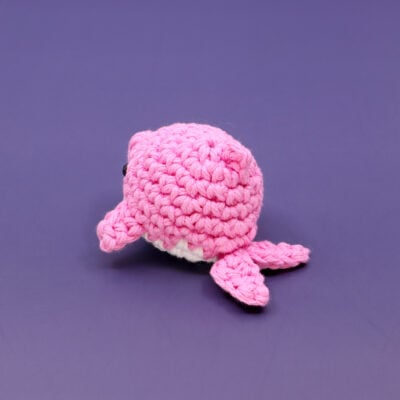


What you'll create


What you'll learn
What you'll need

Cotton Yarn
Weight

Colors
Pink (Main Color)
White (Secondary Color)

Crochet Hook
G6 / 4.00 mm

Safety Bead (x2)
6 mm

Stuffing

Darning Needle
Abbreviations used
ch
Chain Stitch
st
Stitch
slst
Slip Stitch
sc
Single Crochet
inc
Increase
invdec
Invisible Decrease
dc
Double Crochet
hdc
Half-Double Crochet
mbo
Mini Bobble Stitch
Useful information
Gauge
5 Rnds and 4 sts per 1”
Size
about 3.5 inches long
Worked
In the Round (without turning)
Useful Tutorials


Pattern steps
01 Side Fins
[All in Main Color]
Ch 4
Row 1: Skip the first ch, sc 1, hdc 1, dc 1 (3)
Other patterns to try


Community posts
Community Showcase
Crocheted this pattern? Be the first to show off your project by submitting a photo!
You need an account to submit your photo.


