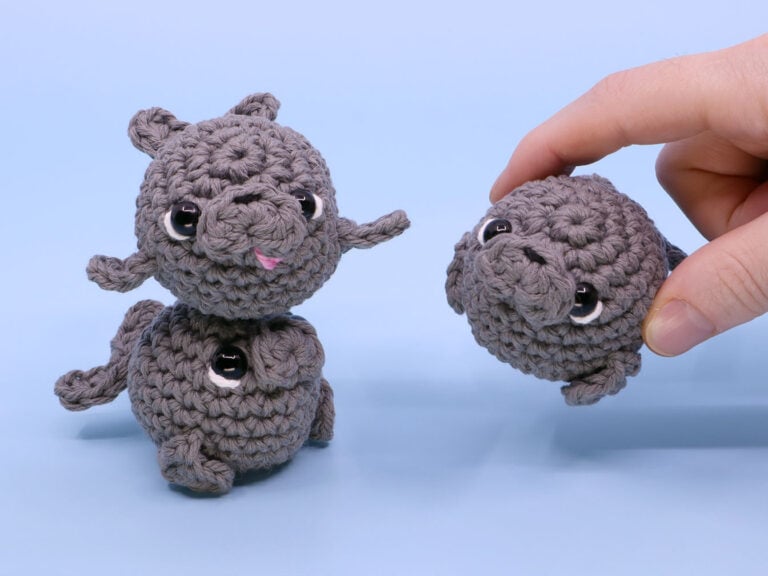
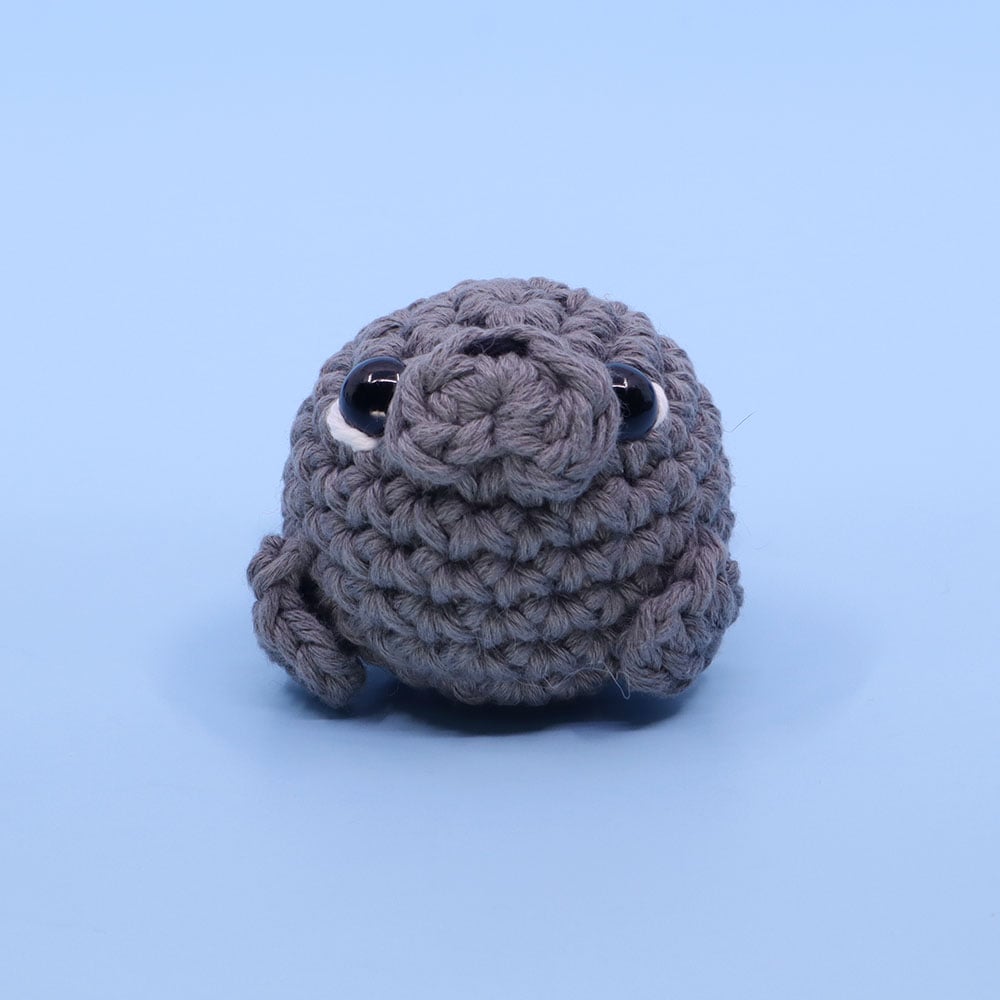
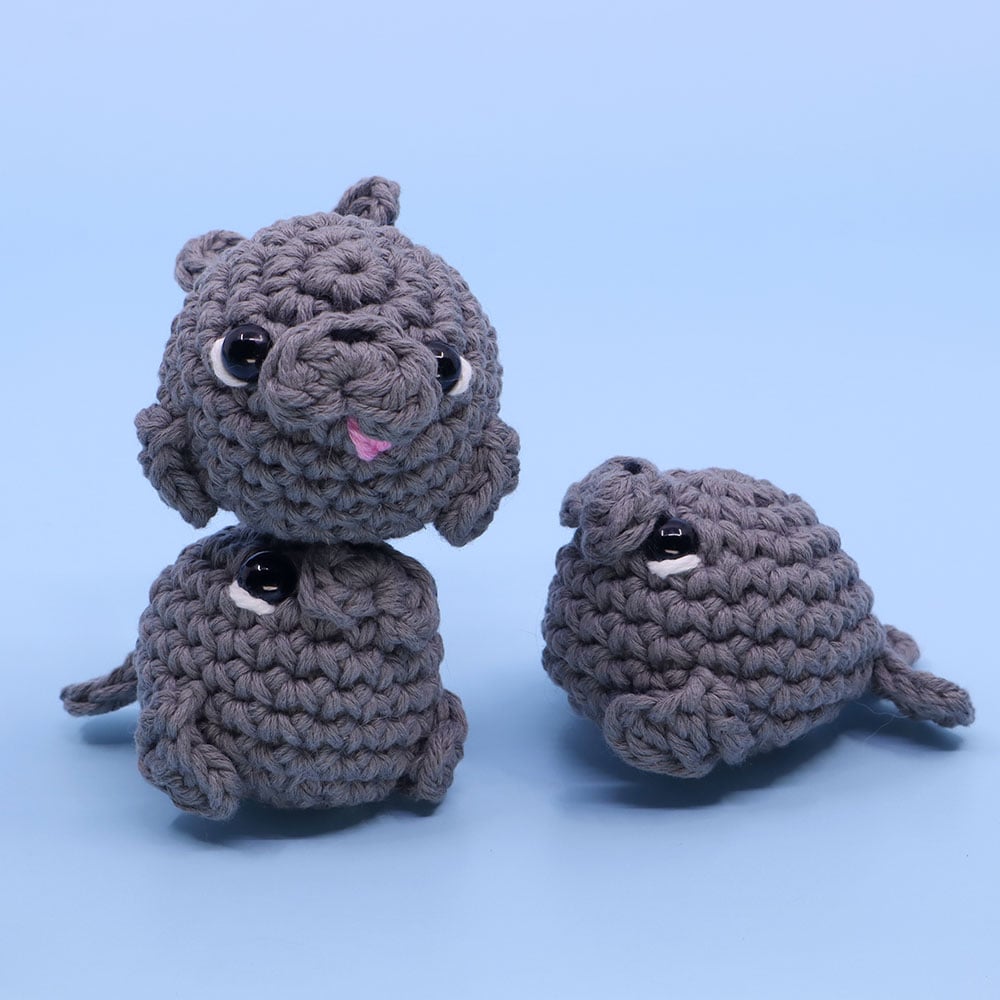
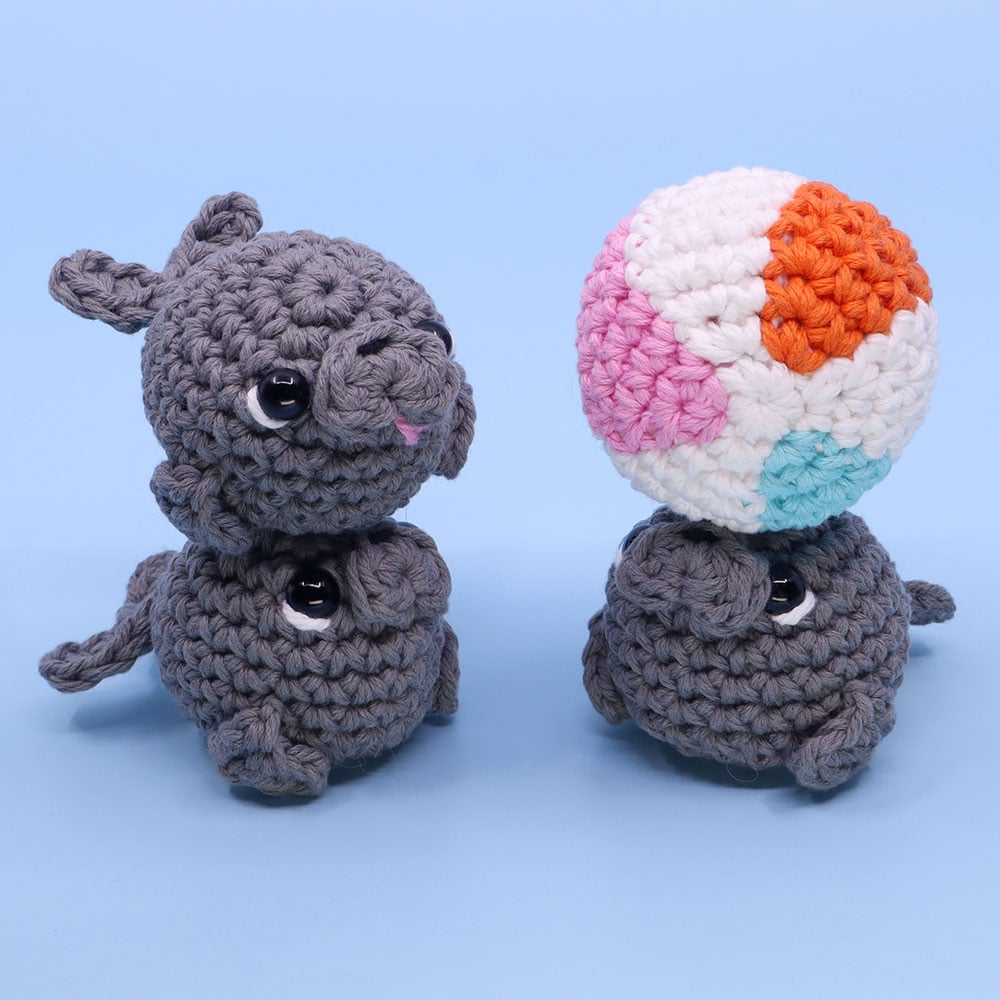
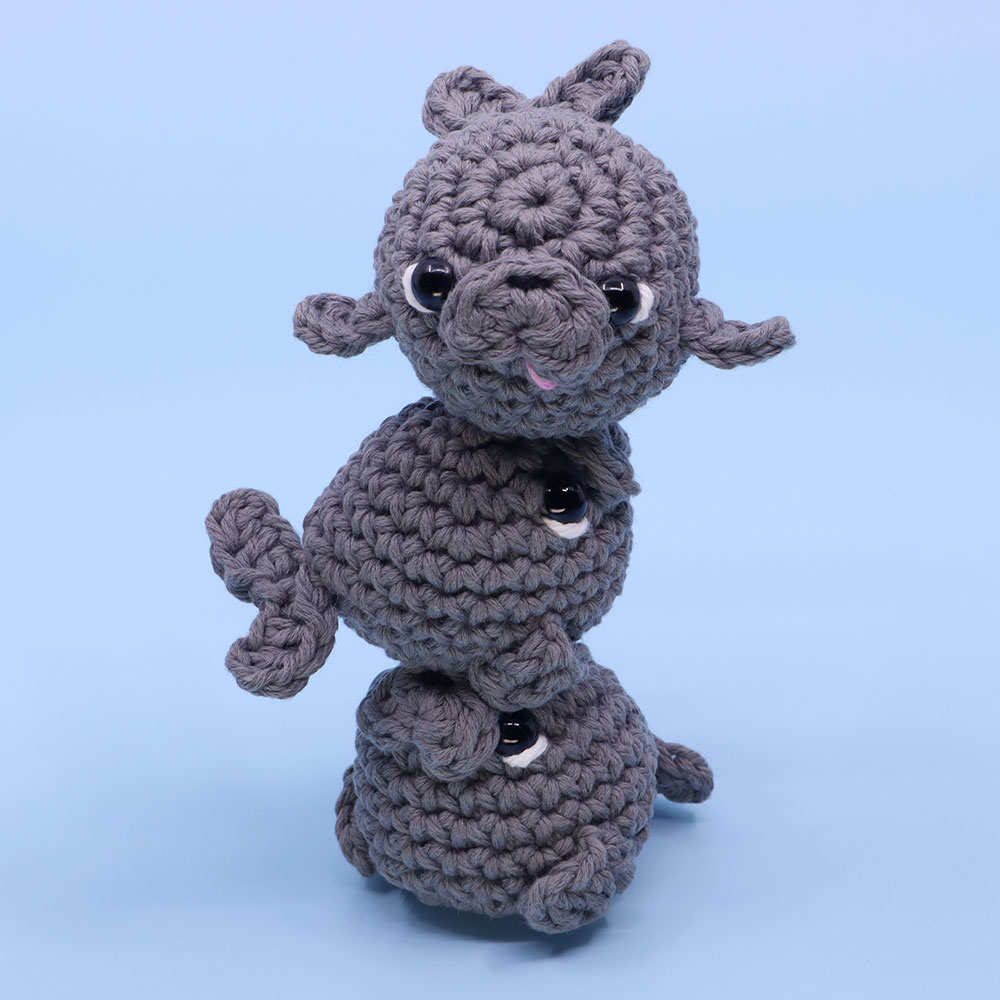
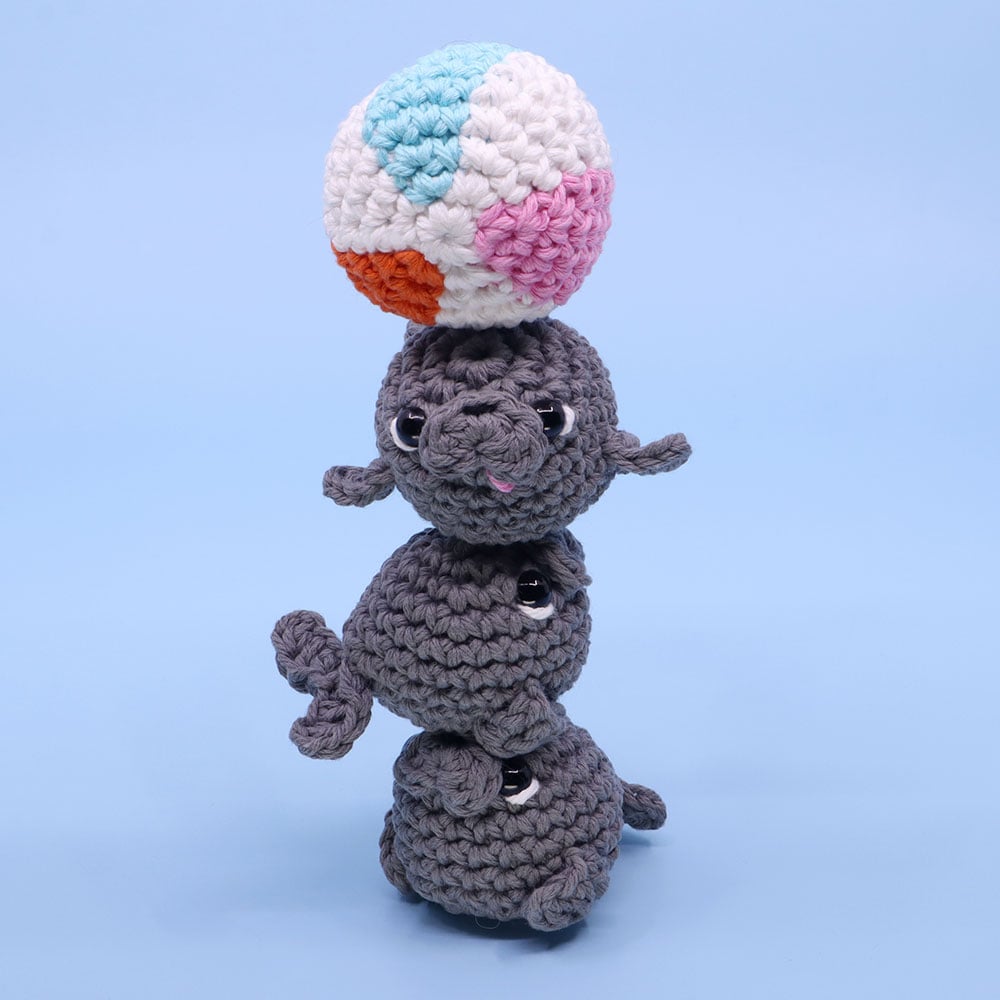
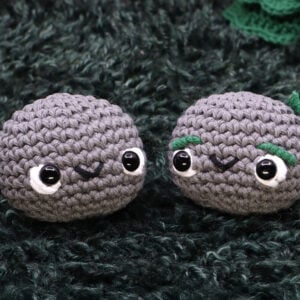
Bub The Seal Pup Amigurumi

Beginner

Louie's Loops
Designed by


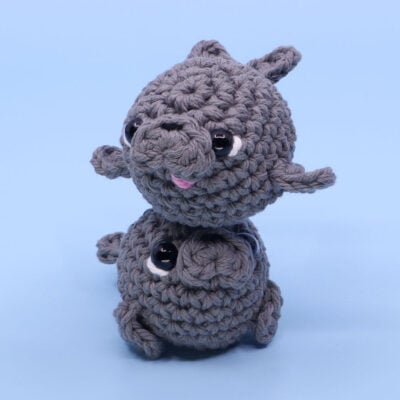
What you'll create


Video tutorials
Main Video
Lefty Video
What you'll learn
What you'll need

Cotton Yarn
Weight

Colors

Crochet Hook
G6 / 4.00 mm

Safety Bead (x2)
6 mm

Darning Needle

Stuffing
Abbreviations used
ch
Chain Stitch
st
Stitch
slst
Slip Stitch
sc
Single Crochet
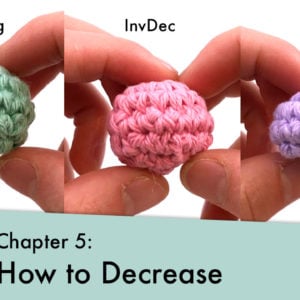
inc
Increase
invdec
Invisible Decrease
FLO/BLO
Front / Back Loops Only
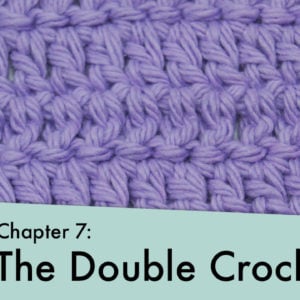
dc
Double Crochet
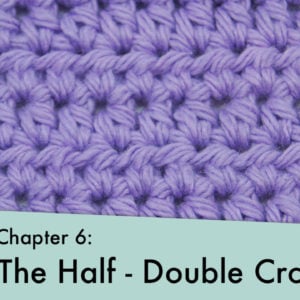
hdc
Half-Double Crochet
tr
Tripple (Trebble) Crochet
{ }
Worked in same stitch
Useful information
Gauge:
5 Rnds and 4 sts per 1”
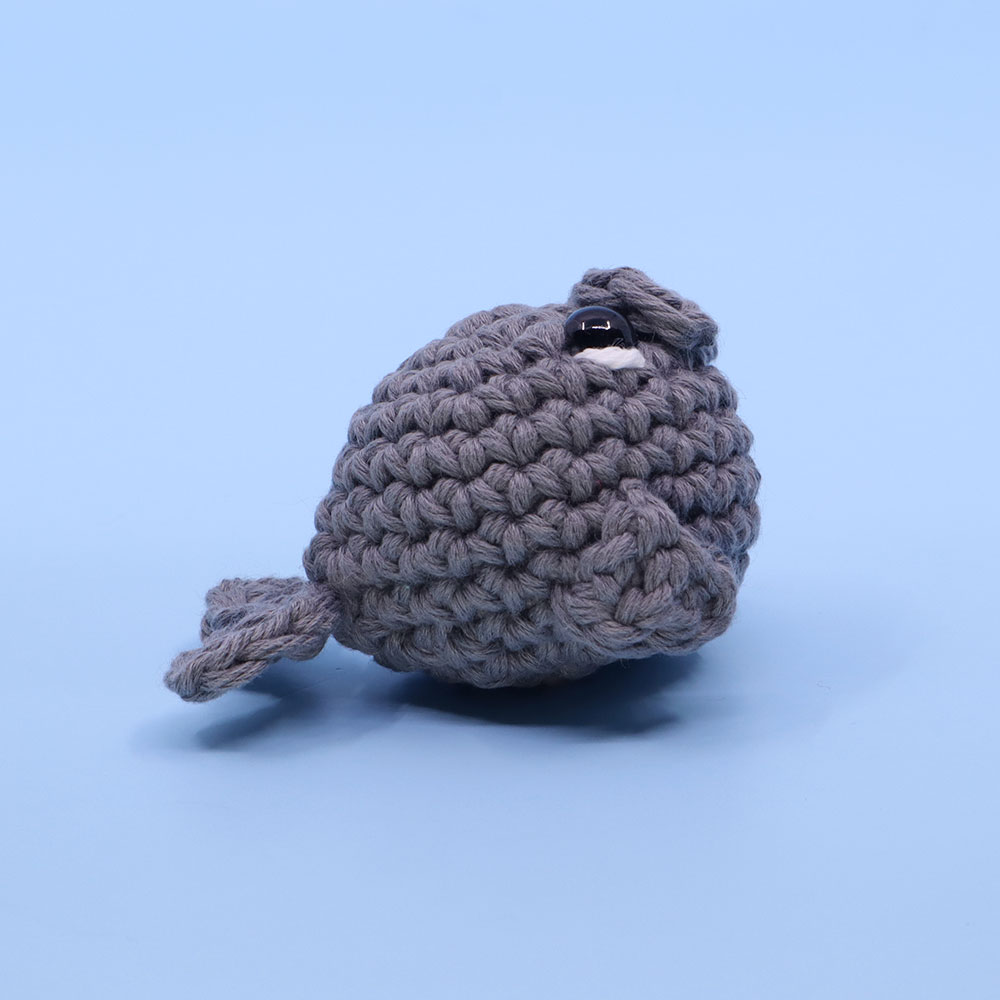
Finished Size:
about 3 inches tall
Worked in the Round
(without turning)


Pattern steps

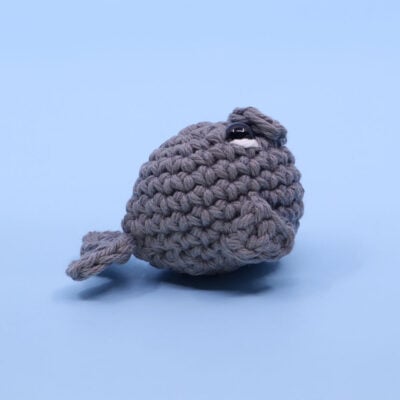
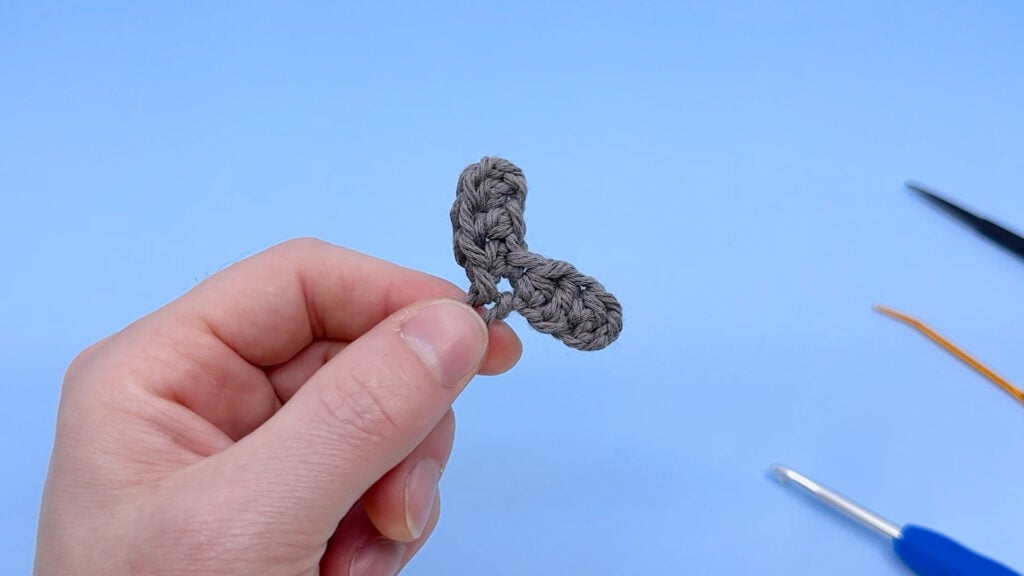
01
Fins
4:00
Qty 2
[All in Grey]
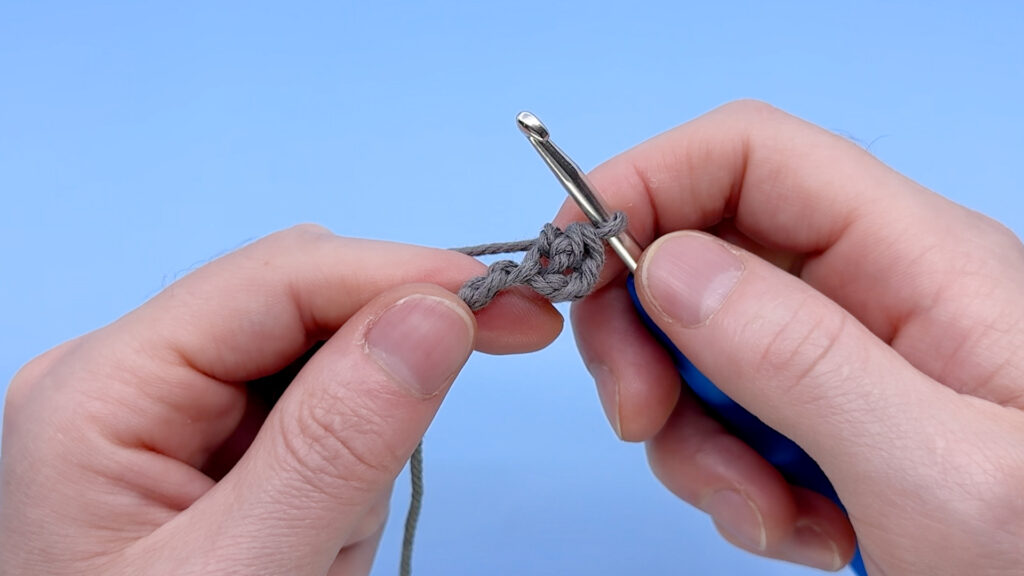
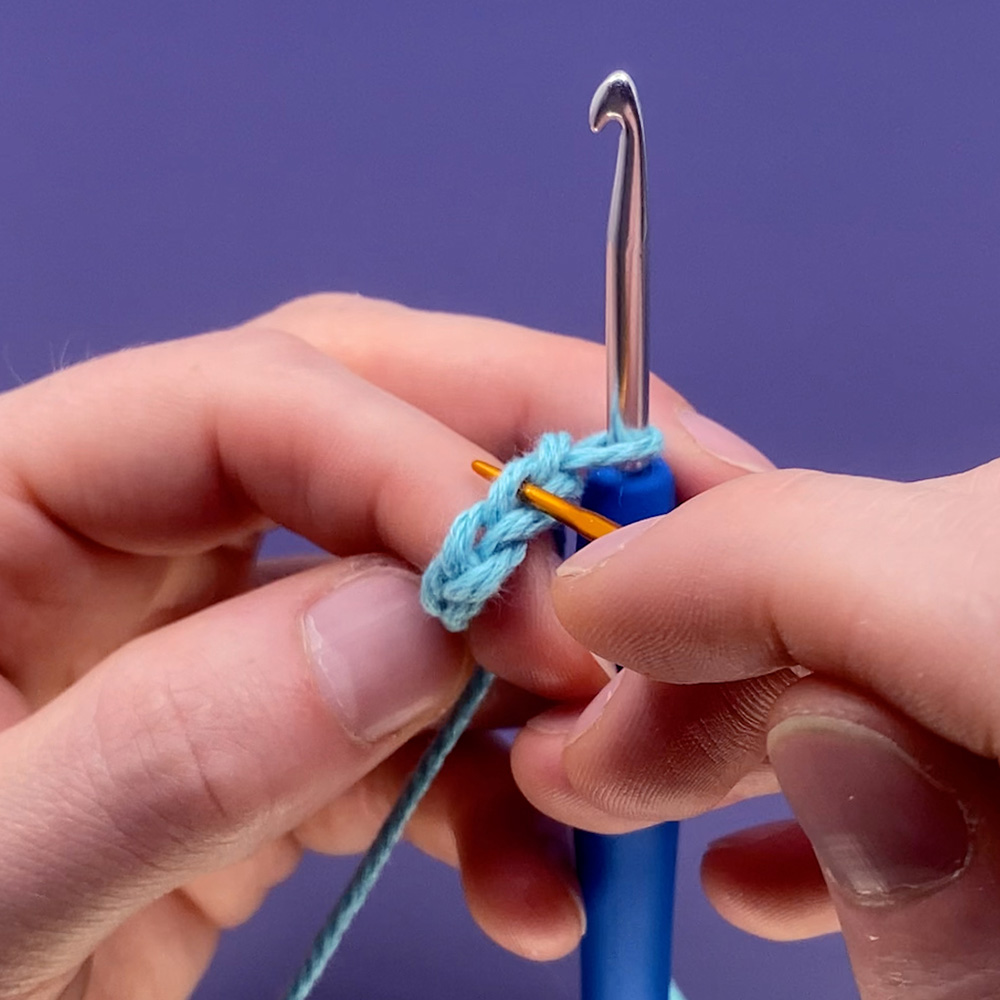
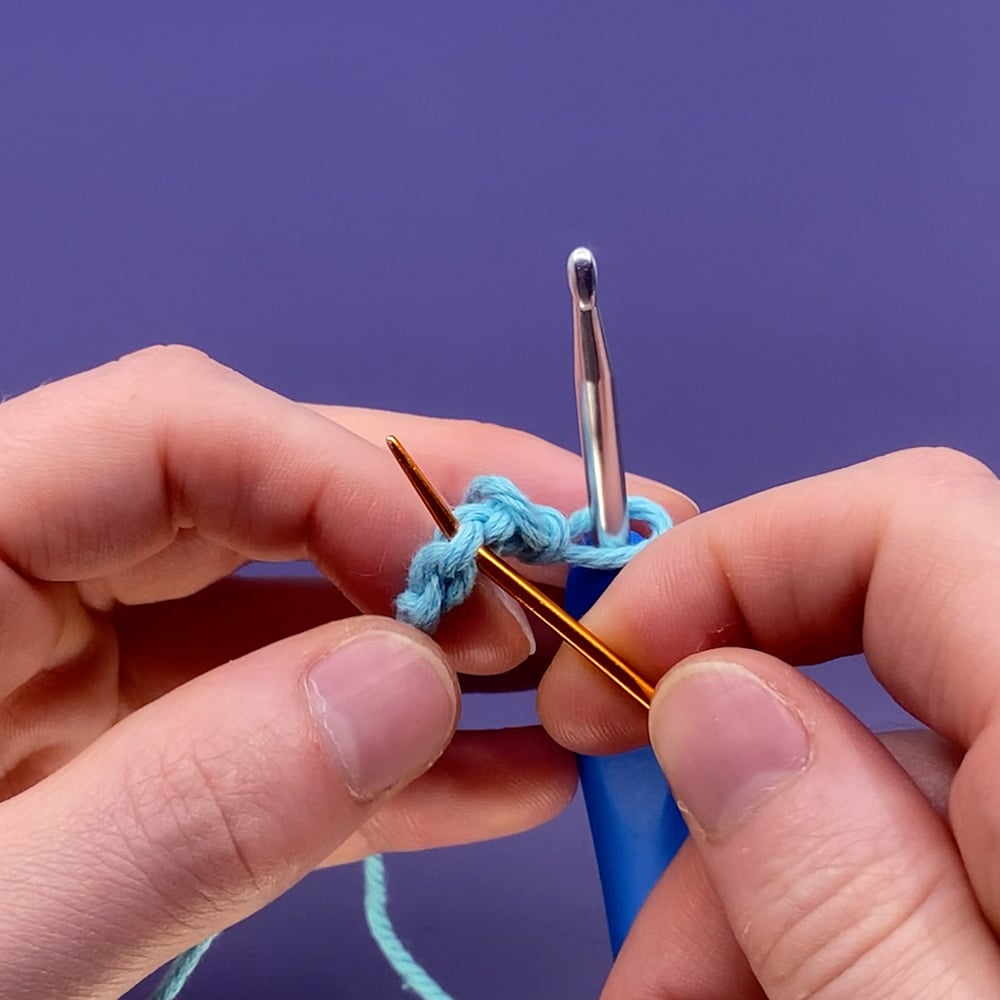
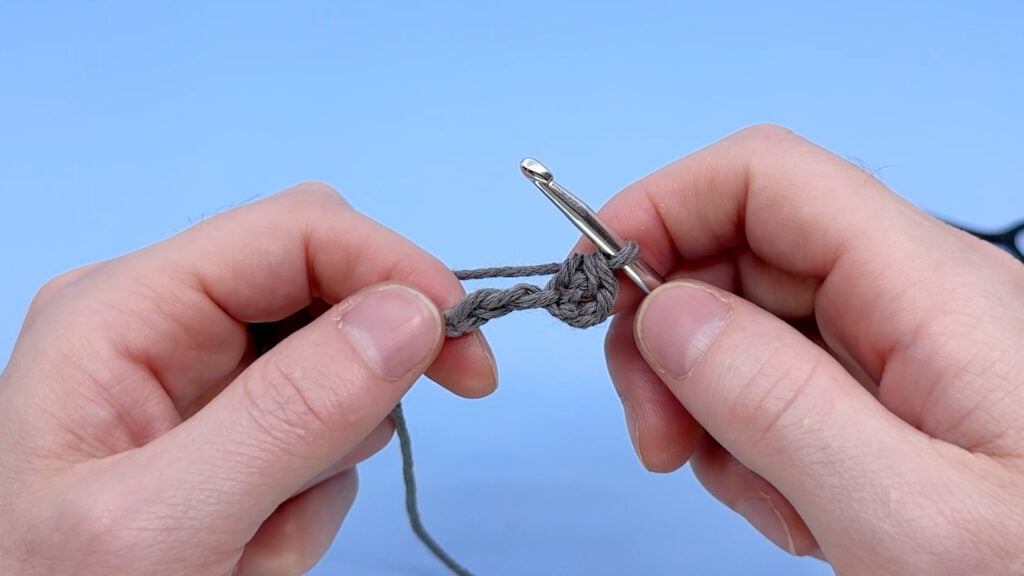
Ch 5
Row 1: Skip 2 chs, hdc 1, dc 1, tr 1 (3)
Ch 1, cut the yarn leaving enough tail end to sew onto the body and pull through.
Sew onto the body after Rnd 10
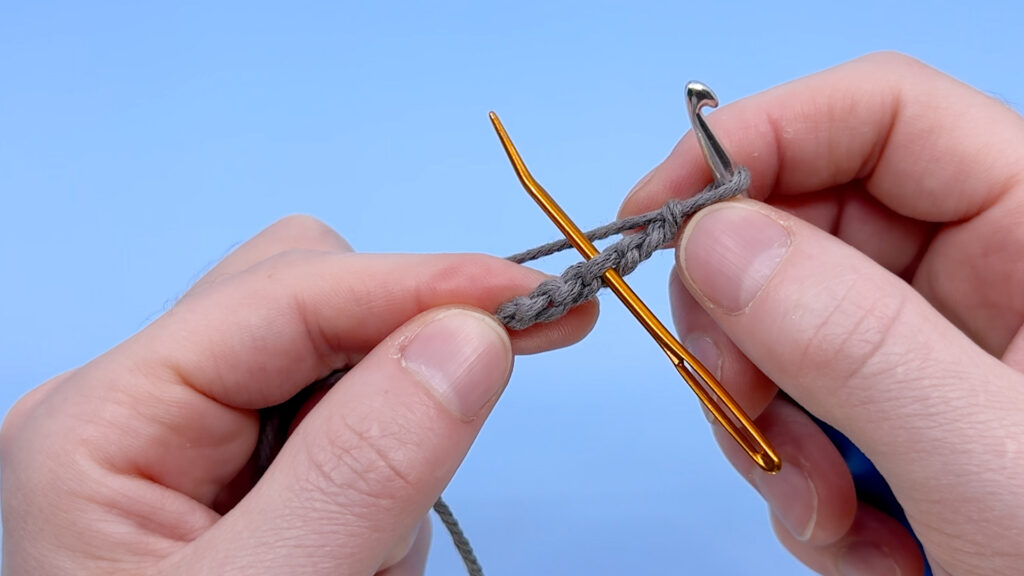
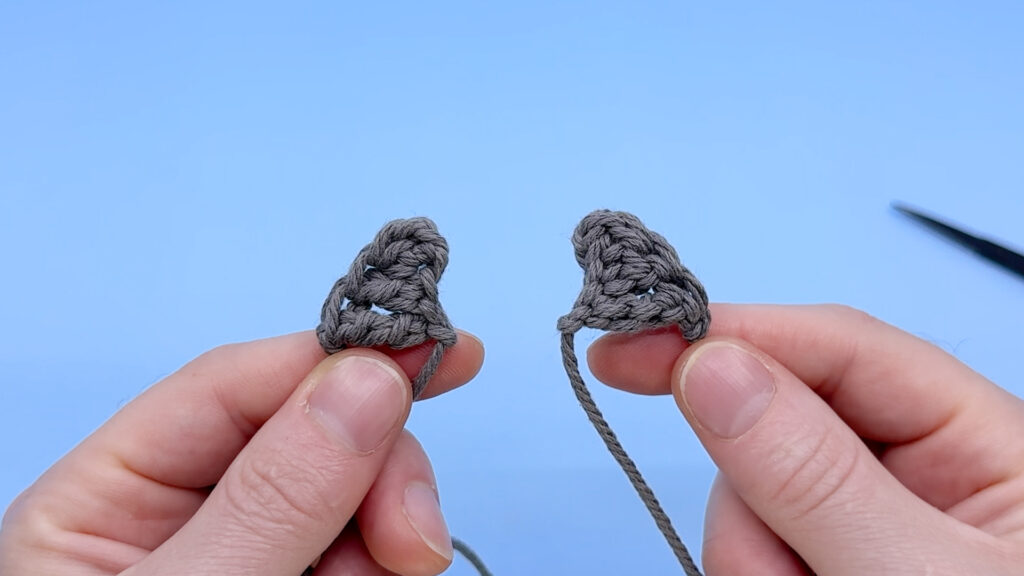
Pro-Tip:
In the above section (Fins) you can either work your stitches into a chains back loops or top loops. Top loops is easier, but each provide slightly different looks.
Chains Top Loop
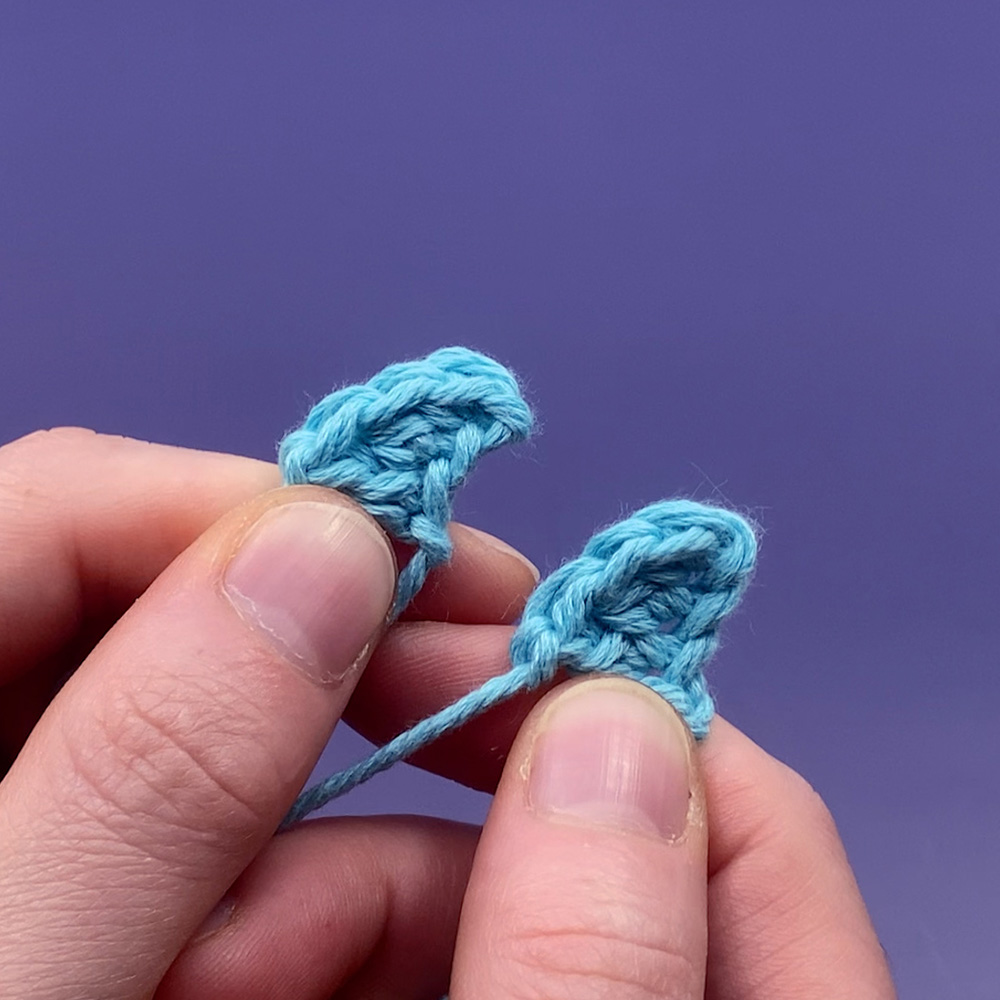
Left = Top Loop
Right = Bottom Loop
Chains Bottom Loop
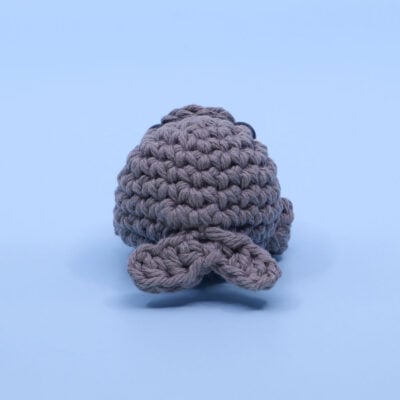
02
Tail
16:32
[All in Grey]
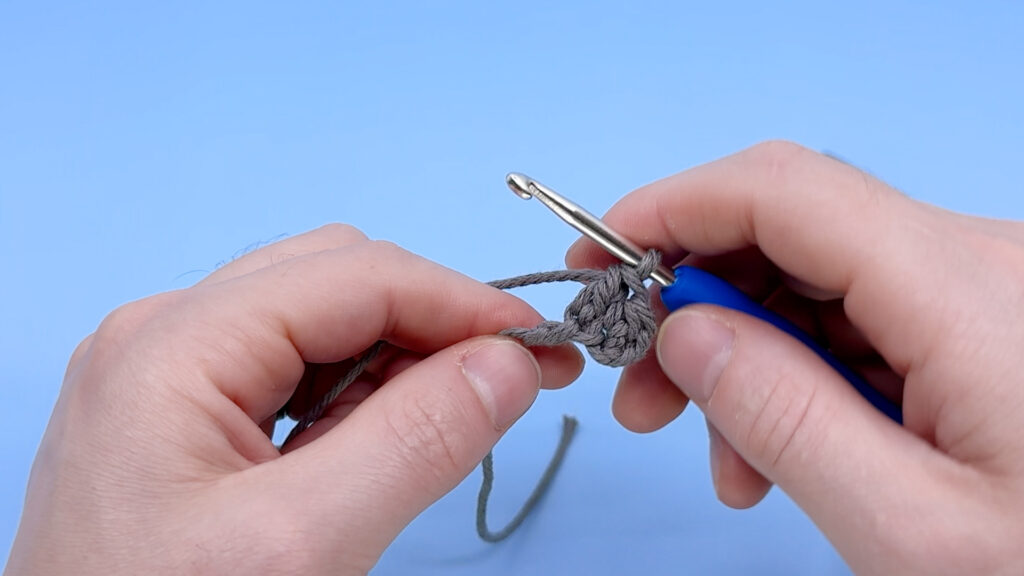
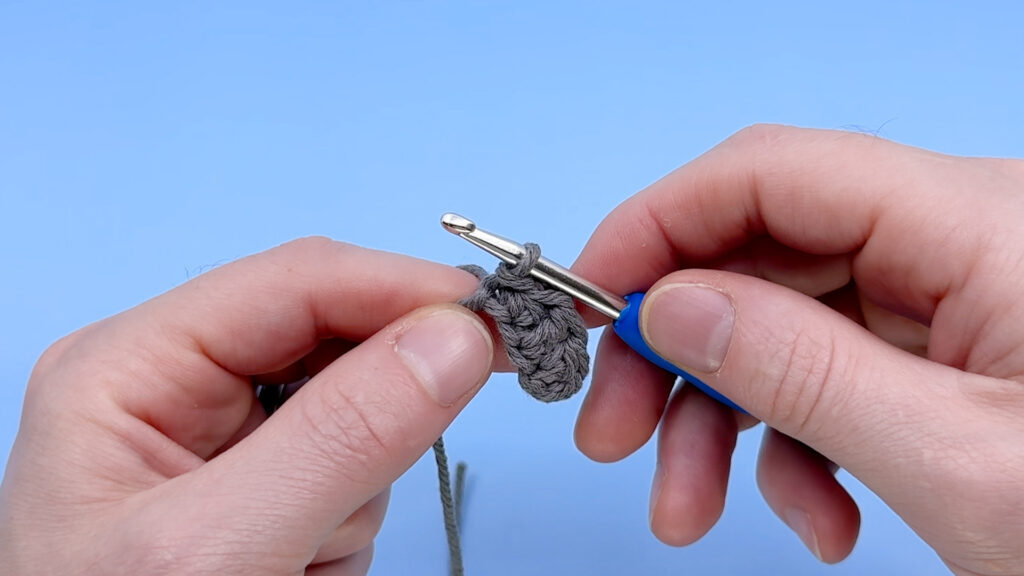
Ch 6
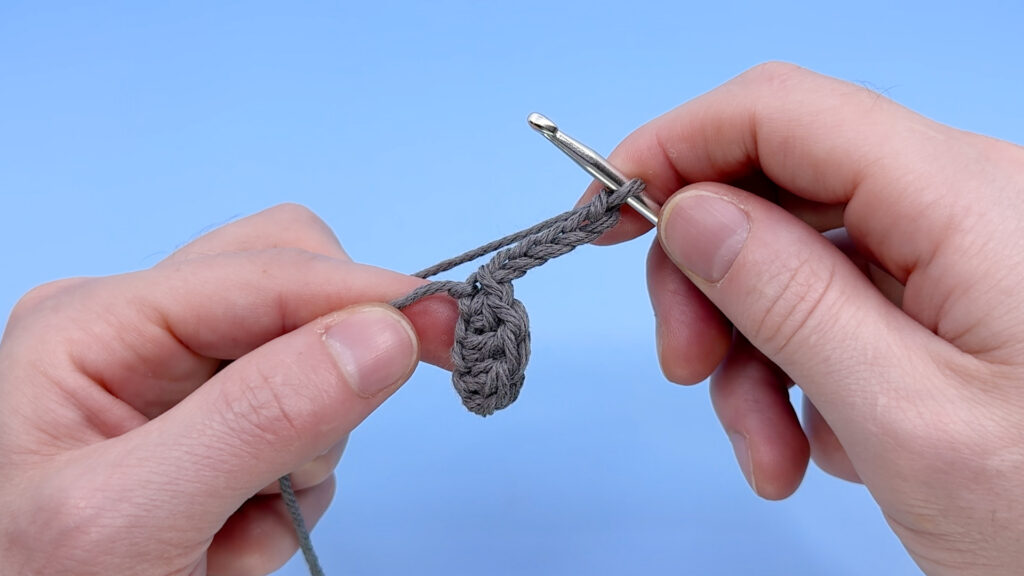
Row 1: Skip 2 chs, hdc 1, dc 1, hdc 1, slst 1 (4)
Row 2: Ch 5, skip 2 chs, hdc 1, dc 1, hdc 1, slst into same st as Row 1 (4)
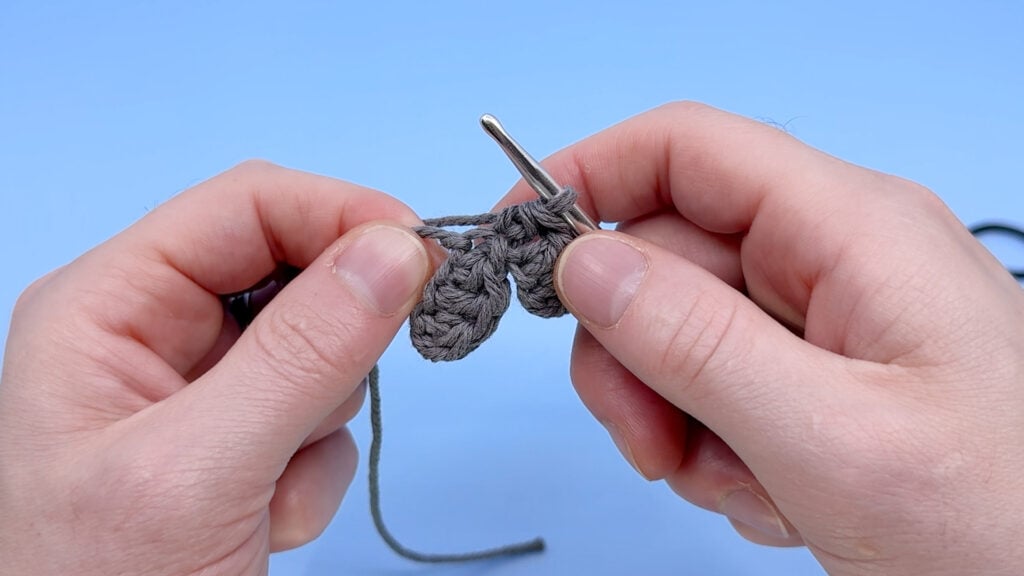
Ch 1, cut the yarn leaving enough tail end to sew onto the body and pull through.
Sew onto the body after Rnd 10.
03
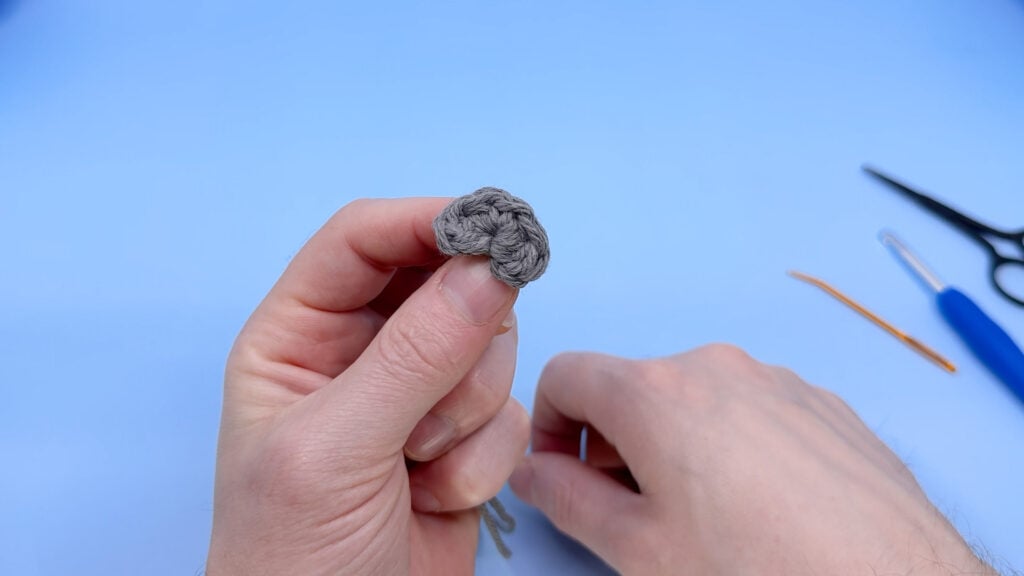
Muzzle
24:07
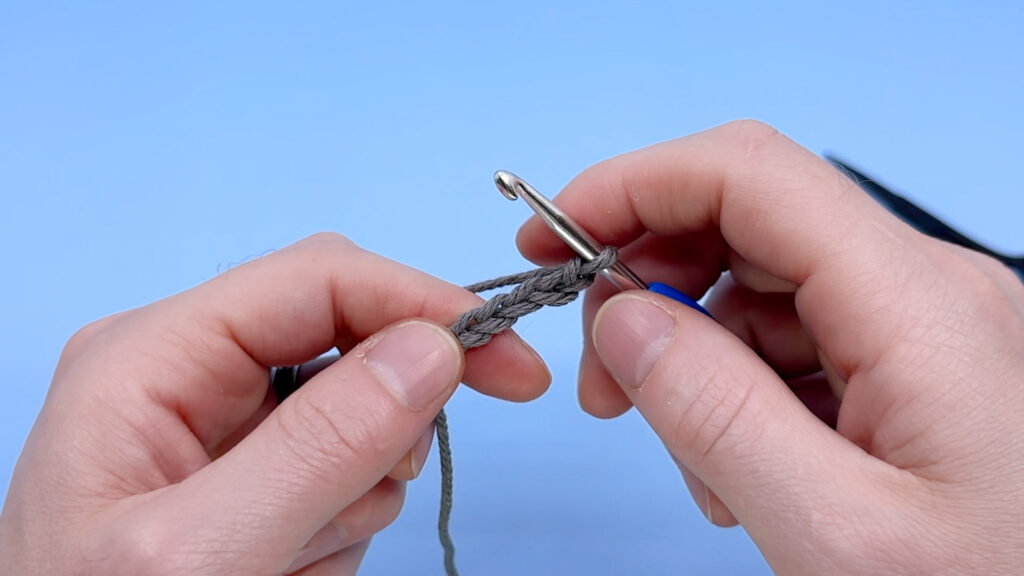
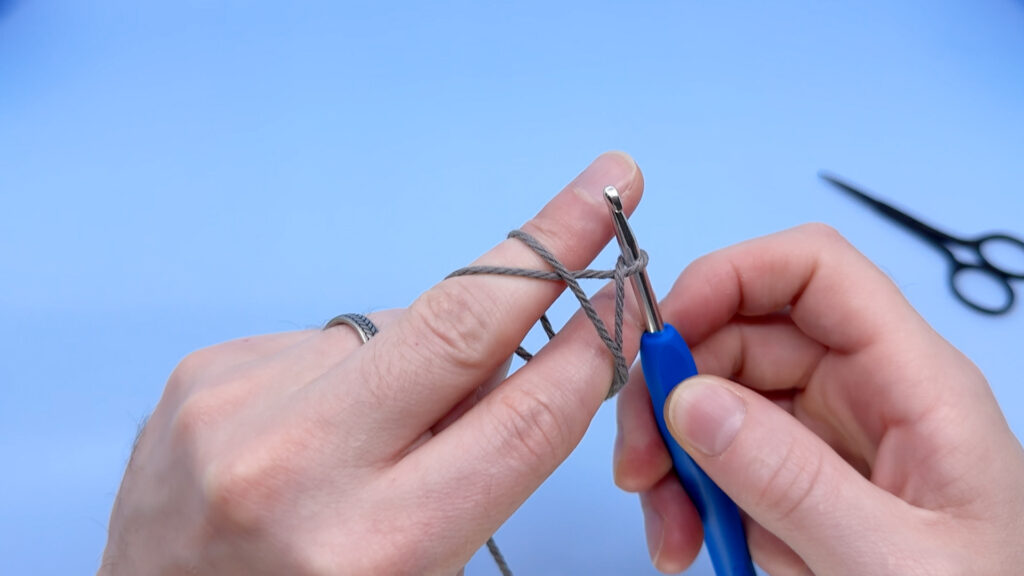
Magic Loop (Aka Magic Ring)
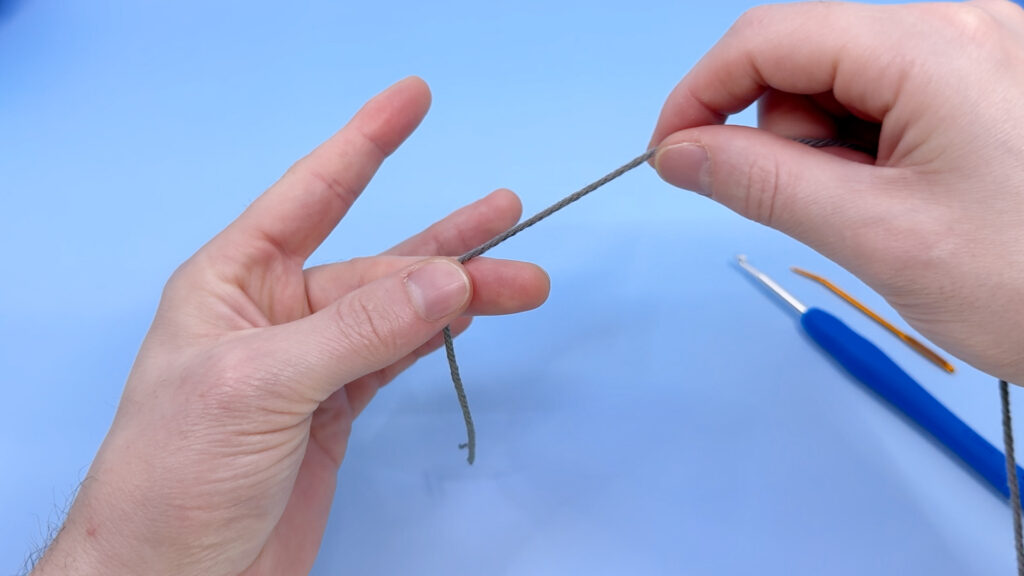
Step 1:
Pinch the yarn between thumb
and middle finger of your
non-dominant hand.
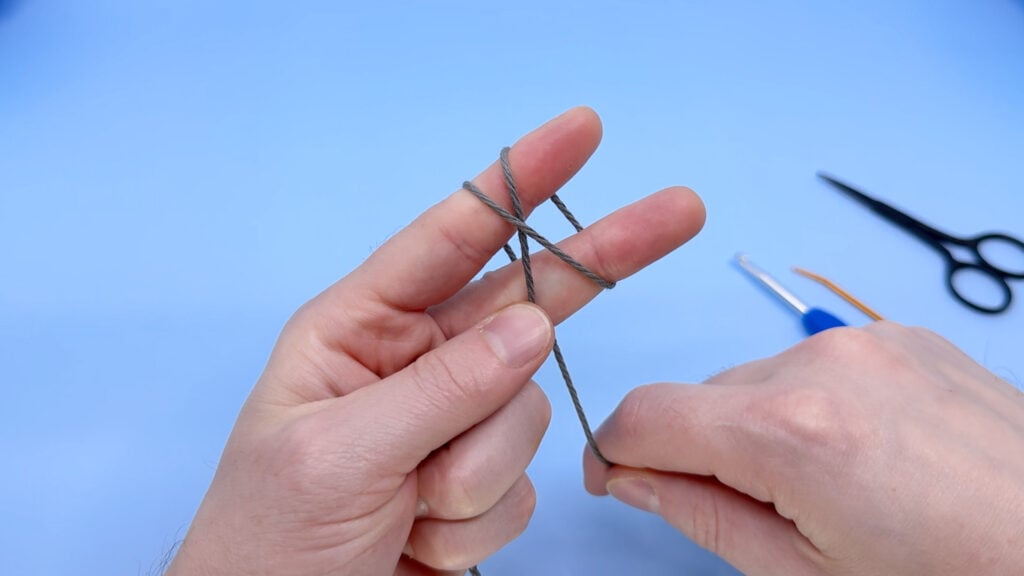
Step 2:
Wrap yarn around fingers to
make an "X" shape on the front.
Grab end with your ring finger.
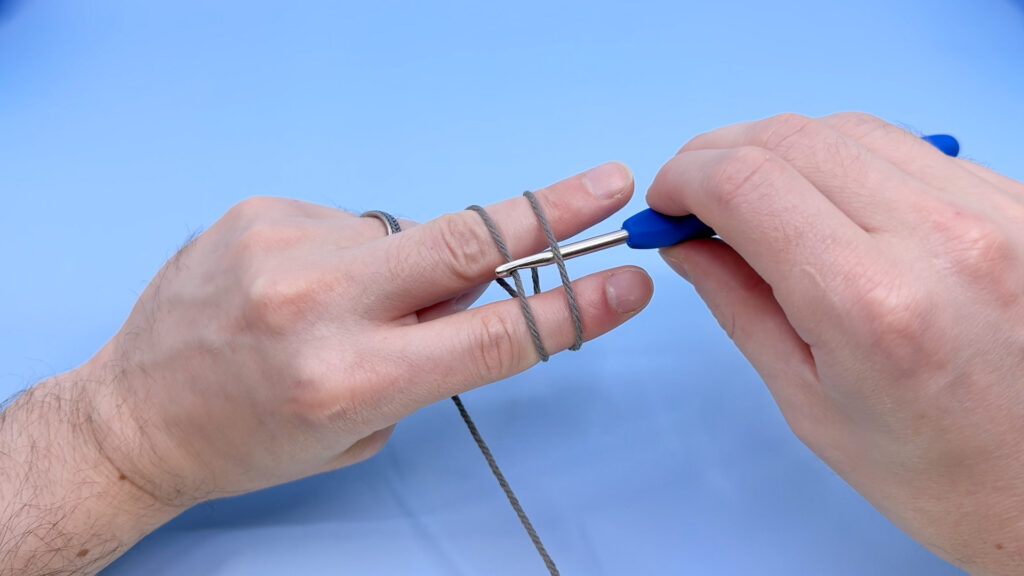
Step 3:
Turn your hand; hook under
first bar, catch second bar
and pull it under the first.
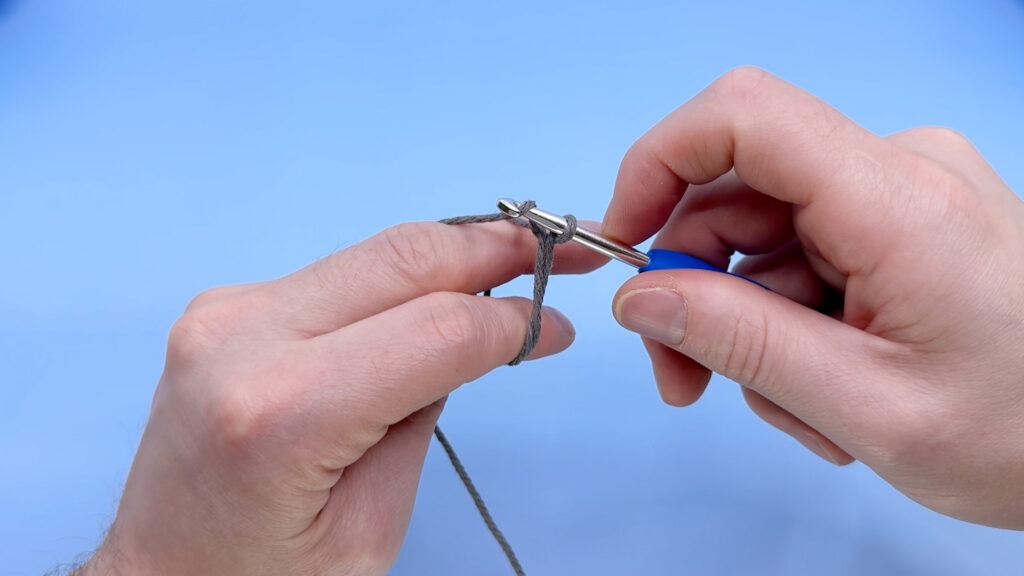
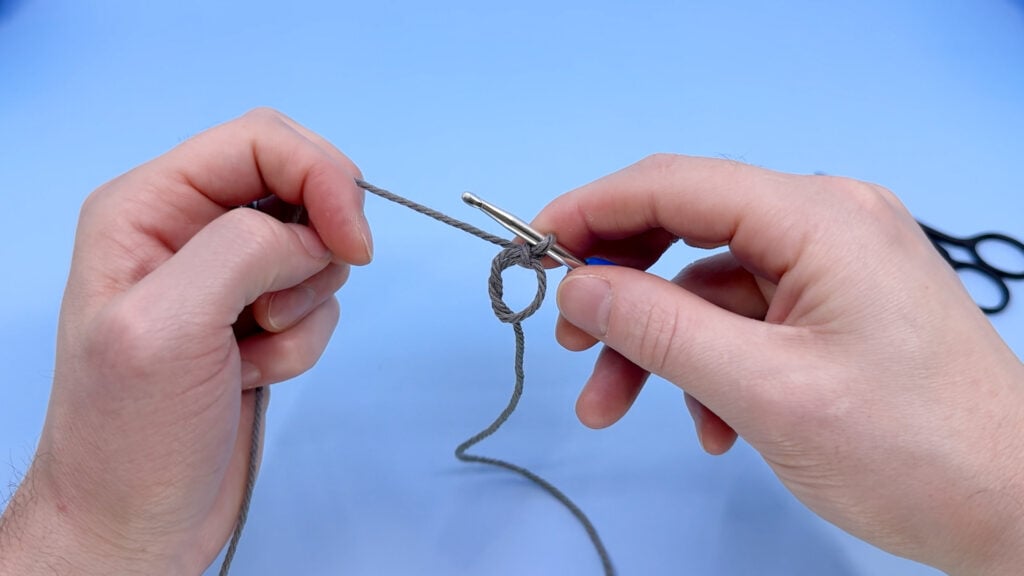
Step 4:
Twist to make a loop, yarn
over, and pull through to
chain.
[All in Grey]
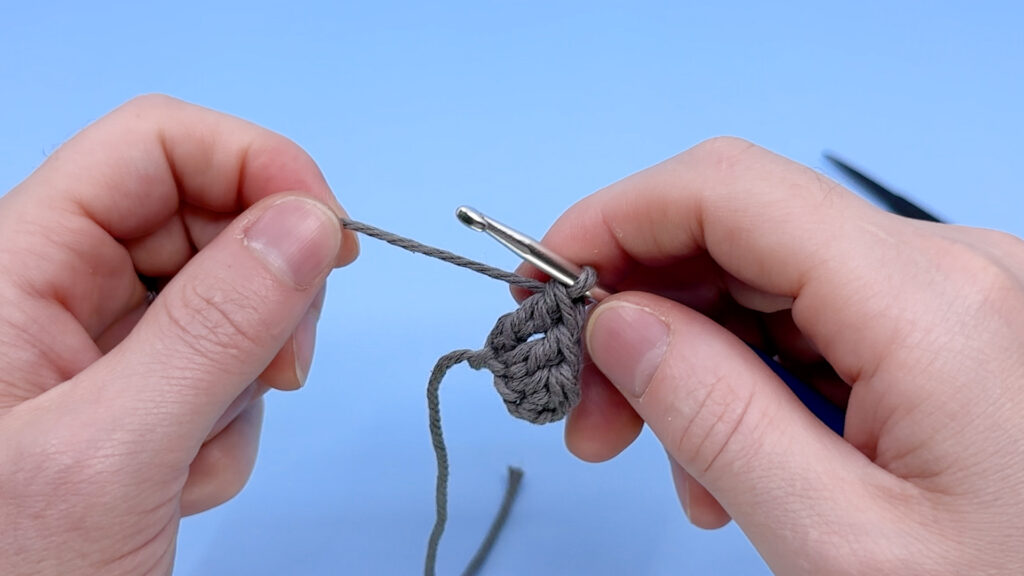
Magic loop, ch 2
Rnd 1: Skip chs, working into the magic loop dc 1, hdc 1, sc 1, hdc 1, dc 1, ch 1, slst 1
Cut the yarn and pull through, pull the tail end back into the center of the magic loop before pulling tight.
Sew onto the body after Rnd 5.

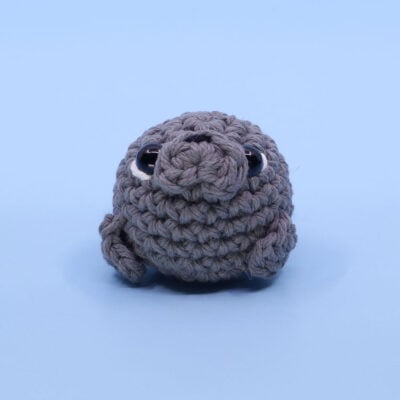
04
Body
31:12
[All in Grey]
Magic loop
Rnd 1: sc 6 into the magic loop (6)
Rnd 2: inc in each (12)
* = Mark these sts for sewing locations (pictured in Cyan)
Rnd 3: [sc 1, inc 1] 6 times (18) (*mark sts 9, 11, and 14)
Rnd 4: [sc 5, inc 1] 3 times (21)
Rnd 5: sc in each st (21)
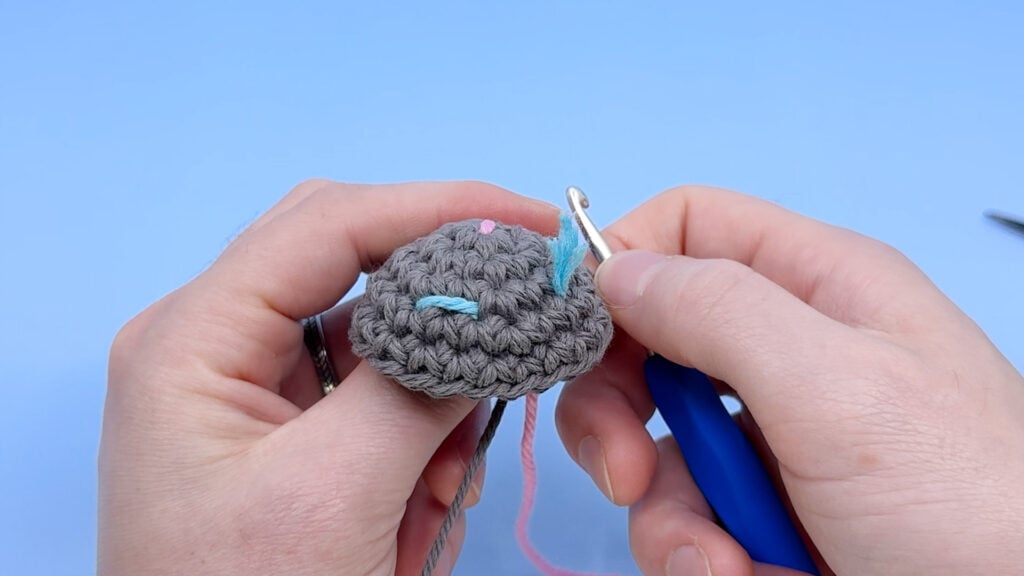
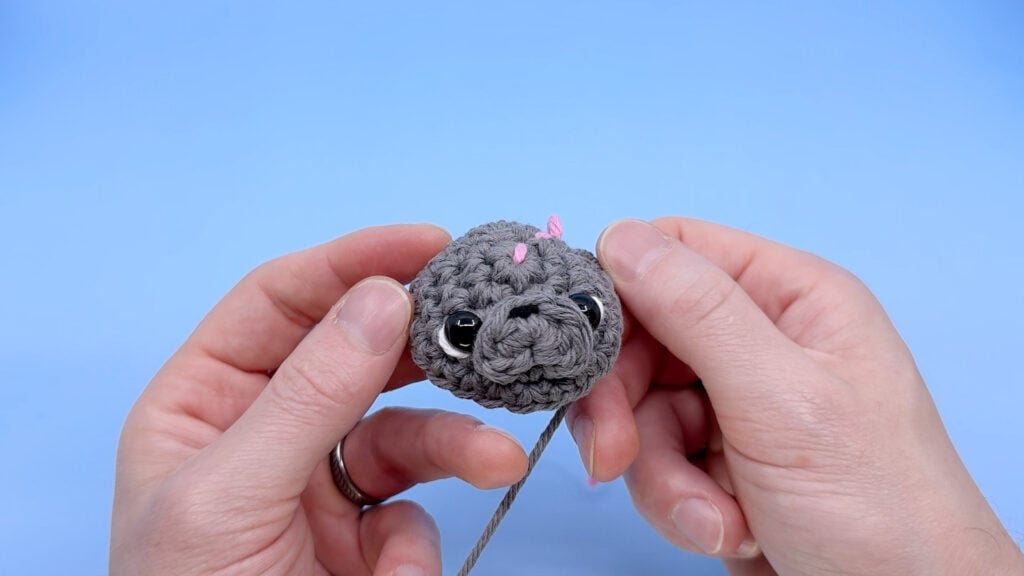
Add eyes into Rnd 3, sts 9 and 14. The eyes should be about 5 sts apart. Try using white yarn pulled around the eyes to add white to your seals eyes! (53:36)
Sew on the muzzle, starting with pulling the grey tail ends through 2 stitches between the eyes in Rnd 3, around st 11 and double knot on the inside. With a strand of Black Yarn, embroider on a nose between the sc in the muzzle, worked into the body and double knotted to better secure the muzzle to the body.
Rnd 6: sc 2, inc 1, sc 18 (22) (*mark sts 11 and 19)
Rnd 7: sc 2, inc 1, sc 1*, inc 1, sc 17 (24) (*mark st 5)
Rnd 8: sc 2, invdec 1, sc 1, invdec 1, sc 17 (22) (*mark sts 10 and 20)
Rnd 9: [sc 2, invdec 1] 2 times, [sc 5, invdec 1] 2 times (18)
Rnd 10: [sc 1, invdec 1] 6 times (12)
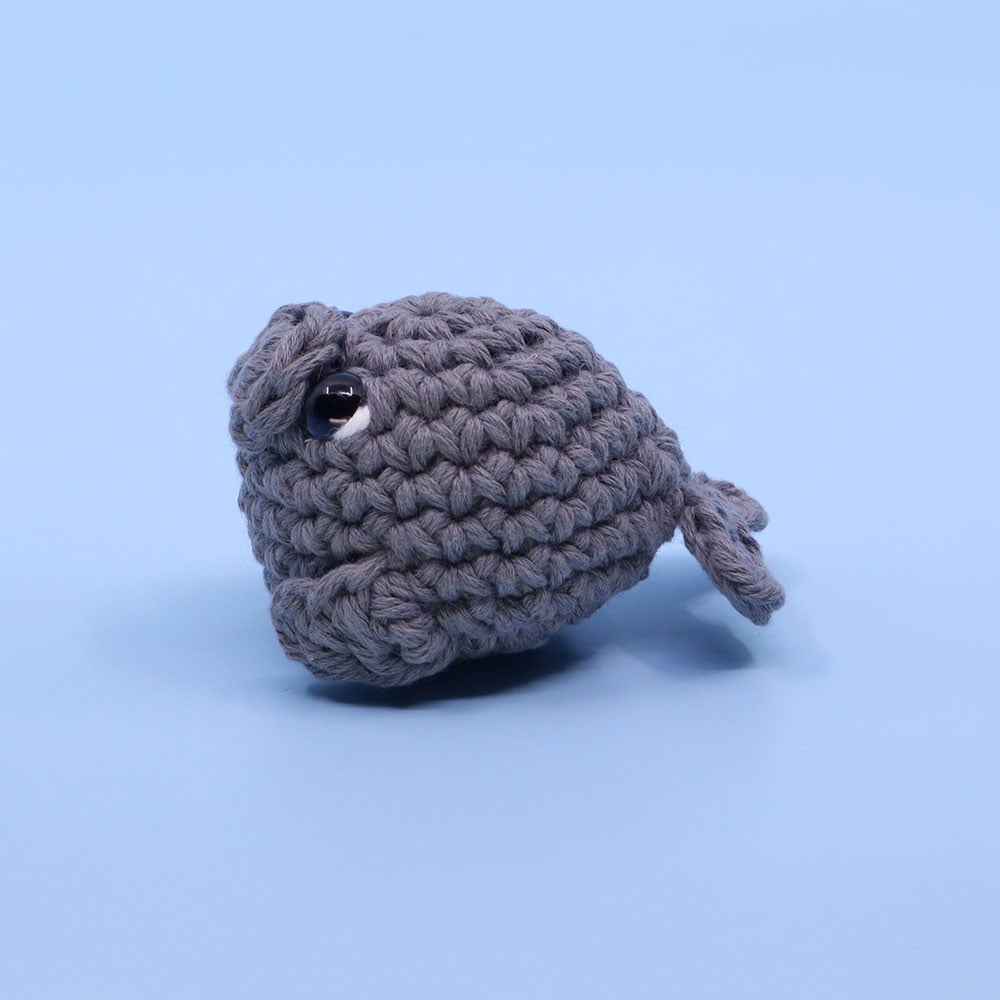
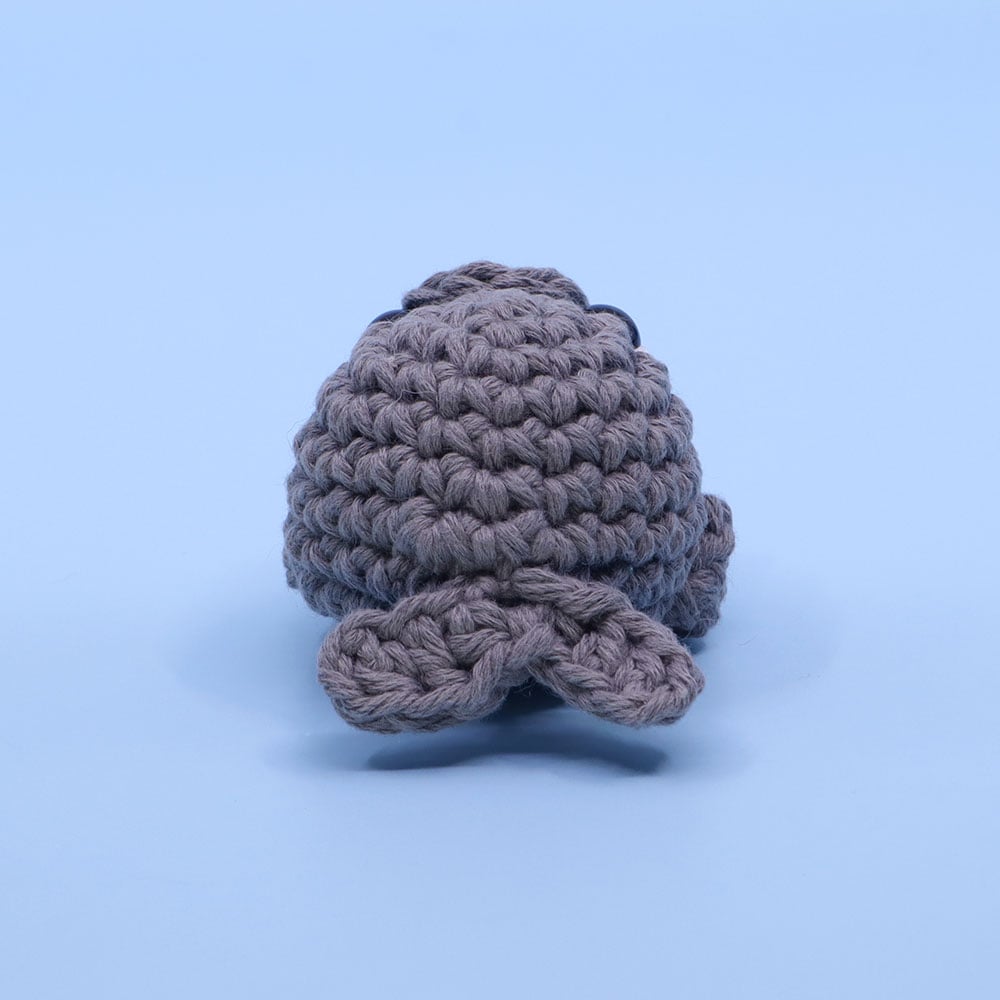
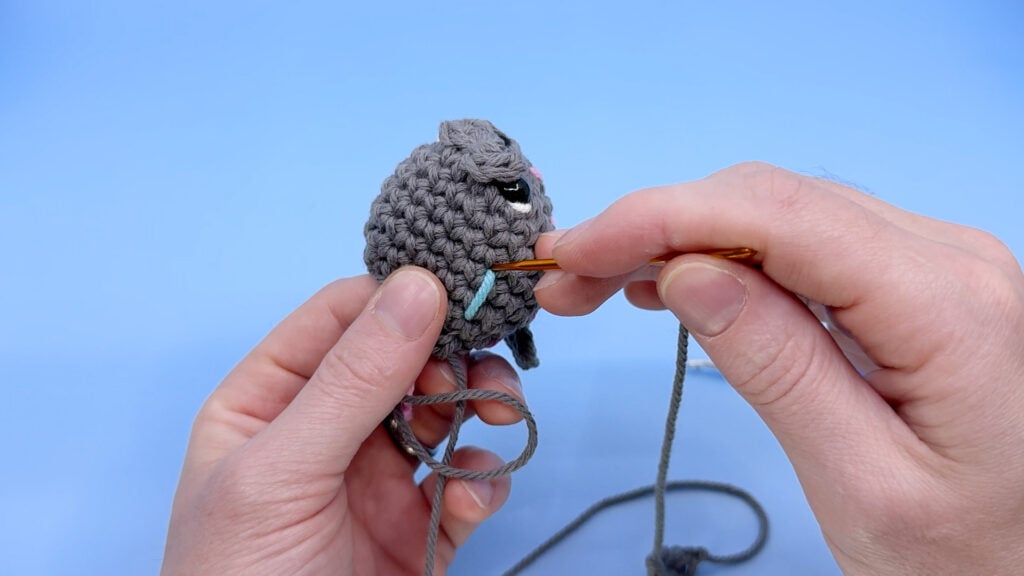
Sew on the tail pulling the tail ends through Rnd 7 around st 5 and double knotted.
Sew on the fins, pulling tail ends for the right fin through Rnd 6 st 11 and Rnd 8 st 10, and the tail ends for left fin through Rnd 6 st 19 and Rnd 8 st 20.
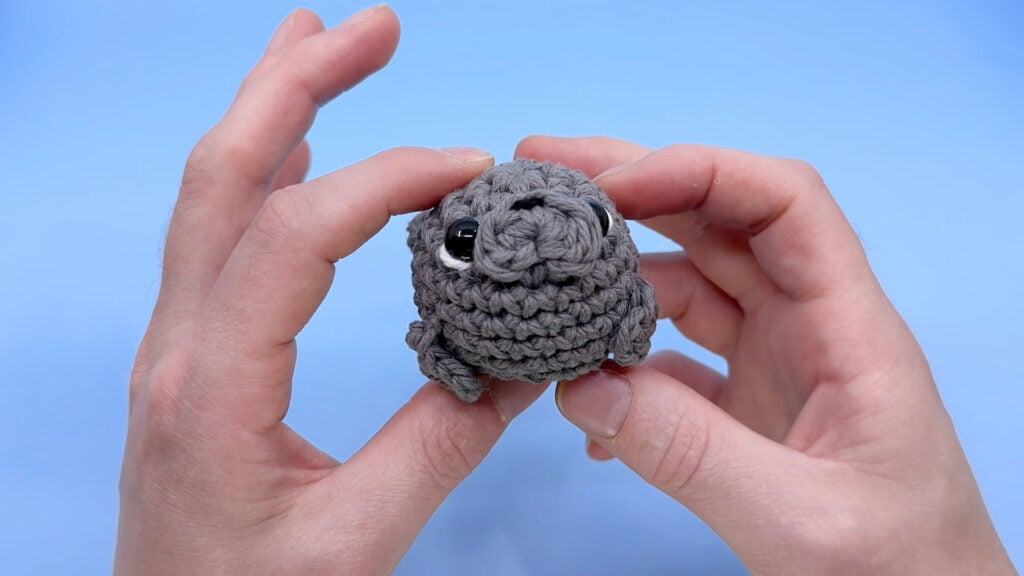
Stuff mostly.
Rnd 11: invdec in each st (6)
Stuff fully. Cut the yarn, and pull through.
Sew closed by threading the tail end through the front loops only (FLO) of all the sts in the final Rnd, then pull tightly to close. Hide the end back into the piece and cut close. (1:18:56)

Other patterns to try


Community posts
Community Showcase
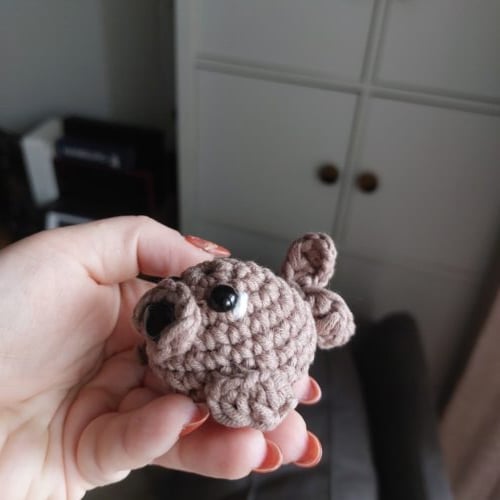
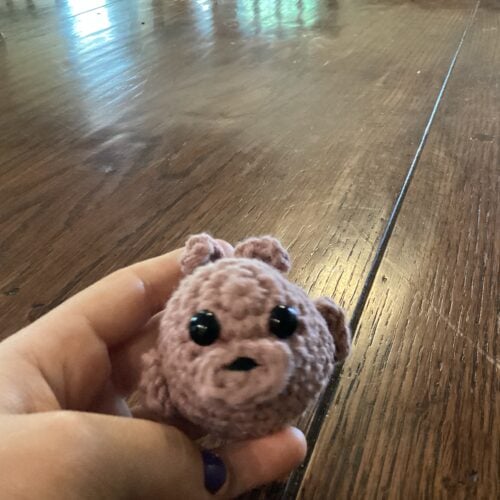
Cute seal
Submitted by @matkadanki
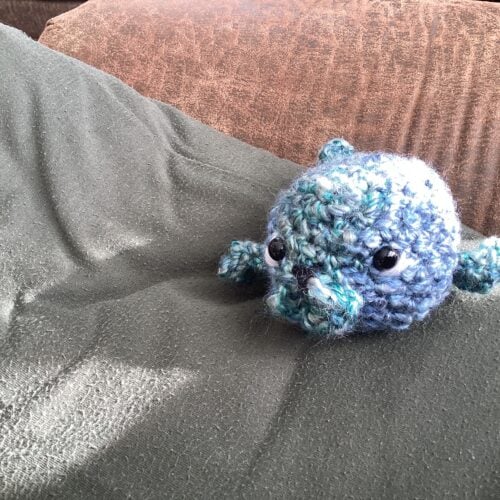
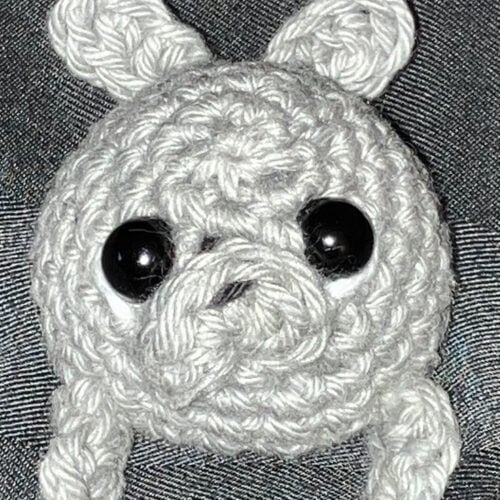
Seal Pup
Submitted by kasey1418
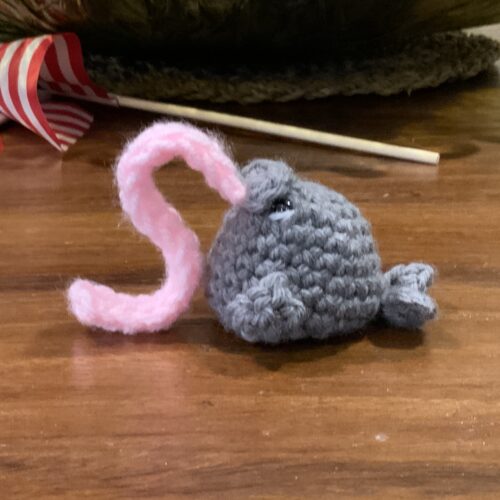
Lickety Spiltz
Submitted by alexander_hu
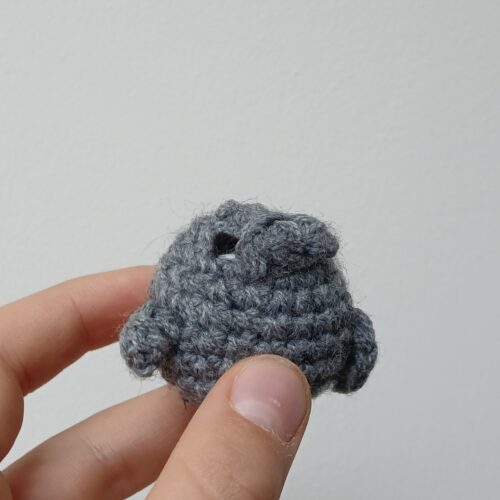
Seal
Submitted by aliasdannyboy
Seal
Submitted by @Hooked By Blair
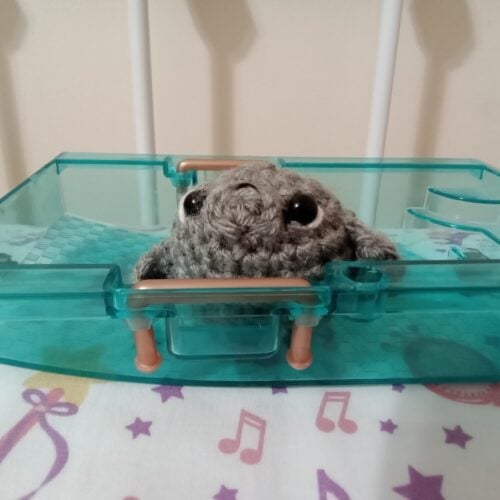
Sealea at the pool
Submitted by kosew
Hubert the Sean Pup
Submitted by Tina Krause
Bob, the seal pup
Submitted by leonthecrochetier

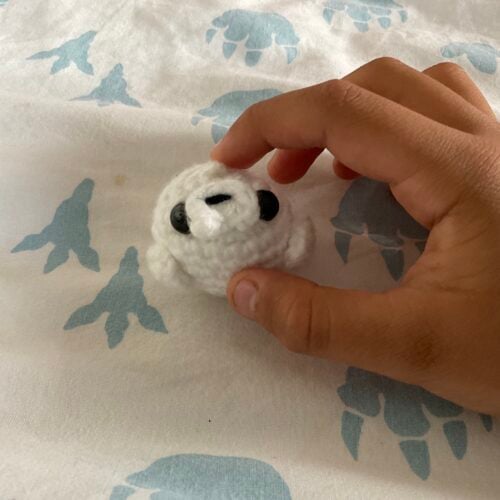
Baby Seal
Submitted by @FunFingz


super cut love it thank you