
Venus Fly Trap Amigurumi

Medium
In this improvised amigurumi crochet pattern we’ll be making a man eating Venus Fly Trap! This pattern was made from scratch during a live crochet along. It includes a few fun techniques for adding stems and vines, and is relatively easy to make!

Louie's Loops
Designed by


What you'll create


What you'll learn
What you'll need

Cotton Yarn
Weight

Colors
Green (Main color)
Beige (Pot)
Brown (Dirt color)
White or Black (Skull)
Pink (Tongue)

Crochet Hook
G6 / 4.00 mm
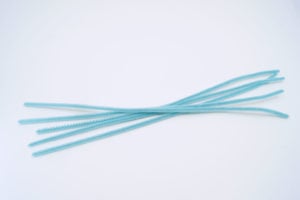
Pipe Cleaner (x2)

Stuffing

Darning Needle
Abbreviations used
ch
Chain Stitch
st
Stitch
slst
Slip Stitch
sc
Single Crochet
inc
Increase
invdec
Invisible Decrease
FLO/BLO
Front / Back Loops Only
dc
Double Crochet
hdc
Half-Double Crochet
bo
Bobble Stitch (4-dc bobble)
Useful information
Gauge
5 Rnds and 4 sts per 1”
Size
about 5 inches tall
Worked
In the Round


Pattern steps
01 Fly Trap
[All in Green]
Magic loop
Rnd 1: sc 6 into the magic loop (6)
Other patterns to try


Community posts
Community Showcase

Venus Fly Trap
Submitted by Soha
You need an account to submit your photo.


“Mp” means mini picot
How do you do the MP ?
What is “mp” for the leaves? What does that mean?
I don’t understand round five
Fly trap
VERY CUTE
I know, right