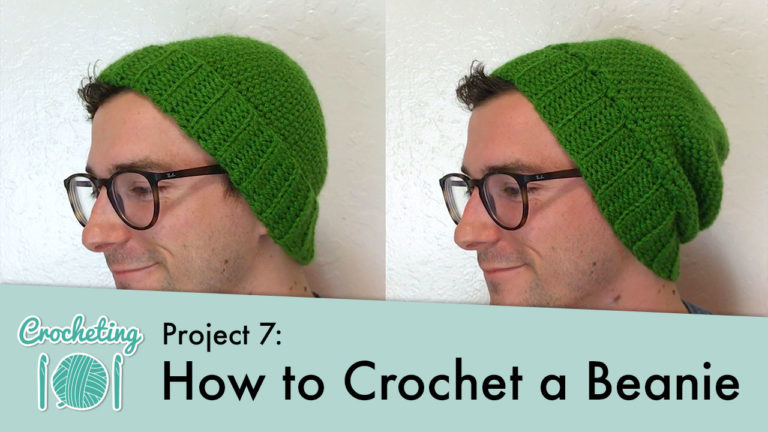
Final Project: Classic Beanie
Part of Crocheting 101: How to Crochet for Complete Beginners

Beginner

Louie's Loops
Designed by


What you'll create


Video tutorials
Main Video
What you'll learn
What you'll need

Cotton Yarn
Weight

Colors

Crochet Hook
G6 / 4.00 mm

Darning Needle
Abbreviations used
ch
Chain Stitch
st
Stitch
slst
Slip Stitch
sc
Single Crochet
inc
Increase
FLO/BLO
Front / Back Loops Only
dc
Double Crochet
hdc
Half-Double Crochet
Useful information
Pages
190-209
Sizing
Rnds 1 – 13 should be the same regardless of the size. After Rnd 13 I’ll let you know how to make it different sizes. The size you’ll need depends on the size of your head of course. I have a bit of a tiny head, so for me, a small size fits snug to my head, and a medium size is just a slightly looser fit, which is also nice. When in doubt, go larger because an oversized beanie is more useful than an undersized beanie.
Gauge
4 Rnds and 3 sts per 1”
Worked
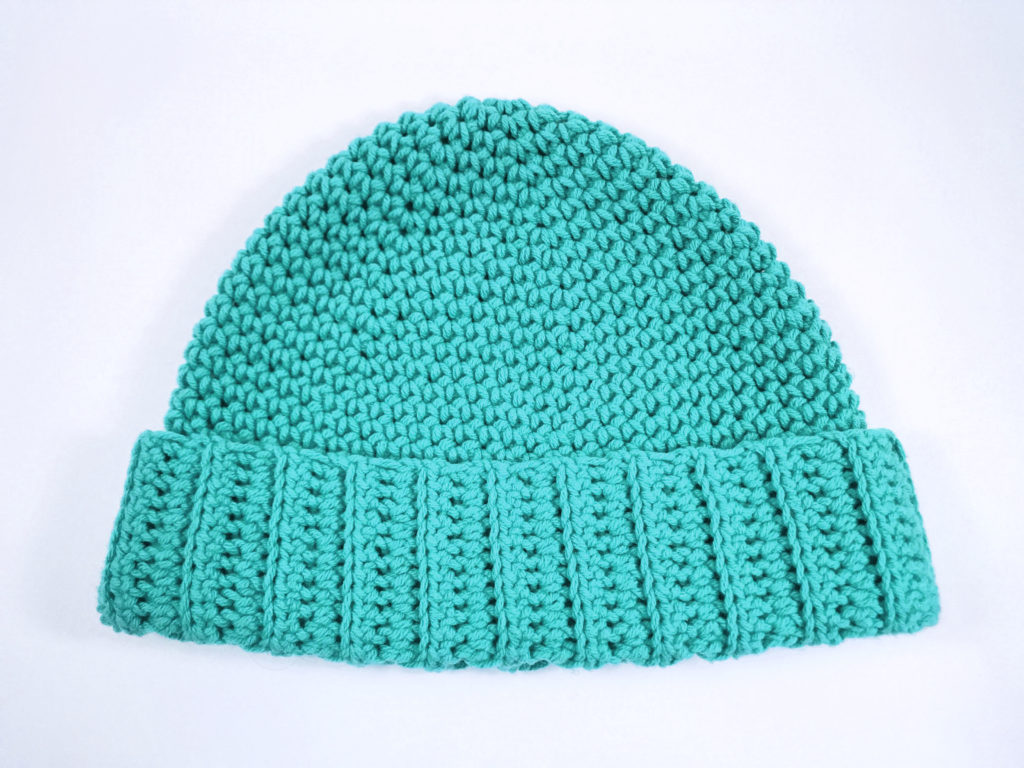
Brim: Flat
Hat: In the Round
Pattern steps

01
The Body
2:16
Ch 2 or use the magic loop method
Rnd 1: Work 6 sc in 2nd ch from hook or into magic loop (6)
Rnd 2: inc (sc 2) in each st (12)
Rnd 3: [sc 1, inc] repeat 6 times (18)
Rnd 4: [sc 2, inc] repeat 6 times (24)
Rnd 5: [sc 3, inc] repeat 6 times (30)
Rnd 6: sc in each st (30)
Rnd 7: [sc 4, inc] repeat 6 times (36)
Rnd 8: [sc 5, inc] repeat 6 times (42)
Rnd 9: sc in each st (42)
Rnd 10: [sc 6, inc] repeat 6 times (48)
Rnd 11: [sc 7, inc] repeat 6 times (54)
Rnd 12: sc in each st (54)
Rnd 13: [sc 8, inc] repeat 6 times (60)
Skip to Rnd N for Extra Small Size
Rnd 14: sc in each st (60)
Rnd 15: [sc 9, inc] repeat 6 times (66)
Skip to Rnd N for Small Size
Rnd 16: sc in each st (66)
Rnd 17: [sc 10, inc] repeat 6 times (72)
Skip to Rnd N for Medium Size
Rnd 18: sc in each st (72)
Rnd 19: [sc 11, inc] repeat 6 times (78)
Skip to Rnd N for Large Size
Rnd 20: sc in each st (78)
Rnd 21: [sc 12, inc] repeat 6 times (84)
You can repeat increasing Rnds for even larger sizes.
The number “N” is going to be used for a couple of things in this pattern and is different depending on the size beanie you made. Here’s how to find N:
N = (Final Stitch Count) ÷ 6
Here’s a quick cheat sheet to find N for each size:
XS = 10 S = 11 M = 12 L = 13 XL = 14
For the rest of the Body of the beanie:
Rnd N: sc in each st (?)
Repeat N Rnds or until you feel it’s long enough.
The Body should be just long enough to just barely cover your ears.

Before Rnd N
For style, during Rnd N, replace 2 Rnds of scs for 1 Rnd of dcs.

With Double Crochets
02
The Brim
13:02
Ch (N + 2)
(XS = 12, S = 13, M = 14, L = 15, XL = 16)

Row 1: Turn, skip 2 chs and hdc in each ch down, but stop 1 ch before the end.
sc2tog by pulling 1 loop through the final ch and 1 loop through the connecting st on the beanie’s rim.
Working into rim sts, sl.st 3 (N + 3 sl.sts)


Row 2: Turn, skip 3 sl.sts, working in BLO, hdc in each st up (N)


Row 3: Turn, ch 2, skip the chs.
Working in BLO, hdc in each st down, Stop 1 stitch early.
sc2tog by pulling a loop through the connecting loop and the connecting st on the beanies rim
Working into rim sts, sl.st 3 (N + 3 sl.sts)


Repeat Rows 2 and 3 until you reach the beginning brim chs you made prior to Row 1.

When you get to the end, there should be no more stitches on the brim for you to work into.

Cut the yarn leaving a long end for sewing together, ch 1 and pull the yarn all the way through.

Thread the tail on a needle and sew the brim together with a whip stitch by working into the beginning chs made before Row 1 and the back loops only (BLO) from the sts of the last Row you made.


Make sure to pull it tight every now and then.

When you get to the bottom and there are no more sts to work into, hide the tail into a few stitches on the beanies rim and cut the yarn close to fully hide it.


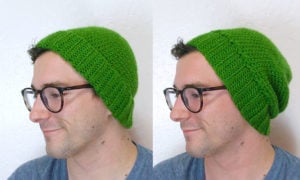
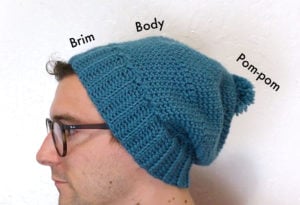
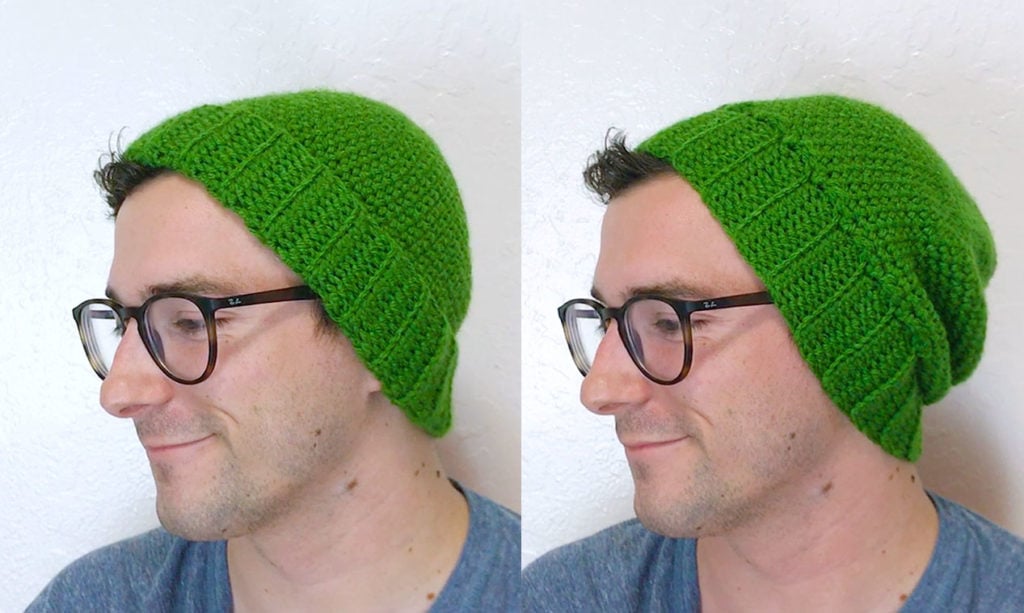
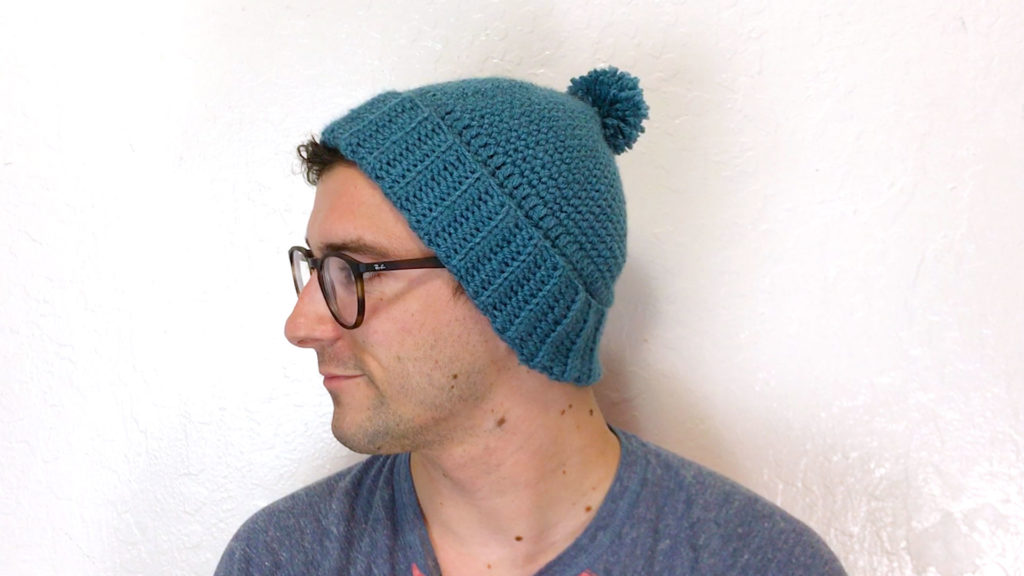
Your beanie is now finished! Fold up the brim to wear it as a normal beanie, or leave it down to wear it as a slouchy beanie.
Other patterns to try


Community posts
Community Showcase
Crocheted this pattern? Be the first to show off your project by submitting a photo!


How do you know what size you are? I live in FL so beanies aren’t very common here!
I just finished my first beanie and I LOOOVE it, the design is so nice and easy to make !