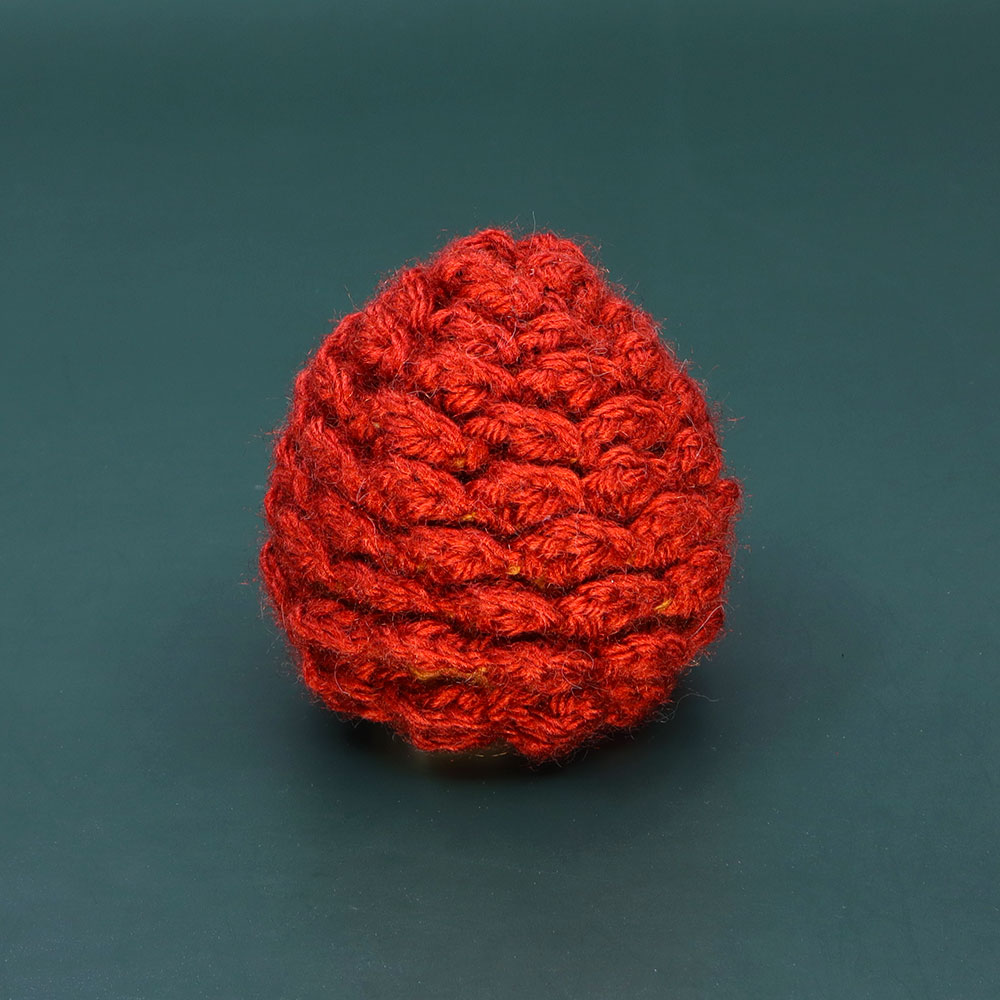
Perry the Pine Cone Amigurumi

Medium difficulty

Medium

1-2 hours

PDF

Video

Lefty

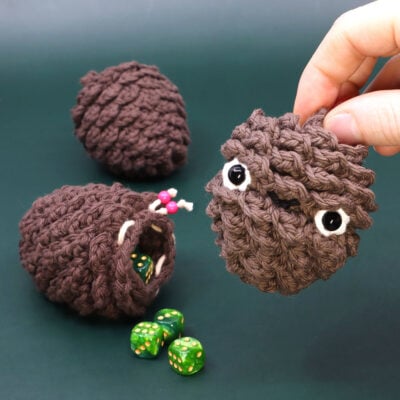
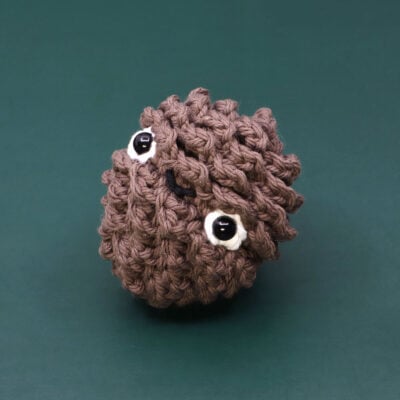
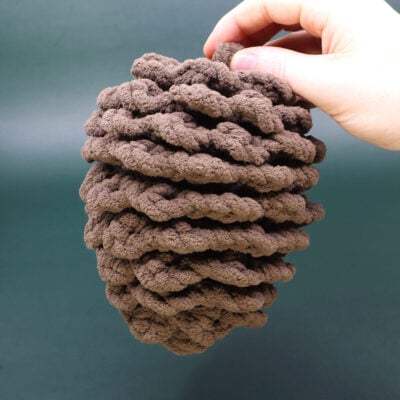
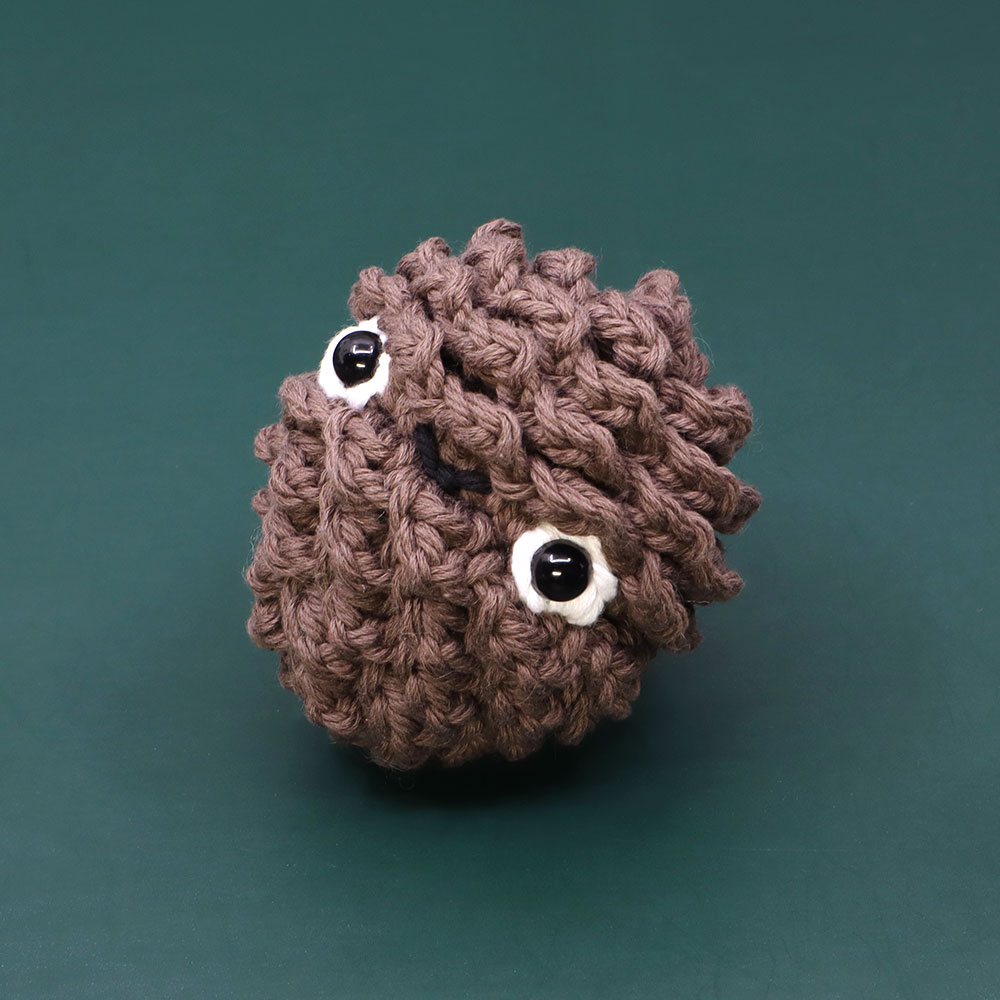
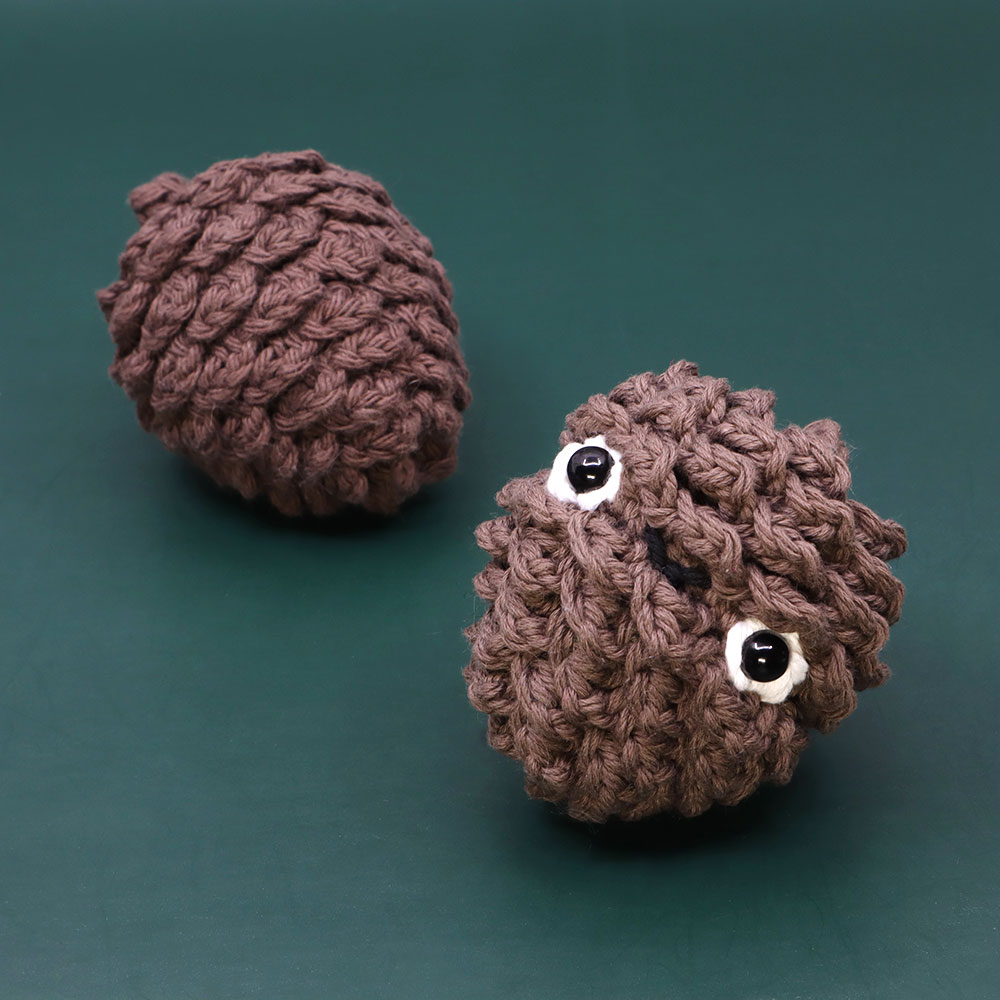
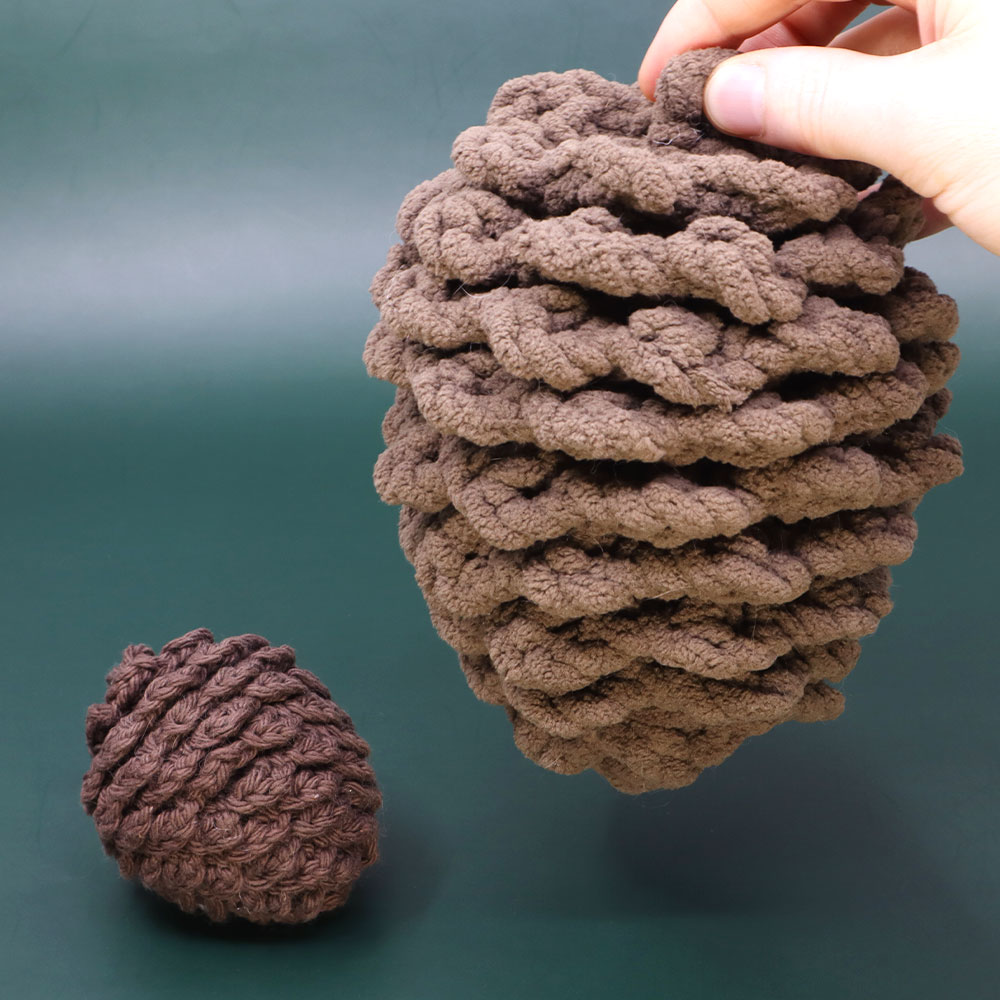
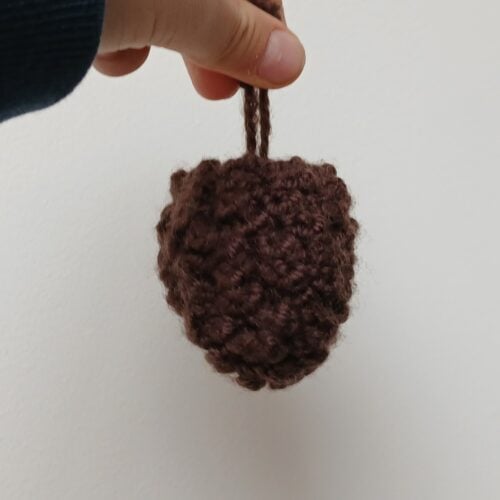
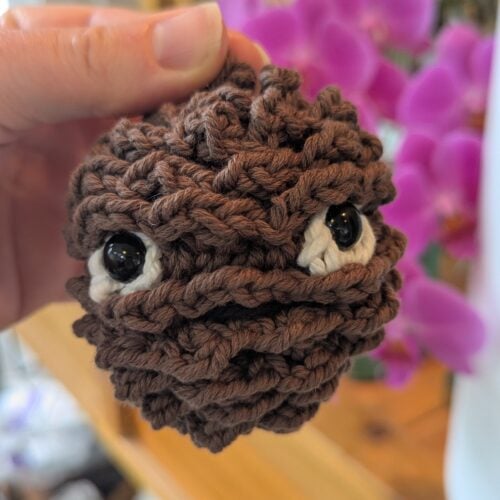
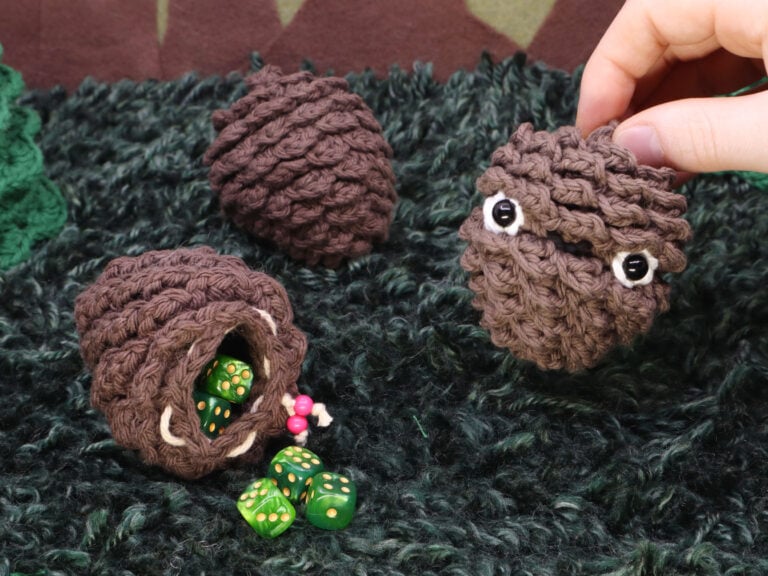
Make sure to look up while you stroll down the trails or you might be abruptly introduced to the self-proclaimed defender of the Wooly Woods, Perry the Pinecone. Noble Perry is always on the lookout for intruders and is ready to drop onto their heads at a moment’s notice! This soldier takes his job very seriously!

Louie's Loops

Designed by

Video tutorials

Main Video

Left Handed Video

Abridged Video

What you'll learn

What you'll need

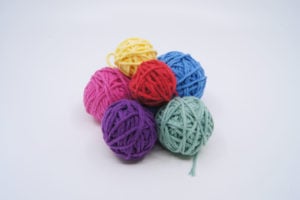
Cotton Yarn

Weight

Colors

Brown [B] (main color)
White [W] (Eyes)
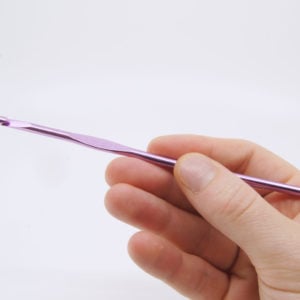
Crochet Hook Size G6 / 4.00mm

Crochet Hook

G6 / 4.00 mm

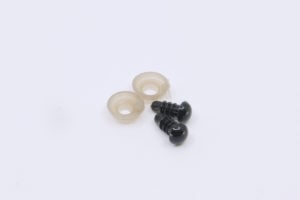
Safety Bead (x2)

8mm

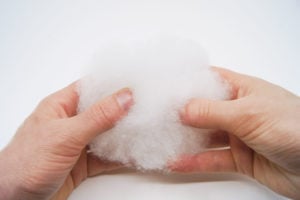
Stuffing

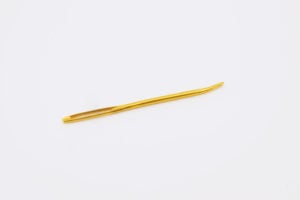
Darning Needle

Abbreviations used

ch

Chain Stitch

st

Stitch

slst

Slip Stitch

sc

Single Crochet

inc

Increase

dec

Decrease (Sharp)

FLO/BLO

Front / Back Loops Only

hdc

Half-Double Crochet

mbo

Mini Bobble Stitch

{ }

Worked in same stitch

Useful information

Pattern steps

Use checkboxes to track progress Click to reset
2:45
Time codes match to the main video

01 Pine Cone Body

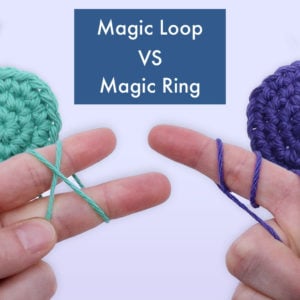
Using Brown, make a magic loop.

Rnd 1: sc 6 into the magic loop (6)

Work into the BLO for the rest of the body

BLO = Back Loop Only

Rnd 2: inc in each (12)

Rnd 3: [sc 3, inc 1] 3 times (15)

Rnd 4: [sc 4, inc 1] 3 times (18)

Rnd 5: [sc 5, inc 1] 3 times (21)

Rnd 6: sc in each st (21)

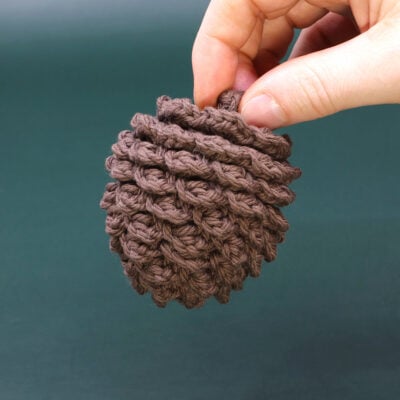
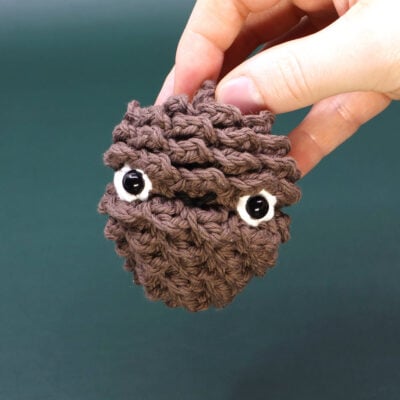
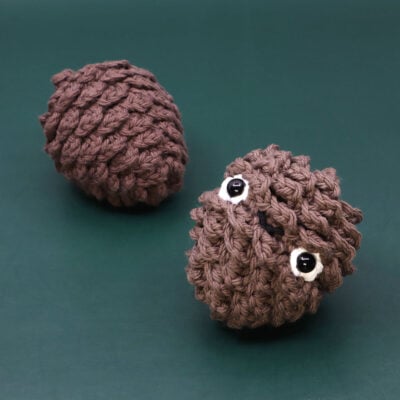
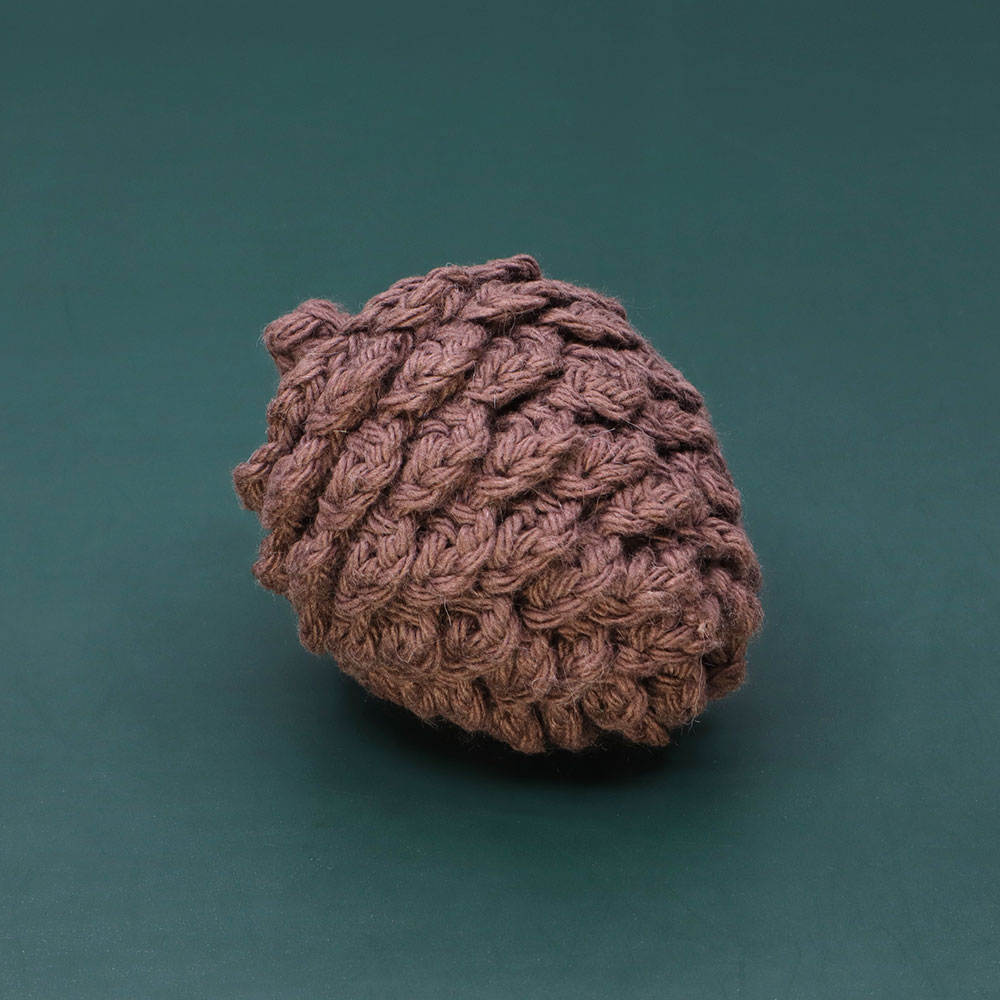
In the following Rnd, you’ll make mbo (mini bobble) stitches for the eyes, crocheted in White. To make a faceless pinecone, replace Rnd 7 by repeating Rnd 6 (sc in each st).

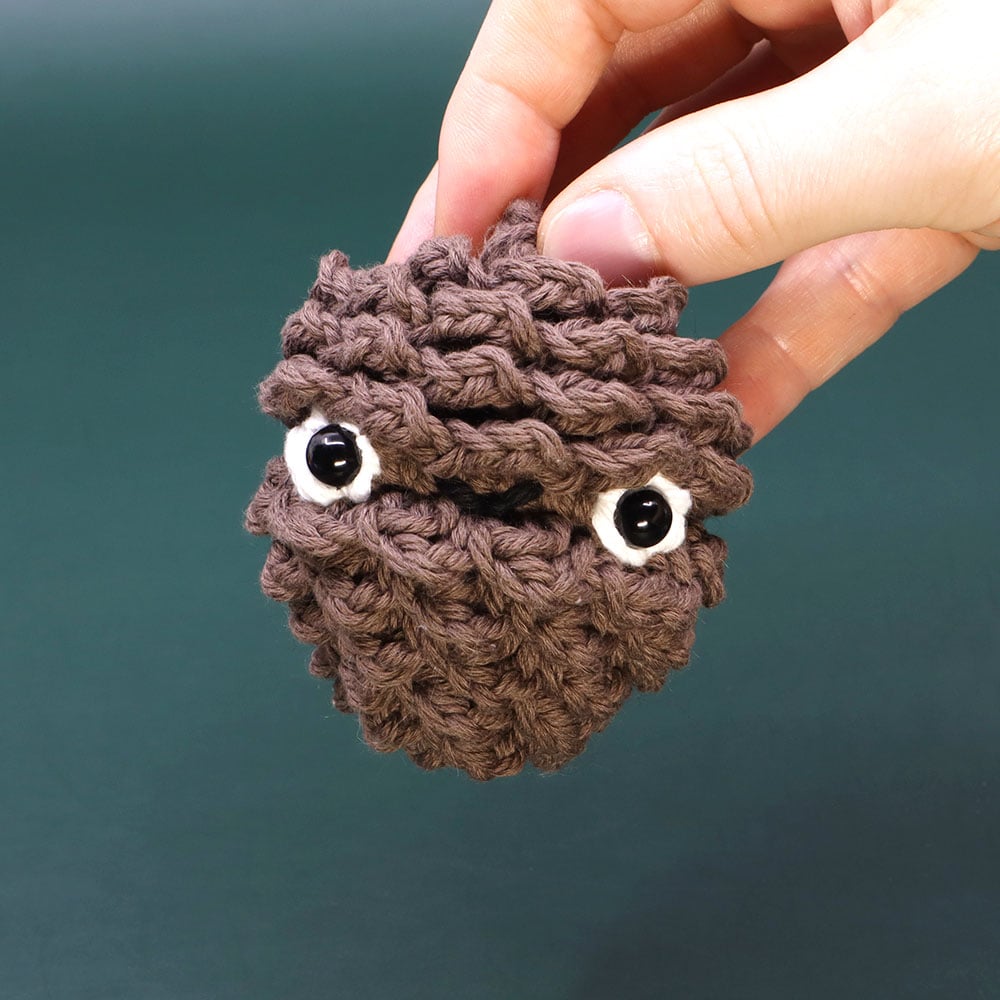
Rnd 7: sc 7, mbo 1 [W], sc 5, mbo 1 [W], sc 7 (21)

Rnd 8: sc in each st (21)

If you would like to convert your pinecone into a dice pouch, see the instructions on the opposite page before working Rnd 9.

Rnd 9: [sc 5, dec 1] 3 times (18)

Rnd 10: [sc 1, dec 1] 6 times (12)

Partially stuff.

Rnd 11: dec in each st (6)

To add a stem at the bottom of your pinecone crochet a mini bobble stitch (mbo) in the next stitch before cutting and stuffing.

Stuff fully, cut the yarn, and sew closed.

02 Scales

Pull a loop through the first unused FLO in Rnd 2.

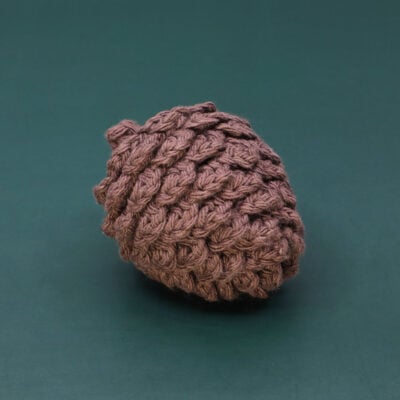
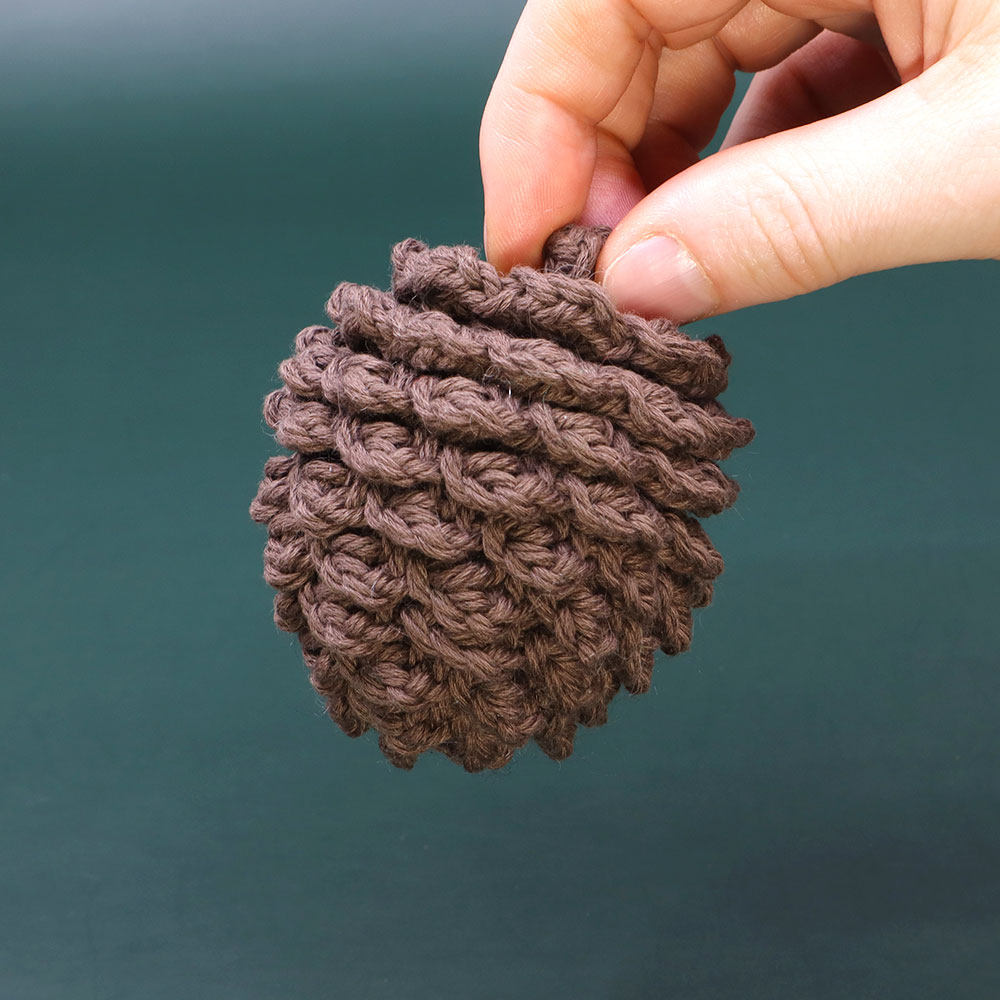
[ch 2, hdc in next, ch 1, slst in next] repeat to the end. (82 scales total)

Cut the yarn, thread the ends on a needle and hide back into the piece.

03 Adding a Mouth

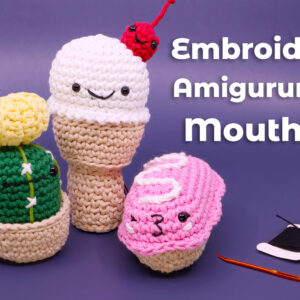
After adding eyes I like adding a mouth using Black yarn or thread seamed between the eyes. I usually like making the mouth at nearly the same height as the eyes, but you can of course change this placement for different looks.

Simple Smile

1. Using Black thread insert the needle from the inside of the body and exiting where you want a smile to begin.

2. Pull to the opposite corner of where you want the smile to end, and insert your needle back into the body. This will create a straight line.

3. Insert your needle to exit the body where you want the bottom of the smile to be. Go around the straight line and insert back into the body through the same stitch you last exited.

4. Double knot the two ends on the inside of the body and cut close.

04 Converting to a Pouch

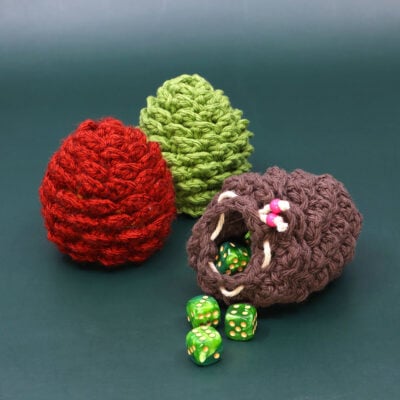
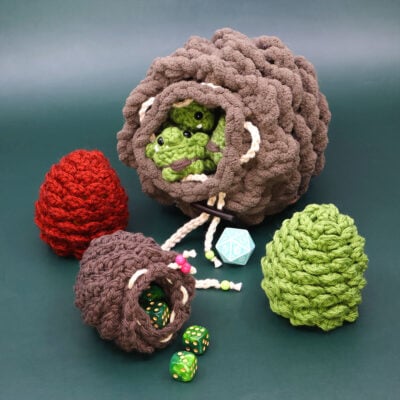
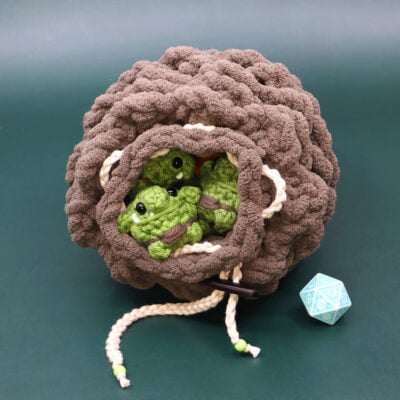
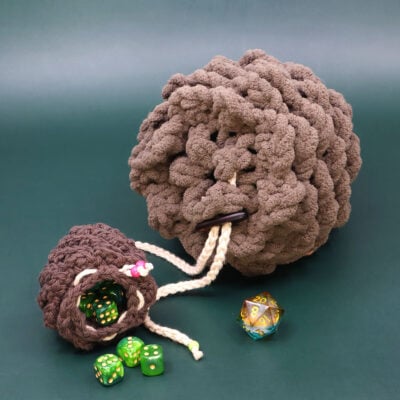
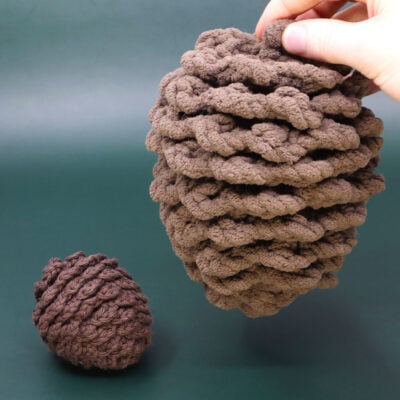
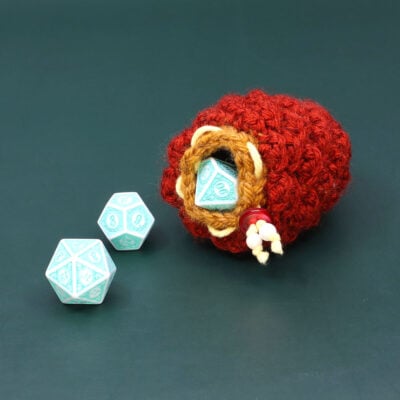
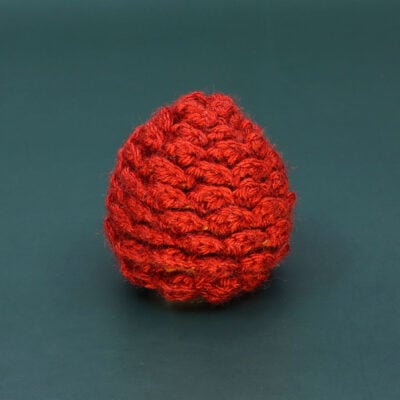
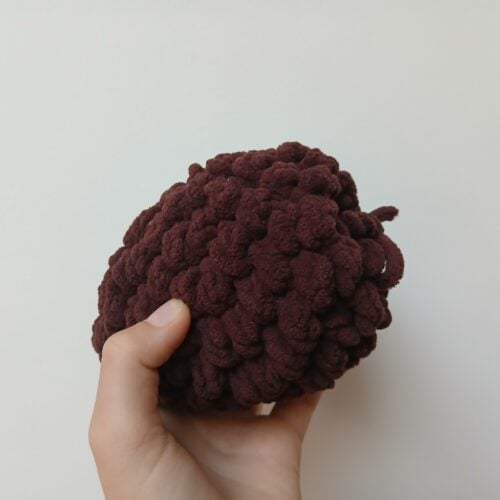
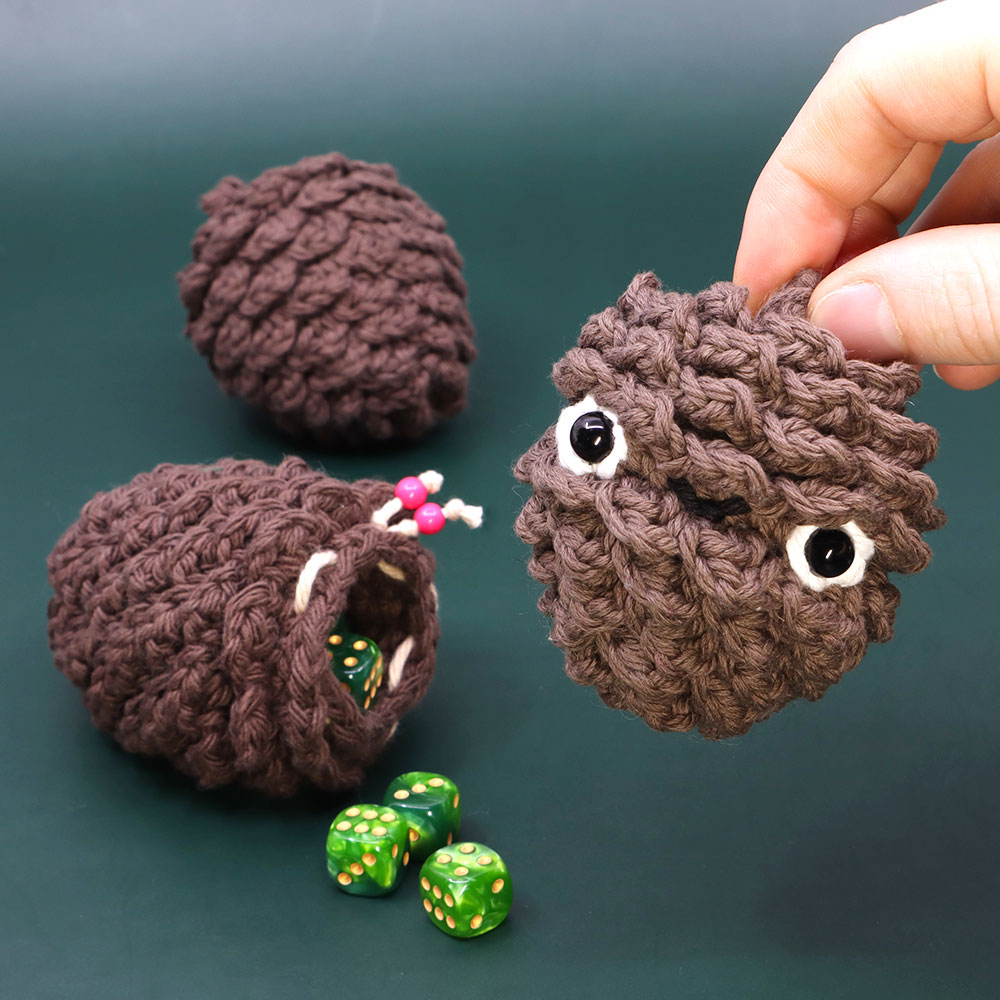
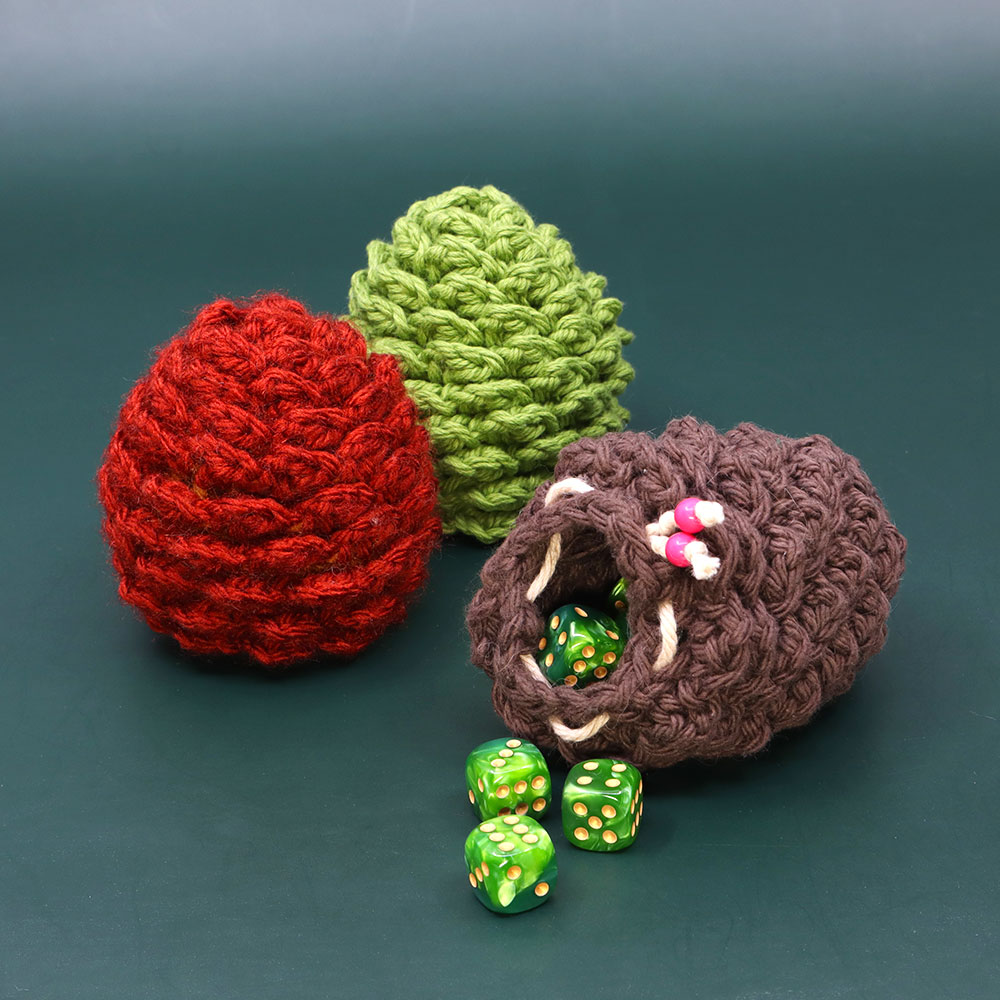
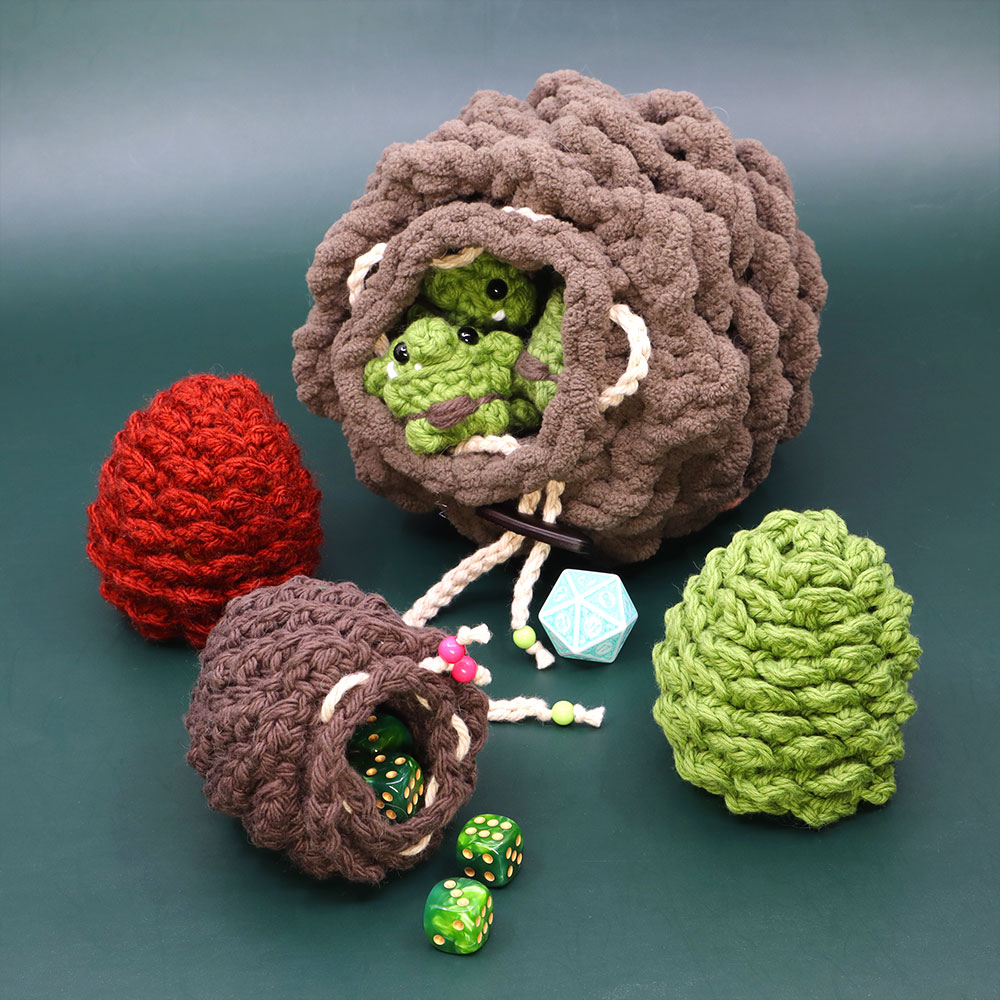
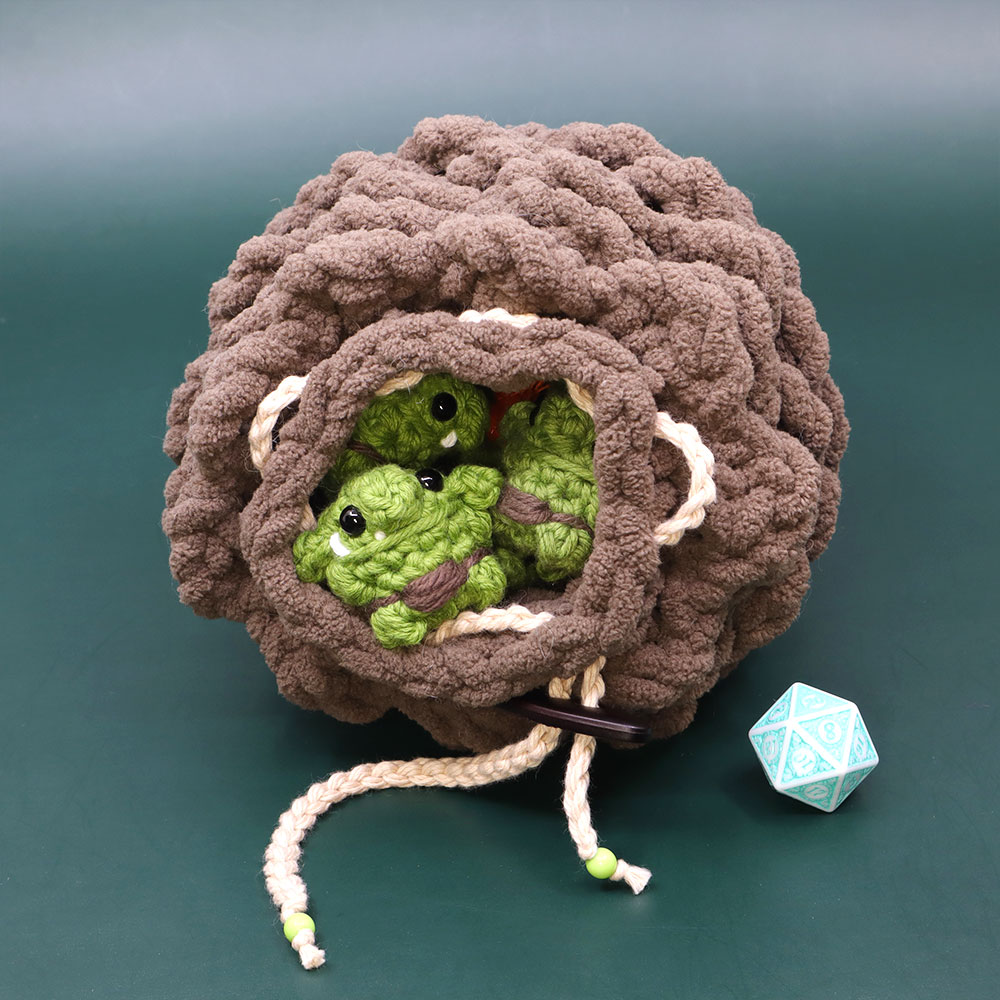
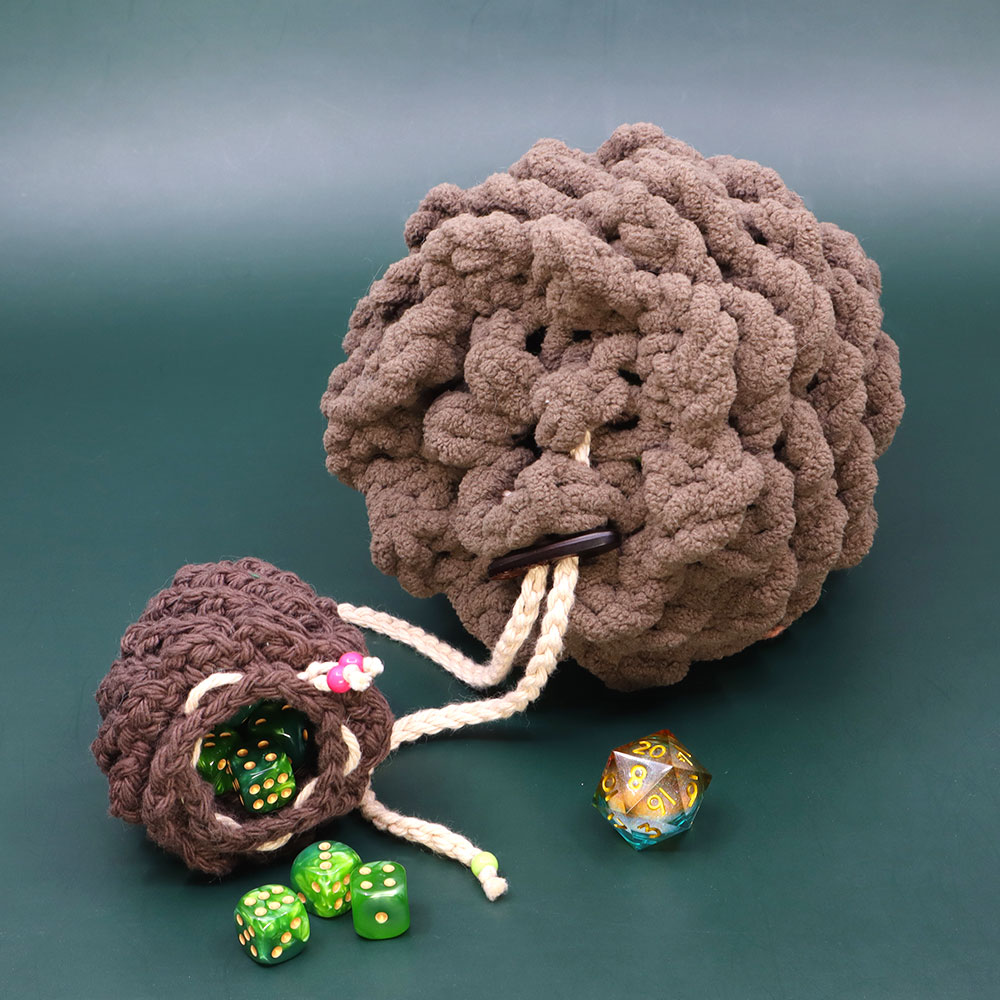
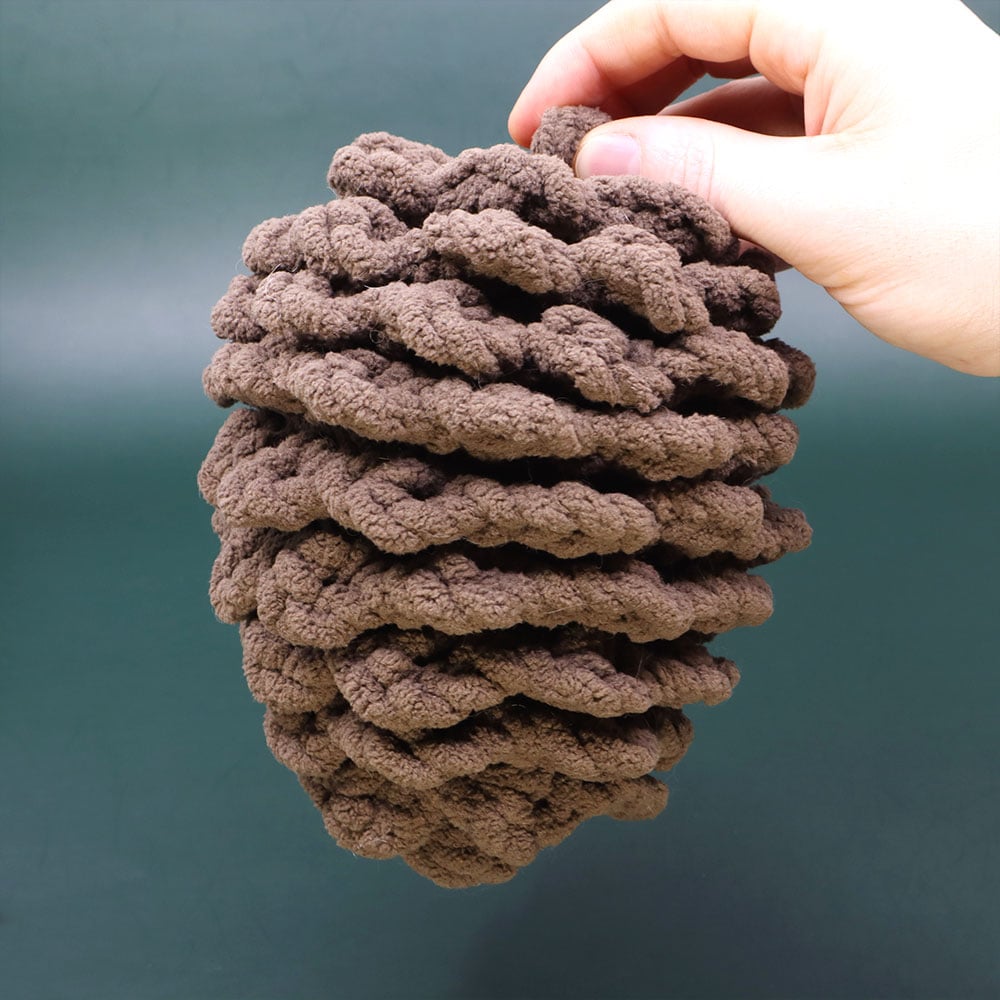
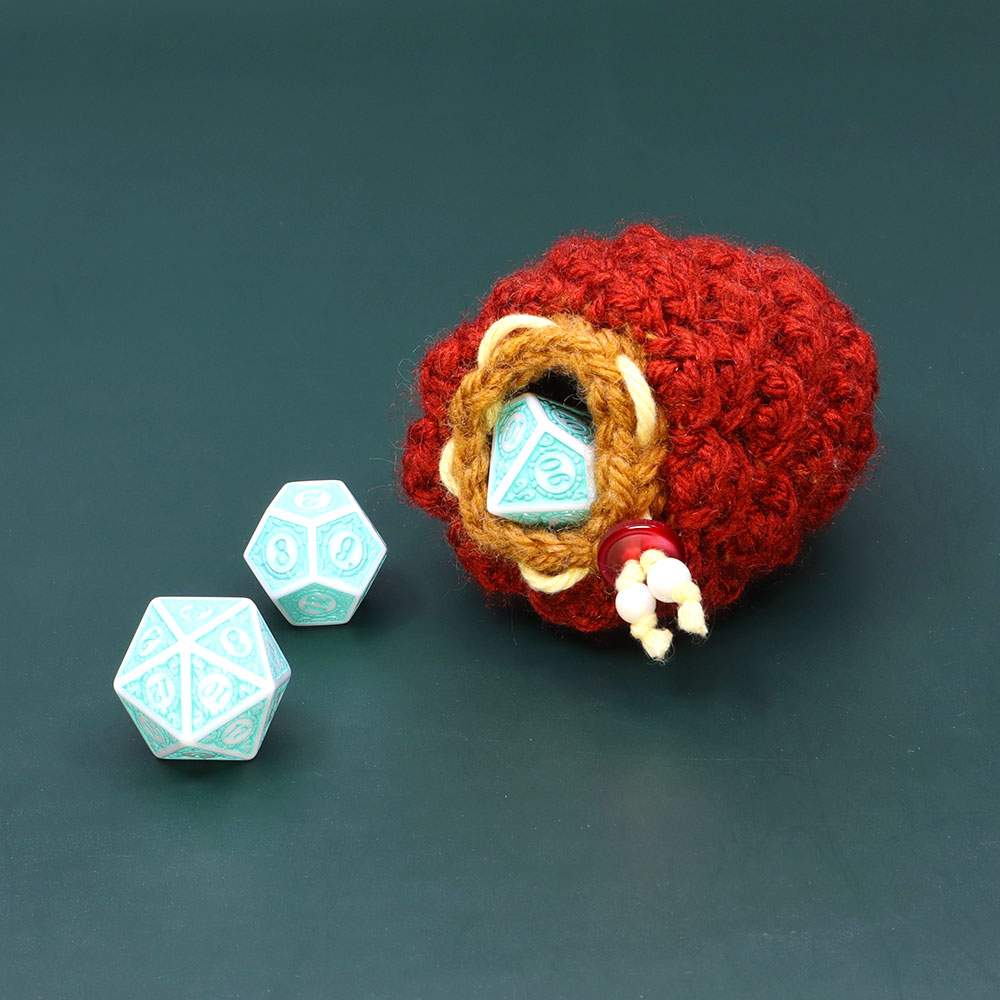
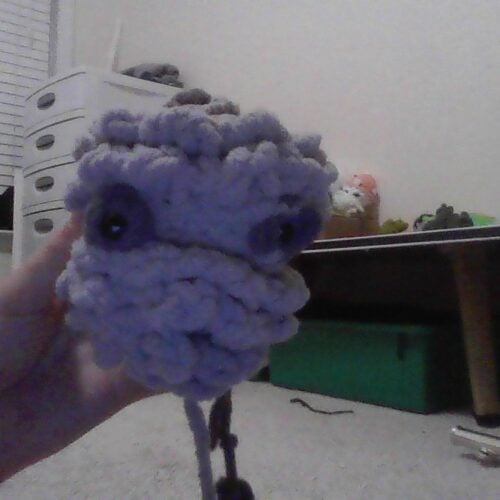
Converting your pinecone to a pouch is actually pretty simple after making a classic pinecone. You can even use bulky yarn such as Bernat Blanket Yarn to create a giant pinecone purse, perfect as a dice pouch or home for goblins and gnomes. Try different colors, such as Red and Green to make Dragon Egg pouches!

First, crochet a pine cone as normal up to Rnd 9.

Rnd 9: [sc 5, dec 1] 3 times (18)

After Rnd 9, replace Rnds 10 and 11 of the base pattern with the following (still working in BLO):

Rnd 10B: sc in each (18)

Rnd 11B: [sc 1, ch 1 and skip] 9 times around (18 with chs)

Slst to the first sc made to connect, cut the yarn and hide the end in.

Add the Scales to the same method as the classic pattern, but leave the final Rnd 11B without scales.

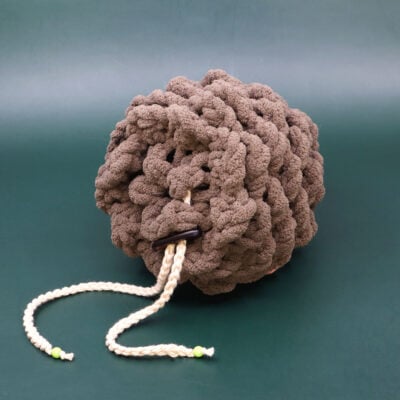
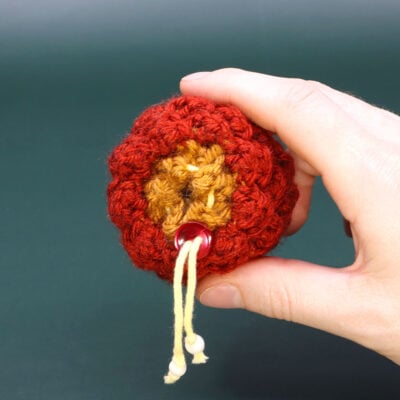
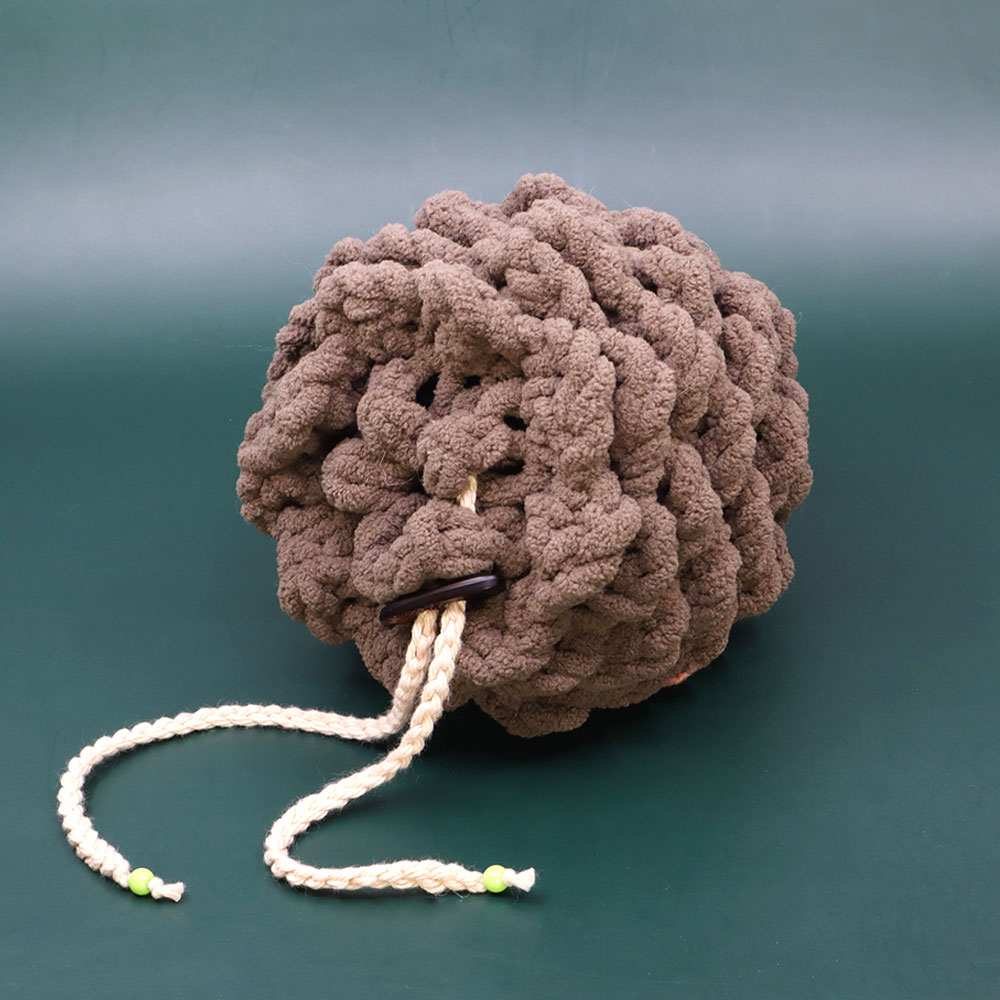
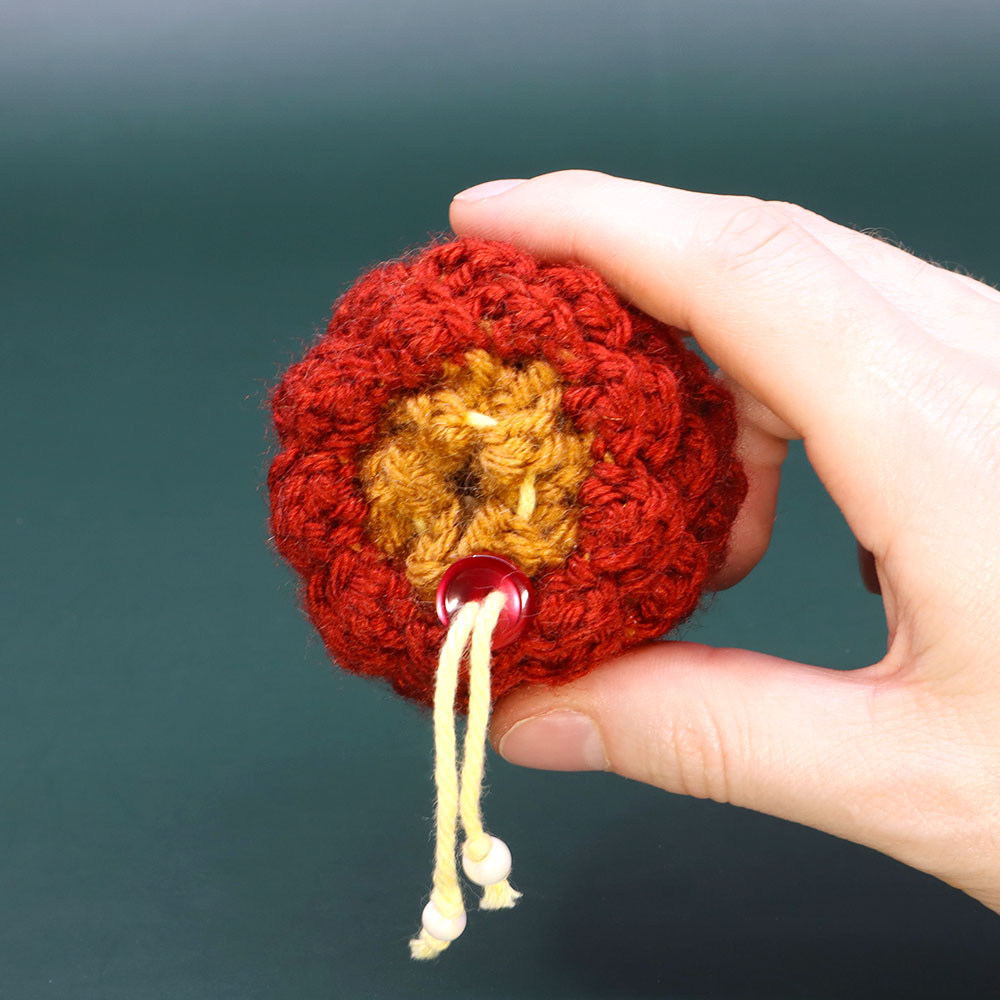
Weave a string or long chain through the ch 1 spaces left in Rnd 11B to create a pull drawstring to close the pouch.

For a large pouch made using blanket yarn, I like to add a two-hole button to the drawstring to make it hold closed a bit better.

Other patterns to try

Community posts

Community Showcase

Pine

Submitted by mattys

pinecone pls pls pls credit

Submitted by pls untangled credit

Dragon Perry the pine cone

Submitted by axel_caudillo

A slightly smaller pinecone

Submitted by aliasdannyboy

Perry the Pine Cone Amigurumi

Submitted by @nicnic1002

You need an account to submit your photo.
Commments

Add a comment