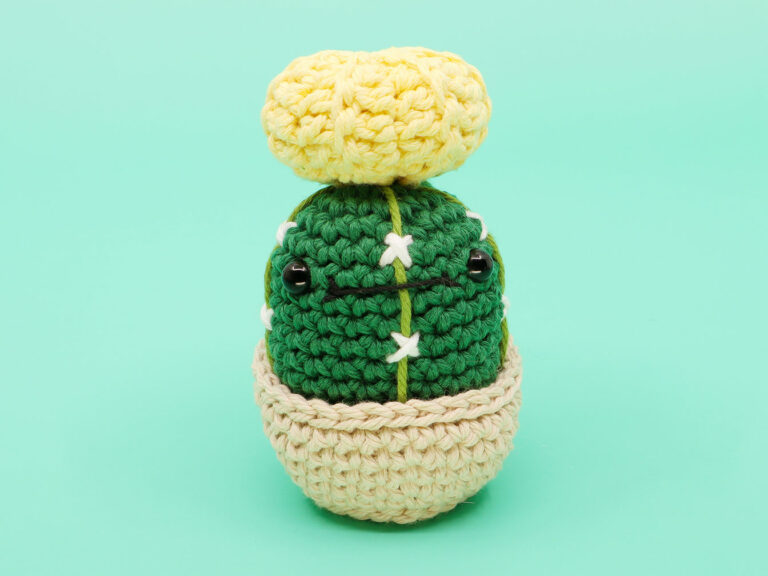
Hogan the Hunky Cactus Amigurumi

Medium
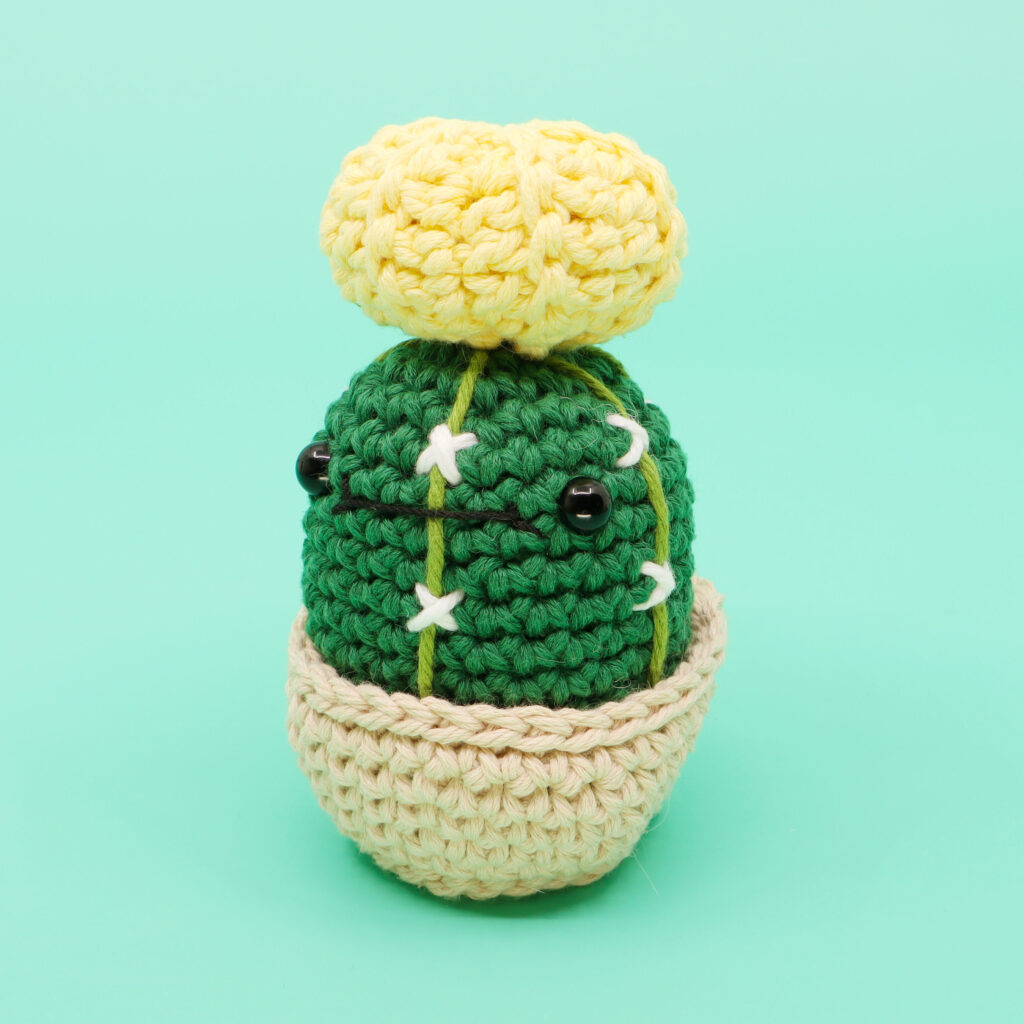
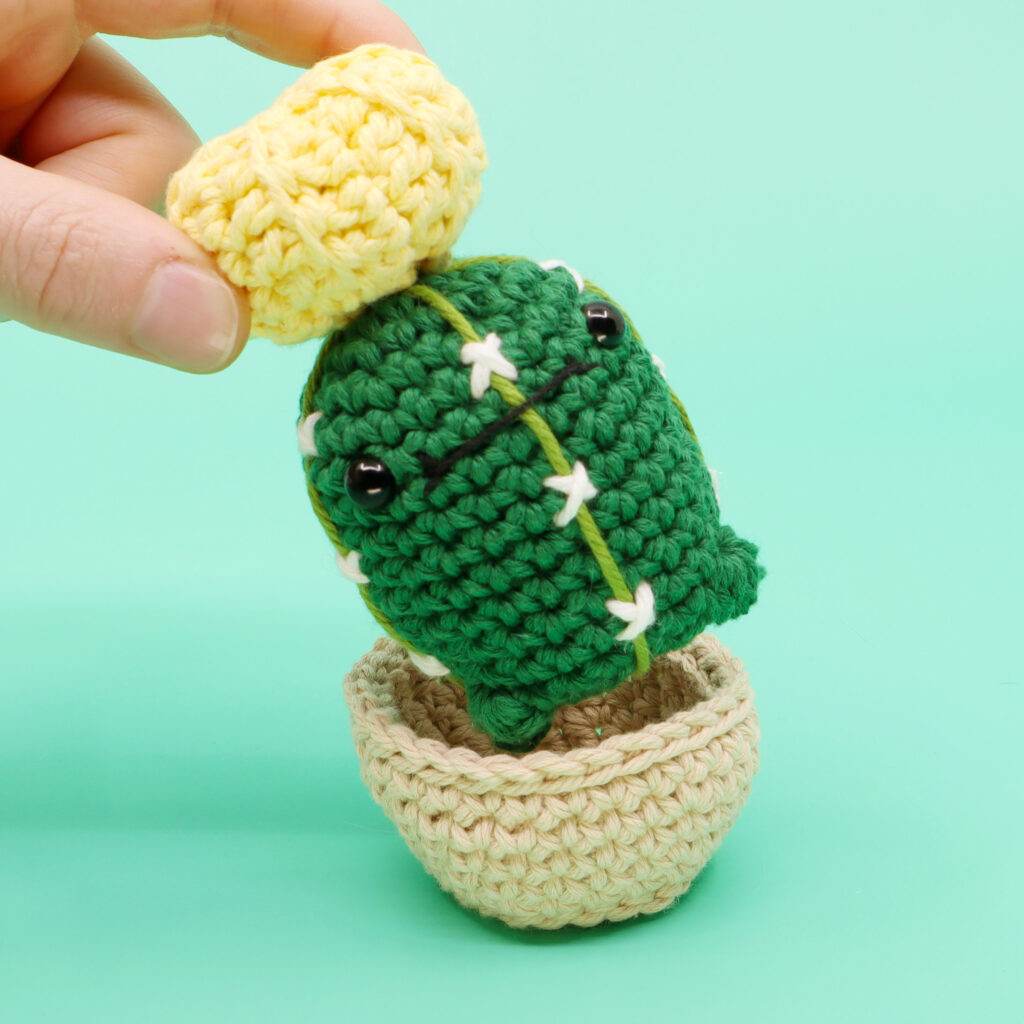
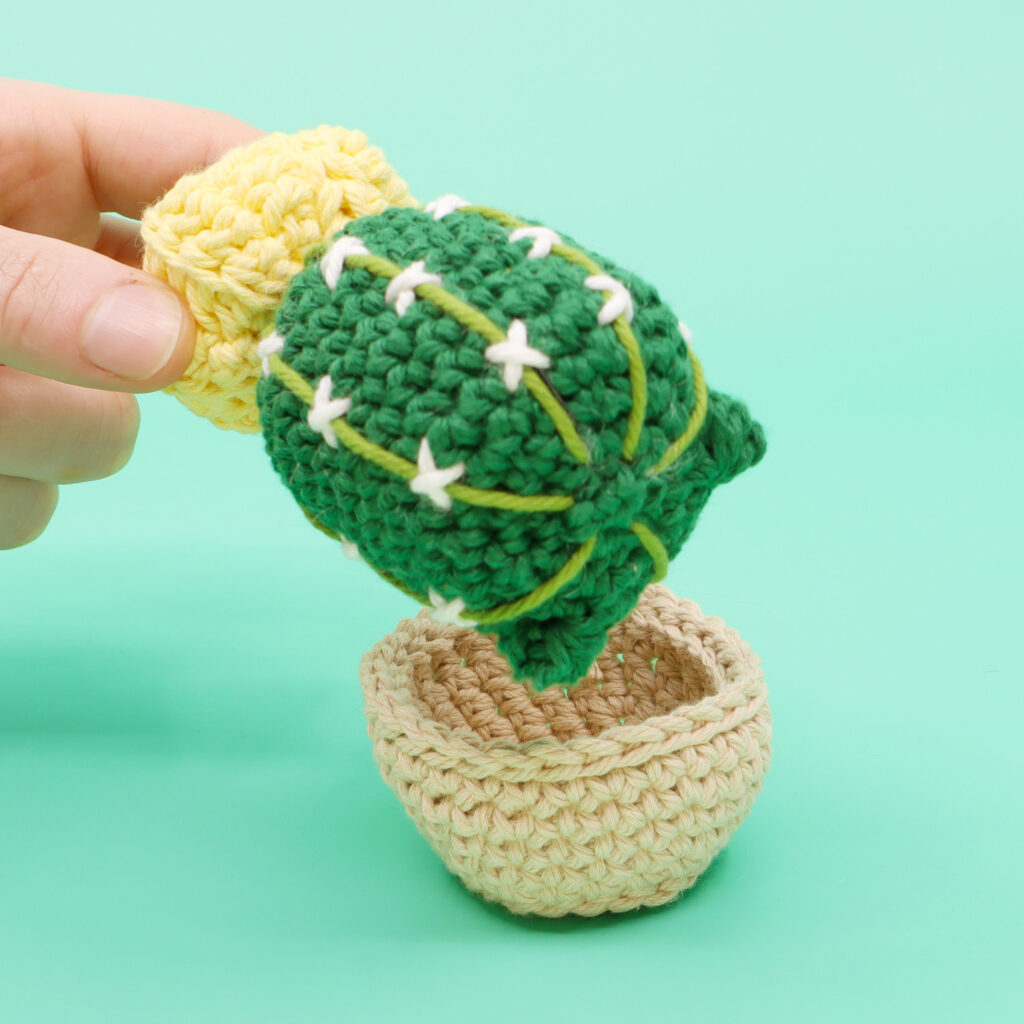
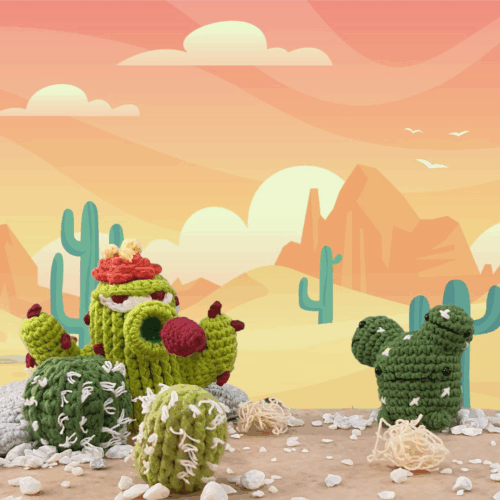
In this amigurumi crochet pattern we’ll be crocheting a hunky cactus! This cactus amigurumi pattern is designed to teach you how to make larger cactuses, a new technique for adding spikes, and an alternative flower to add on top! This tutorial is designed for crocheters with some slight experience, but includes a full length video tutorial just in case, so you never miss a stitch!

Louie's Loops
Designed by


What you'll create


What you'll learn
What you'll need

Cotton Yarn
Weight

Colors

Crochet Hook
G6 / 4.00 mm

Safety Bead (x2)
8mm
Black Thread (Face)

Stuffing

Darning Needle
Abbreviations used
ch
Chain Stitch
st
Stitch
slst
Slip Stitch
sc
Single Crochet
inc
Increase
invdec
Invisible Decrease
FLO/BLO
Front / Back Loops Only
dc
Double Crochet
hdc
Half-Double Crochet
bo
Bobble Stitch (4-dc bobble)
Useful information
Gauge
5 Rnds and 4 sts per 1”
Size
about 5 inches long
Worked
In the Round


Pattern steps
01 Hunky Cactus Body
[All in Forest Green]
Magic loop
Rnd 1: sc 6 into the magic loop (6)
Other patterns to try


Community posts
Community Showcase
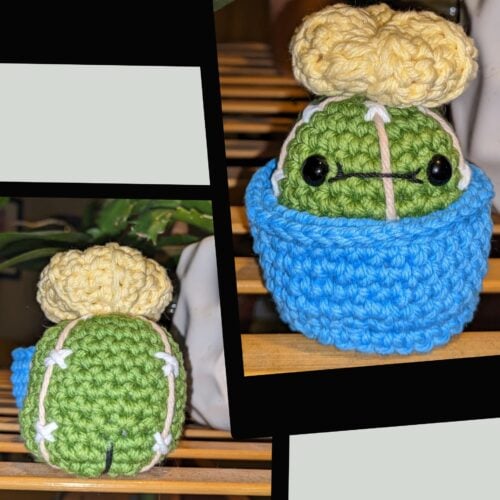
Hogan the Hunky Cactus
Submitted by Prizma

Big boy
Submitted by avrumbates
Desert Anomalies
Submitted by alden_go


The step for adding the feet might be for a different cactus? It talks about the dirt layer and says there should be 18 stitches. I don’t see a dirt layer and I think we are at 24 stitches at that point. It looks like the video has the correct count, 8 sc, bo, 6sc, bo, 8sc. Otherwise, having lots of fun with this series!
The feet were done the same as the flat cactus, which does have a dirt filler ball. The feet on Hogan were actually easier because there is no color switching.