
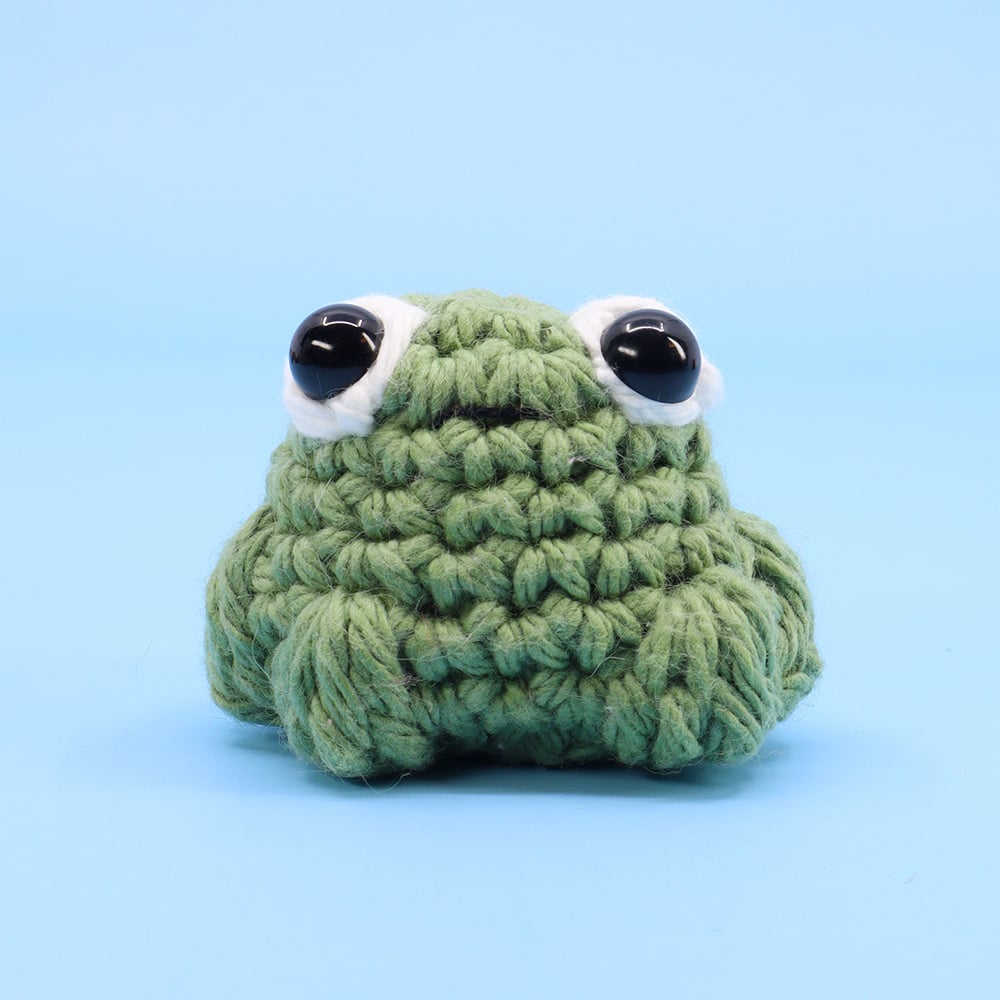
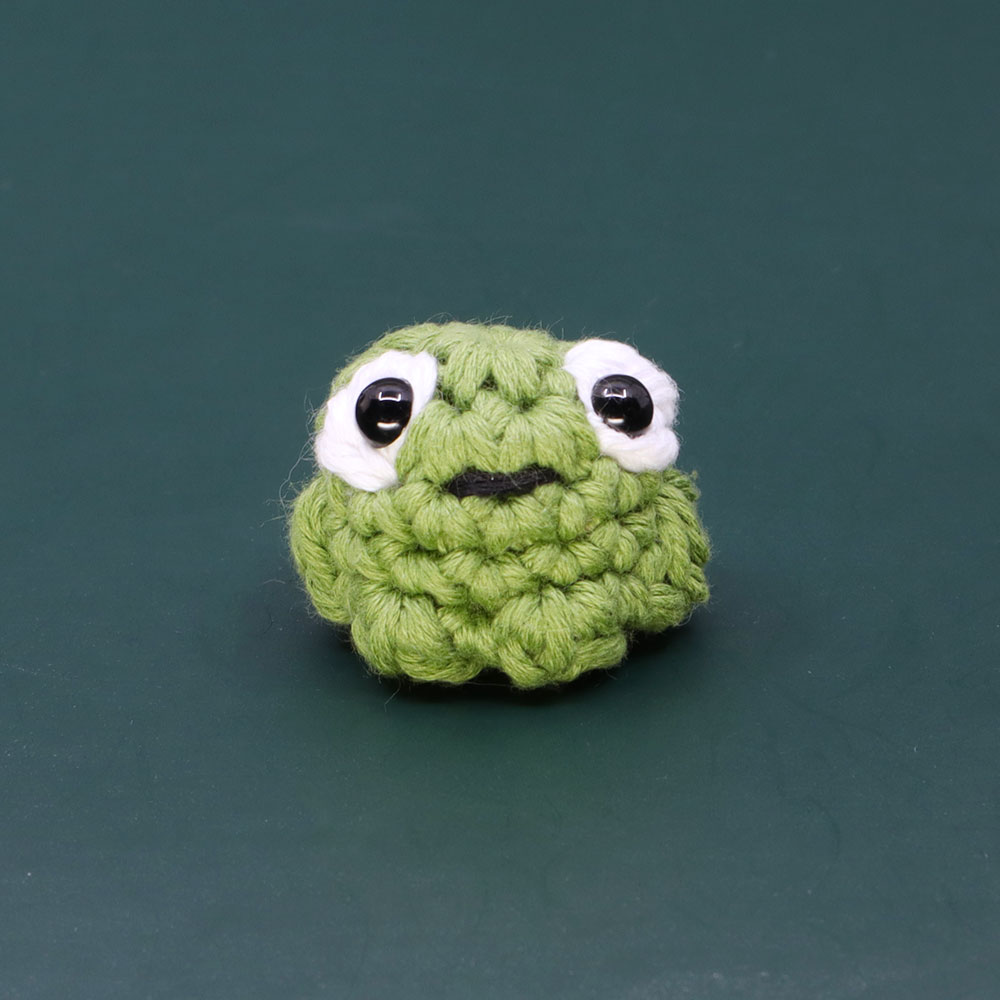
Frog Amigurumi Crochet Pattern

Beginner
In this amigurumi crochet pattern we’ll be making a frog without using a darning needle at ALL, taking “no-sewing” to a new level! This beginner amigurumi pattern features a full video tutorial along with its written instructions below. The Frog is part of our new eBook, The Bawnimals, which teaches how to make a variety of these crocheted mini, no-sew, animals!

Louie's Loops
Designed by


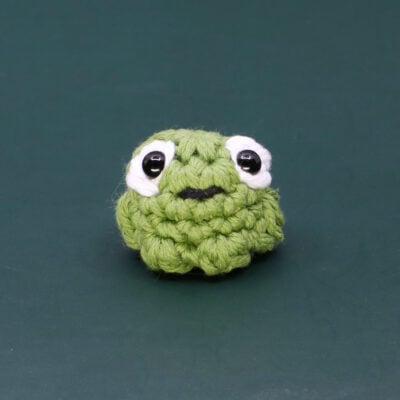

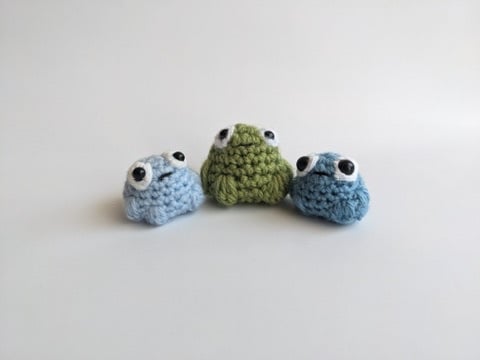
What you'll create

What you'll learn
What you'll need

Cotton Yarn
Weight

Colors
Main Color
White (Eyes, optional)
Black Thread (Mouth)

Crochet Hook
G6 / 4.00 mm

Safety Bead (x2)
6 mm

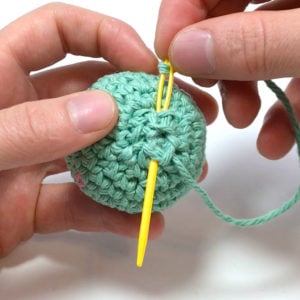
Darning Needle

Stuffing
Abbreviations used
ch
Chain Stitch
st
Stitch
slst
Slip Stitch
sc
Single Crochet
inc
Increase
invdec
Invisible Decrease
FLO/BLO
Front / Back Loops Only
mbo
Mini Bobble Stitch
bo
Bobble Stitch (4-dc bobble)
Useful information
Gauge
5 Rnds and 4 sts per 1”
Finished piece is about 1 – 2” tall
Worked
In the Round (without turning)
Useful Tutorials

Pattern steps
01 The Body
[Starting in Main Color]
Magic loop
Rnd 1: sc 6 in the magic loop (6)
Other patterns to try


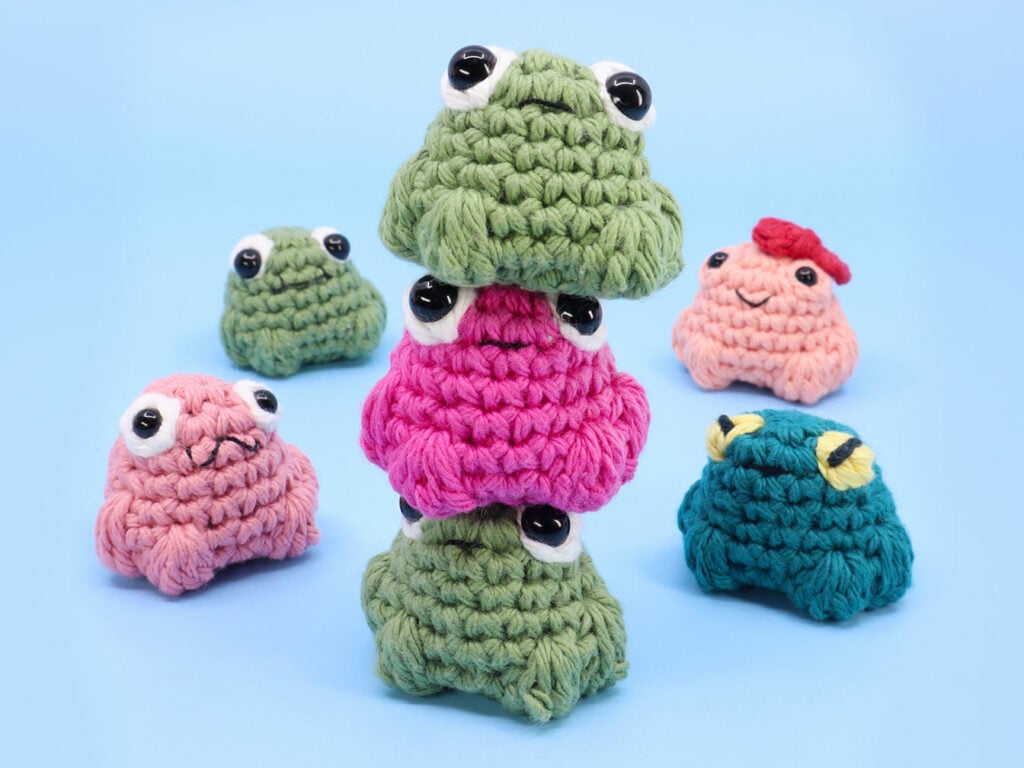
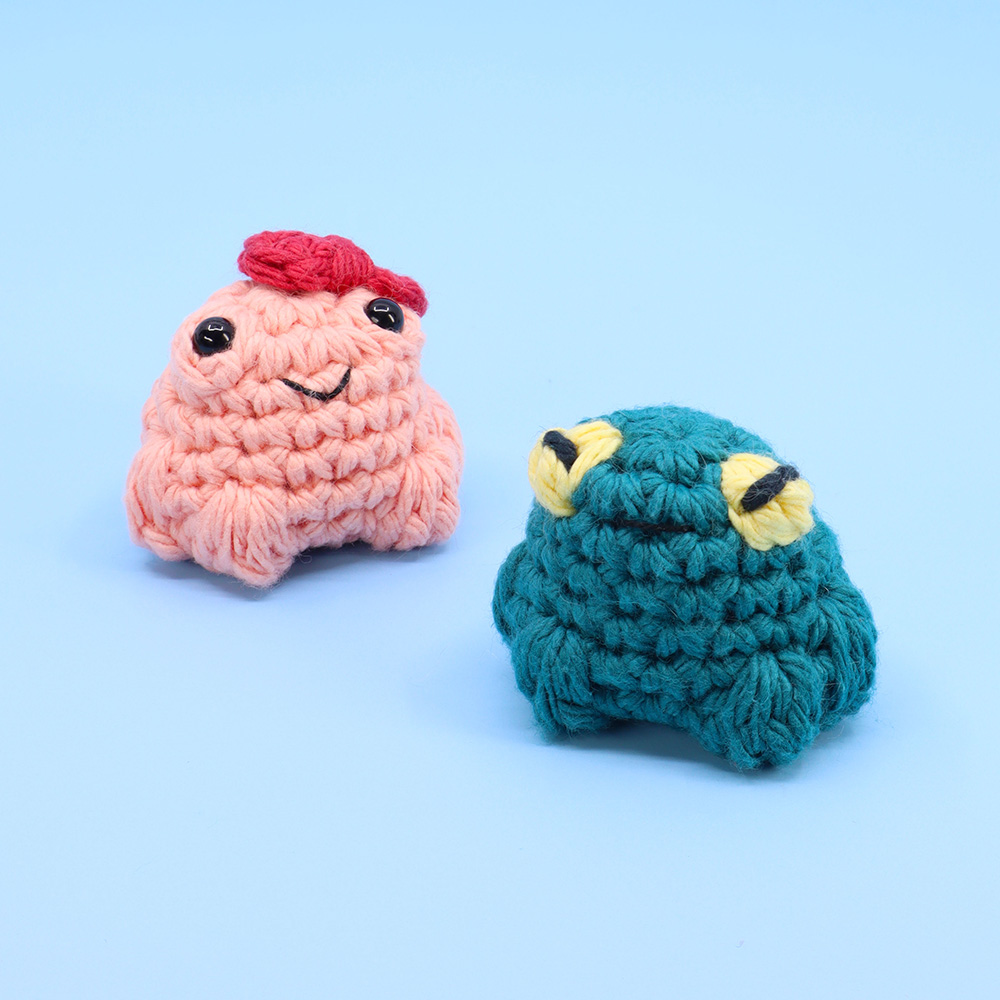
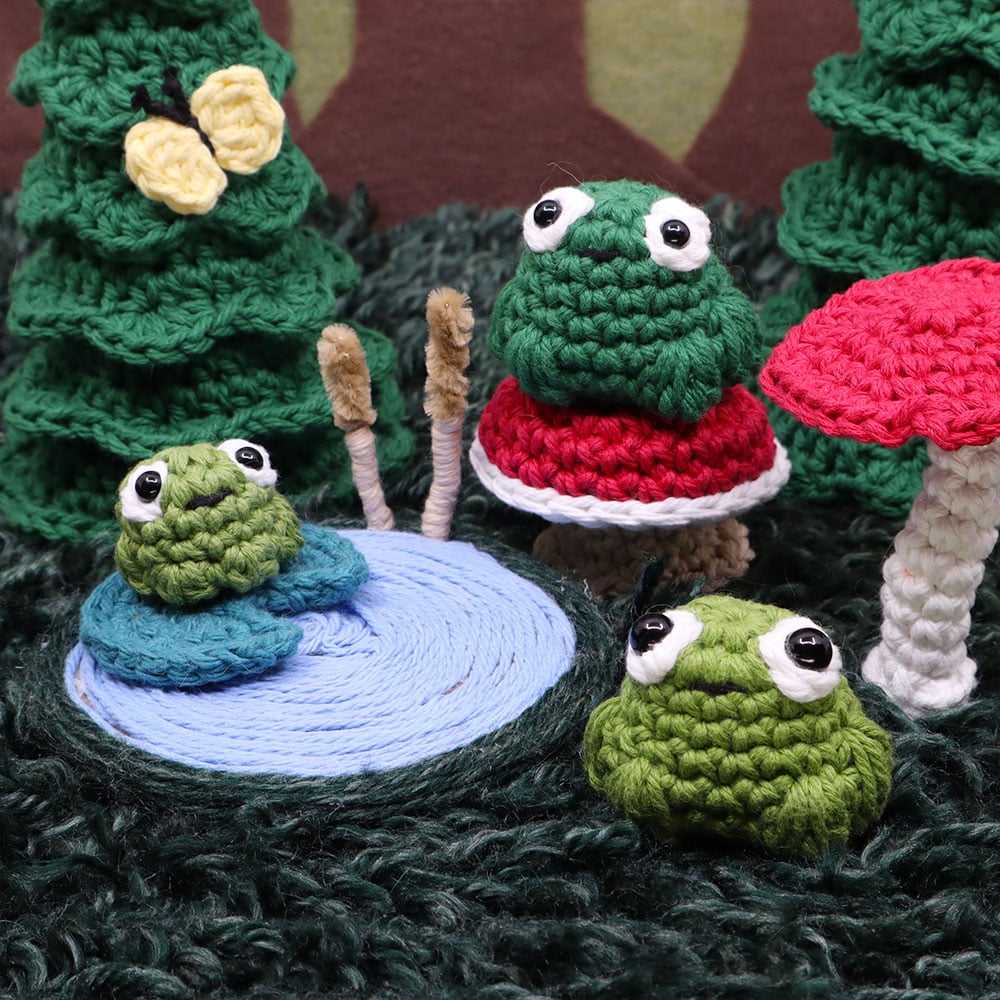
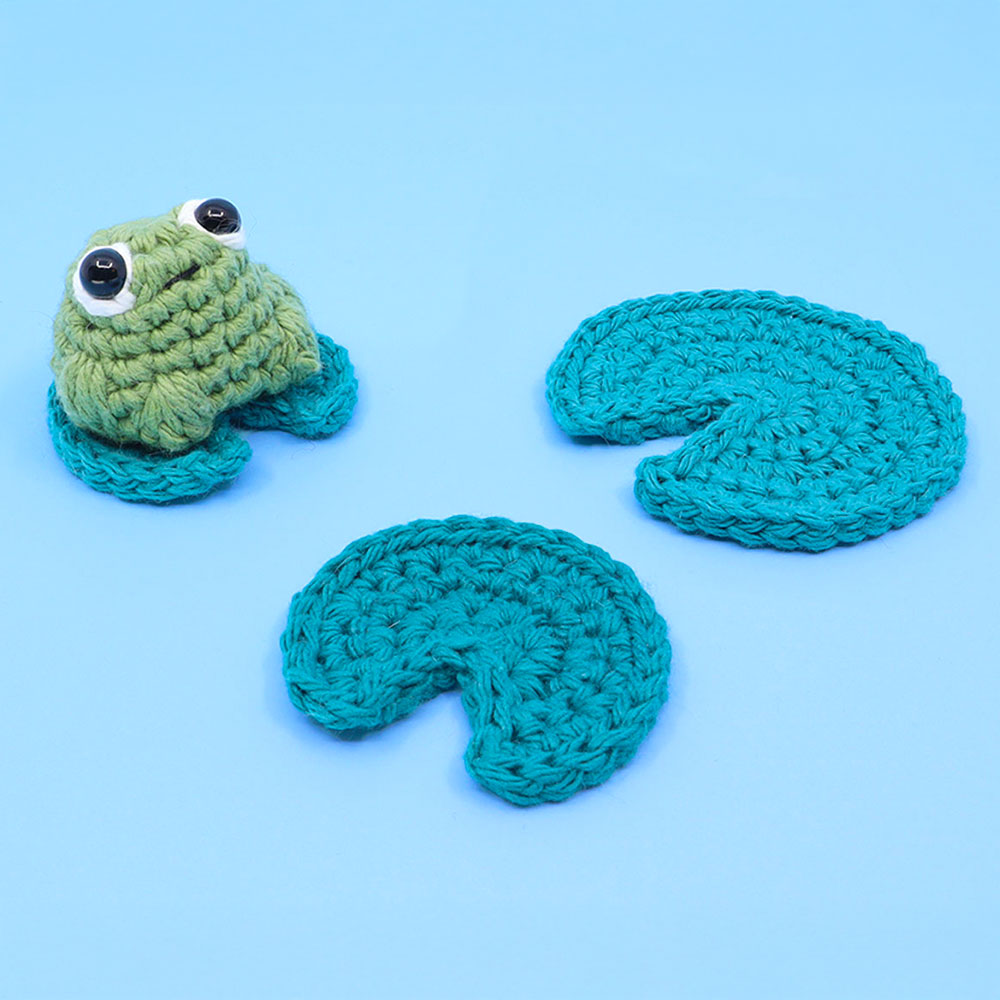
Community posts
Community Showcase
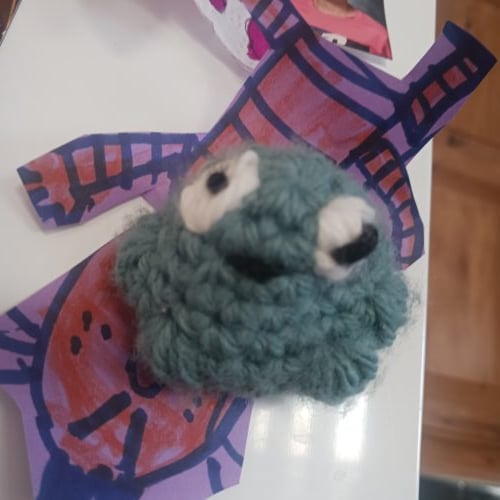
Froug
Submitted by Brody
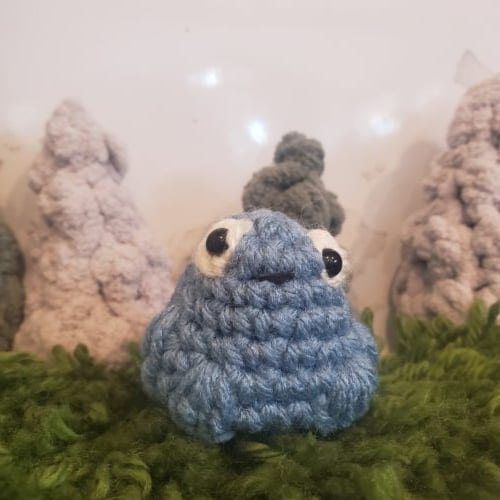
Froggy
Submitted by rita-medvedskiy
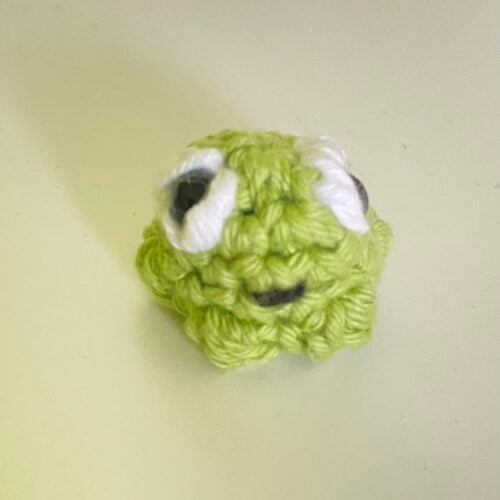
Mini frog
Submitted by albert-the-pug
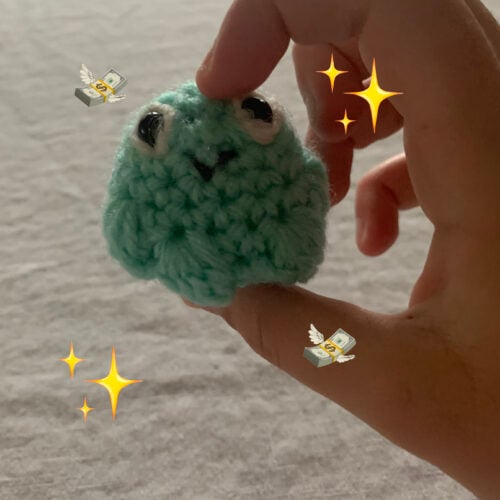
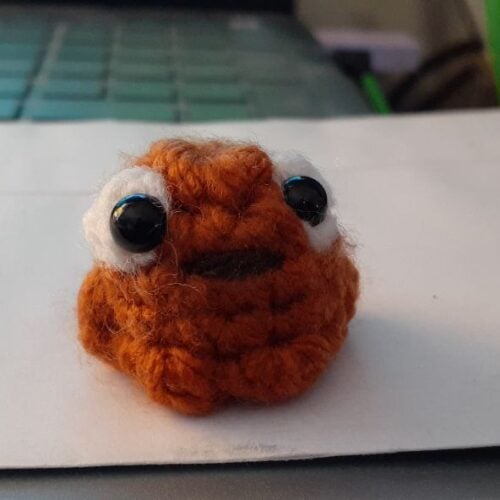
Frog
Submitted by thegoodstuff
Toadio
Submitted by samsleep
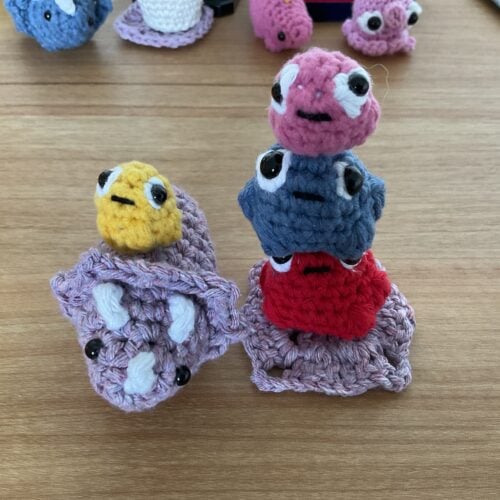
Frog jockey and frog tower!
Submitted by kobkob
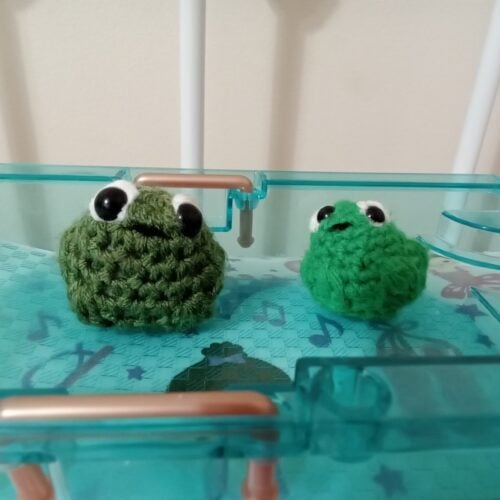
Jerry and Croak
Submitted by kosew
Submitted by averybw

Frog
Submitted by Soha
You need an account to submit your photo.


Where can I find the fox and elephant pattern?
They are cute.But where are the other bawnimals like the elephant?
There’s no pattern for the other bawnimals
yep
If this is a free pattern and I have a basic account (which supposedly includes print friendly PDF’s) why do I have upgrade?
I don’t know.
not sure why it does that, I just print screen shots
BECAUSE THERES OTHER PATTERS THAT YOU CANT ACESSS WITHOUT AN ACOUNT