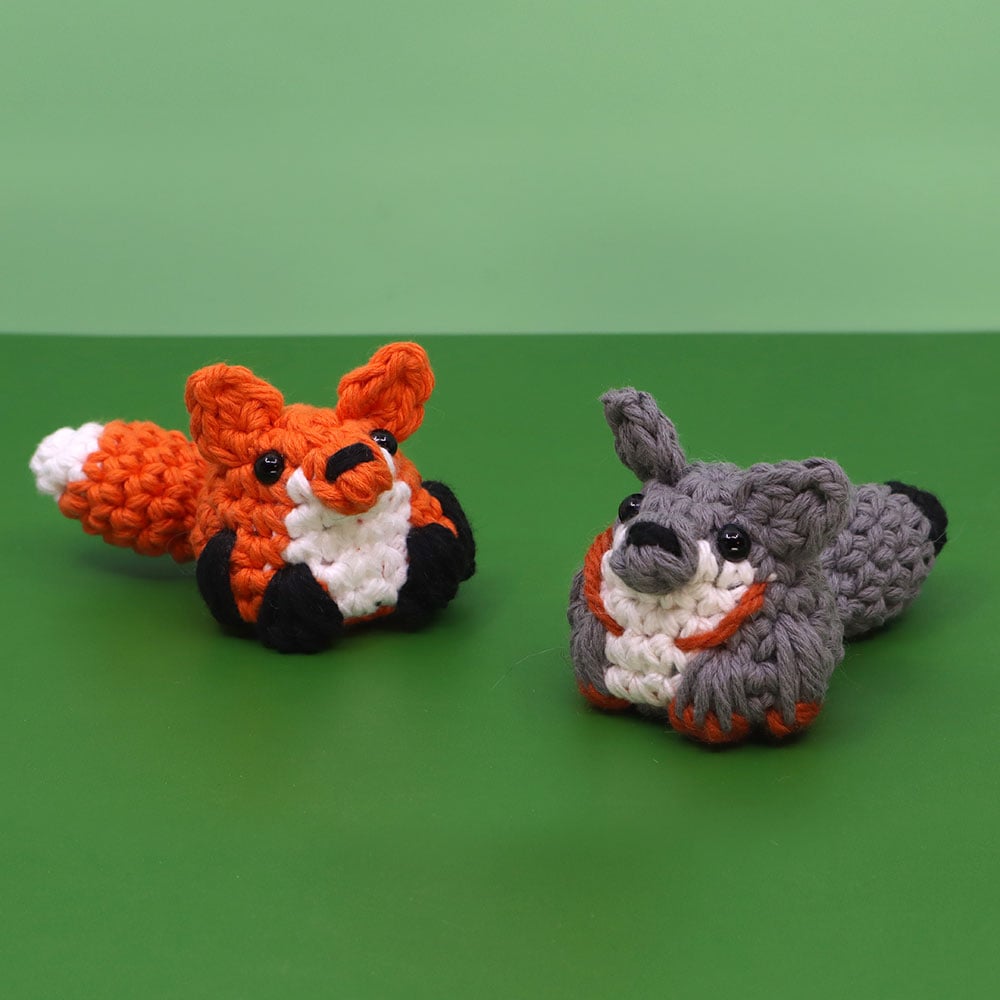
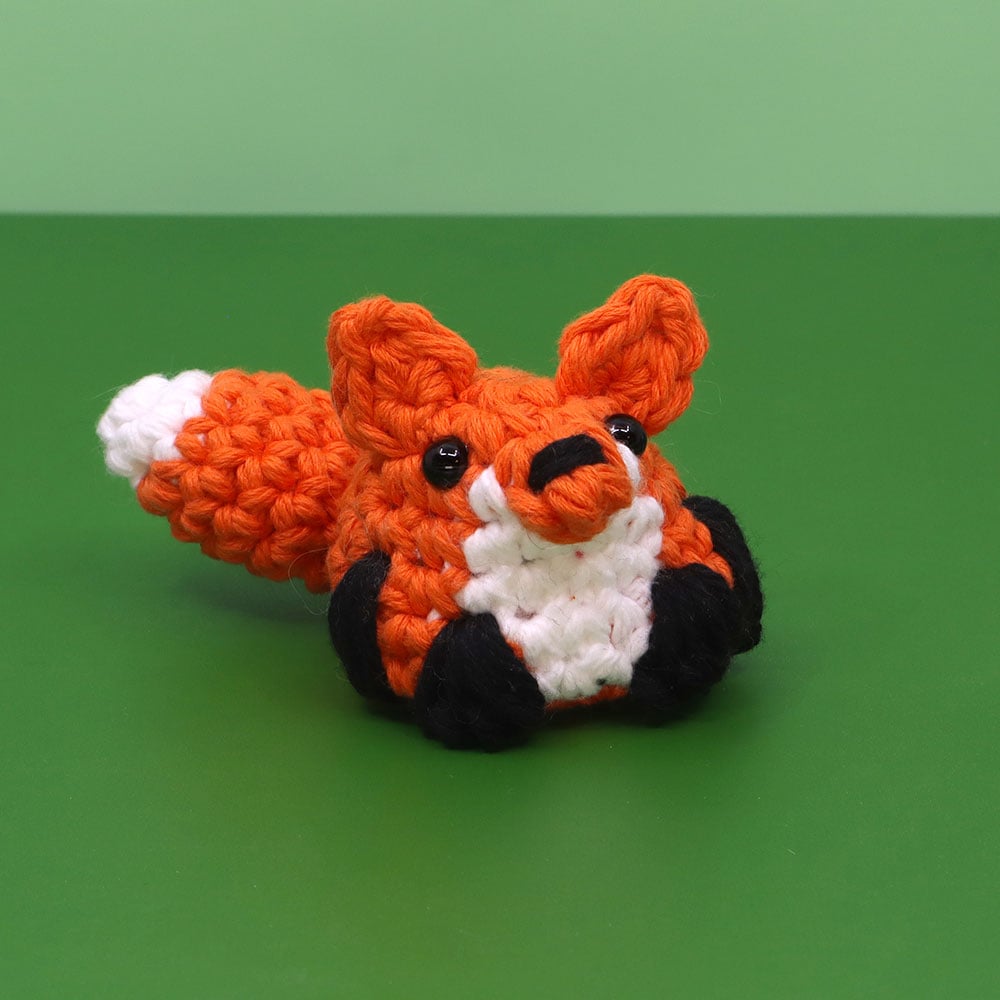
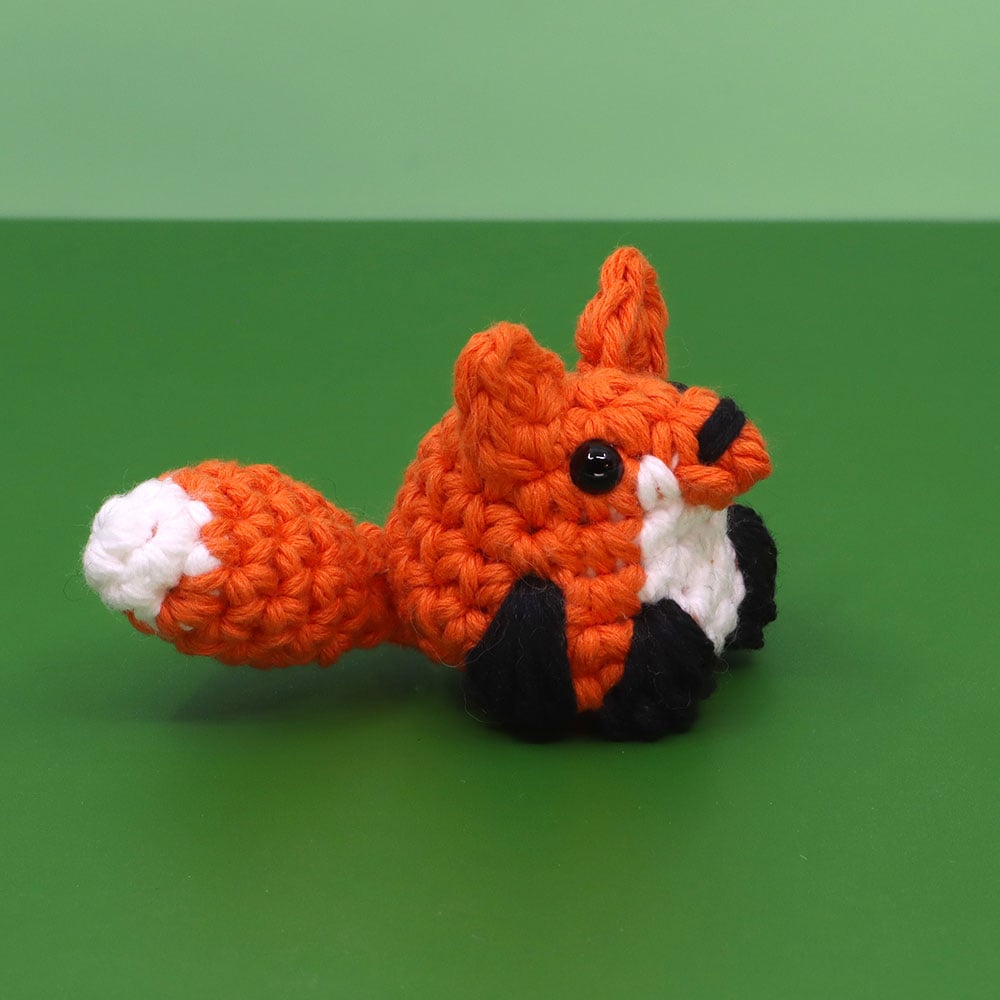
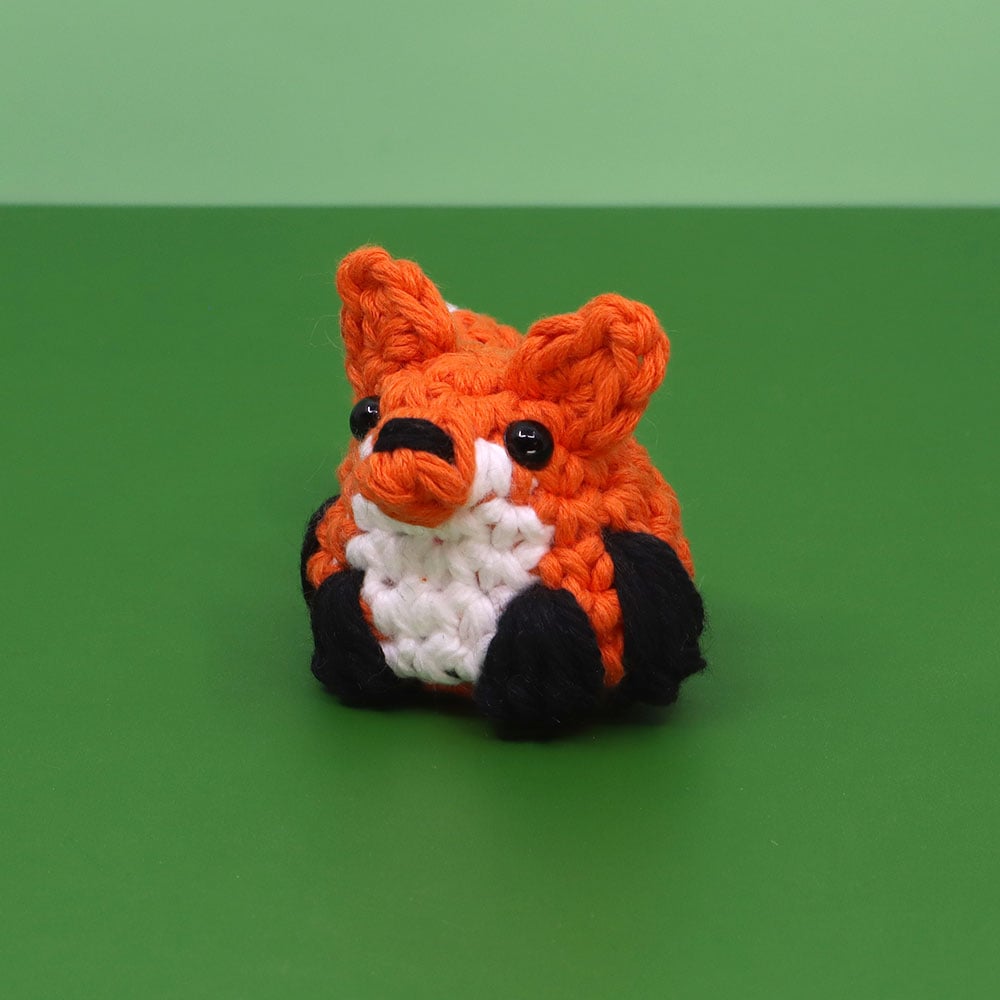
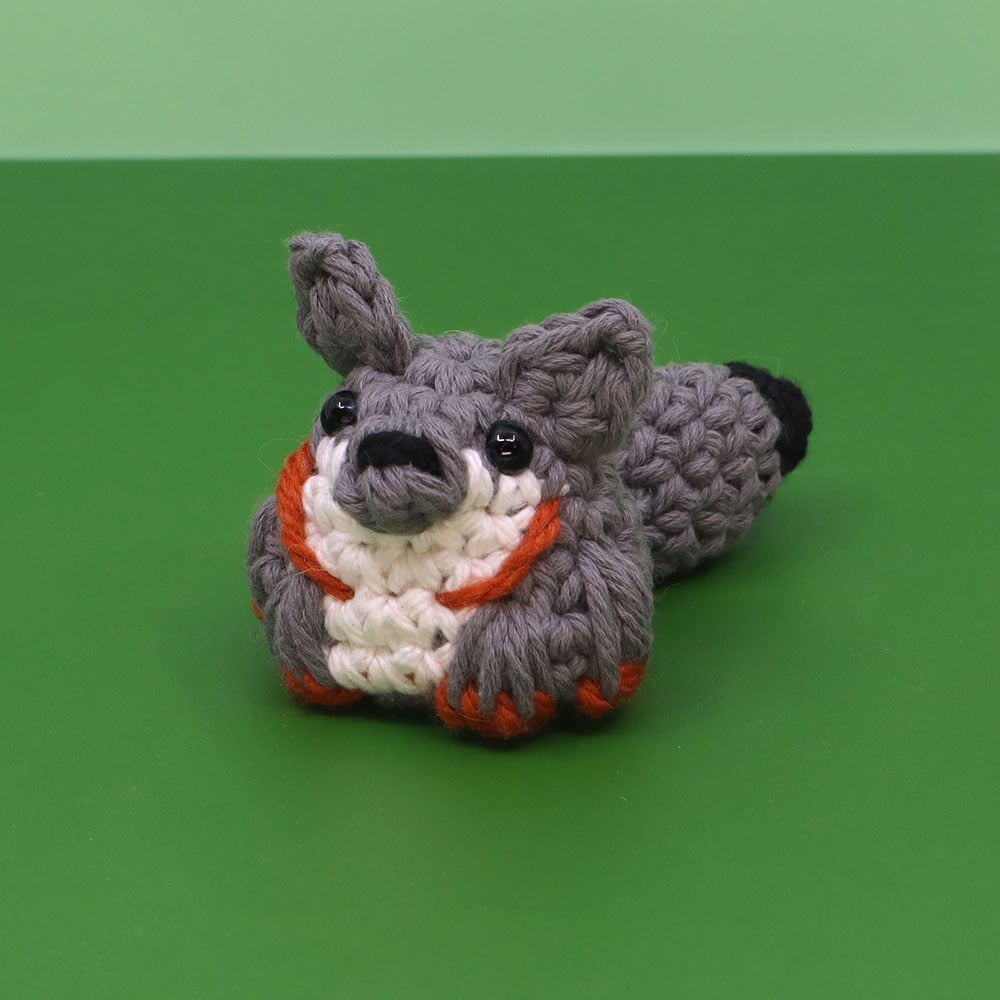
Fox Bawnimal Mini Amigurumi Pattern

Medium

Louie's Loops
Designed by
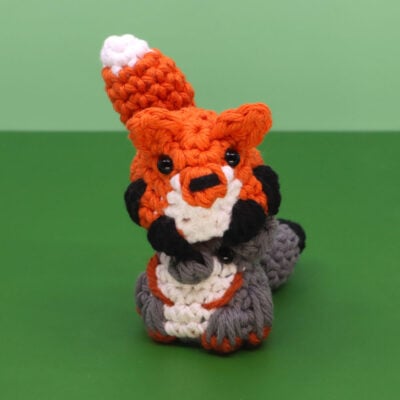
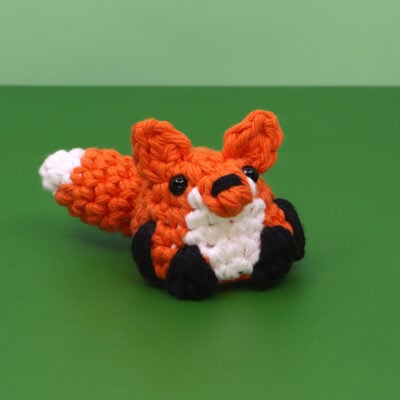
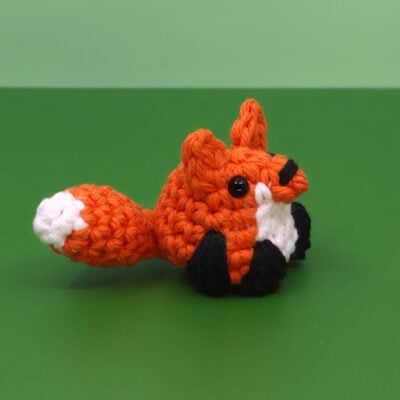

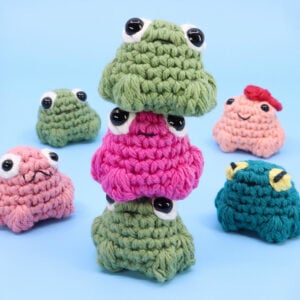
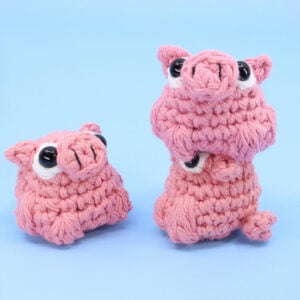
What you'll create


Video tutorials
Main Video
Lefty Video
Livestream Design Along
What you'll learn
What you'll need

Cotton Yarn
Weight

Colors

Crochet Hook
G6 / 4.00 mm

Safety Bead (x2)
6 mm
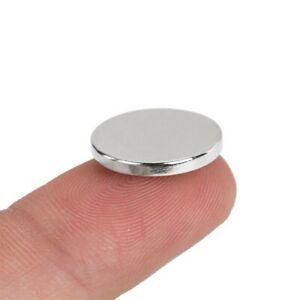
Mini Magnets (x4)

Stuffing

Darning Needle
Abbreviations used
ch
Chain Stitch
st
Stitch
slst
Slip Stitch
sc
Single Crochet
inc
Increase
invdec
Invisible Decrease
FLO/BLO
Front / Back Loops Only
mbo
Mini Bobble Stitch
bo
Bobble Stitch (4-dc bobble)
Useful information
Gauge
5 Rnds and 4 sts per 1”
Size
Finished piece is about 1 to 2 inches tall
Worked
In the Round (unless otherwise stated)
Useful Tutorials
Pattern steps

01
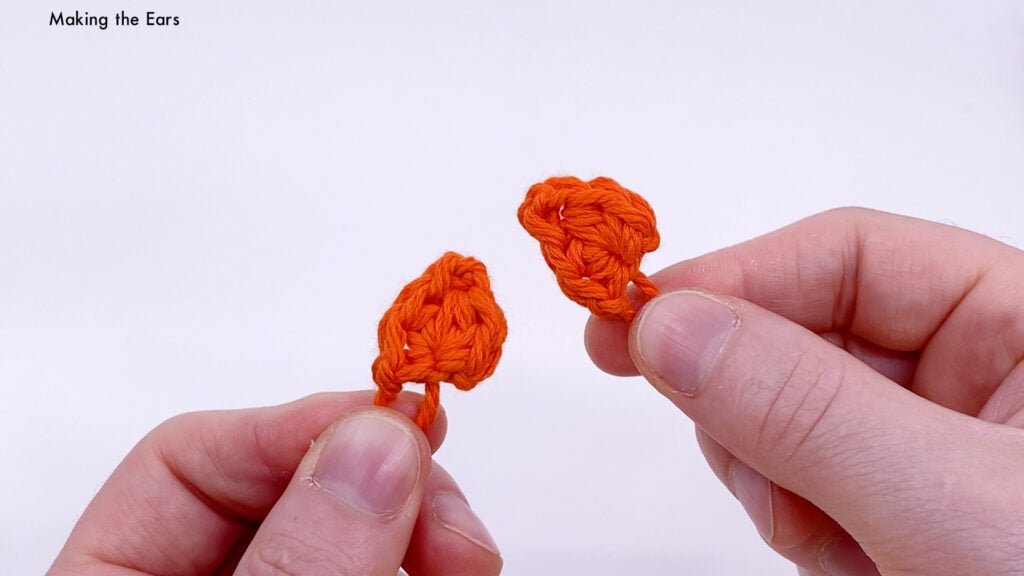
Medium Pointy Ears
Qty 2
All in Orange, make a magic loop.
Rnd 1: working into the magic loop, sc 1, hdc 1, mp, hdc 1, sc 1 (5)
Ch 1, cut the yarn, and pull through. Pull the magic loop tight.
02
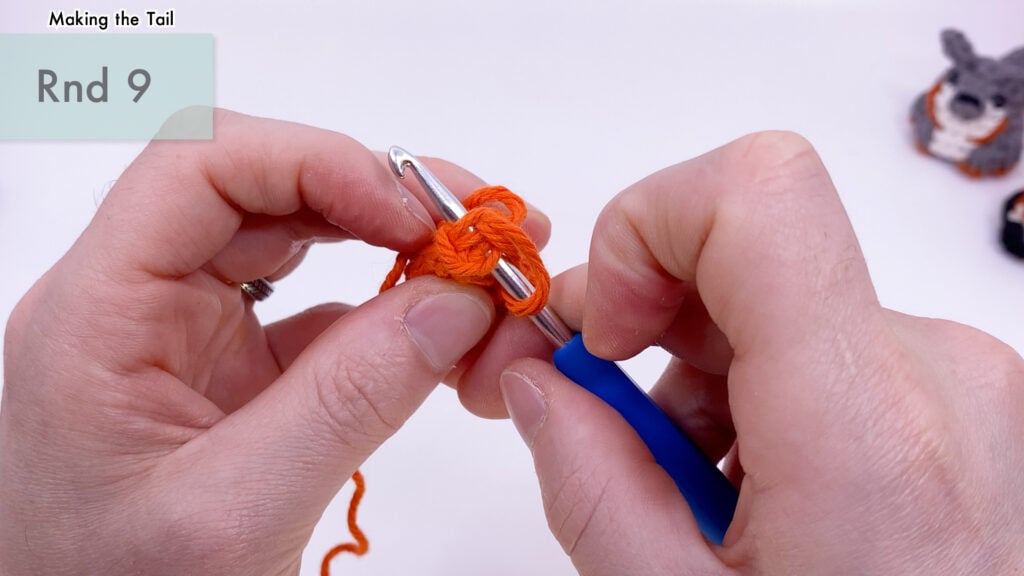
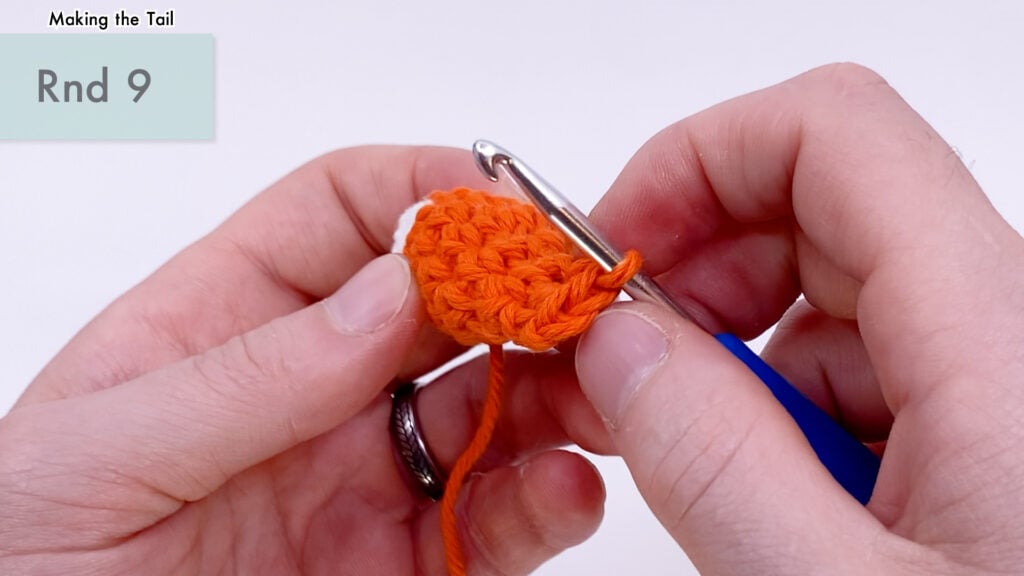
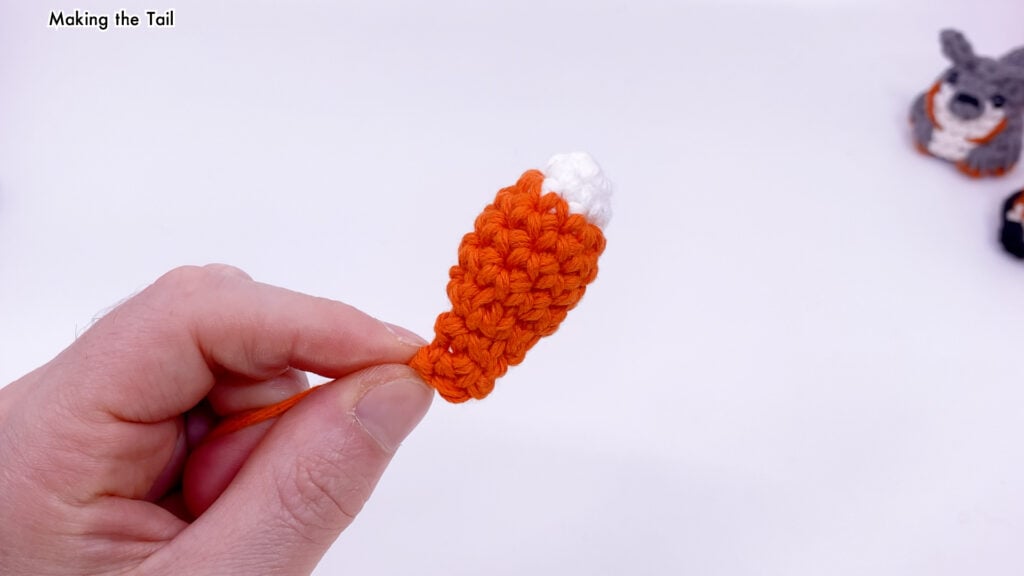
Fox Tail
Starting in White, make a magic loop.
Rnd 1: sc 4 into the magic loop (4)
Rnd 2: [sc 1, inc 1] 2 times (6)
Change to Orange.
Rnd 3: [sc 1, inc 1] 3 times (9)
Rnds 4 - 6: sc in each st (9 for 3 Rnds)
Rnd 7: [sc 1, invdec 1] 3 times (6)
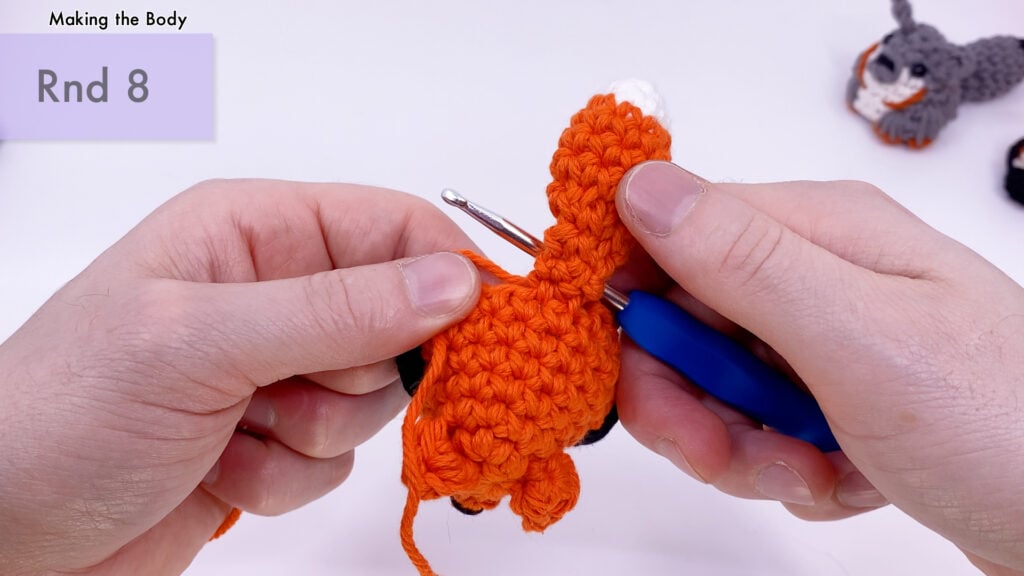
Rnd 8: [sc 1, invdec 1] 2 times (4)
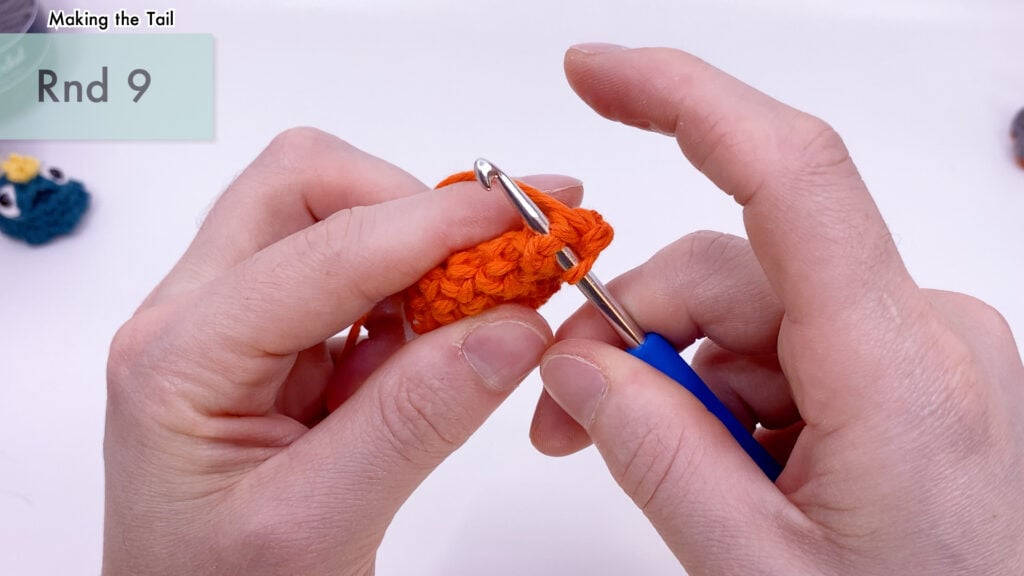
Rnd 9: Pull the end around the front and fold your piece in half so that the stitches align. Work through both layers simultaneously to close. Sc 2 across.
Cut the yarn and pull through without chaining. Place to the side to add to the body in Rnd 8.
03
Body
1:08:29
Starting in Main Color make a magic loop.
Rnd 1: sc 6 in the magic loop (6)
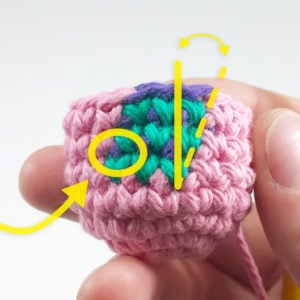
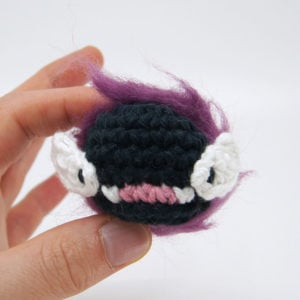
In the following round you can making mbo (Mini Bobble) stitches for the eyes to add a cartoonish googly eyed look. See the video at (14:25) for a detailed example.
mbo = Mini Bobble (3 repeat bobble)
{ } = Worked in the same stitch
[W] = Stitch in white
To add a bobble stitch eye, replace Rnd 2 with:
Rnd 2B: inc 1, {sc 1, [W] mbo 1}, inc 2, {[W]mbo 1, sc 1}, inc 1 (12)
Bobble Stitch Eye Example
Rnd 2: inc in each (12)
Color changes start here. Look out for [brackets] to know when to change colors.
Key: [O] = Orange | [W] = White | [BK] = Black
Rnd 3: sc 3, inc 1, sc 1, [W] sc 1, [O] mbo 1, [W] sc 1, [O] sc 1, inc 1, sc 2 (14)
Rnd 4: sc 4, inc 1, sc 1, [W] sc 4, [O] sc 1, inc 1, sc 2 (16)
Rnd 5: sc 5, inc 1, sc 1, [W] sc 4, [O] sc 1, inc 1, sc 3 (18)
Rnd 6: sc 9, [W] sc 3, [O] sc 6 (18)
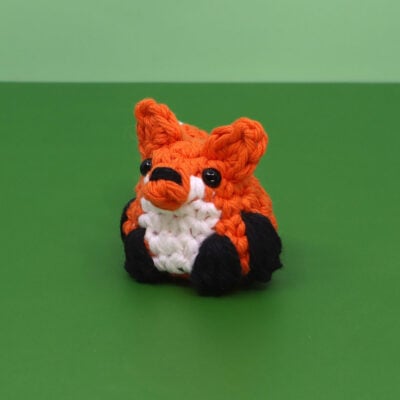
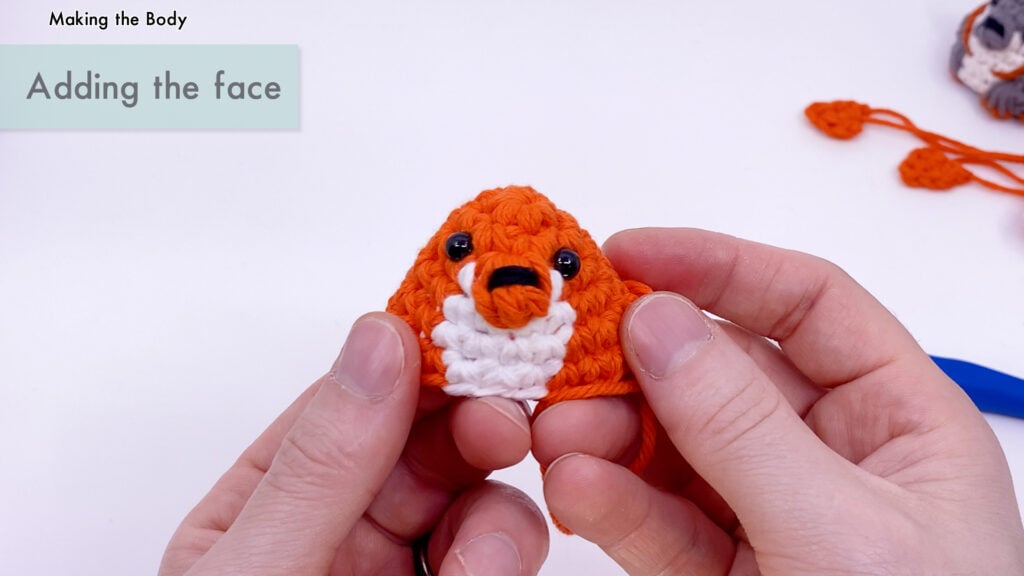
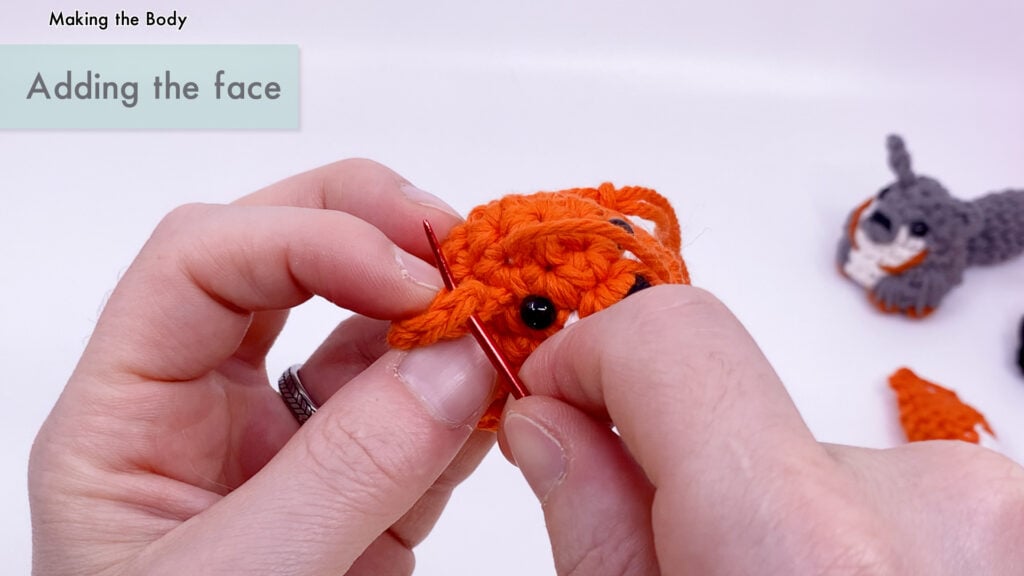
Add eyes 2 sts from the nose in Rnd 2 (st 5 and 9).
Embroider on a nose using Black in between the mbo stitch from Rnd 3.
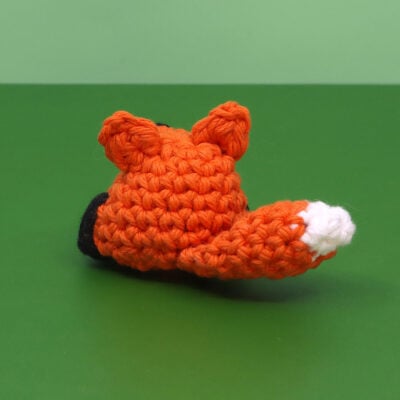
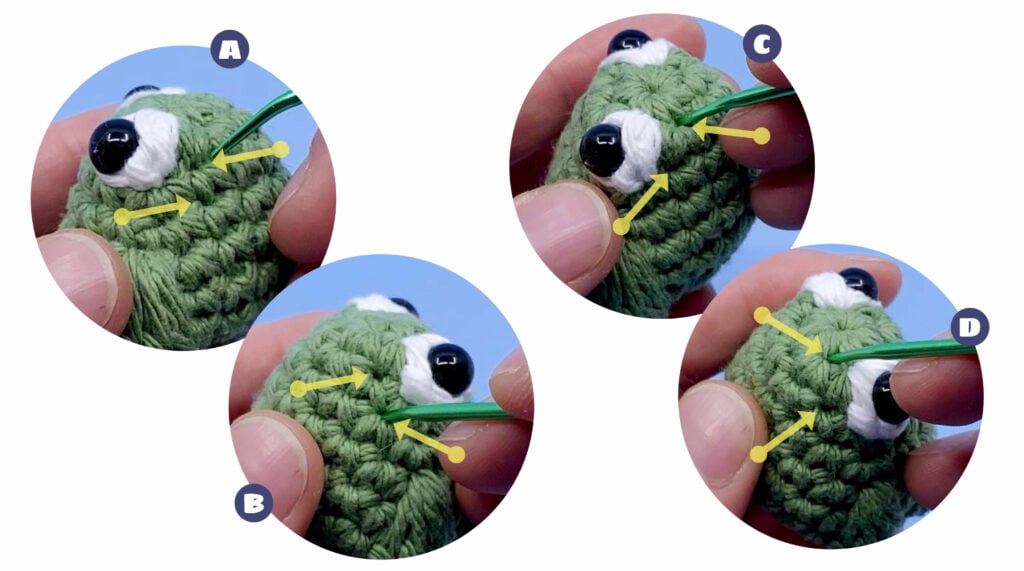
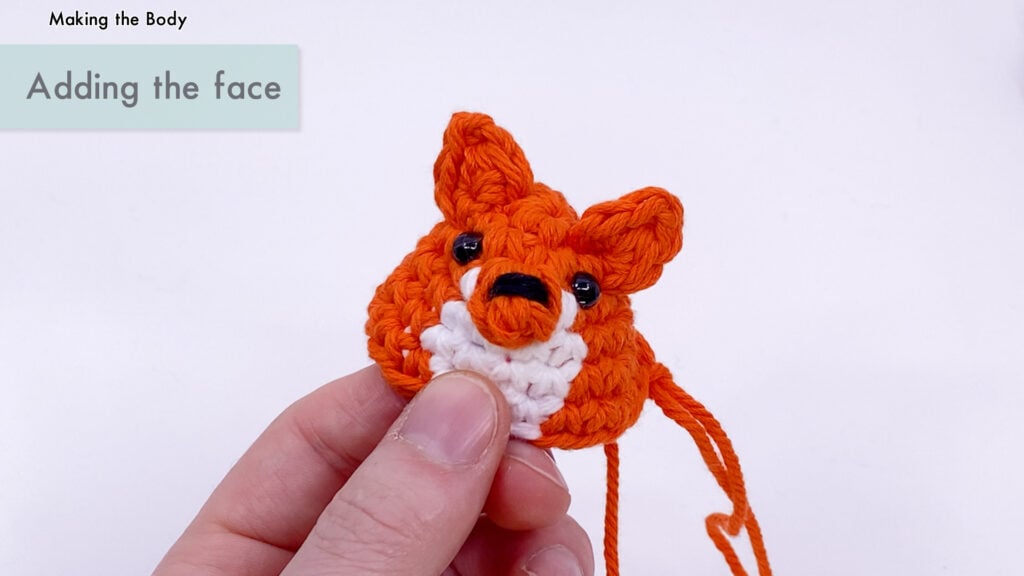
(28:45) Sew on the ears on the outside of both the eyes. I like to make sure the ears are slightly lower using the locations in images A and B below.
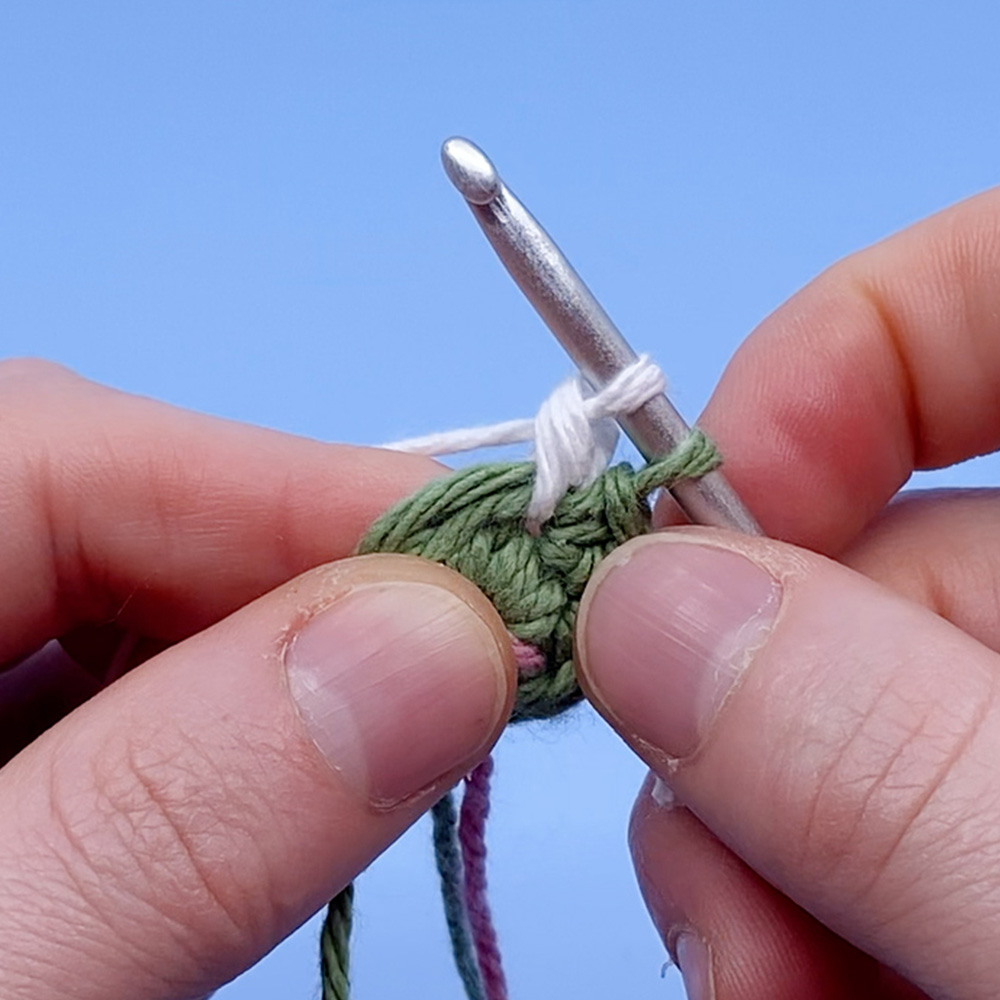
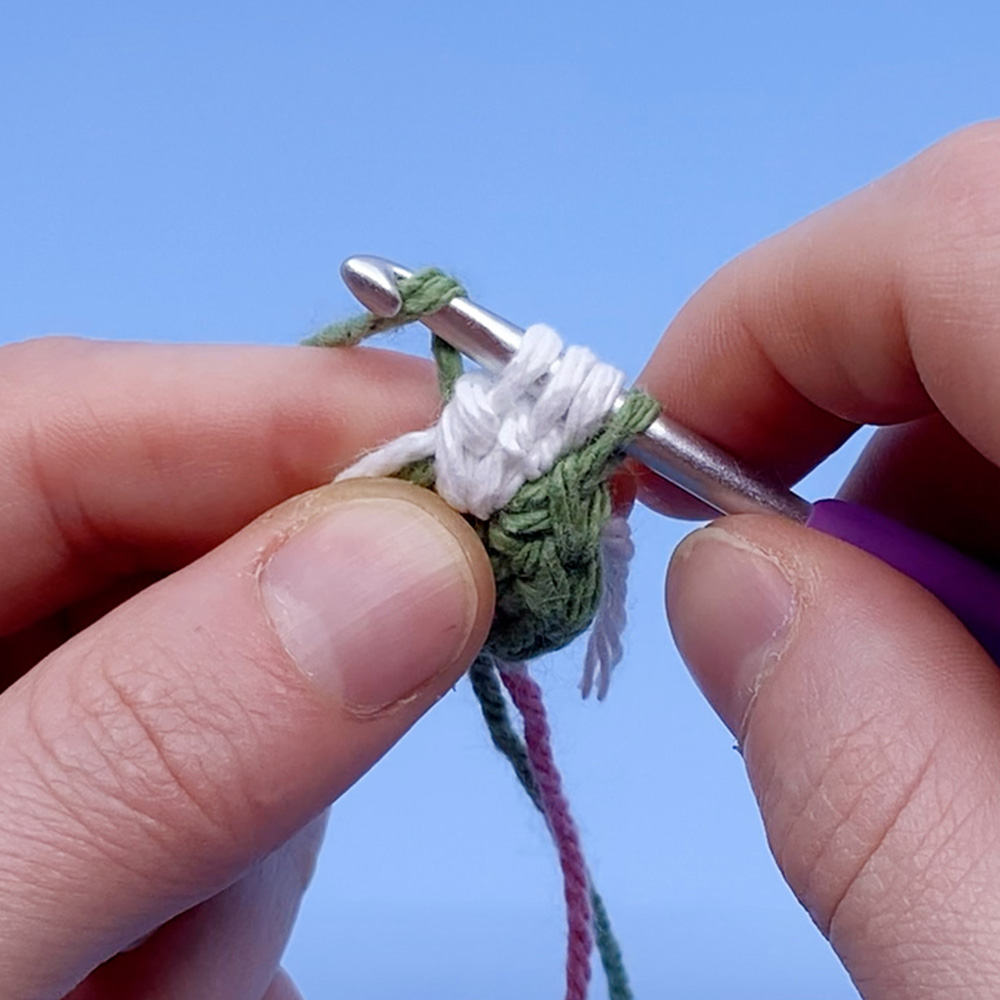
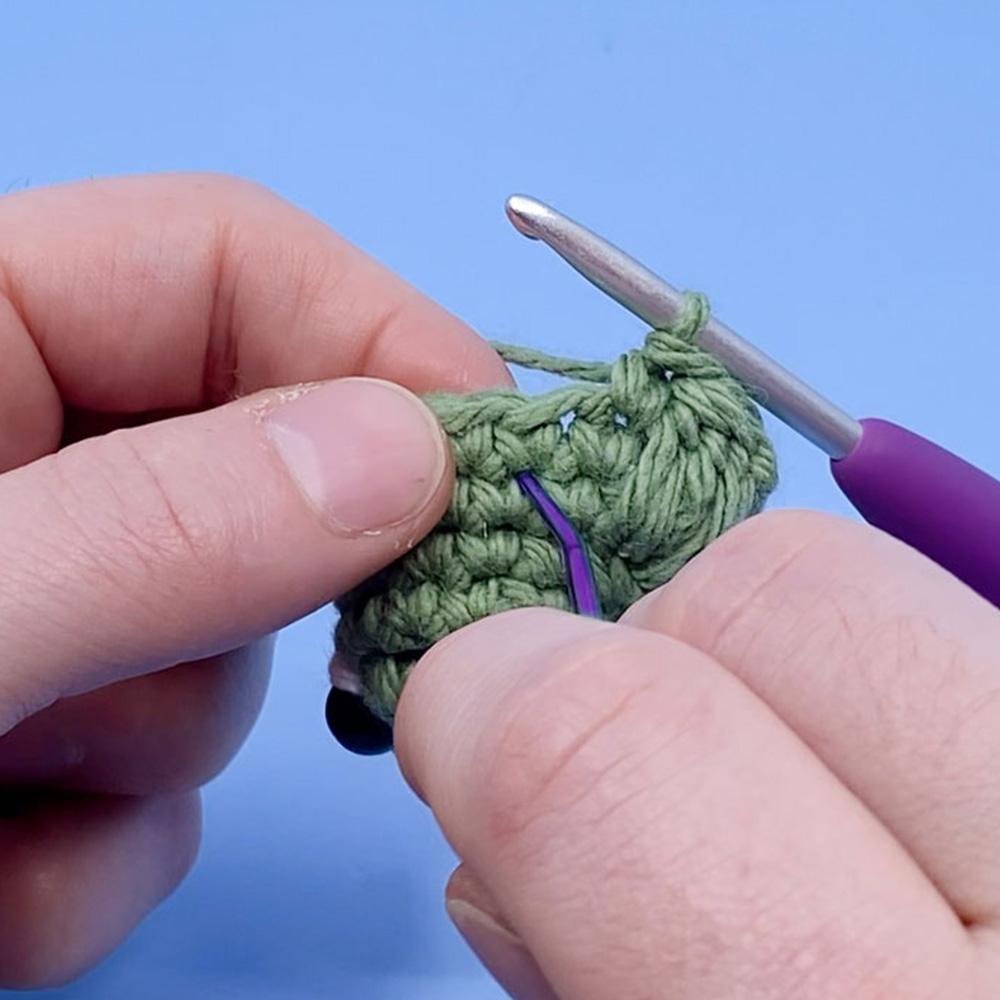
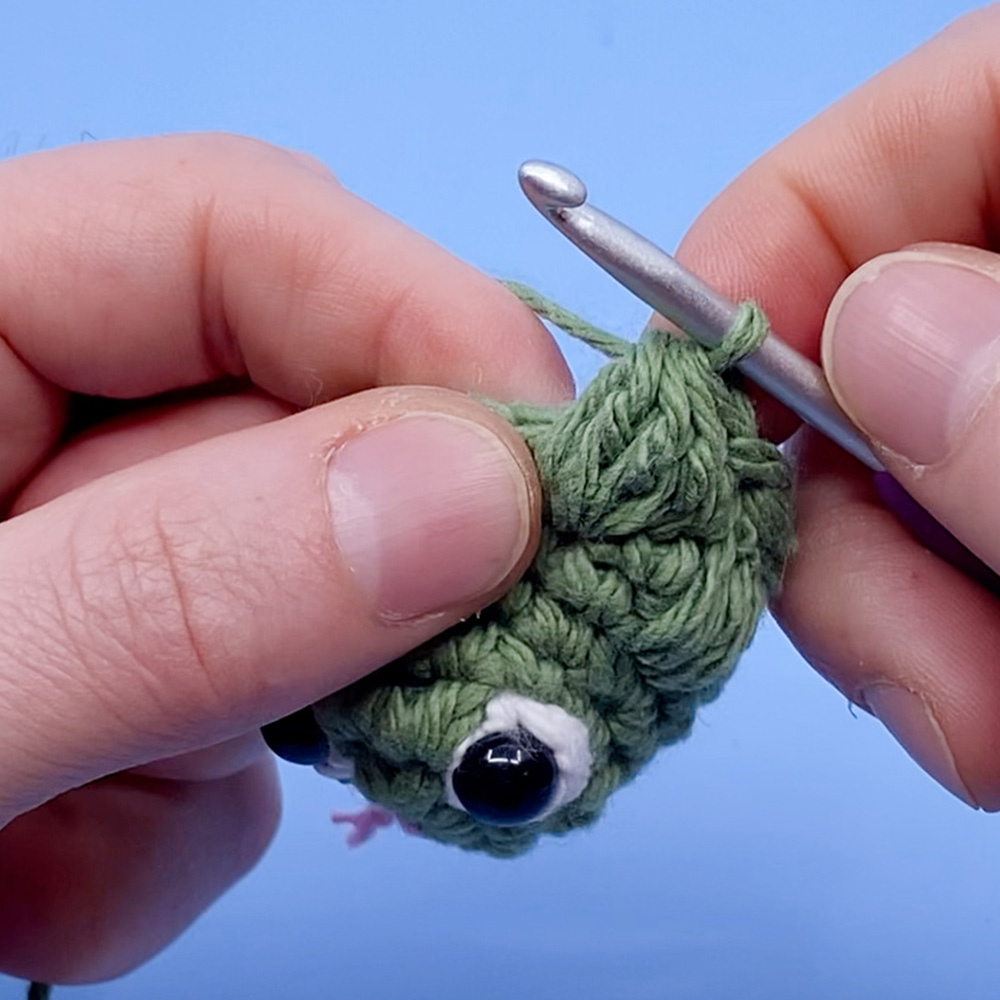
In the following round we’ll be making the legs using bo (Bobble) stitches worked into stitches from the rounds above Rnd 6. These will be made in Black (aka [BK]). See video at (34:00) for added details.
Rnd 7: sc 6, working into the inc from Rnd 4 (two Rnds up) [BK] bo 1, (Pic A)
[O] sc 1, working into the st from Rnd 5 (one Rnd up) [BK] bo 1, (Pic B)
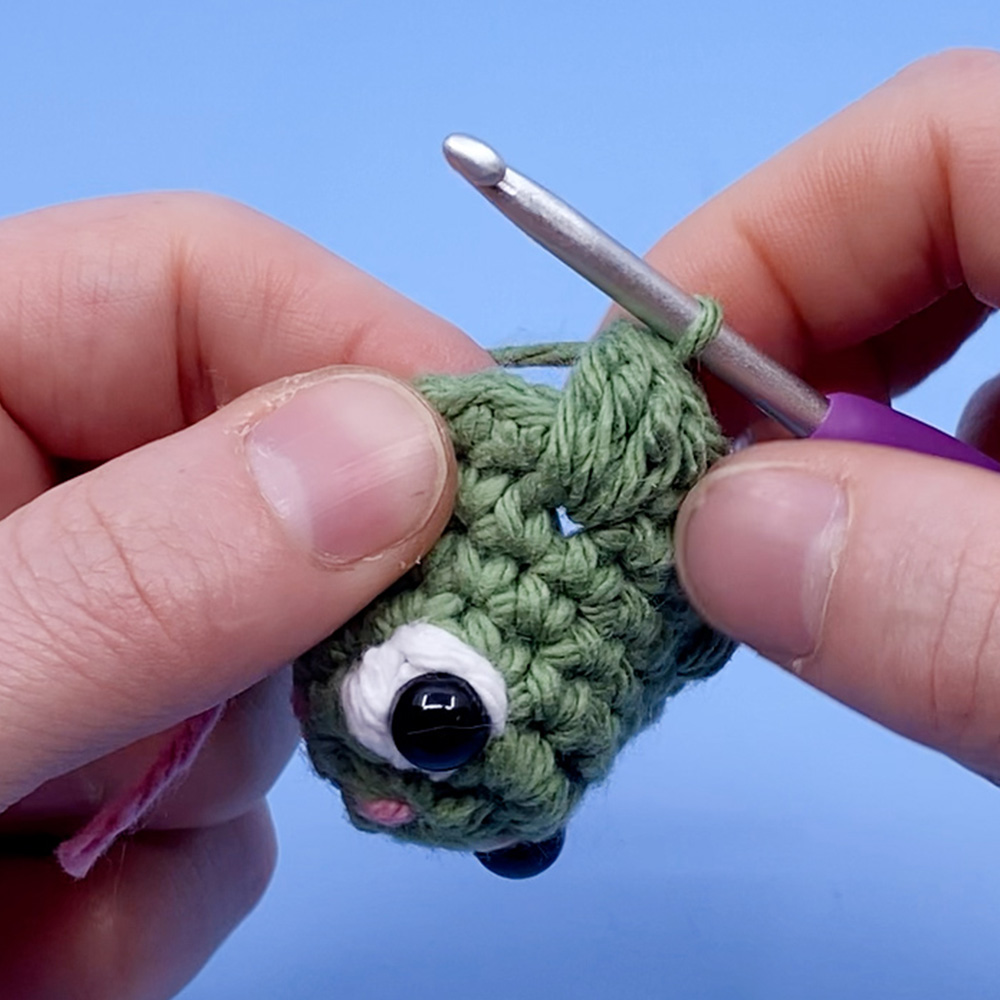
[W] sc 3, working into the st from Rnd 5 (one Rnd up) [BK] bo 1, (Pic C)
[O] sc 1, working into the inc from Rnd 4 (two Rnds up) [BK] bo 1, (Pic D)
sc 3 (18)

A1

A2
B1
B2

C1
C2
D1
D2
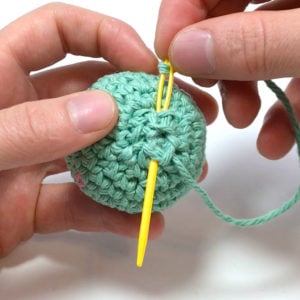
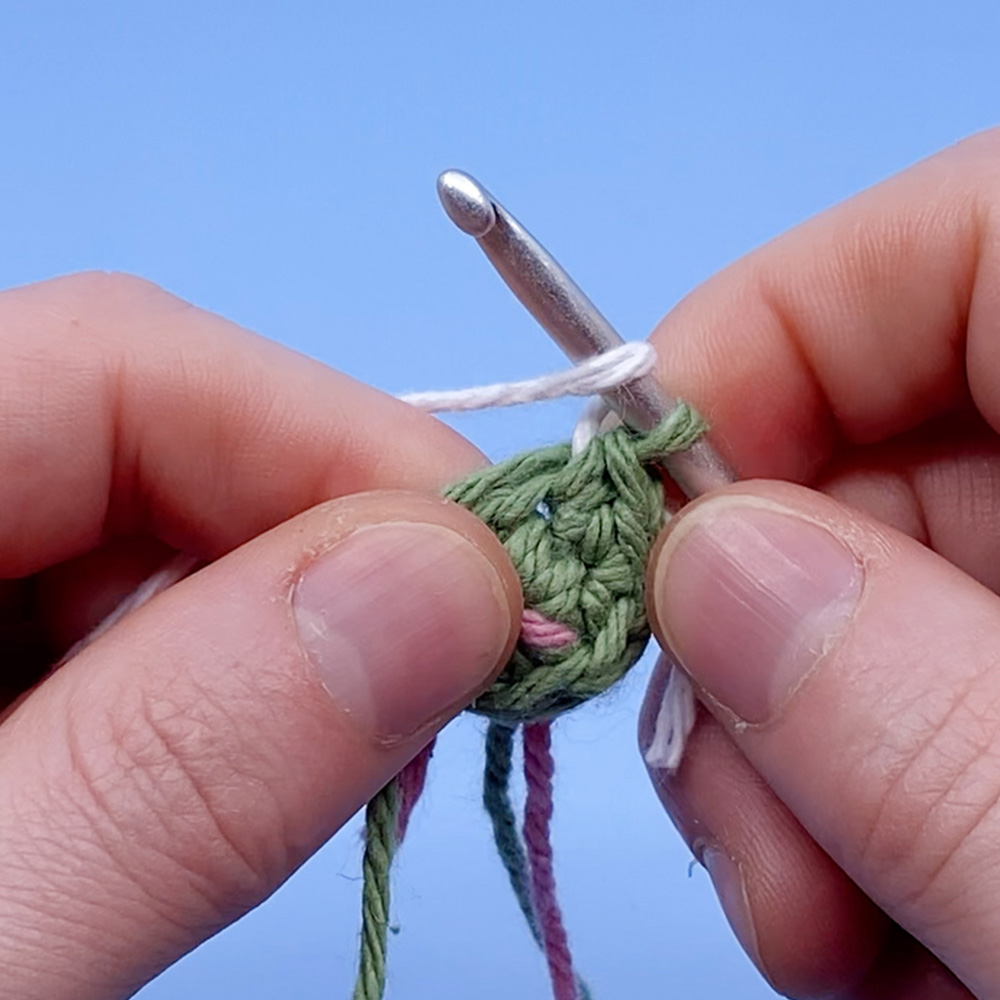
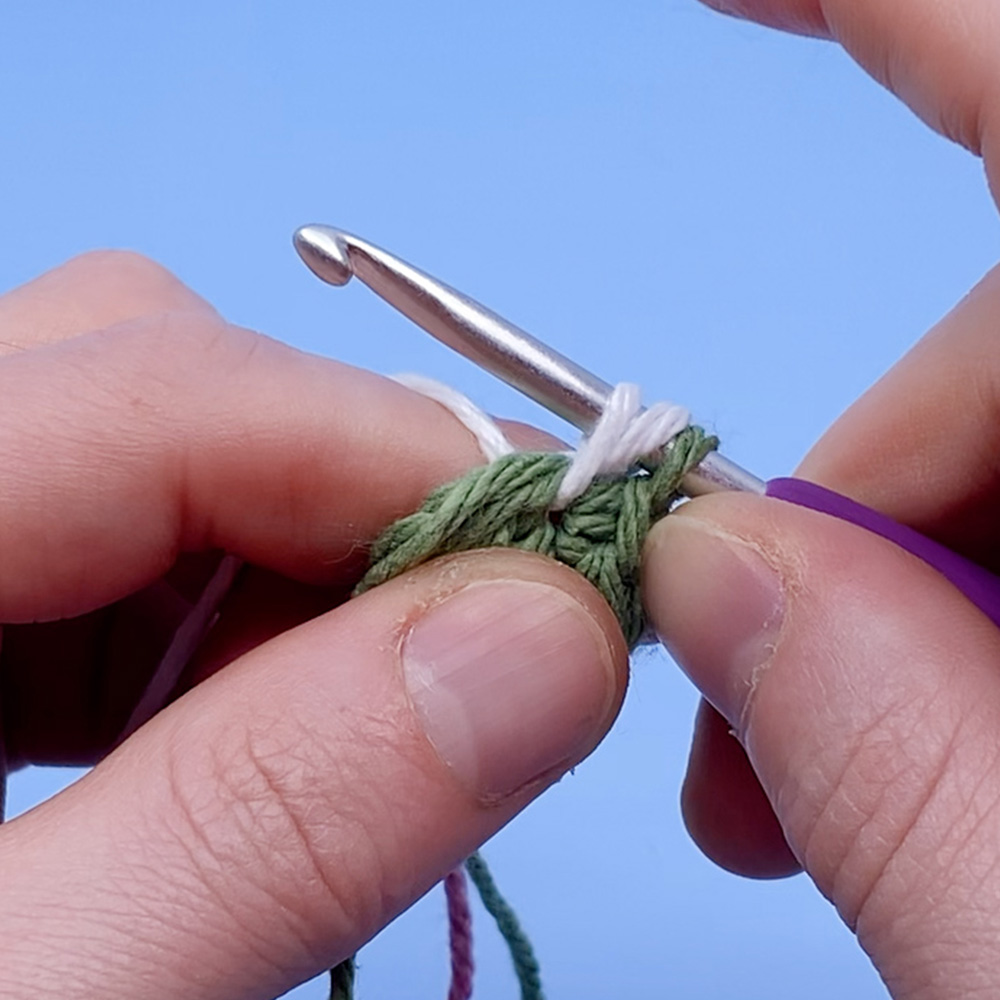
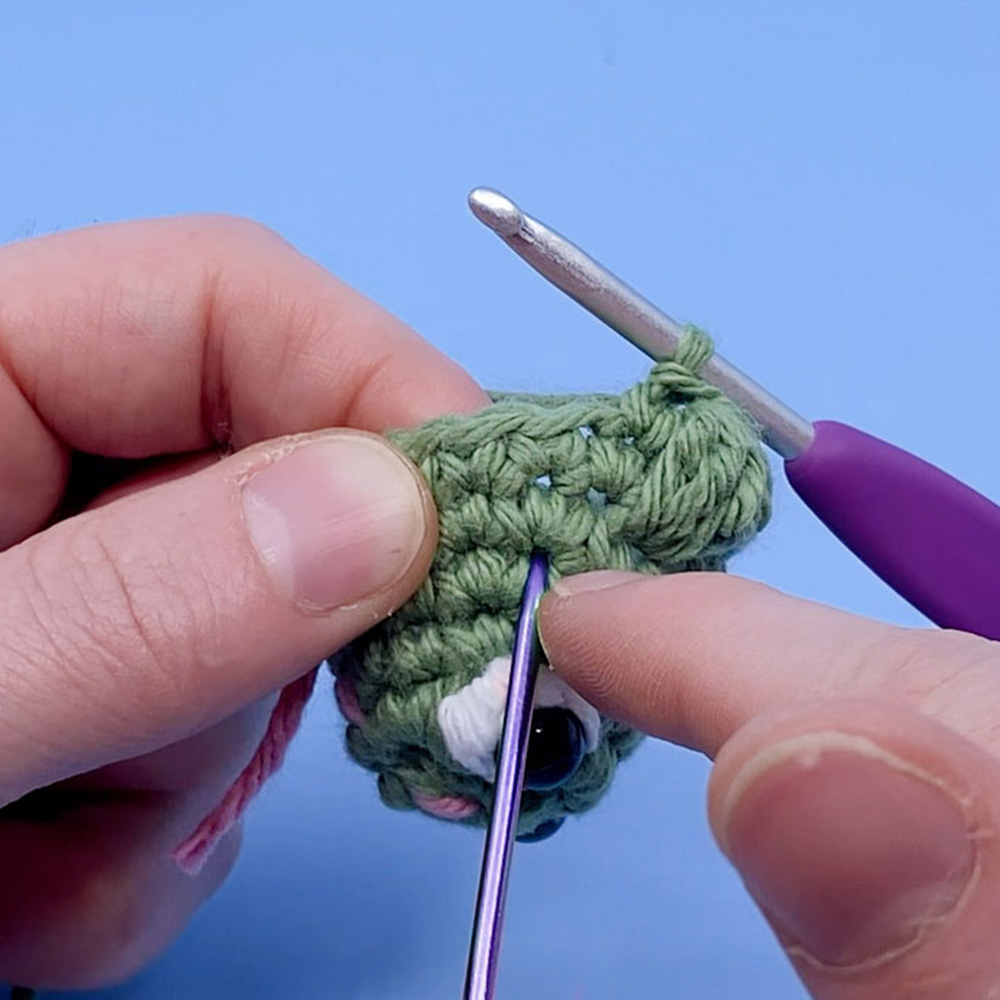
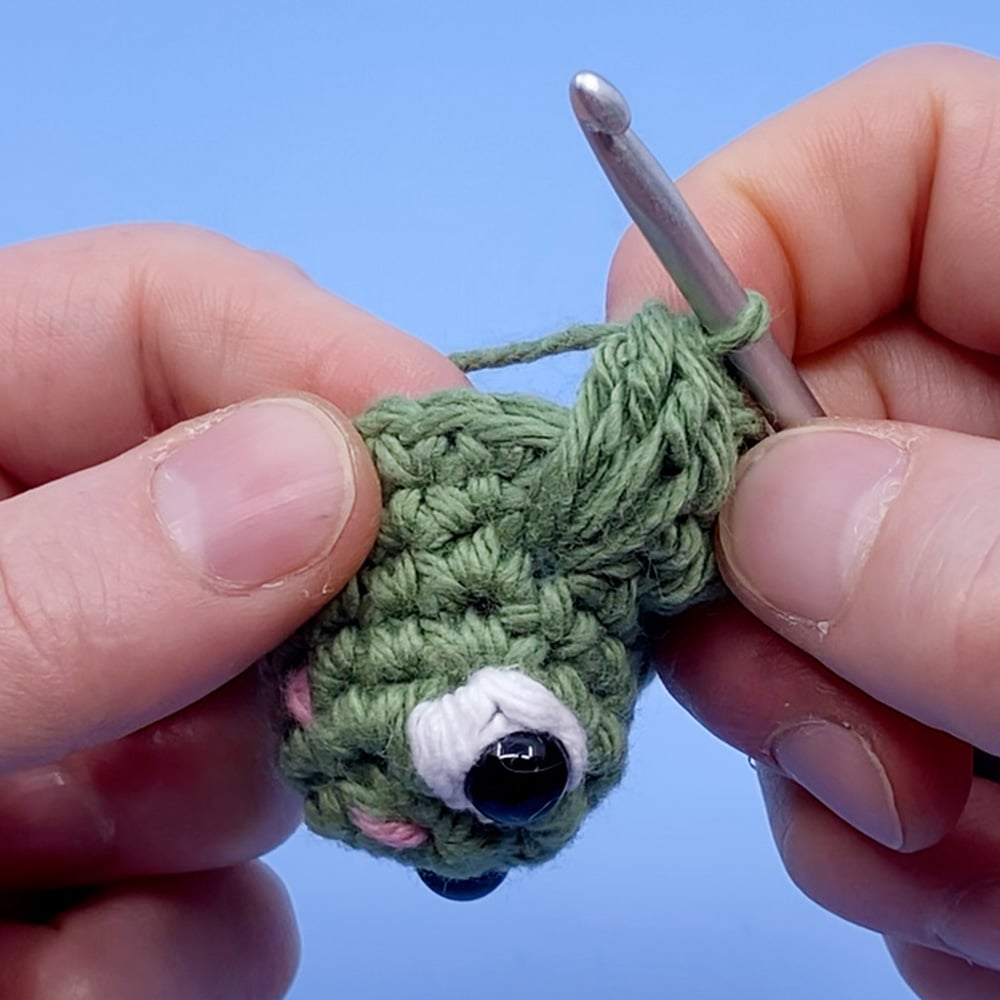
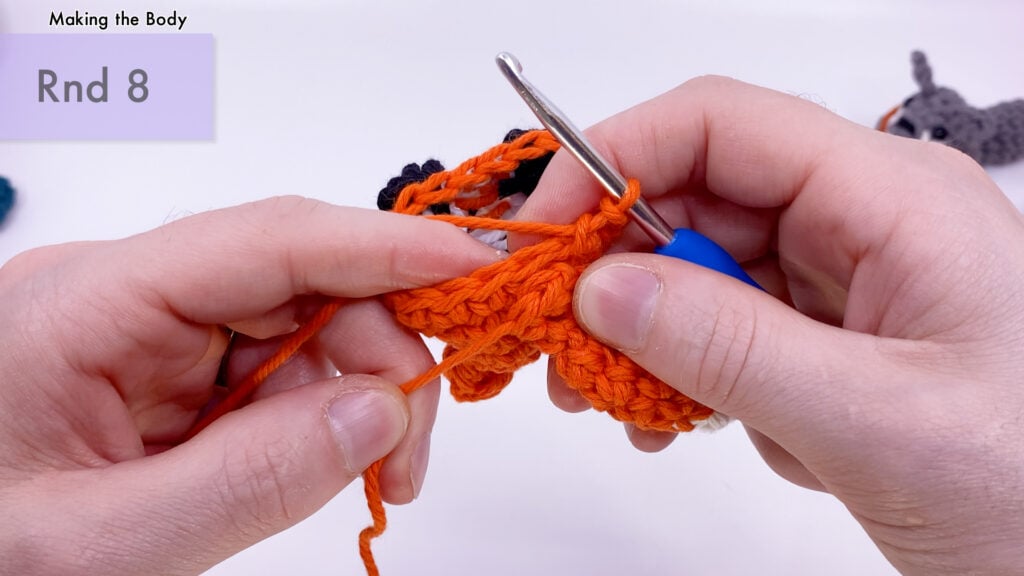
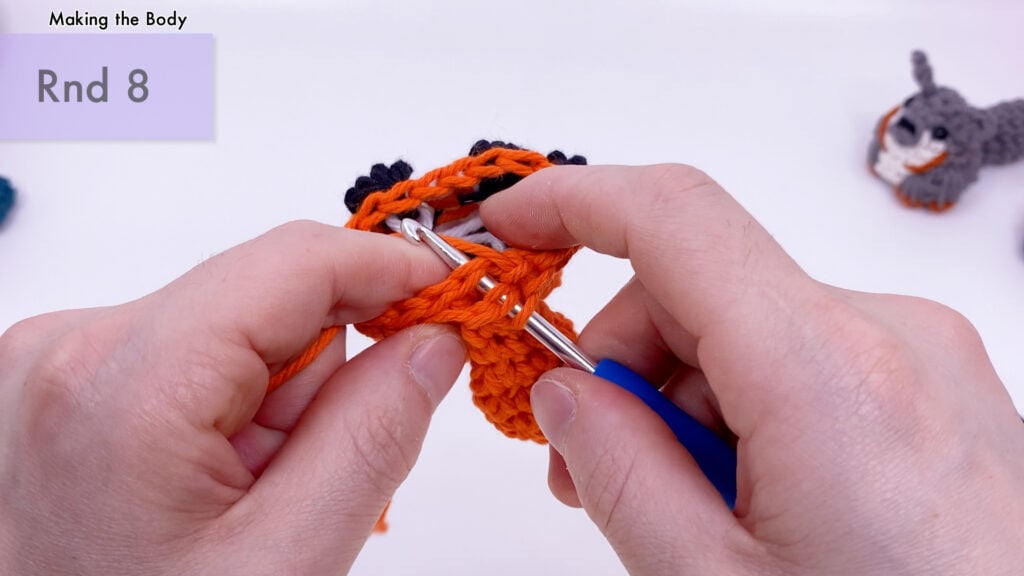
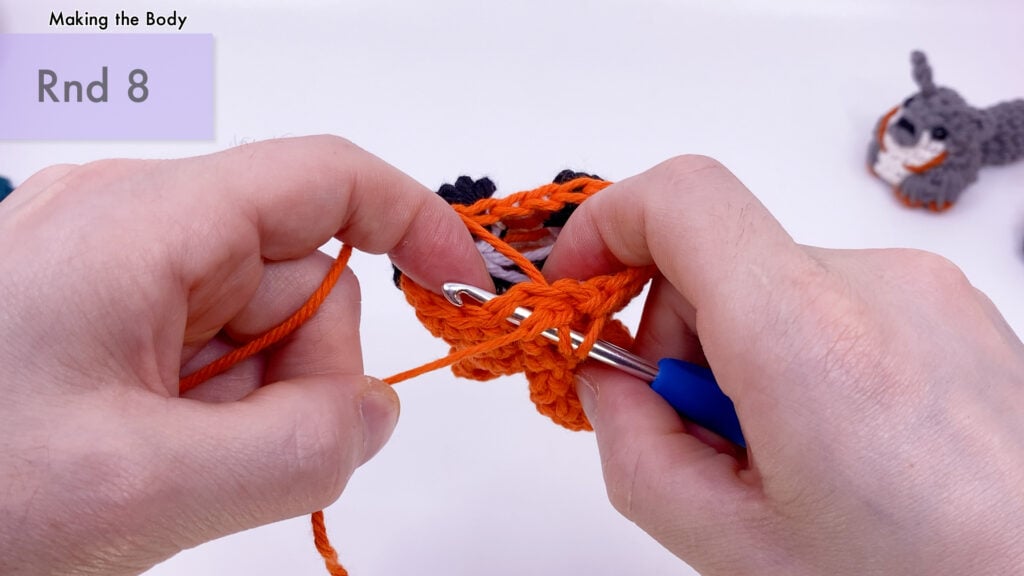
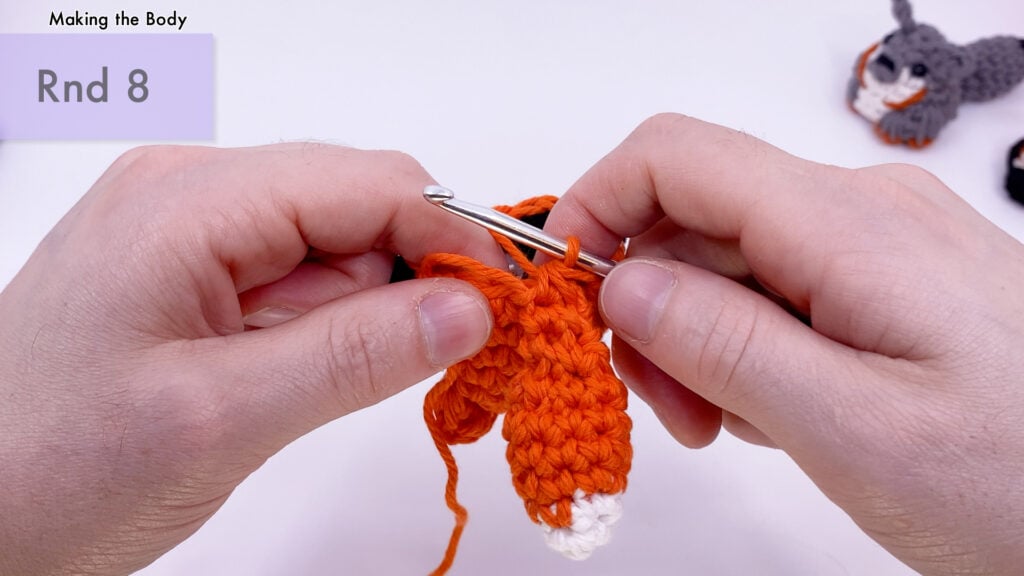
Rnd 8: sc 1, working into the tail sts and the sts from the body simultaneously to seem them together as you crochet sc2tog into the next 2 sts, [sc 1, invdec 1] 5 times (12)
Adding Tail
Stuff mostly. Add 2 mini magnets into the top of the head to make your Fox stackable. Make sure it’s flipped the correct way as it is difficult to flip it later!
Rnd 9: dec in each (6)
Stuff fully. Add 2 more mini magnets to the bottom (make sure it’s flipped correctly!) and sew closed.
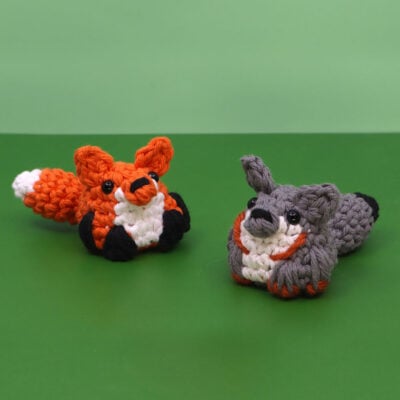
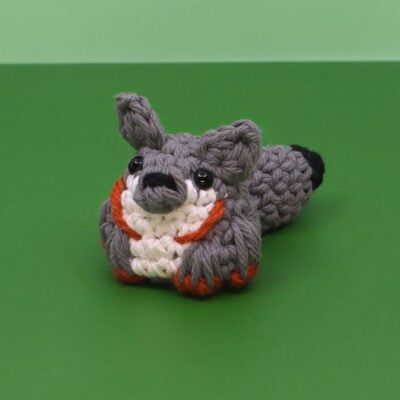
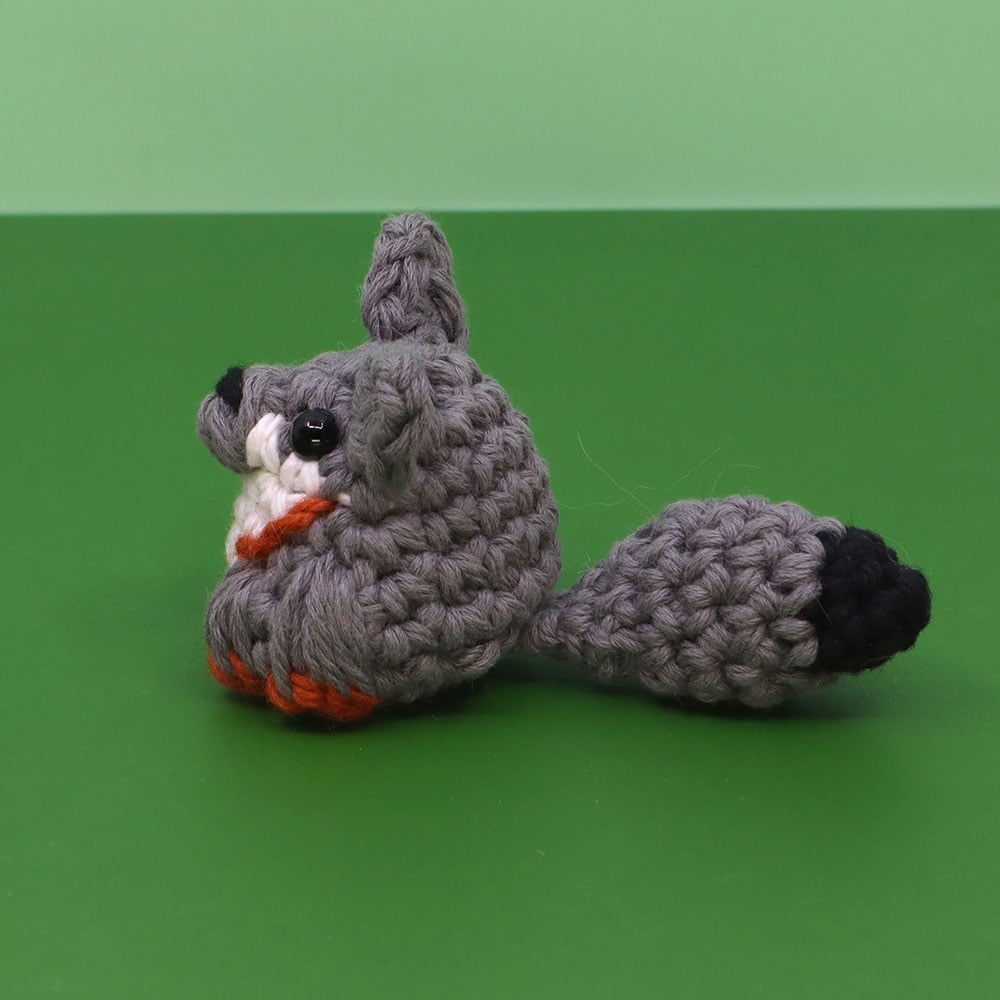
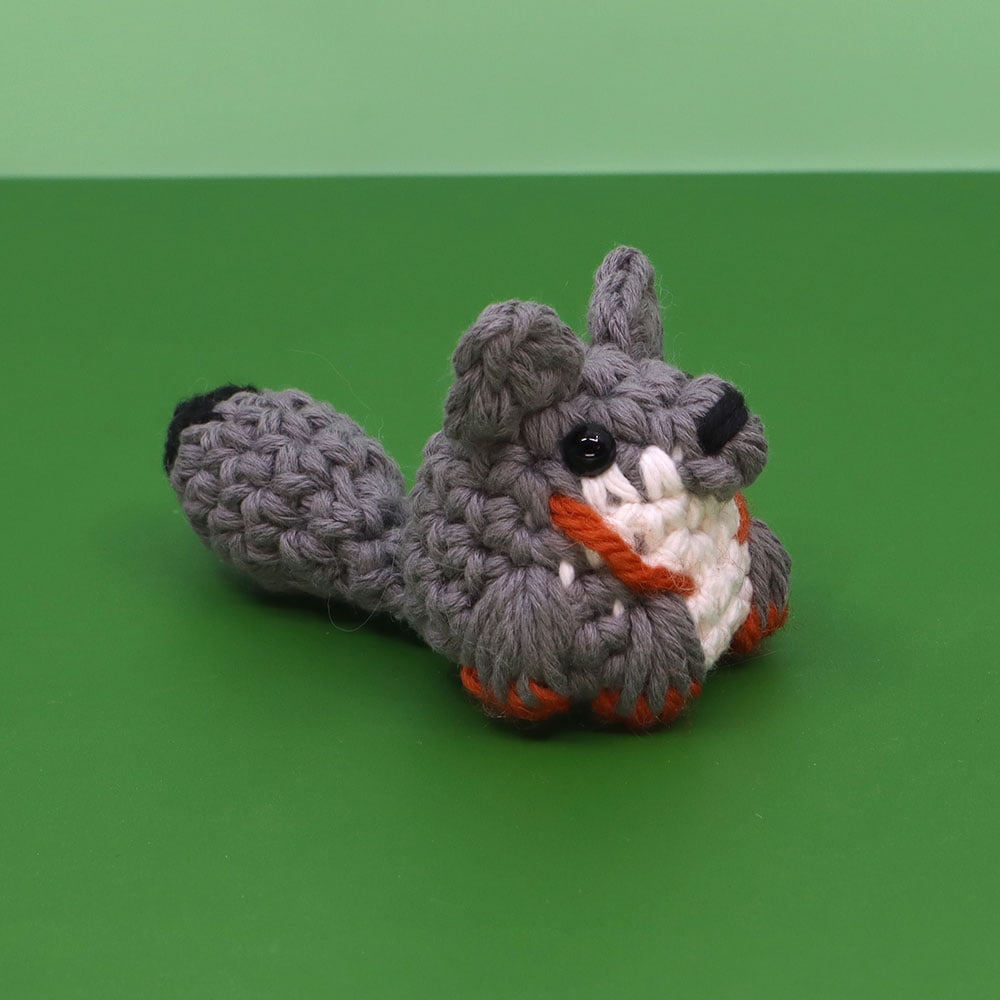
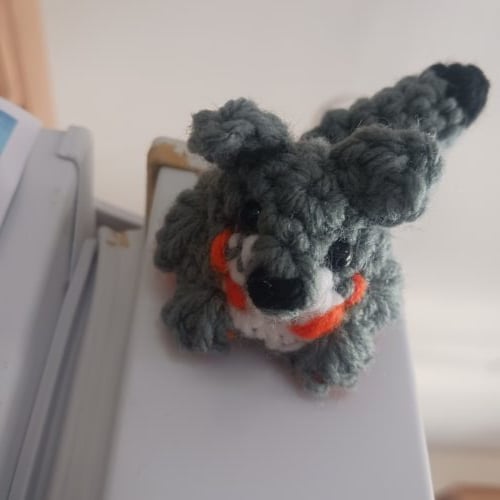
To make your fox into a grey fox, use grey yarn as your main color instead of orange. The feet should be half color changed bobbles with the bottom half orange (See livestream video version for detailed instructions here).
You will also want to use black for the tail, instead of white.
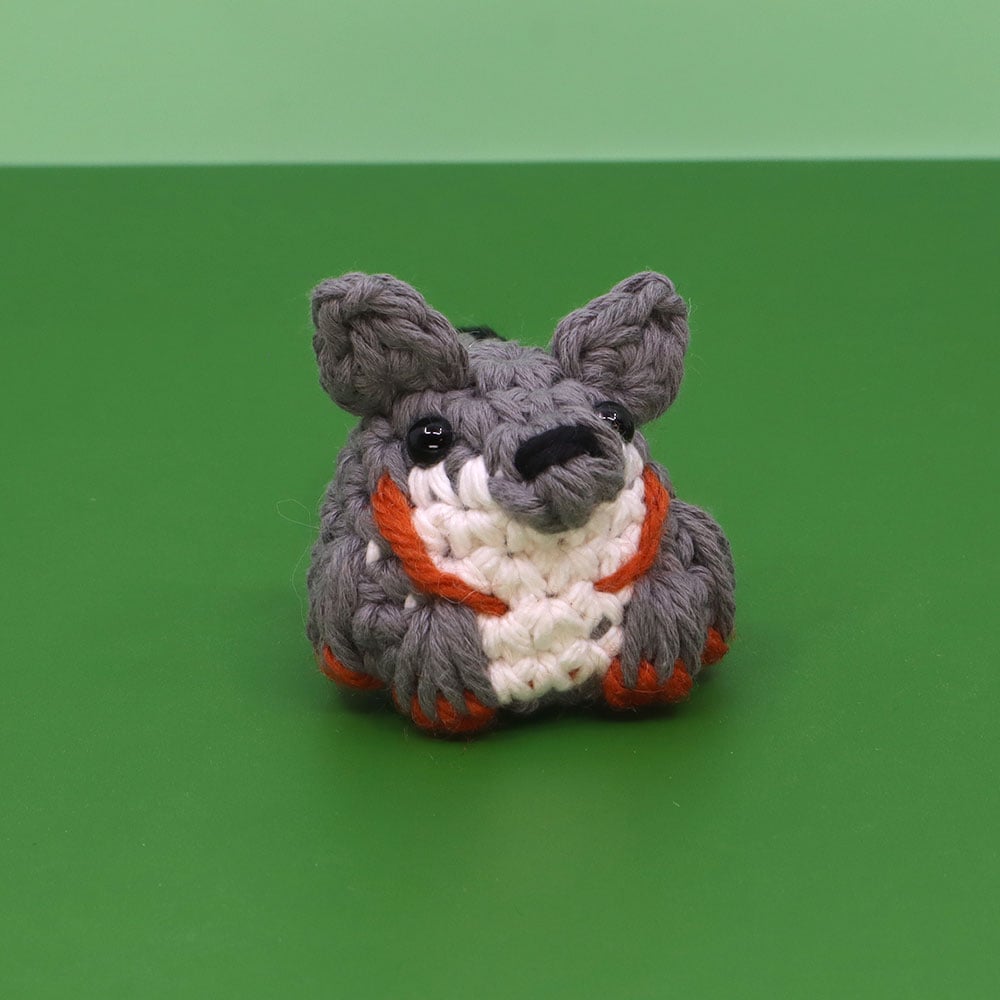
When making the face, Embroider on stripes of Orange under the eyes down to the front legs.
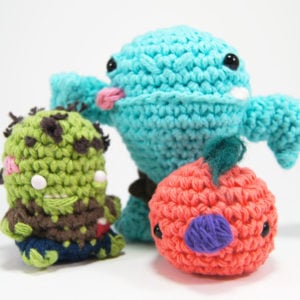
Other patterns to try


Community posts
Community Showcase
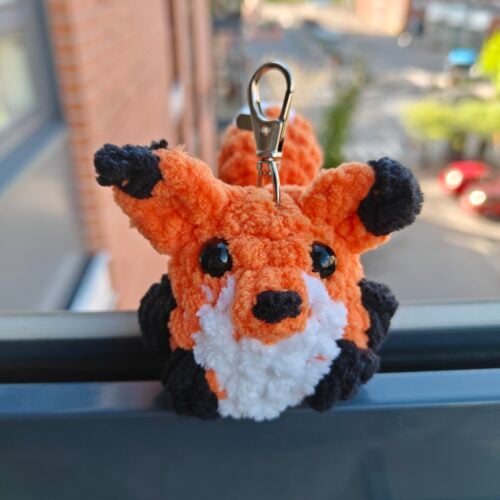
Keychain added
Submitted by liia_flinkman
Bolt
Submitted by Brody


Hey Louie, I would really like it if you made Birb Minigurumis! I think that would be SO cool!
Wow thank you to make a new fox
Can you make a snail bawnimal please?
I resent that my paid for membership no longer includes pdf downloads for “free” patterns. The “untangle” button is a slap in the face.
Thank you for your feedback! This pattern does not include a PDF version which is why there is no download button even for members. Creating a PDF version takes more time so occasionally a pattern will be available online only. The Untangle feature is meant to make patterns more accessible to all users. So if a PDF of this pattern does become available later, anyone who untangled this pattern will have access to the download regardless of membership status. Hope this helps!