
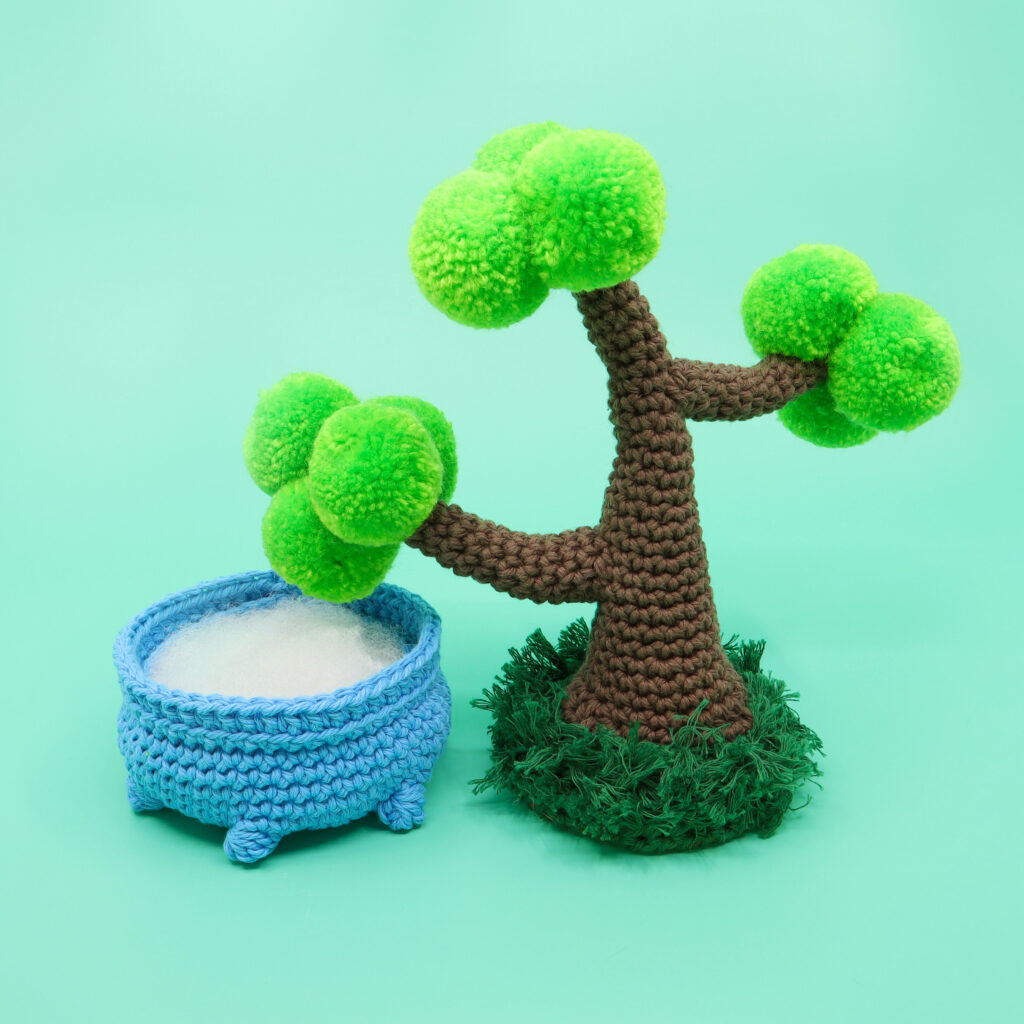
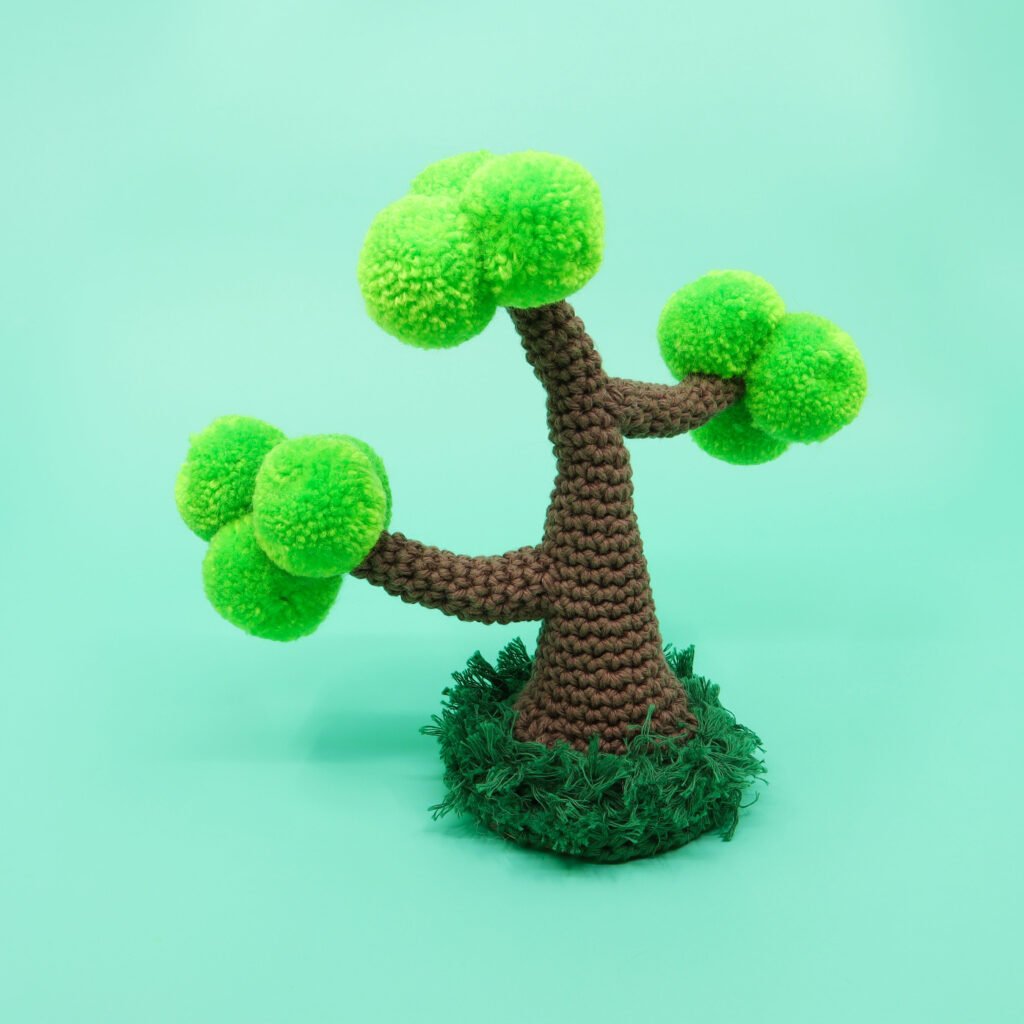
Bonsai Tree and Pot Amigurumi

Medium
In this amigurumi crochet pattern we’ll be crocheting a bonsai tree with a pot! This pattern will teach you how to crochet and customize your bonsai tree with various sections. We’ll be using a new stitch called the Loop Stitch to create grass, and use pom-poms and thread to add our leaves!

Louie's Loops
Designed by


What you'll create


What you'll learn
What you'll need

Cotton Yarn
Weight

Colors
Brown (Branches)
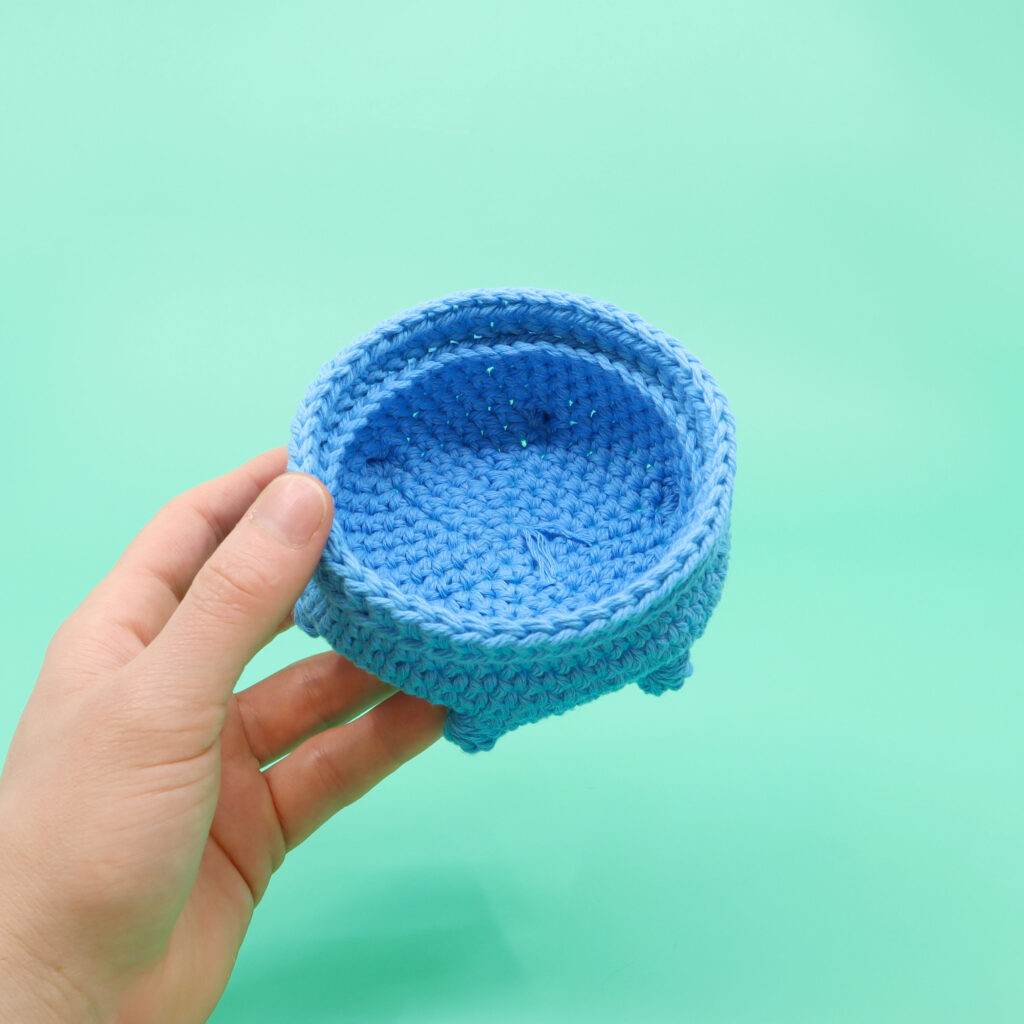
Blue or Beige (Pot Color)
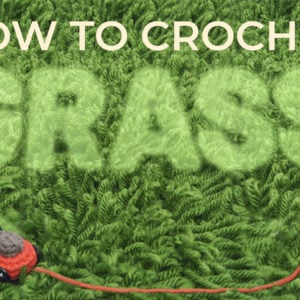
Forest Green (Grass)

Crochet Hook
G6 / 4.00 mm
Pom-Poms (Green or Pink) (x10)

Pipe Cleaners (x3)
Black Thread

Stuffing

Darning Needle
Abbreviations used
ch
Chain Stitch
st
Stitch
slst
Slip Stitch
sc
Single Crochet
inc
Increase
dec
Decrease (Sharp)
invdec
Invisible Decrease
FLO/BLO
Front / Back Loops Only
hdc
Half-Double Crochet
bbo
Bulky Bobble Stitch
mp
Mini Picot
lpst
Loop Stitch
hdcinc
Half-Double Crochet Increase
Useful information
Gauge
5 Rnds and 4 sts per 1”
Size
Finished piece is about 5” tall
Worked
In the Round (unless otherwise stated)
Useful Tutorials


Pattern steps
01 Branches
[All in Brown]
Magic loop
Rnd 1: sc 4 into the magic loop (4)
Other patterns to try


Community posts
Community Showcase
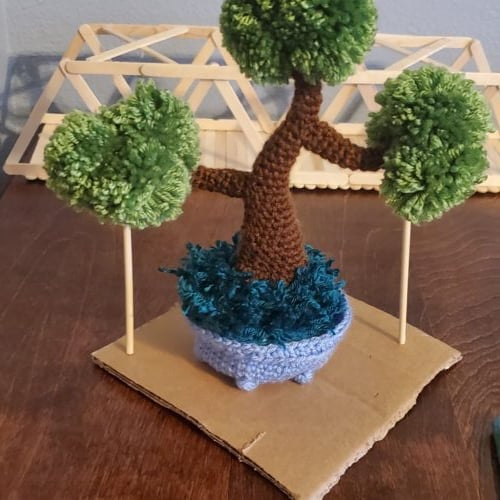
Bonsai tree
Submitted by egibb1129
You need an account to submit your photo.


probably not but i use mine for it
is this the same tree you used for stich’d?