
The Spiked Bobble Stitch

Medium
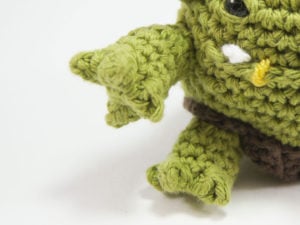
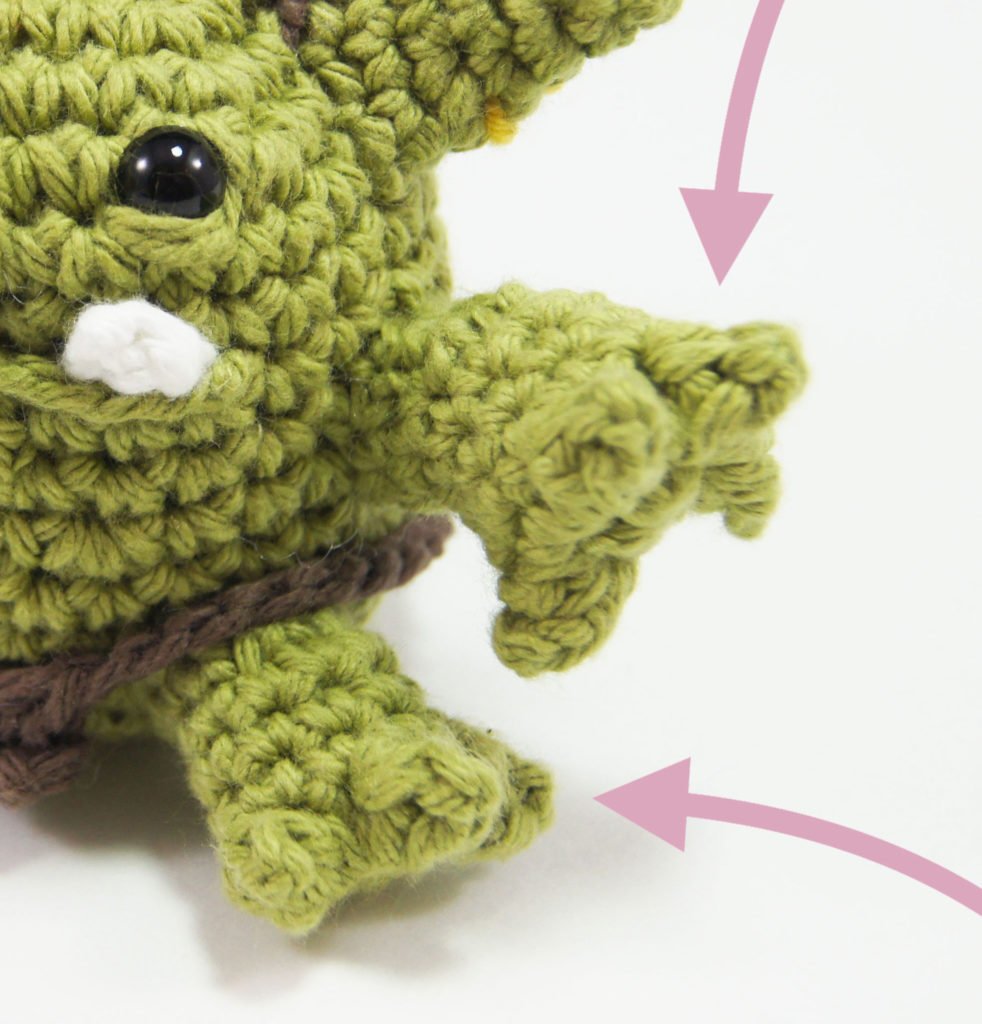
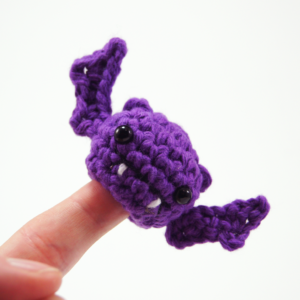
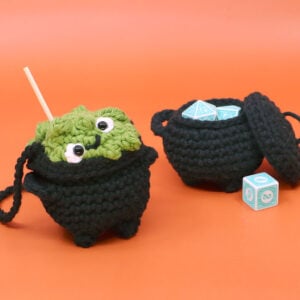
Check out this stitch. It’s like two different stitches squashed together to make a really pointy bobble. I made it up because I had to make claws for these Hobgoblins but I don’t know what it’s actually called so I’ve been calling it a Spike Bobble.

Louie's Loops
Designed by

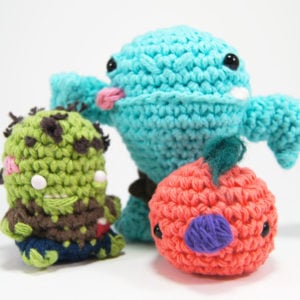
What you'll create

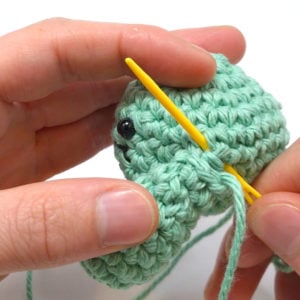
What you'll learn
What you'll need

Cotton Yarn
Weight

Colors
Any Color

Crochet Hook
G6 / 4.00 mm
Abbreviations used
ch
Chain Stitch
st
Stitch
slst
Slip Stitch
FLO/BLO
Front / Back Loops Only
dc
Double Crochet
mbo
Mini Bobble Stitch
bo
Bobble Stitch (4-dc bobble)
sbo
Spiky Bobble Stitch
mp
Mini Picot
yo
Yarn Over
Useful information
Useful Tutorials
Pattern steps
01 Bobble Stitch and Mini Picot
So this is the spiked bobble, I abbreviate it in my patterns as “sbo”. This stitch is basically two different Stitches put together. As you might have guessed it’s mostly bobble stitch. With a splash of mini picot thrown in for spice.
Other patterns to try

Community posts
Community Showcase
Crocheted this pattern? Be the first to show off your project by submitting a photo!
You need an account to submit your photo.


