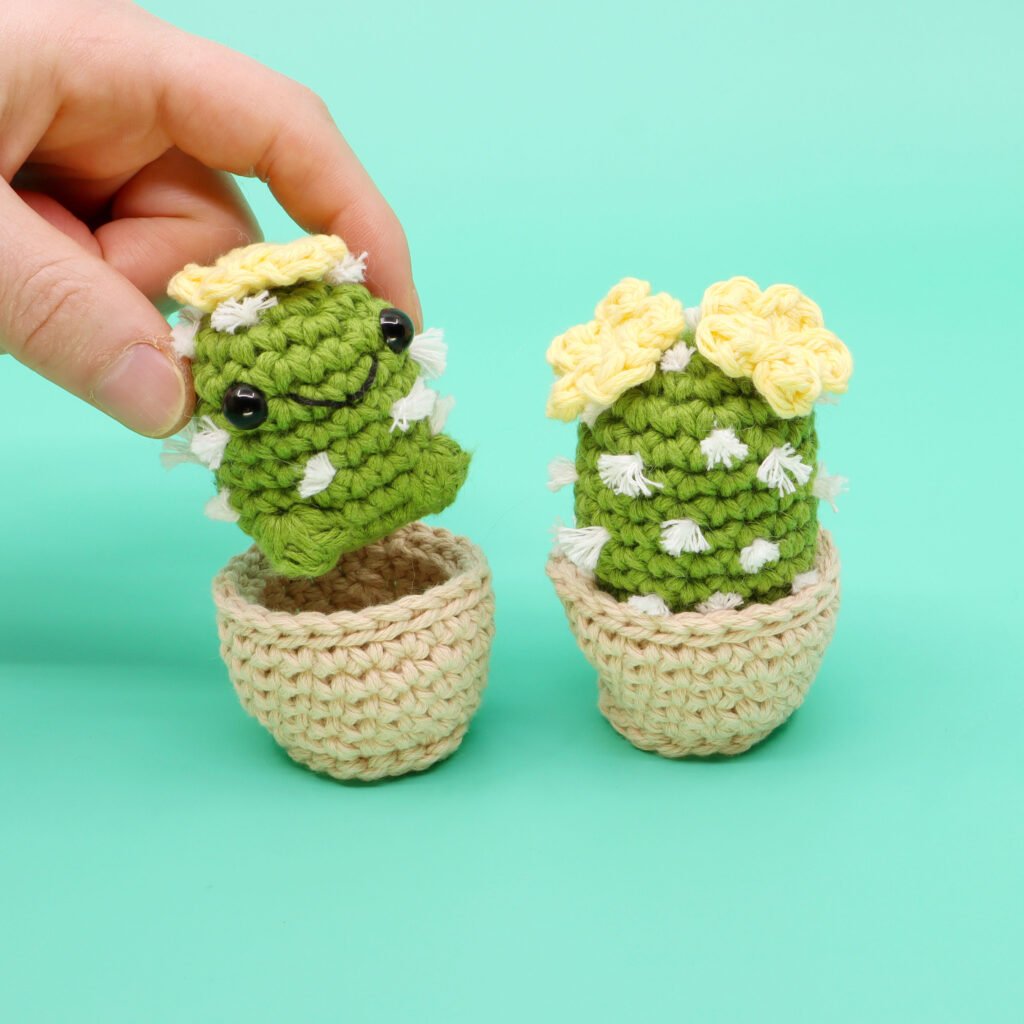
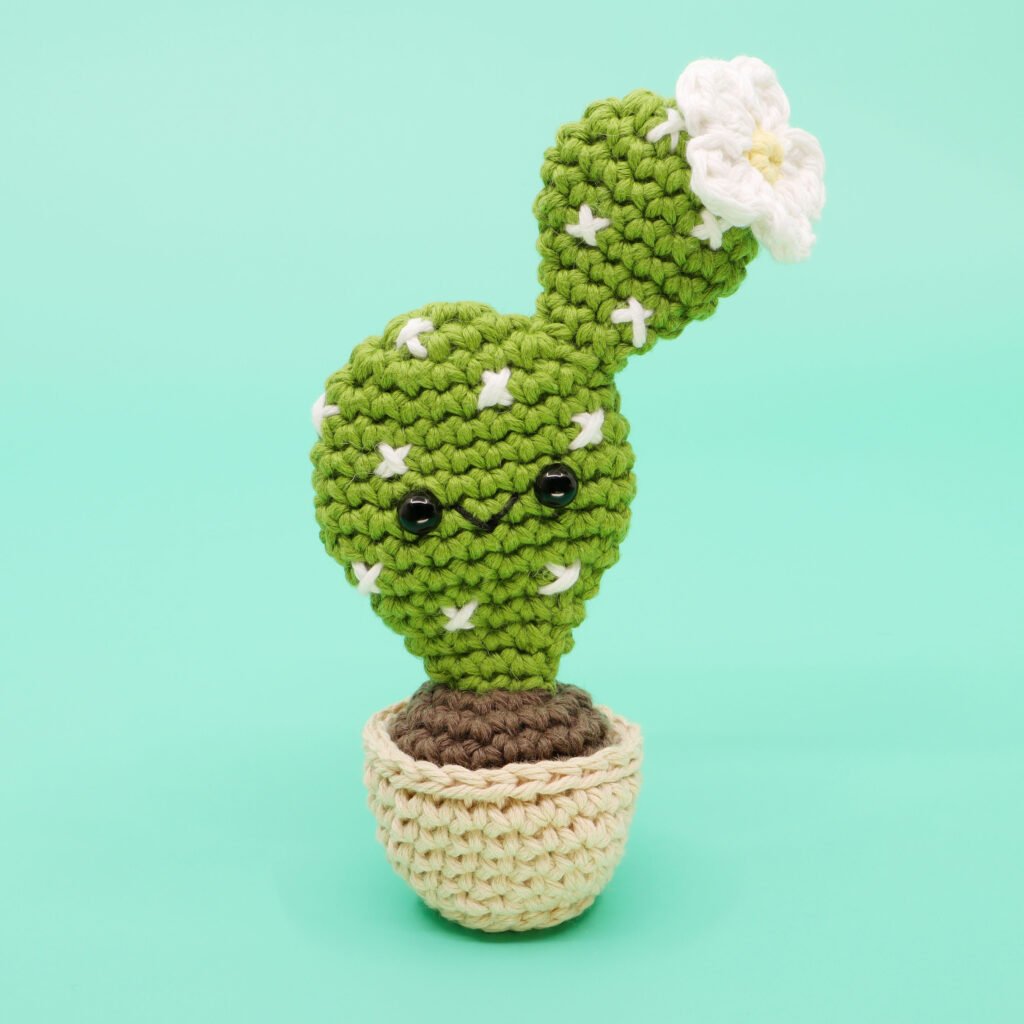
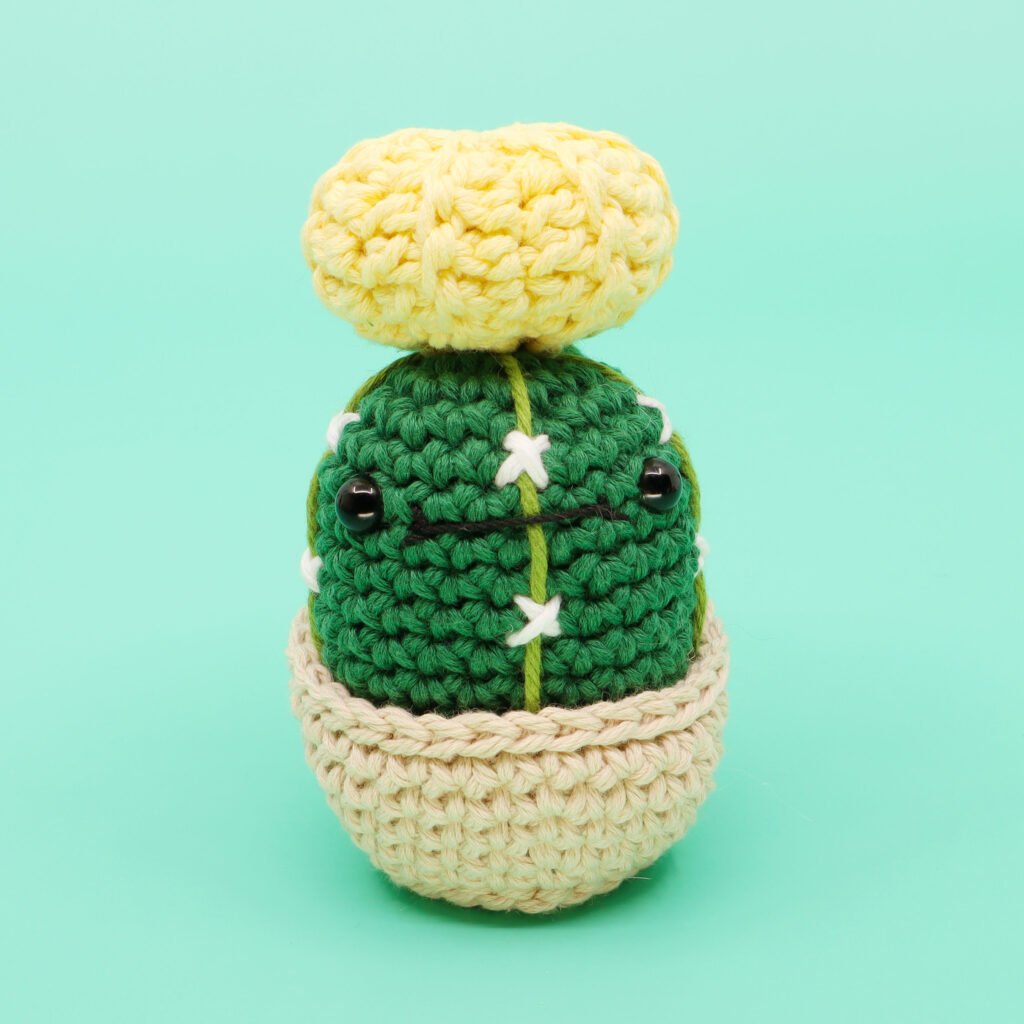
I had this idea a 6 or so months ago to turn all my little characters into finger puppets, and like all my ideas I proceeded to wait a ridiculously long time before I actually did something with it!! I wish I didn’t wait so long because these are THE BOMB!!! And super duper easy to make!!
In this post I’ll be giving you the low down (down low?) about how to turn any of your crocheted amigurumi into finger puppets.

At first I figured I would just leave the bottom open to make it easy. The issue with that was I could feel all the stuffing, yarn threads and eyes on the inside and I didn’t like it one bit.
So here’s my fix, basically I make the end a bit longer instead of sewing it closed. Then I simply stuff it back into the piece!

Couple things to note before starting:
• First off you’ll be working in the round for this technique, this can easily be done with turns though too
• Second, you’ll want to do this at the end of your project just before stuffing it in. This means for the project you’ll have to be working from the top down. If you’re working from the bottom up then you can still use this technique by going backwards, but it’s gonna be a little trickier.

Okay to start, you want to have your piece almost closed, get it down to 12 stitches around.
To make it easier to stuff in, I suggest working into the back loops only for the first Rnd.
Rnd 1: Working in the back loops only, [sc 2, dec 1] repeat 3 times (9)

Try making these stitches a little tight, this will make it grip to your finger better. Also if you haven’t stuffed your amigurumi yet, stuff it now. Remember that you’ll be stuffing it with this end, so make sure not to stuff it too much.
Rnds 2 – 4: sc in each st around (9 x 3)
You can repeat these Rnds to make it longer and fit further down on your finger. Making more Rnds would be useful if your amigurumi is a bit larger or heavier and you’re worried of it falling of your finger.

Rnd 5: [sc 1, dec 1] repeat 3 times (6)
Okay now we can finally sew it closed and stuff it in. See the video above to get specific instructions but you’re basically just sewing it closed like you would normally sew a piece closed.
Here’s the hardest part, stuffing it back into the piece. First take the tail end and go through the top, you’ll use this to pull it in after stuffing. For stuffing the end in I do a kinda pincer like motion; pinching the piece and stuffing it in simultaneously.
Once you have it stuffed in with your fingers all the way, pull the end to really get it fully stuffed it. 
Finally, cut the end close!
Pasta la Pizza and Happy Hookin!
– Lou